Milk Kefir is a probiotic rich, cultured dairy product that you can make in your very own home. Just two ingredients needed! An excellent first home fermentation project, with very little equipment required. You'll learn how to make kefir at home, allowing you to create your own superfood in your kitchen. Perfect for adding to smoothies, oatmeal, and all of your favorite recipes!
Updated: November 7th 2022
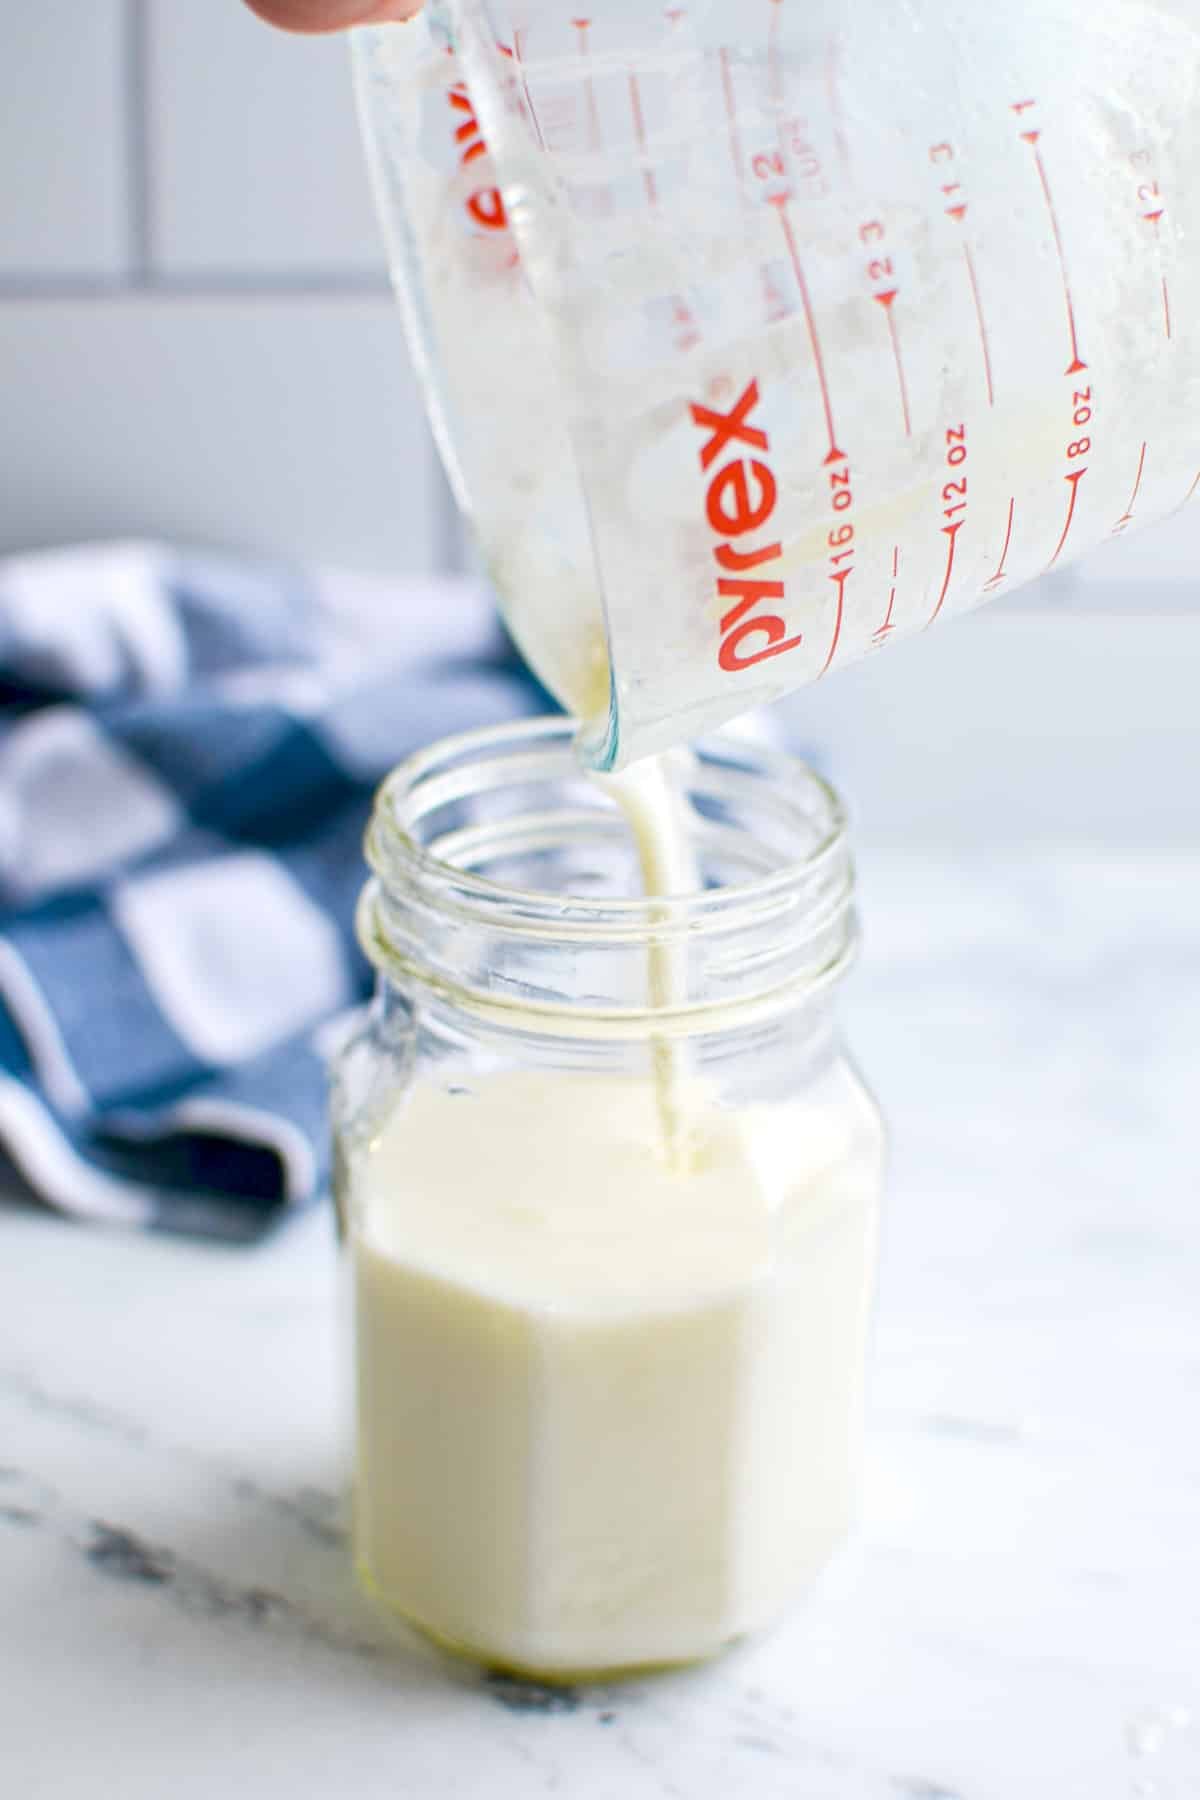
Do you love milk kefir? I do! This probiotic rich cultured food is teeming with beneficial bacteria, and is full of protein and calcium. It's the perfect addition to a morning smoothie, and can be added to some of your favorite foods to add a probiotic benefit (like chia pudding or overnight oats). Milk kefir has more strains of gut-friendly bacteria than yogurt, so you get more bang for your buck!
I've been making kefir at home now for over 5 years, and I absolutely love it. It's one of the easiest ferments you'll ever make (yes, even easier than sourdough!). It's awesome to be able to turn regular store-bought milk into a superfood. All while using minimal equipment and on a budget.
All of this is not even to mention my son gladly drinks up his strawberry kefir smoothies (AKA Spider Man smoothies) or kefir green smoothies (AKA Hulk smoothies) without a single trace of suspicion that they are actually good for him. That alone is enough reason to include it in your weekly routine!
Why Make Milk Kefir At Home?
- It's less expensive that purchasing it at the store.
- Since milk kefir can be hard to find, being able to make it at home means you can have it whenever you want to whip up a smoothie or add to your favorite recipes.
- Very gut-friendly, since it's loaded with probiotics.
- Homemade kefir likely has more probiotics, since you can ferment it for a longer period of time and even do a double fermentation if desired.
Ingredients and Equipment
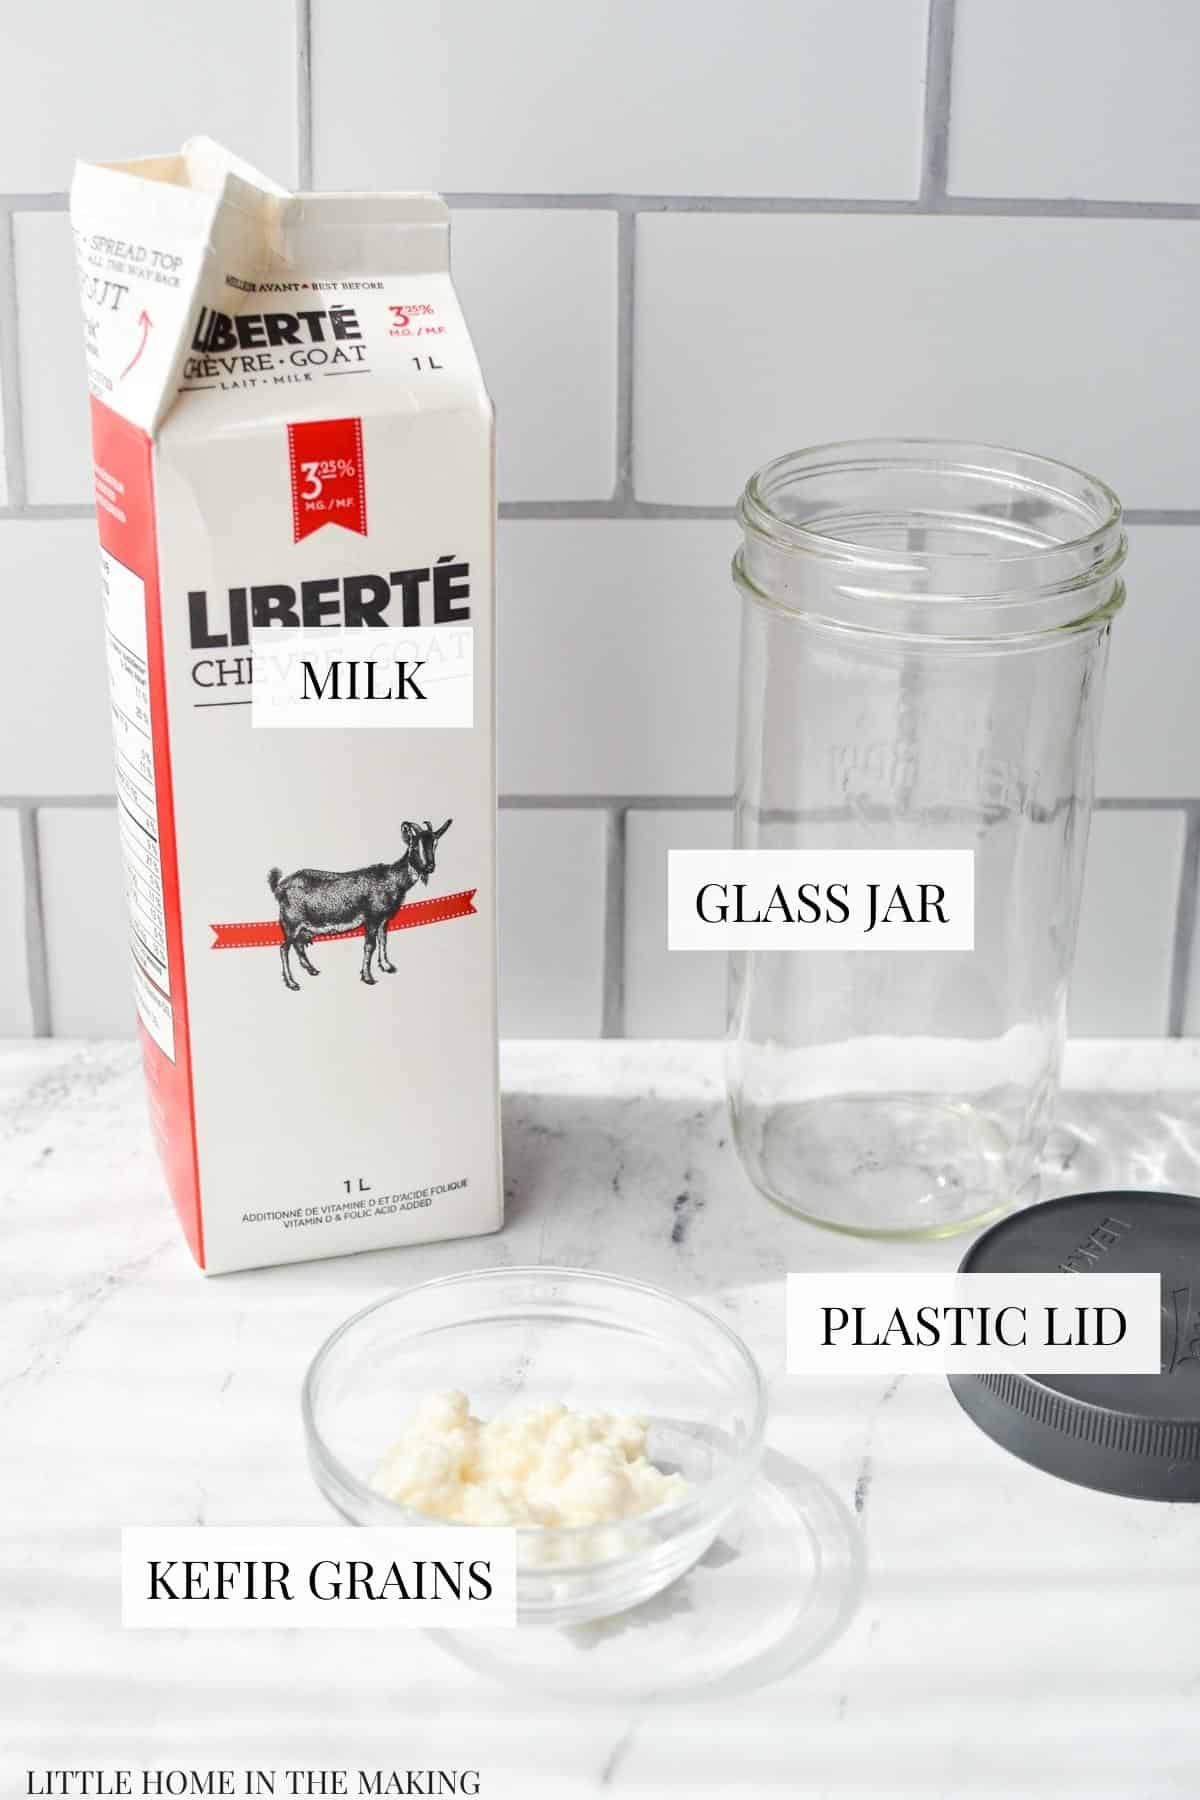
- Milk: You will need good quality cow's or goat's milk. Store bought milk (as opposed to farm fresh) is perfectly fine to use, just make sure that you do not purchase ultra pasteurized milk (it should state on the label if ultra pasteurized).
- Kefir Grains: These should be activated. If you purchased them dried, be sure to activate them by using the instructions included in your culture. If you purchased them fresh, you can start your first batch of milk kefir without any prep needed. You can find these online (via Amazon or Cultures for Health), or source them locally by asking around.
Equipment and Tools
- Glass jar: You'll need a glass jar that can be fitted with a lid. Glass is easiest to keep clean, and doesn't leach like other materials.
- Plastic lid: While you can use a 2 piece canning lid on your jar of milk kefir, I recommend using a plastic lid since they don't rust. I buy boxes of them to use with all of my fermenting projects.
- Wooden spoon: or a silicone spatula.
- Fine mesh strainer: I have a set of three of these, and they are perfect for straining. I use them for many of my fermenting projects like water kefir, fermented blueberries, and homemade shrubs.
I specify that you need a fine plastic strainer, because the acidity of ferments can react with certain metals, or so goes the rumor at least. Plastic strainers are inexpensive, and super easy to wash by just throwing them in the dishwasher after a quick rinse. You could also use a nut milk bag if you have those on hand or will be using them for other projects (like water kefir or homemade ghee).
Notes on Cleanliness
As with all fermenting projects, it is important to use very clean equipment. That means taking care that there is no leftover debris on your tools or jars, and that they have recently been washed in hot soapy water. The additional step of sterilization is great to make sure your jar is incredibly clean, but it is not necessary if you've never had problems with ferments before.
How to Make Milk Kefir
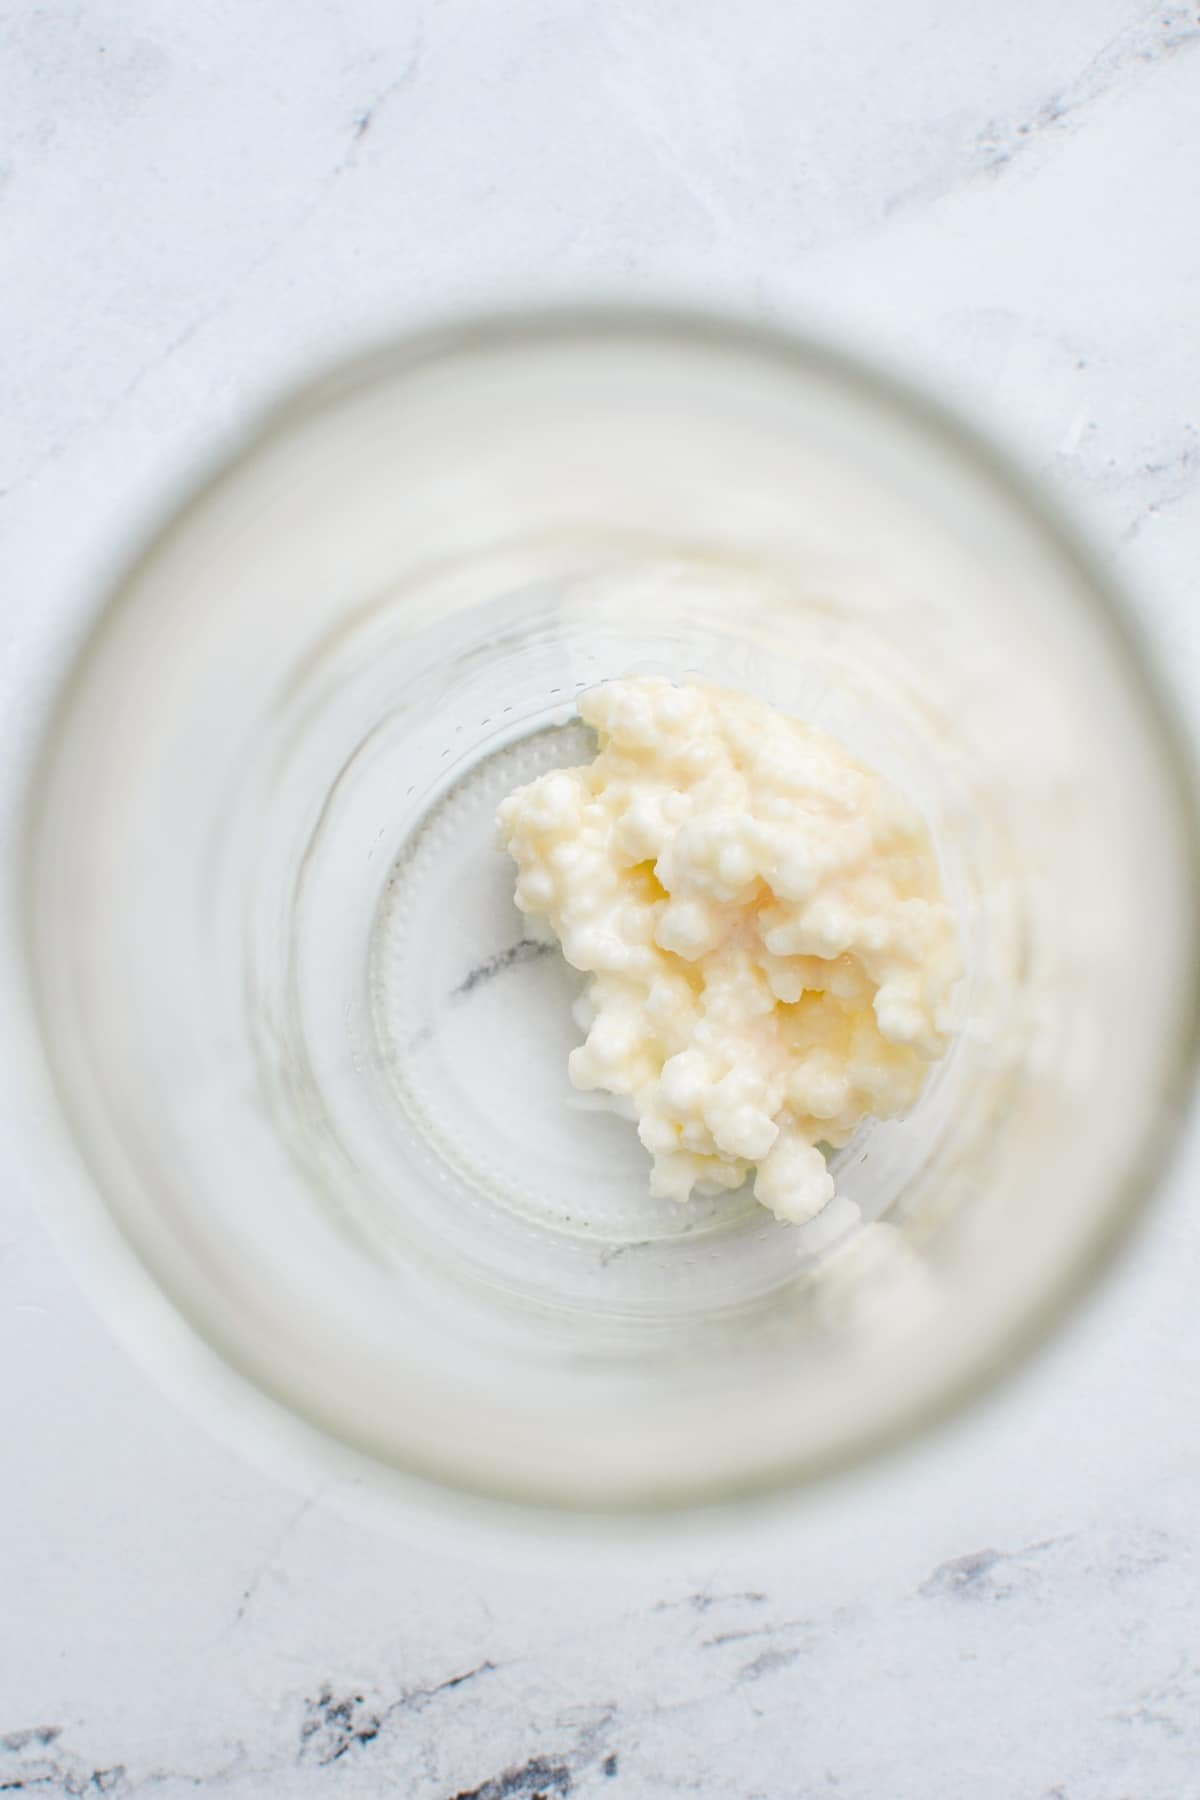
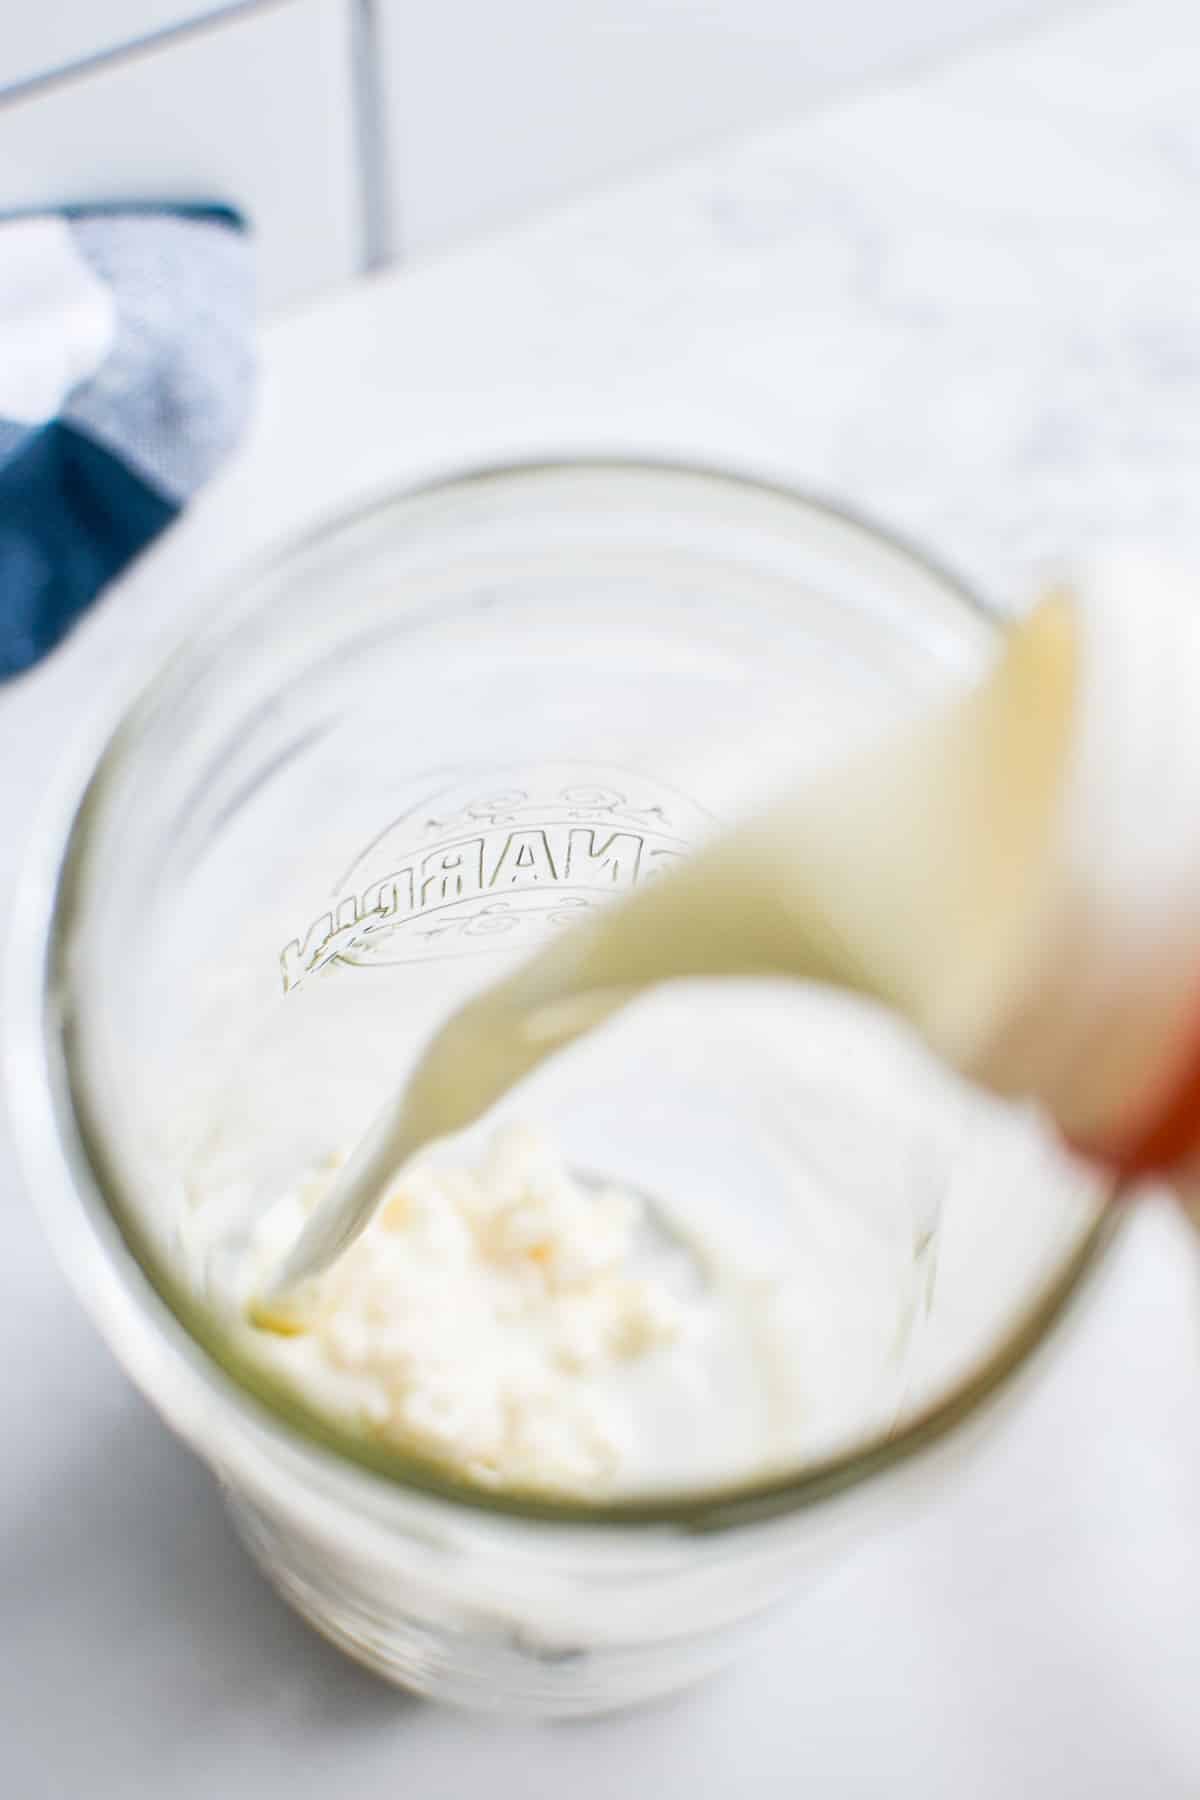
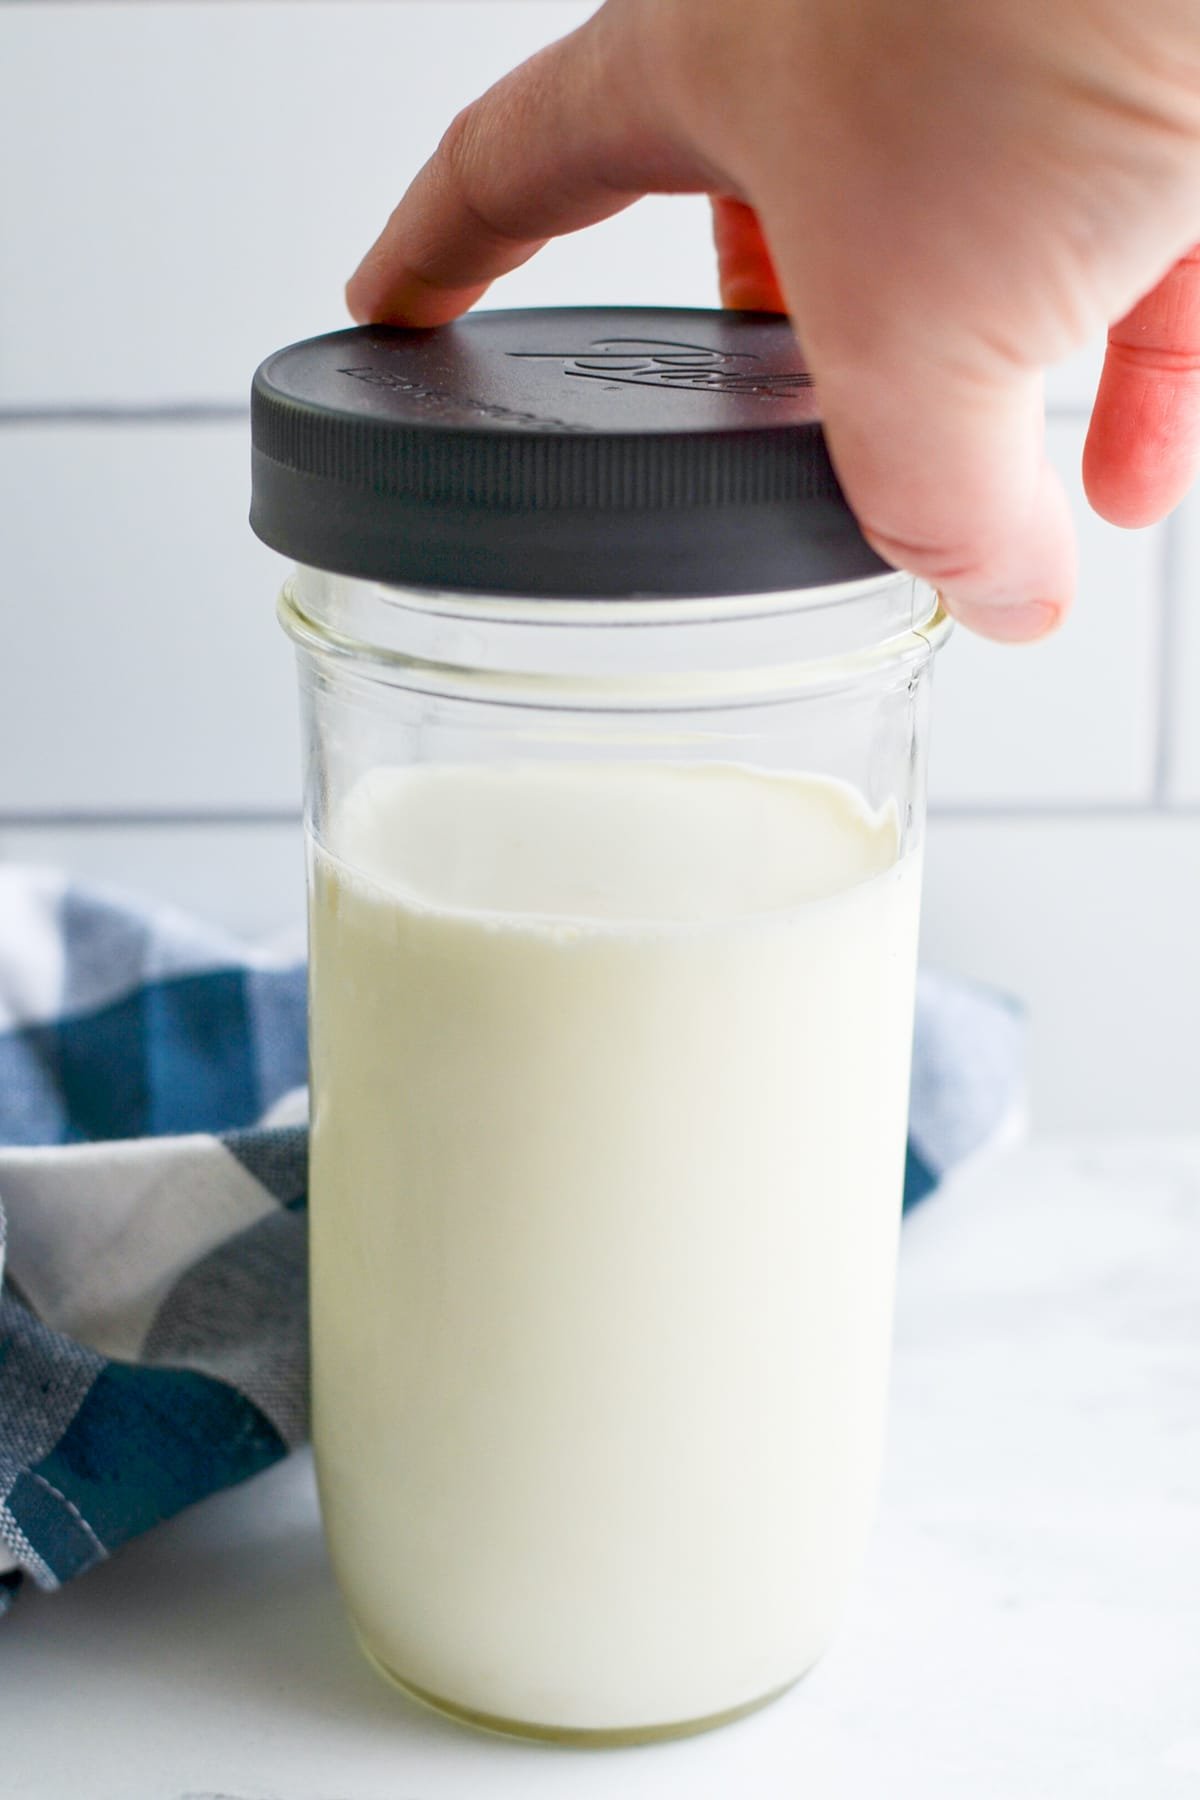
- Add 2 teaspoons of active kefir grains to a clean glass jar for ever 1 cup of milk you plan on using to make kefir.
- Pour in the amount of milk necessary, and stir gently with the end of a wooden spoon.
- Top the jar with a plastic lid, or a coffee filter secured with a rubber band.
- Place in an area where it can go undisturbed for 12-48 hours.
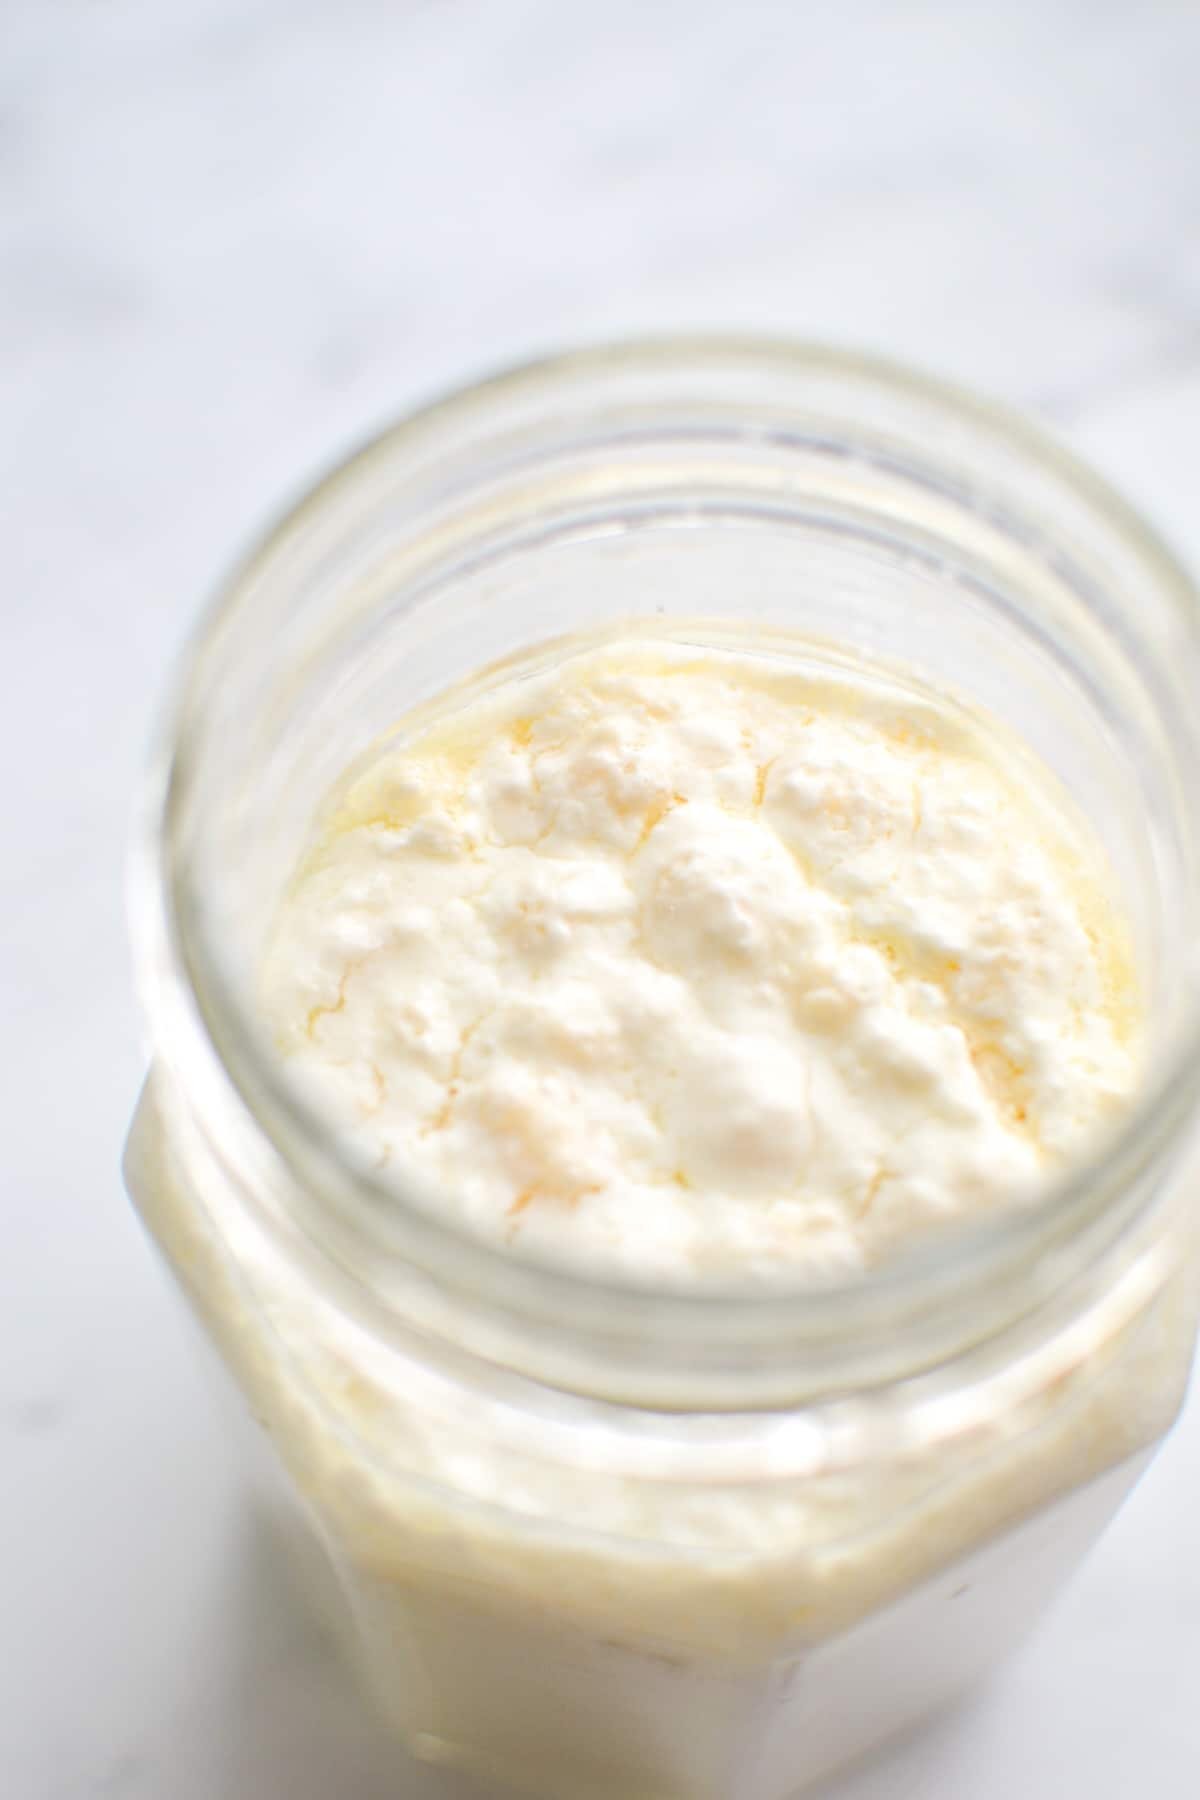
- Allow your milk and grains to culture until the milk is thickened and pockets of whey begin to form; approximately 12 hours in the Summer and up to 48 hours in the cool winter.
Allowing to Culture AKA Ferment
Allowing the milk and grains to rest on the counter for 12-48 hours is part of what is referred to as a culturing or a fermentation process. The two terms are used almost interchangeably, but "culturing" indicates that there is a presence of an existing culture (as is the case with ferments like kombucha, water kefir, and yogurt). Fermentation can also take place without the presence of an existing culture (like with sauerkraut, or singular fruit and vegetable ferments).
Signs of a Successful Fermentation
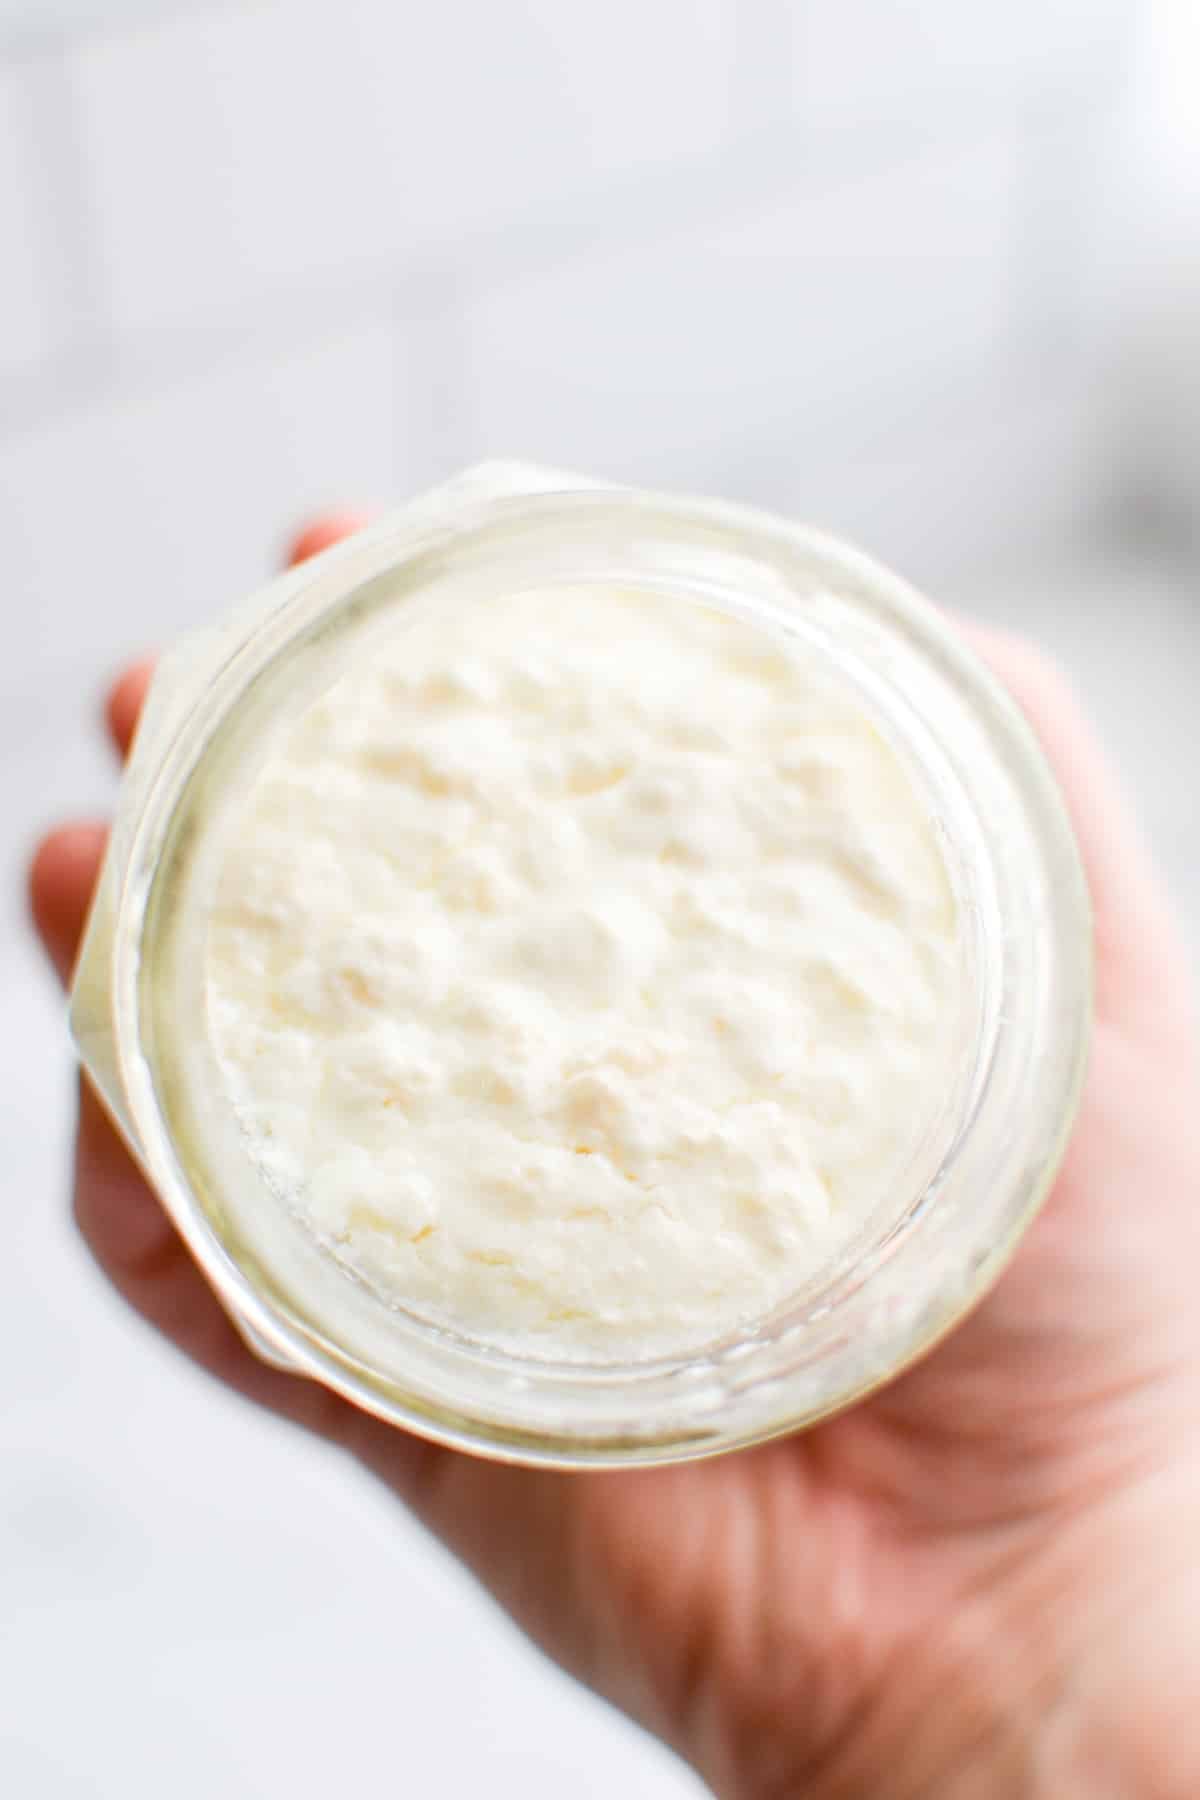
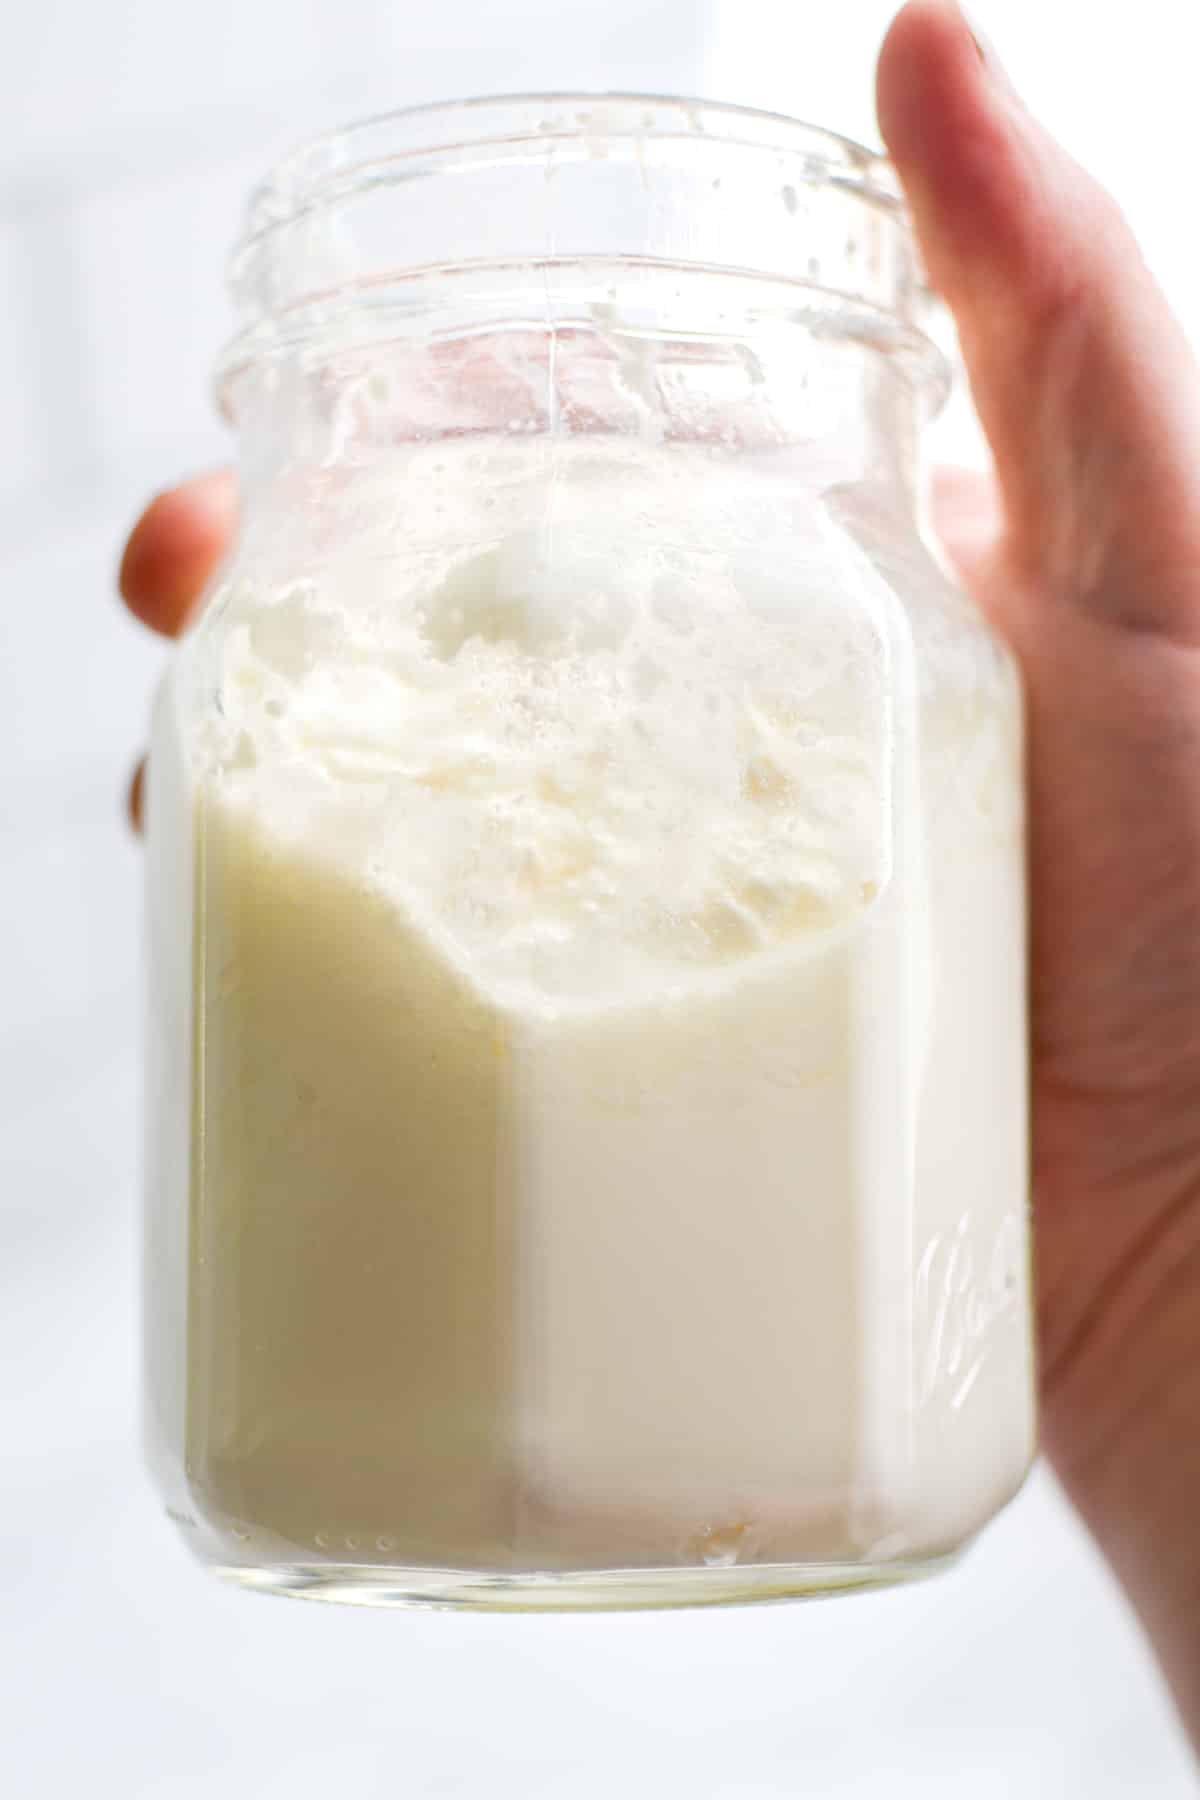
- A thickened texture that "jiggles" when you gently shake the jar.
- Small pockets of whey.
- A pleasantly sour smell.
- The consistency is similar to that of a drinkable yogurt, rather than liquid-y like the original milk.
If you do not notice signs of fermentation in your milk kefir, stir it gently, place the lid back on, and allow to ferment until it begins to thicken. If 48 hours passes and your kefir still hasn't thickened, your cultures may not be active. You will need to try with fresh kefir grains (or continue in the activation process if you purchased them dry).
Another problem could be the ambient temperature of the home. If it is far too cold (below 65ºF) or too hot (above 85ºF), the culture make not be able to work successfully. Try adjusting the temperature and try again with fresh milk.
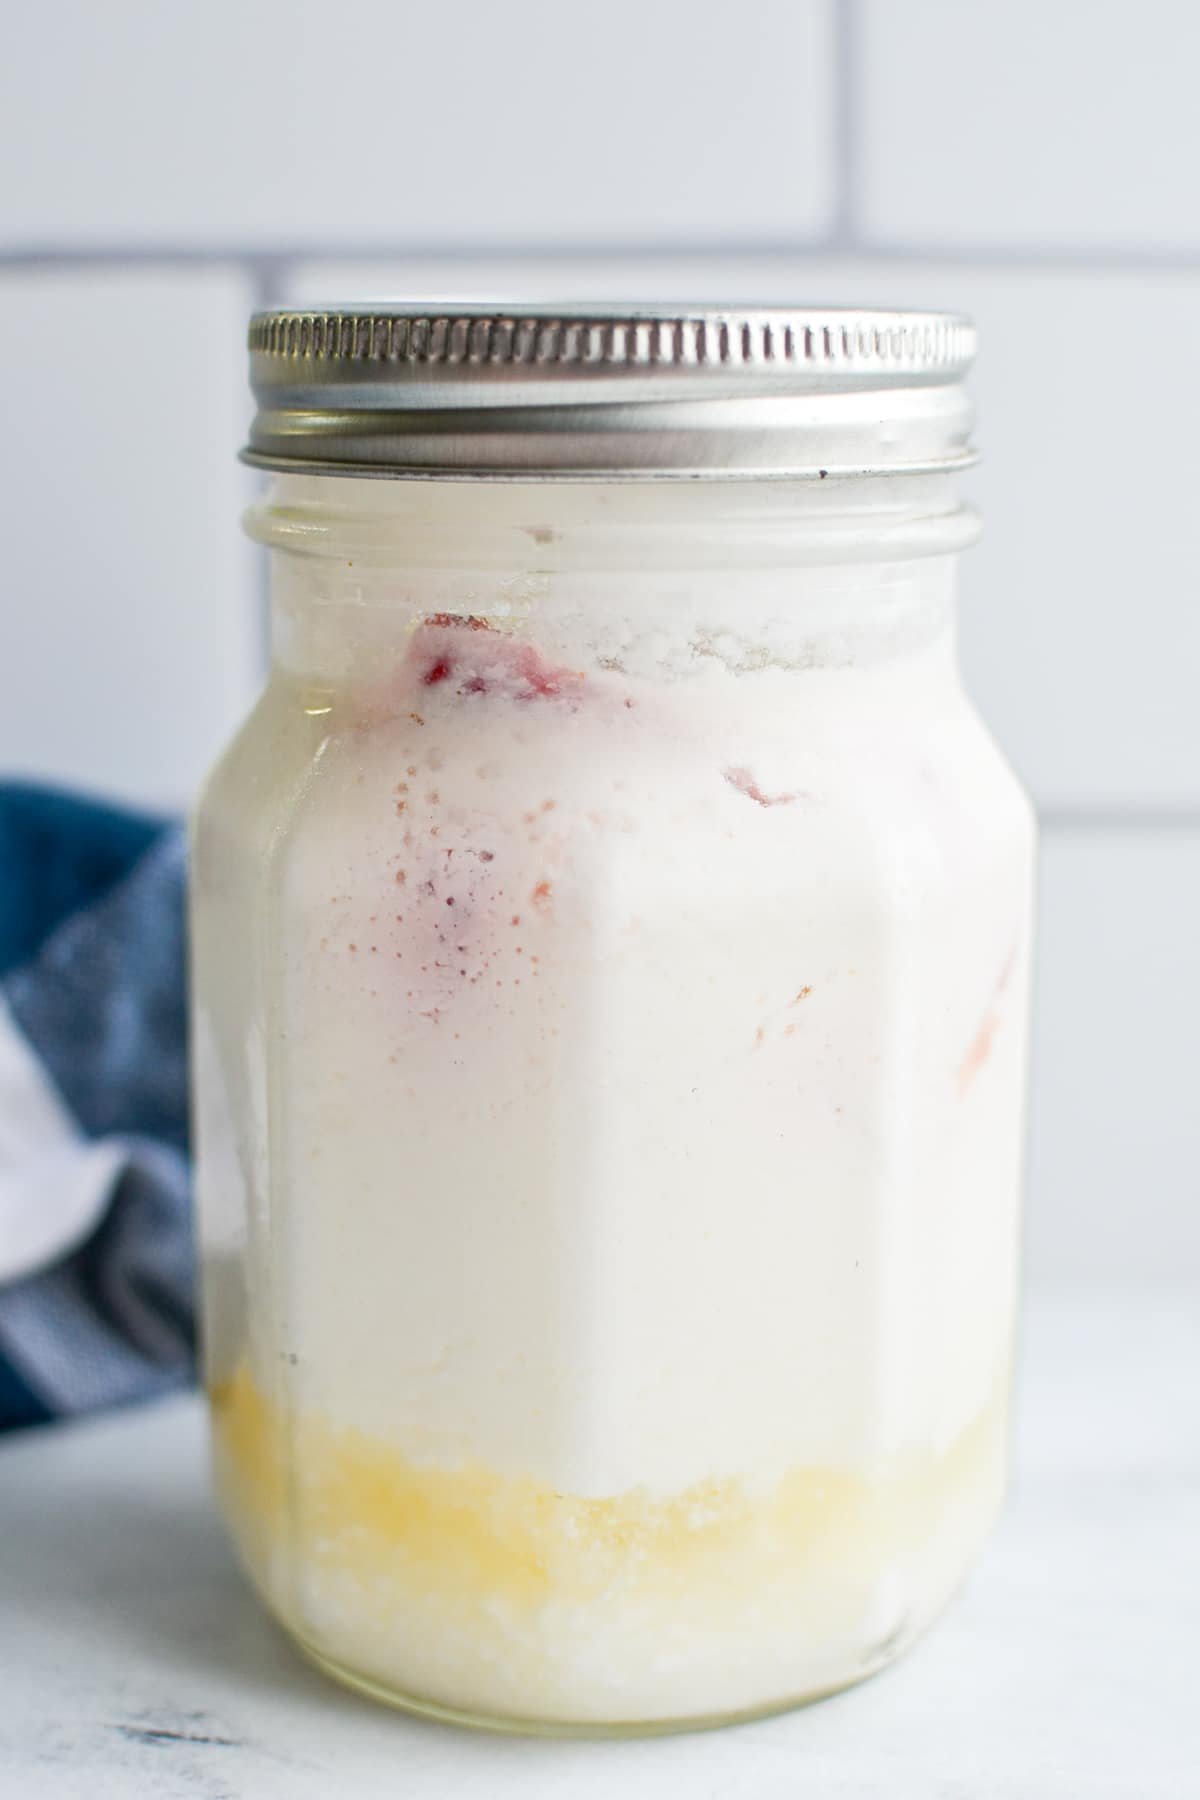
Signs of Over Fermentation
- A clear line where the milk and whey are separate .
- Very large pockets of whey (a yellow tinted liquid).
- A very strong sour smell.
Note that kefir that has been over fermented is generally still safe to drink, it just fermented too quickly or you left it for a bit too long. Next time, try a shorter fermentation time OR a lower ratio of grains to milk.
You can still drink your over fermented kefir, just give it a good shake to blend it again and use in something like a smoothie where the more sour taste can easily be covered.
Straining Finished Milk Kefir
Once your kefir has fermented, you will need to strain it in order to reserve the grains for the next batch. The easiest way to do this is with a plastic strainer set over a measuring cup or bowl. You can also use nut milk bags, or special jar strainers that are made specifically for straining kefir.
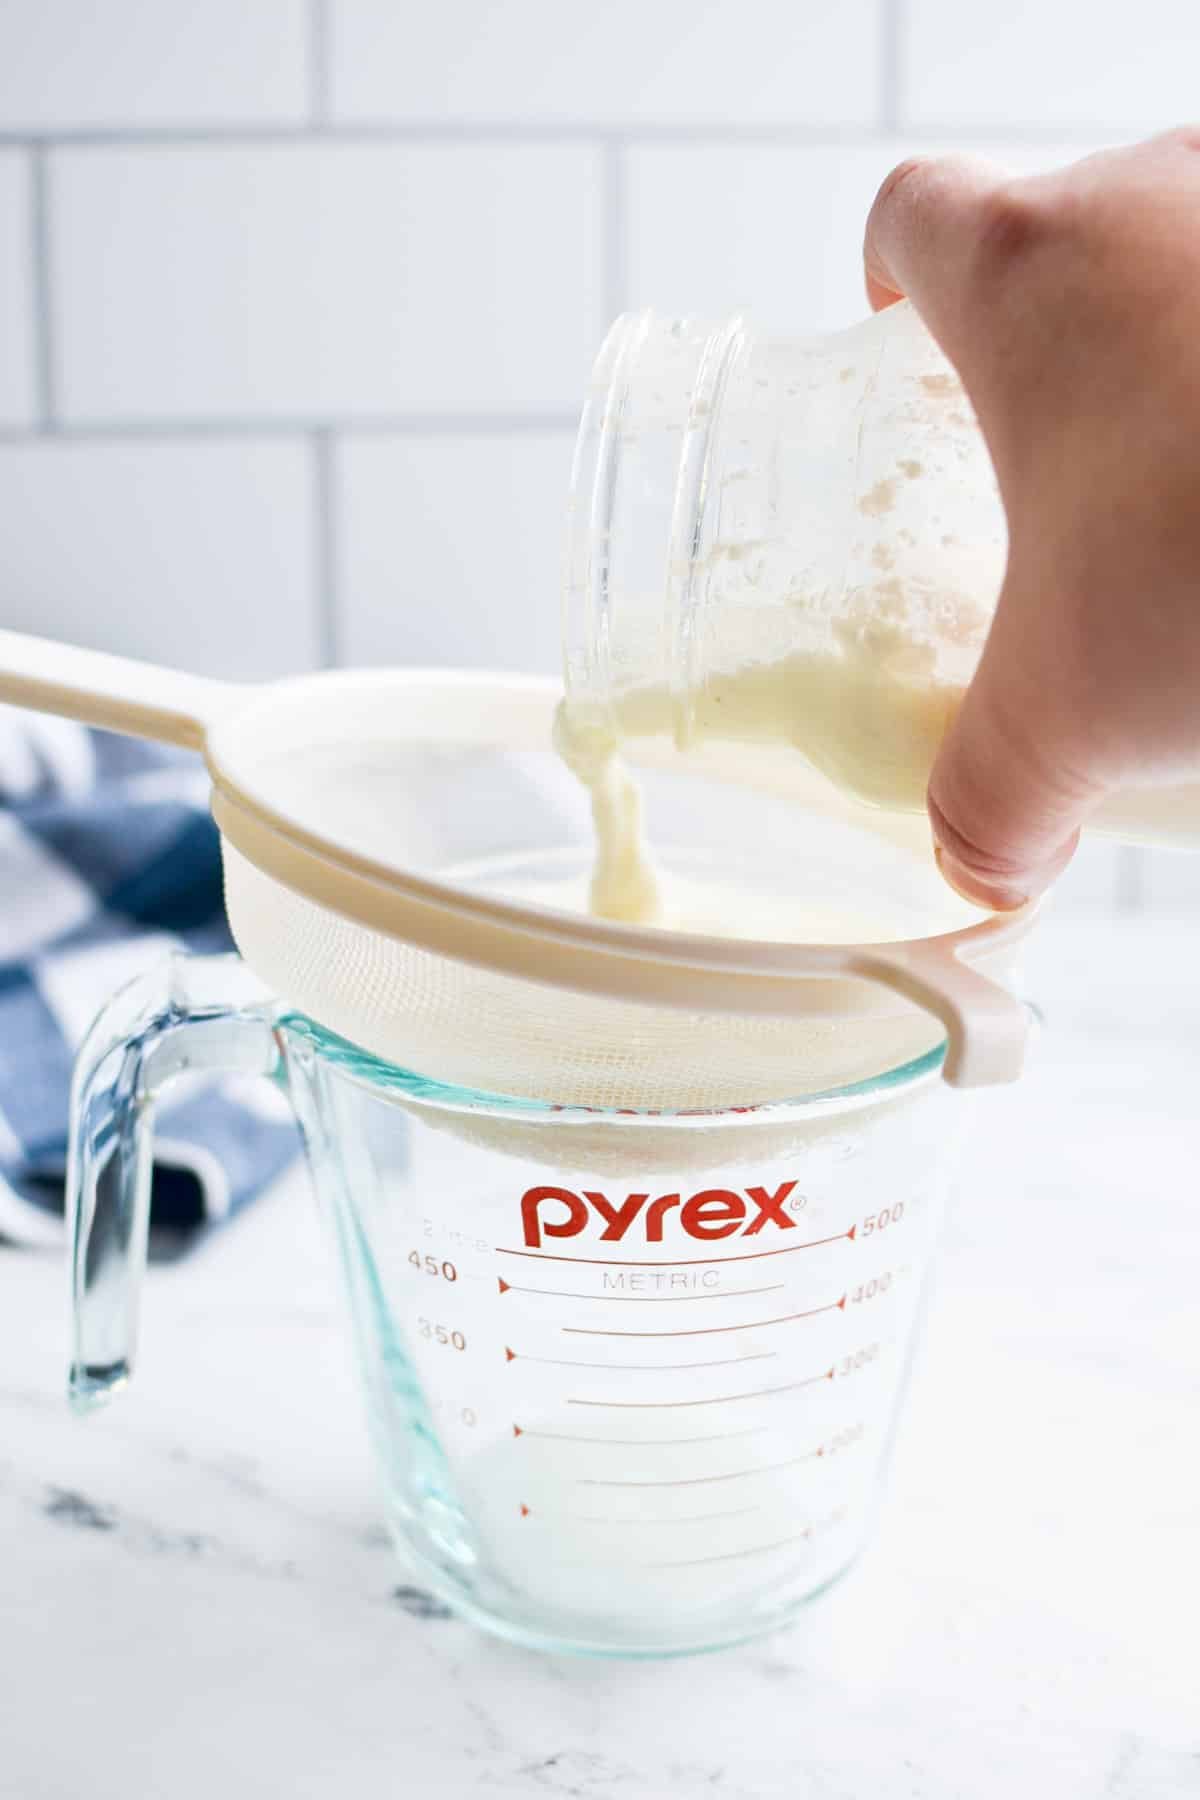
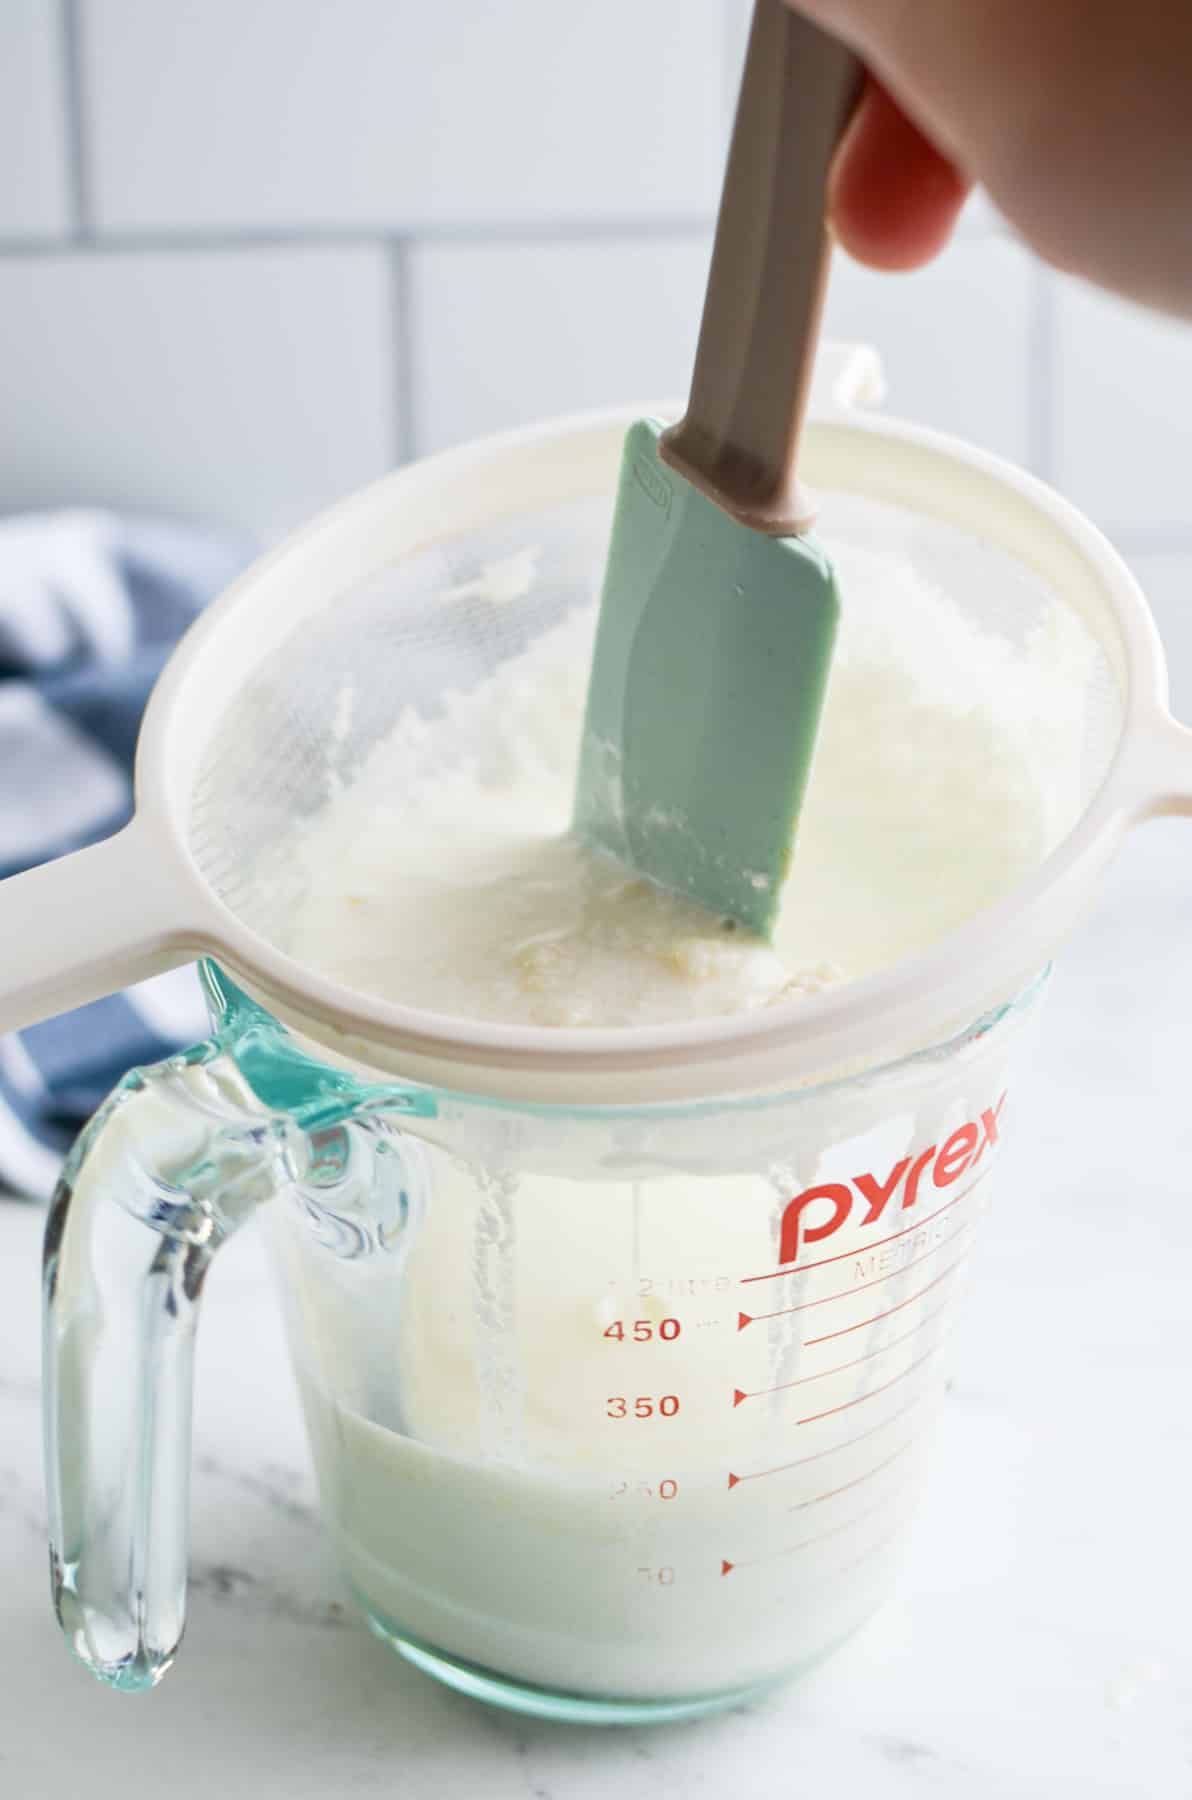
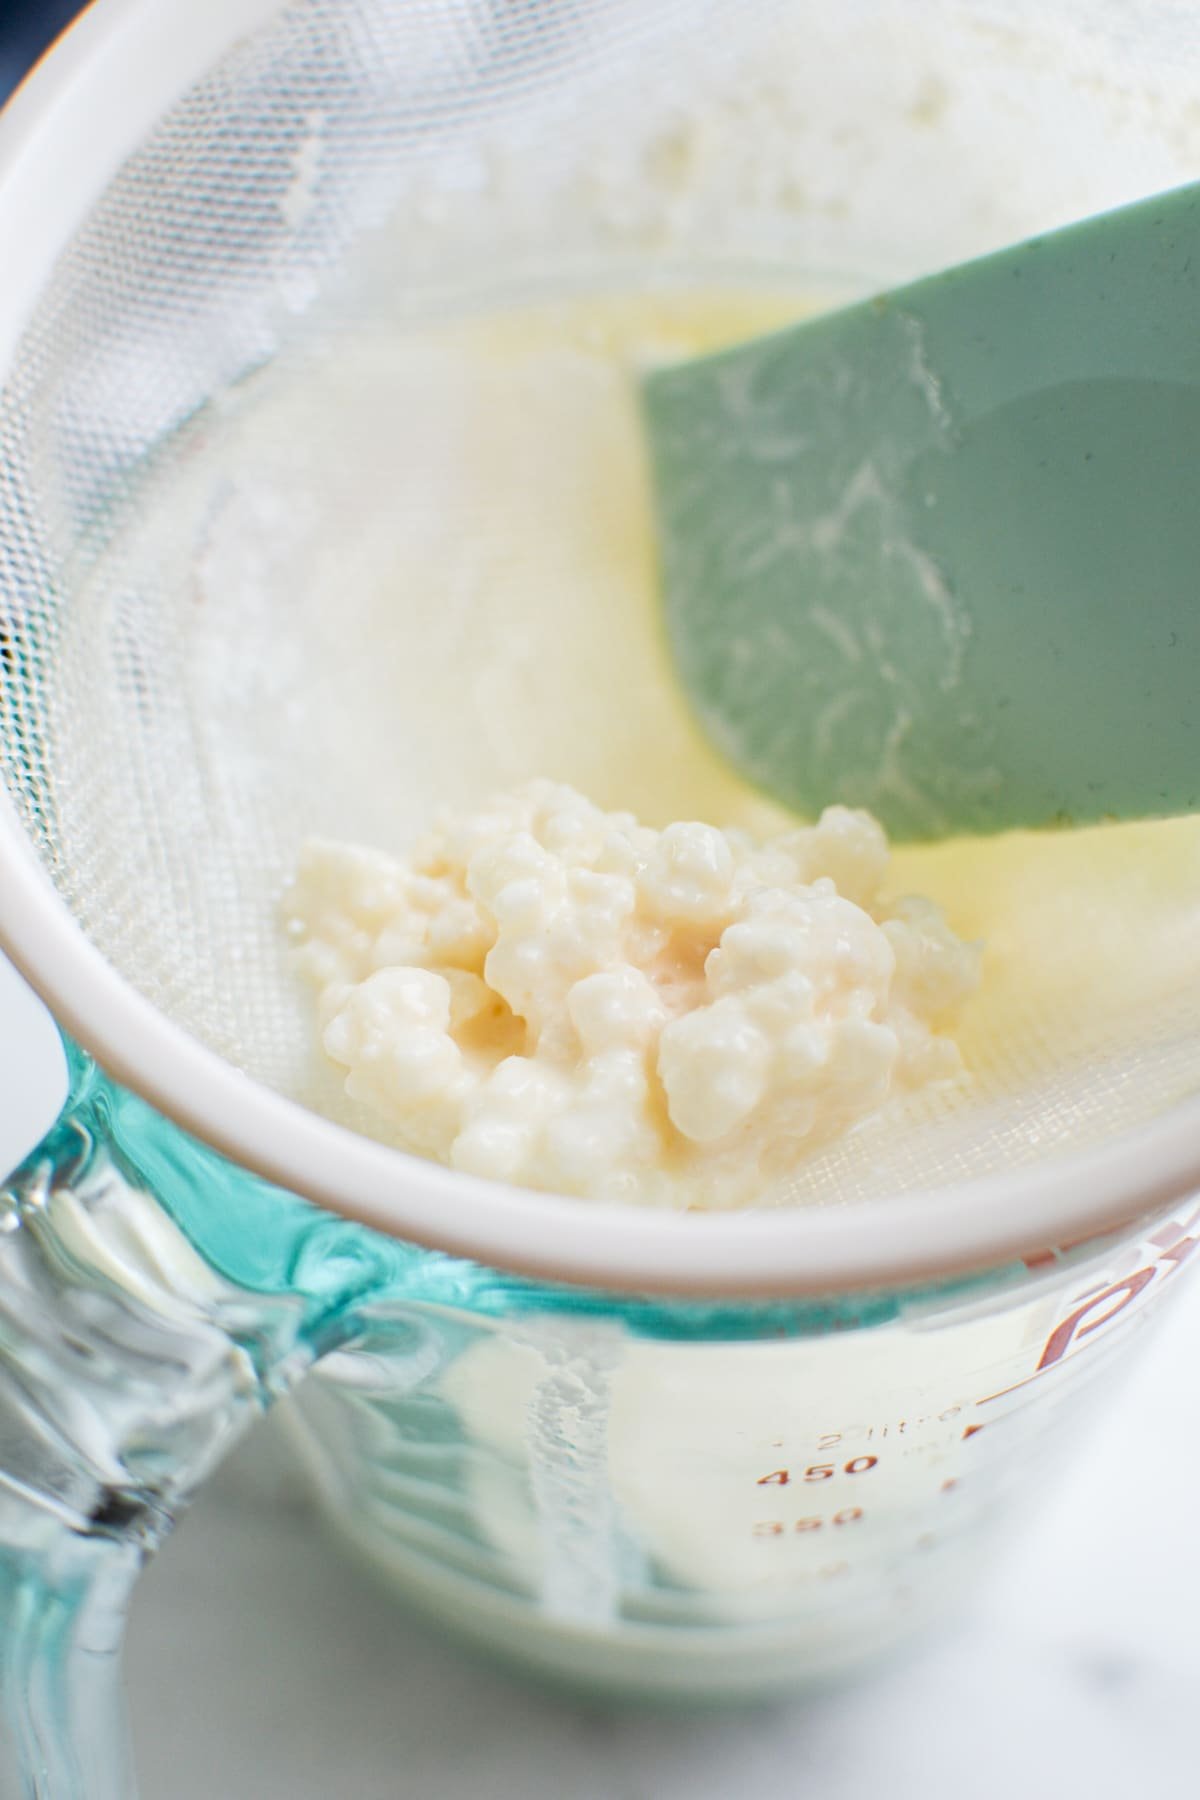
- Set a fine mesh strainer over a bowl or a measuring cup with a spout.
- Pour the cultured milk kefir into the strainer, a bit at a time.
- Use a silicone spatula or wooden spoon to move the grains and the liquid, encouraging the thickened milk kefir to catch below.
- Continue adding the kefir, a bit at a time, until all of the kefir has been strained.
- The grains in the strainer can be used to start a new batch of milk kefir.
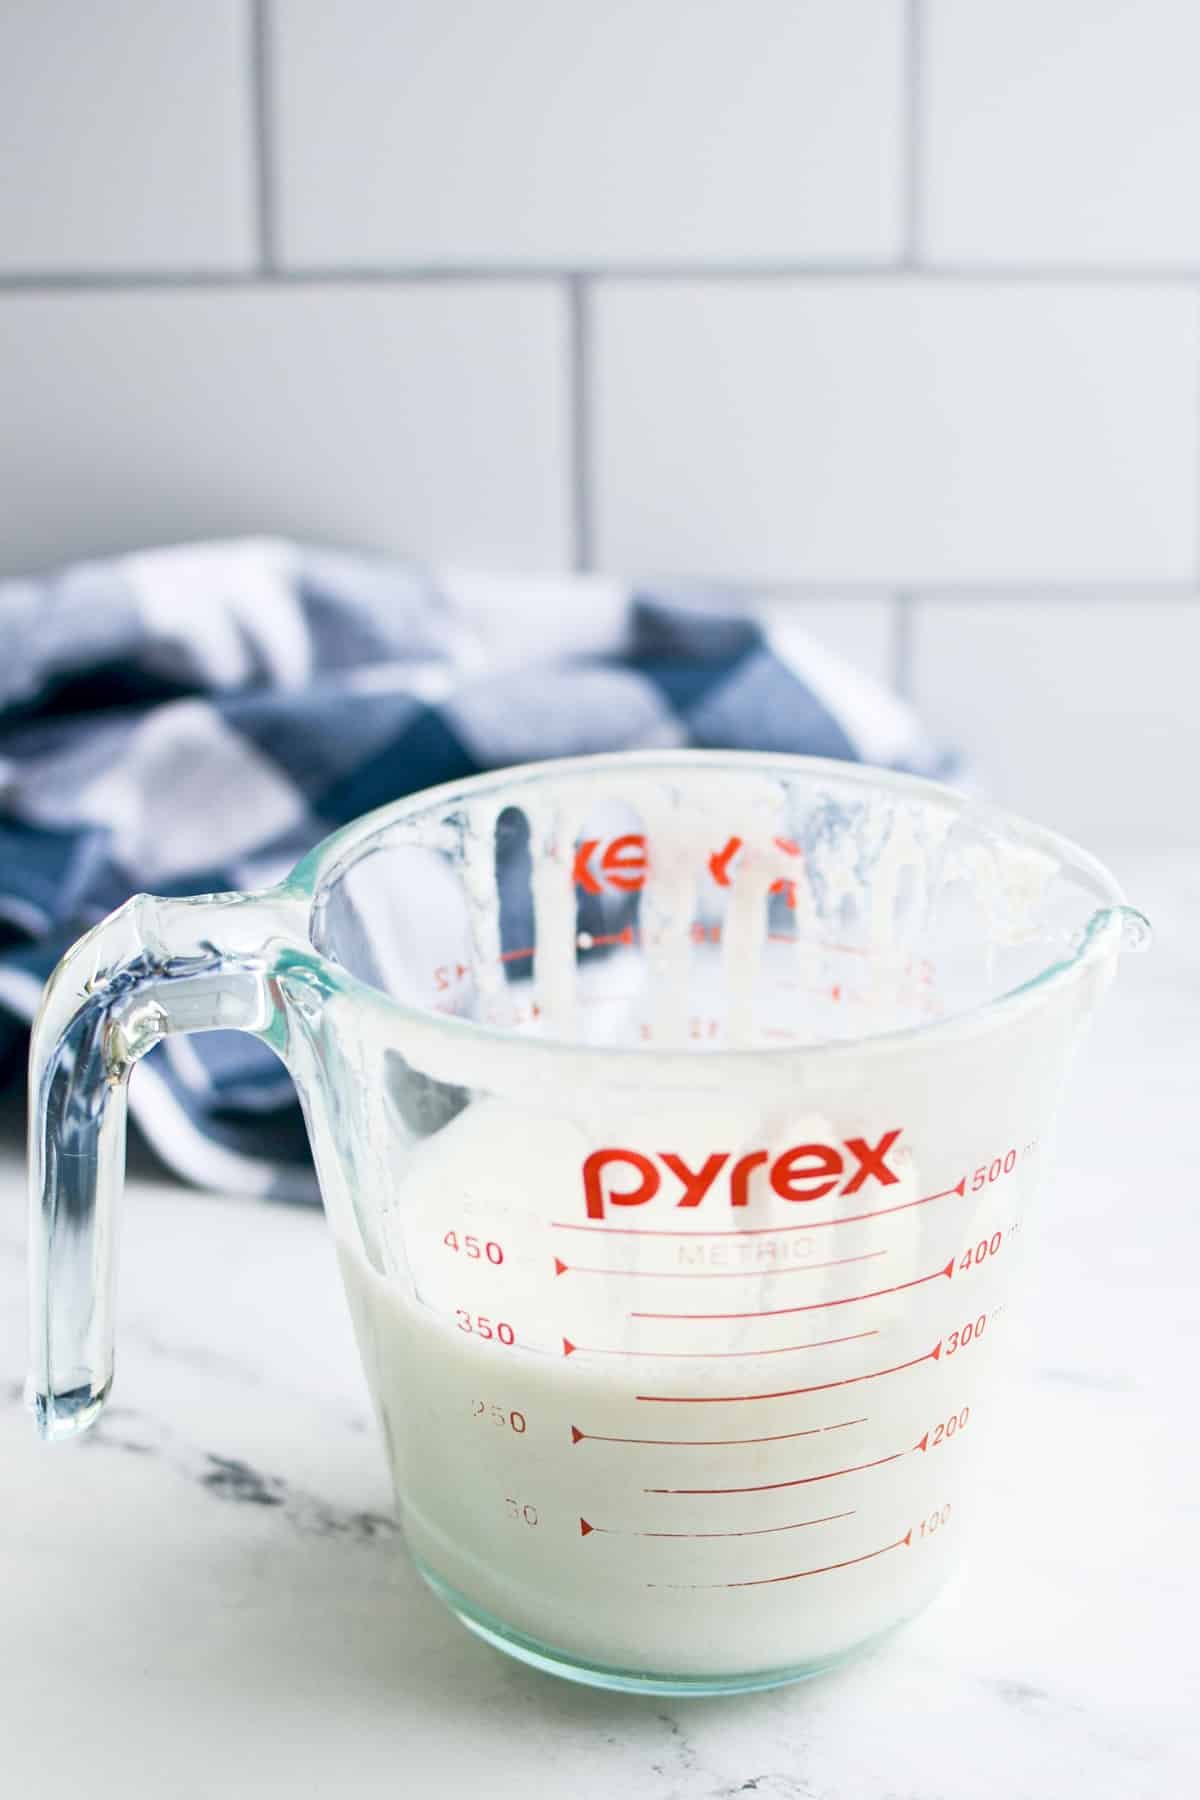
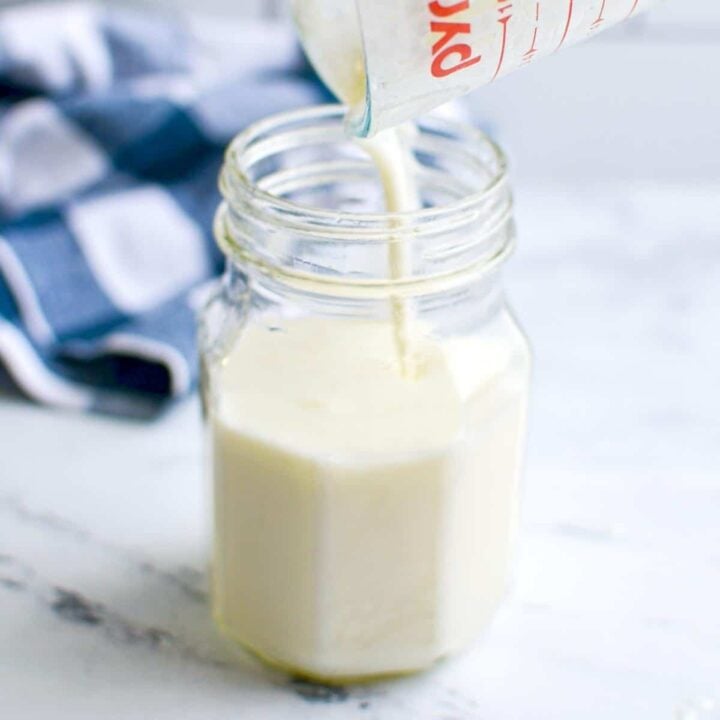
- The finished kefir caught in the bowl or measuring cup should be transferred to a clean jar and stored until you're ready to use, OR you can do a double fermentation to add flavor OR reduce the overall milk sugars.

Starting the Next Batch
Now that you've made your first batch of kefir, you're ready to use the grains to make a second batch. You can either store those grains in the fridge covered with milk until you need them again, or make your second batch right away.
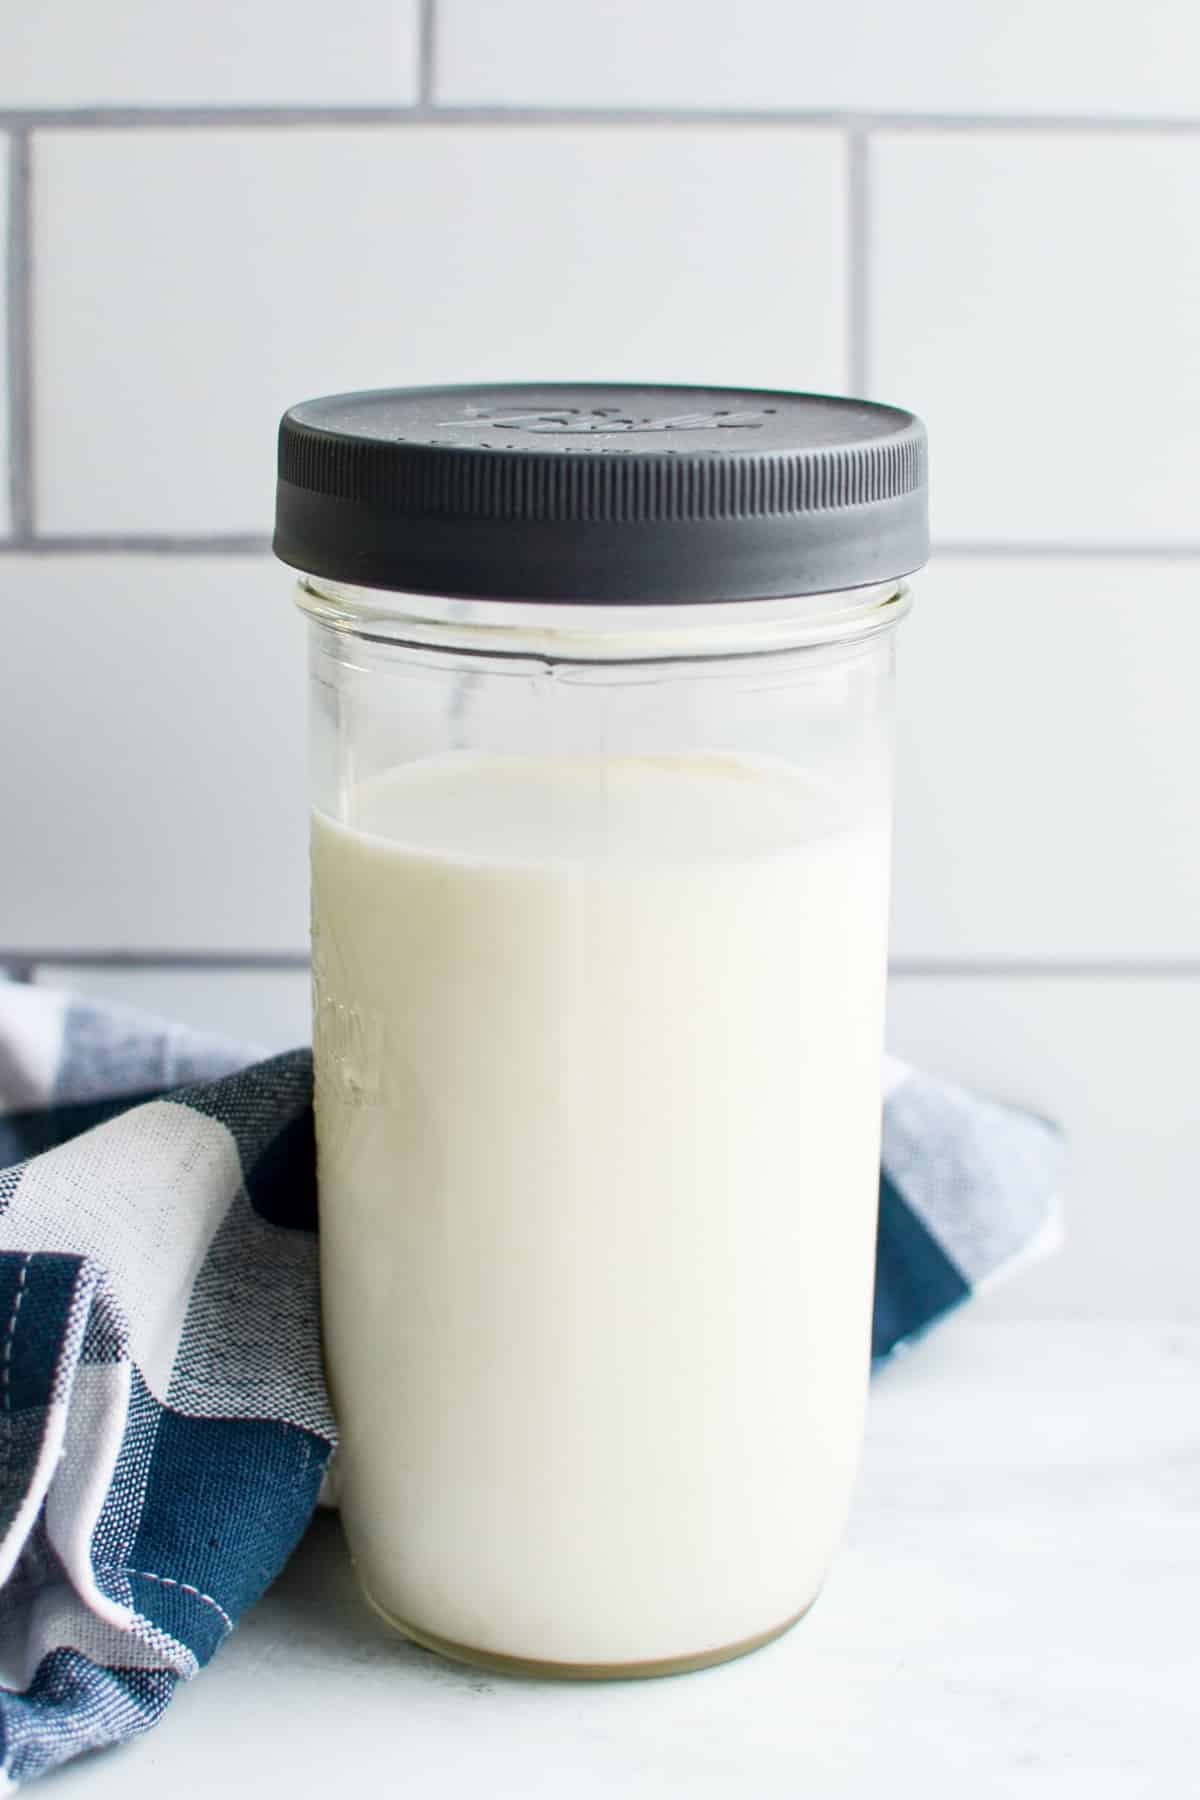
How to Make a New Batch of Kefir:
- Add your reserved kefir grains from the last batch to a clean glass jar.
- Pour in the amount of required milk (remember, 2 teaspoons of grains for every 1 cup of milk).
- Stir gently with a wooden spoon.
- Place a lid on the kefir, or a coffee filter secured with a rubber band.
- Allow to culture at room temperature for 12-48 hours, or until thickened.
- Strain the kefir, reserving the grains for the next batch.
- Repeat.
How to Store Kefir Grains When Not in Use
When the grains are not actively fermenting milk for use as kefir, they should be kept in the fridge with a good quantity of milk to cover them. This will provide enough "food" for them for 1-4 weeks (depending on how much milk and how established your grains are), after which time you would take them out and add them to a fresh batch of milk for making into milk kefir.
During the winter season, kefir takes a longer period of time to ferment the milk, and so you may not need to store the grains like you would in the summer months when it is warm and the milk is fermenting quickly. It takes approximately 48 hours for a first fermentation to occur, so if you like to use kefir often, you may not need to store your grains during the winter at all.
How to Choose the Best Milk for Making Milk Kefir
One of my favorite things about making milk kefir at home is that I can use whatever milk I have on hand. While there are some exceptions, most store bought milk can be used with ease and success. You can even use coconut milk for a batch or two, so long as you refresh your grains with batches of milk kefir in between.
Milks you Can Use for Making Milk Kefir:
- Raw Cows Milk
- Raw Goats Milk
- Unhomogenized Cows Milk
- Pasteurized Cows Milk
- Pasteurized Goats Milk
- Coconut Milk (no additives or sweeteners, with kefir batches every so often)
Milks that are Not Suitable for Making Milk Kefir:
- Ultra-pasteurized Cows Milk
- Ultra-pasteurized Goats Milk
- Almond Milk
- Cashew Milk
- Soy Milk
- Oat Milk
Ultra-pasteurized milks are not common in my area, unless they are a shelf-stable milk product. I have heard that they are more common elsewhere, and particularly with organic milks intended for a longer shelf life since they have to be transported from further distances. If you cannot find on the package at what level the milk was pasteurized, you may try e-mailing customer service and inquiring there before using the milk to make kefir. Ultra-pasteurization prevents the culture from working, since it is a basically sterile product.

Kefir Fermentation FAQ's
Yes, it's generally totally fine to drink over fermented kefir. Just give the container a good shake, and use in recipes where its more sour taste can easily be covered up (like fruit smoothies).
If kefir shows any signs of spoilage such as mold, an off color, or a strong odor (although a sour smell is fine), discard it.
Kefir generally ferments for as little as 8 hours, or all the way up to 48 hours. It can also be double fermented for an additional 24 hours, meaning it can be fermented for as long as 72 hours.
You will know your kefir is done fermenting when it has thickened to a drinkable yogurt consistency and very small pockets of whey have begun to form. It should also have a pleasant sour smell.
More Kefir Guides and Troubleshooting
Favorite Recipes That Use Kefir
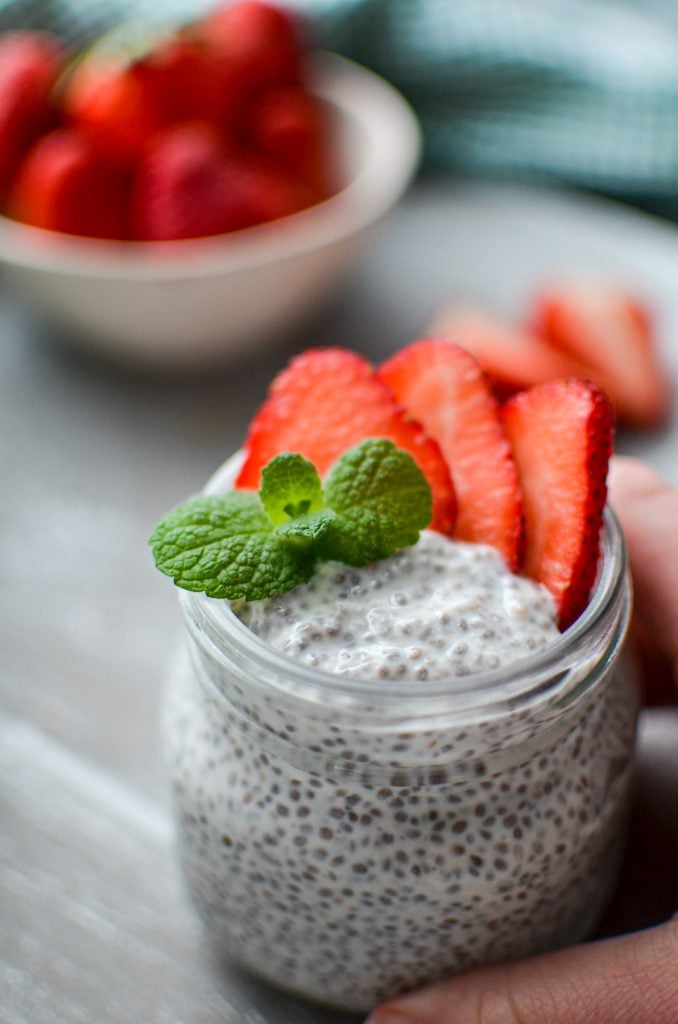
- Kefir chia pudding
- Kefir overnight oats
- Strawberry Kefir Smoothie
- Kefir Green Smoothie
- Mango Kefir Smoothie
- Blueberry Oatmeal Kefir Smoothie
- Banana and Peanut Butter Kefir Smoothie
How to Make Kefir
Making your own probiotic-rich milk kefir is easy. Just 2 ingredients and minimal equipment will set you well on your way to make delicious kefir at home.
Ingredients
- 2 cups milk
- 4 teaspoons active kefir grains
Instructions
- Place your active kefir grains in a clean, pint-sized glass jar.
- Add 2 cups of milk and stir with a wooden or plastic spoon.
- Cover your jar with either a lid, or a doubled-piece of cheesecloth secured with a rubber band.
- Let the milk ferment on your counter, in a slightly warm spot, for 12-48 hours. The kefir is ready when pockets of whey start to appear, and the milk has thickened considerably.
- Set a fine mesh strainer over a small glass bowl or measuring cup. Pour the fermented milk kefir into the strainer and use a plastic or wooden spoon to push the kefir through the strainer, leaving the grains behind.
- Reserve the grains for your next batch of milk kefir.
- Pour the finished milk kefir into a new clean glass jar and top with a plastic lid. You may store the milk kefir in the refrigerator for later use, or you may proceed with a second fermentation.
- For a second fermentation, place the covered milk kefir in a warm spot on your counter for another 12-24 hours. Secondary fermentation further reduces the milk sugars, and may help those who are slightly sensitive to dairy or lactose (although not for those who have allergies or intolerances). A secondary fermentation helps mellow the flavor as well.
- If you opt for a second fermentation, store your milk kefir in the fridge after the second fermentation.
- Use your grains at a ratio of 2 teaspoons for every 1 cup of milk for further batches. Store in the fridge covered with fresh milk when not in use.
Notes
Homemade milk kefir can be stored at least as long as the milk that was used in the fermentation process. I find my milk kefir lasts a very long time, and I don't recall a batch that really went bad yet according to the "smell test", but you must use your own discretion. For the safest option possible, be sure to drink the milk kefir by the expiration date of the milk you used. And of course, if anything seems off to you, don't drink it!
Nutrition Information:
Yield: 2 Serving Size: ½ of RecipeAmount Per Serving: Calories: 240Total Fat: 13gSaturated Fat: 8gTrans Fat: 0gUnsaturated Fat: 4gCholesterol: 38mgSodium: 195mgCarbohydrates: 18gFiber: 0gSugar: 18gProtein: 13g
Nutrition information is an estimate only.
Please note that some of my blog posts here at Little Home in the Making may contain affiliate links. If you make a purchase through these links, I will get a small commission at no additional cost to you. See our disclaimer for more information.





Robin
I saw you stir the whey
Back into the kefir milk. I have found pouring out the whey make the kefir milk less bitter. But am I also loosing much of the goodness in the finished product if I do this?
Thanks
Dolly
I stir the whey back in, and don't mind the flavor, but it's definitely a matter of preference! If you catch your kefir at the right time, you will see very little whey separating, and you may find the flavor more pleasant!
Mary
I saw that you mentioned you can store kefir grains in the fridge covered with milk and that should be good for 4 weeks worth of food for them. what should I do if I let them sit much longer than 4 weeks? they aren't showing signs of being bad, but are they starved? do I need to just replace them?
Dolly | Little Home in the Making
Hi Mary! I have definitely left mine for longer than 4 weeks and they have been completely fine, but it's definitely a case by case basis. If there are no signs of spoilage you can strain them and start a new batch (although they may be weak for their first couple batches). I like to rinse off the grains with cold running water to gently remove any remaining milk.
John
Happy new year.
I have not found any instructions on how to MAKE kefir grains. Is it possible?
Dolly
Hi John! Before purchasing kefir grains I had tried to see if I could make them first, and to no avail. The good news is, once you have them they will grow exponentially (especially in warm weather), and are simple to maintain. I'm going on well over 5 years now and I've never had to replace my grains, even with some pretty bad neglect on my part a time or two.
rhonda
gonna try. Where do I get kefir grains?
Dolly | Little Home in the Making
You can find them on Amazon, Cultures for Health, and sometimes locally on Facebook Marketplace.
Mandy
what brand kefir grains do you recommend to start?
Dolly | Little Home in the Making
You might be able to source some locally (check marketplace), which is what I had the most success with. If you're purchasing grains they will come dehydrated and will need some reviving, which can be a bit difficult. A company like Cultures for Health always includes detailed instructions with their cultures, so I recommend that if it's available to you.