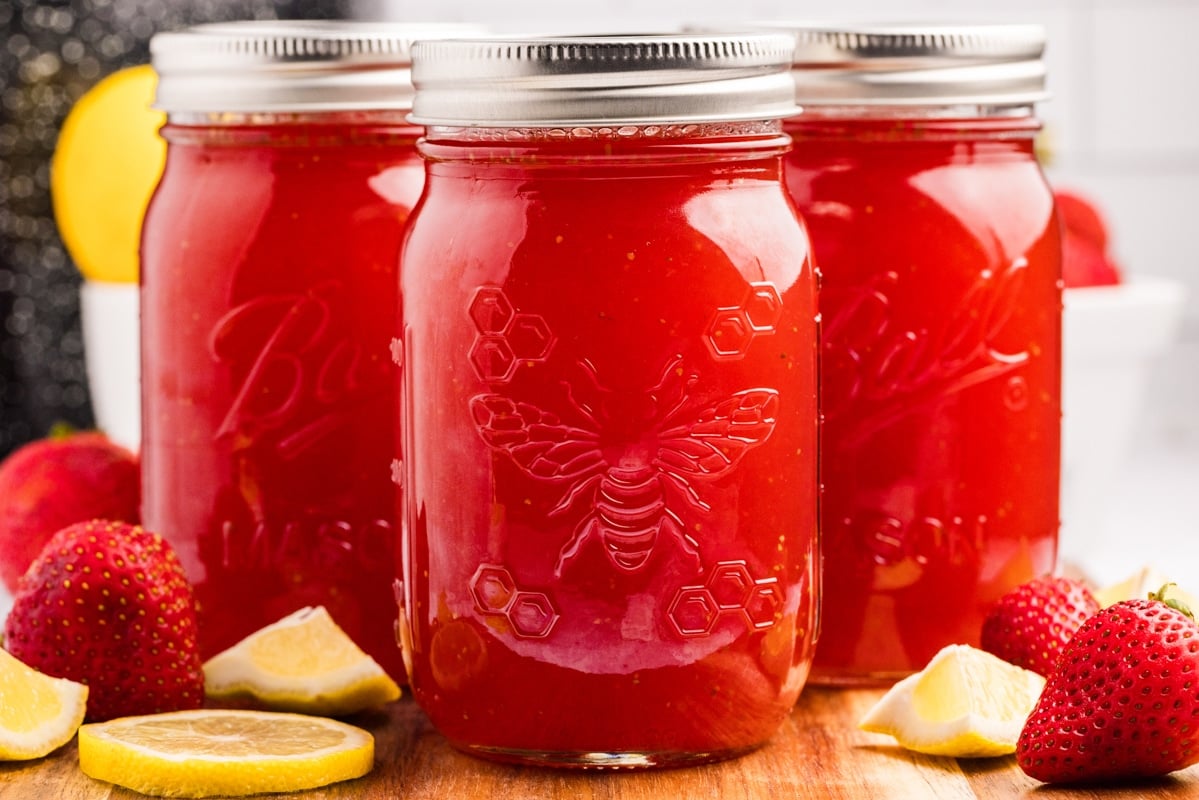
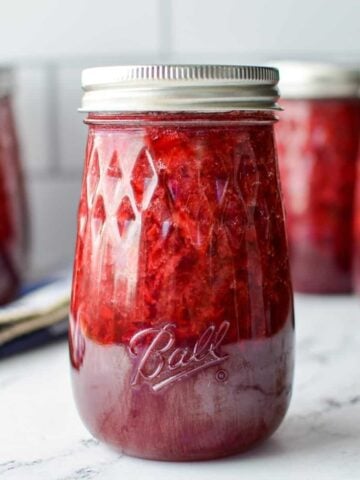
This simple recipe for strawberry lemonade concentrate is perfect for water bath canning, but it can be frozen if you prefer! Made with just 3 simple ingredients, you'll be ready to enjoy the fresh flavors of Summer all year long.
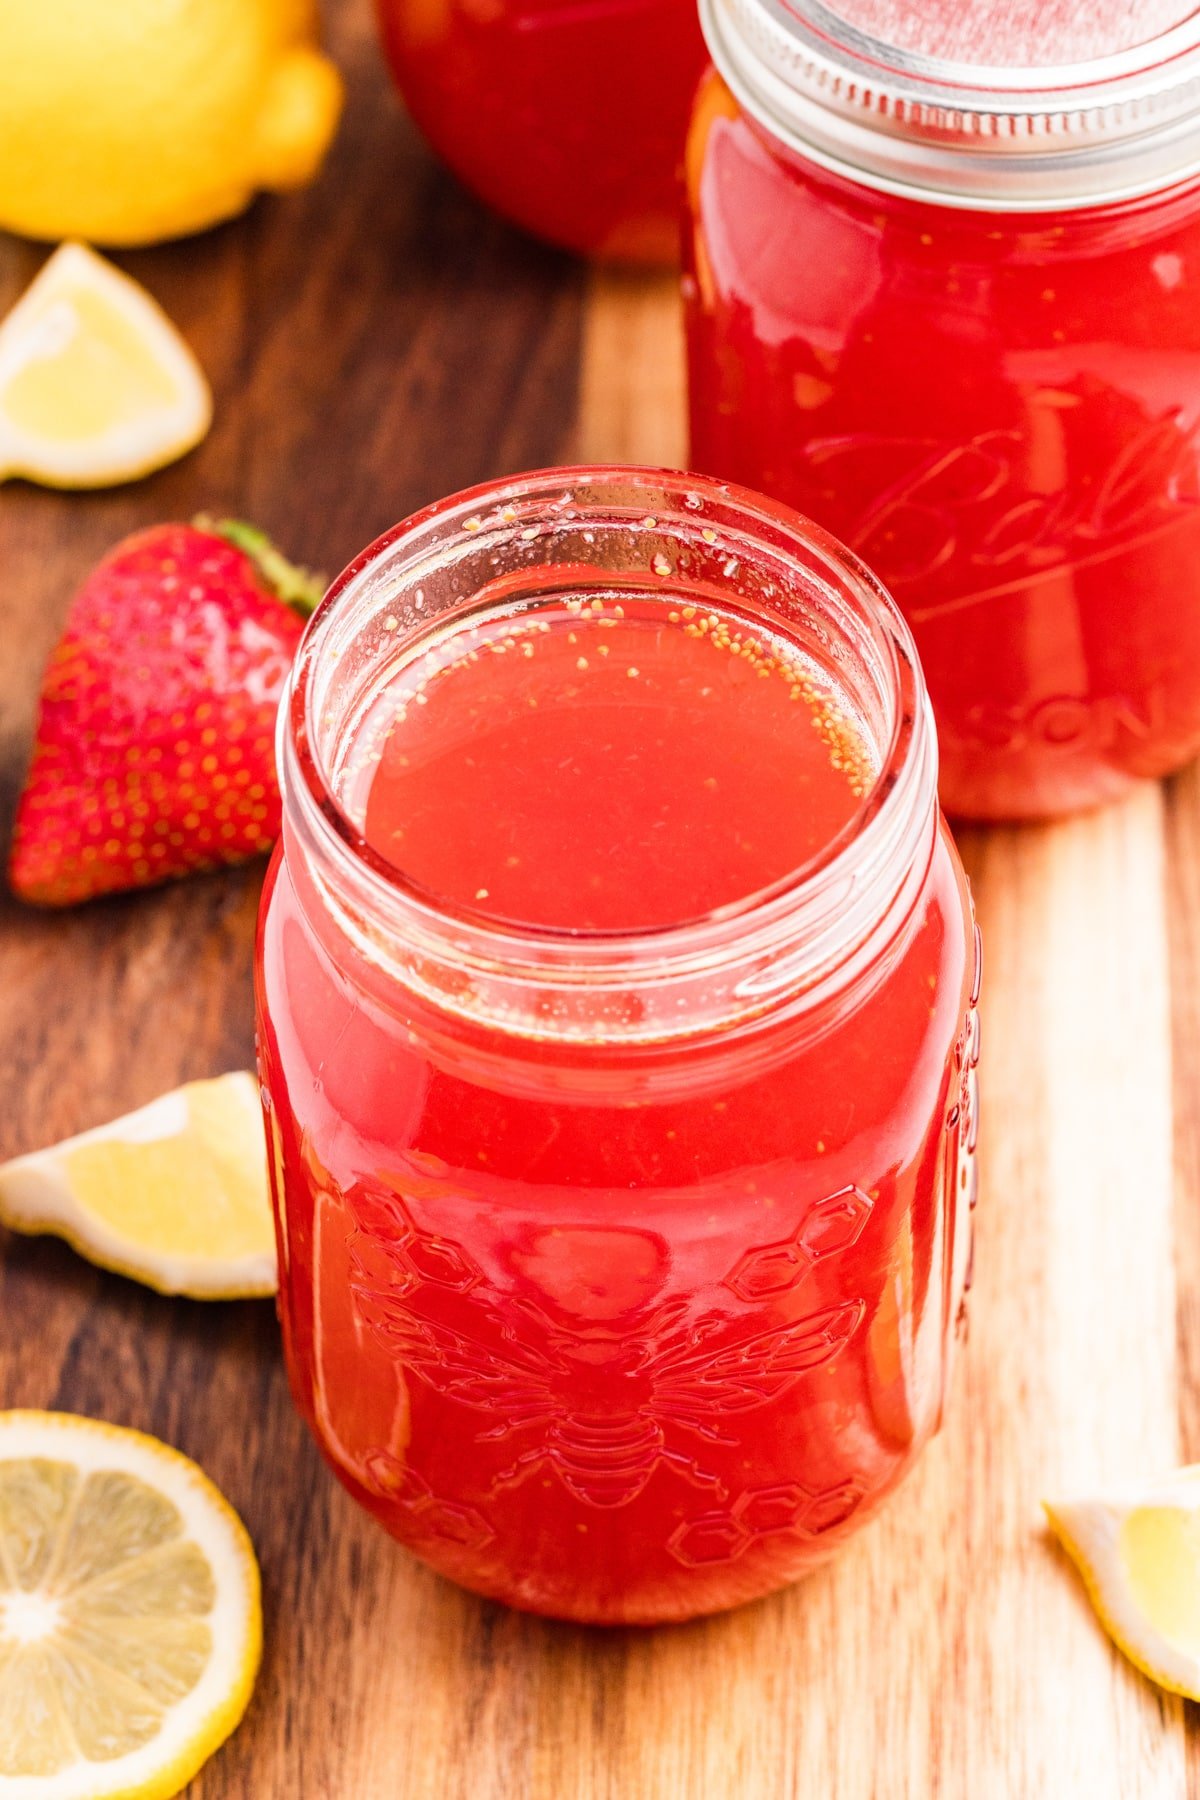
One of my favorite things to can every single year is this easy recipe for strawberry lemonade concentrate. It offers a much-needed break from multi-step recipes, and brings a sense of freshness and fun to my food storage.
Canning strawberry lemonade concentrate is simple enough for beginners, and requires no special ingredients (like pectin, Clear Jel, etc).
It's so easy, and there is nothing quite like enjoying a refreshing glass of your very own strawberry lemonade you prepared the previous year. I just know you're going to love it as much as we do!
Why You'll Love This Recipe
- No straining or jelly bag needed. Meaning there is minimal mess AND minimal work. Win win!
- Safe for water bath canning. Since this recipe is high acidity it can be canned in a boiling water bath canner. No pressure canner needed!
- Just 3 simple ingredients! Strawberries, lemon juice, and sugar - that's it - no pectin, Clear Jel, or other special ingredients.
- A fun canning project. While strawberry jam, pickles, and beets are the cornerstone of any canners pantry, this recipe is something fun and different to add to your collection!
Ingredients

- 6 cups hulled strawberries: These should be fresh, free from blemishes, and have the green tops removed.
- 6 cups sugar: Granulated sugar (either white or organic). Since this is a recipe intended for canning, do not substitute the sugar for honey, maple syrup, sweetener, etc.
- 4 cups bottled lemon juice: Always use bottled lemon juice (never fresh - unless stated in the recipe). Bottled lemon juice has to meet certain criteria for acidity, while freshly squeezed juice varies in acidity. Acidity is an important component of safe canning.
Tools & Equipment
- Water bath canner (also known as boiling water canner)
- Canning jars, lids, and rings (pint-sized jars - 500ml)
- Blender (or food processor)
- Magnetic lid lifter (optional)
- Headspace checker (optional - can use a clean ruler)
- A debubbling tool (a clean butterknife or chopstick works well)
- Stock pot (or Dutch oven)
- Wide-mouth funnel (optional)
- Ladle and whisk
- Thick kitchen towel
If you want more information on the specific tools, check out my post on essential water bath canning supplies.
Before You Get Started: Canning Prep
- Wash all the jars, lids, rings, and canning equipment with hot, soapy water. Rinse well.
- Fill the water bath canner with water and bring to a boil.
- Add the canning jars to the boiling water and sterilize for at least 5 minutes.
- Turn the heat to low and allow the jars to rest in the hot water until you're ready to use them.
- Sterilize the rings (optional) in boiling water for 5. Then lower the heat and allow to rest in hot water until needed.
- Warm the canning lids in hot water (not boiling) until needed. I recommend adding them to the pot you used to sterilize the rings, only after the boiling time is up.
How to Make Strawberry Lemonade Concentrate
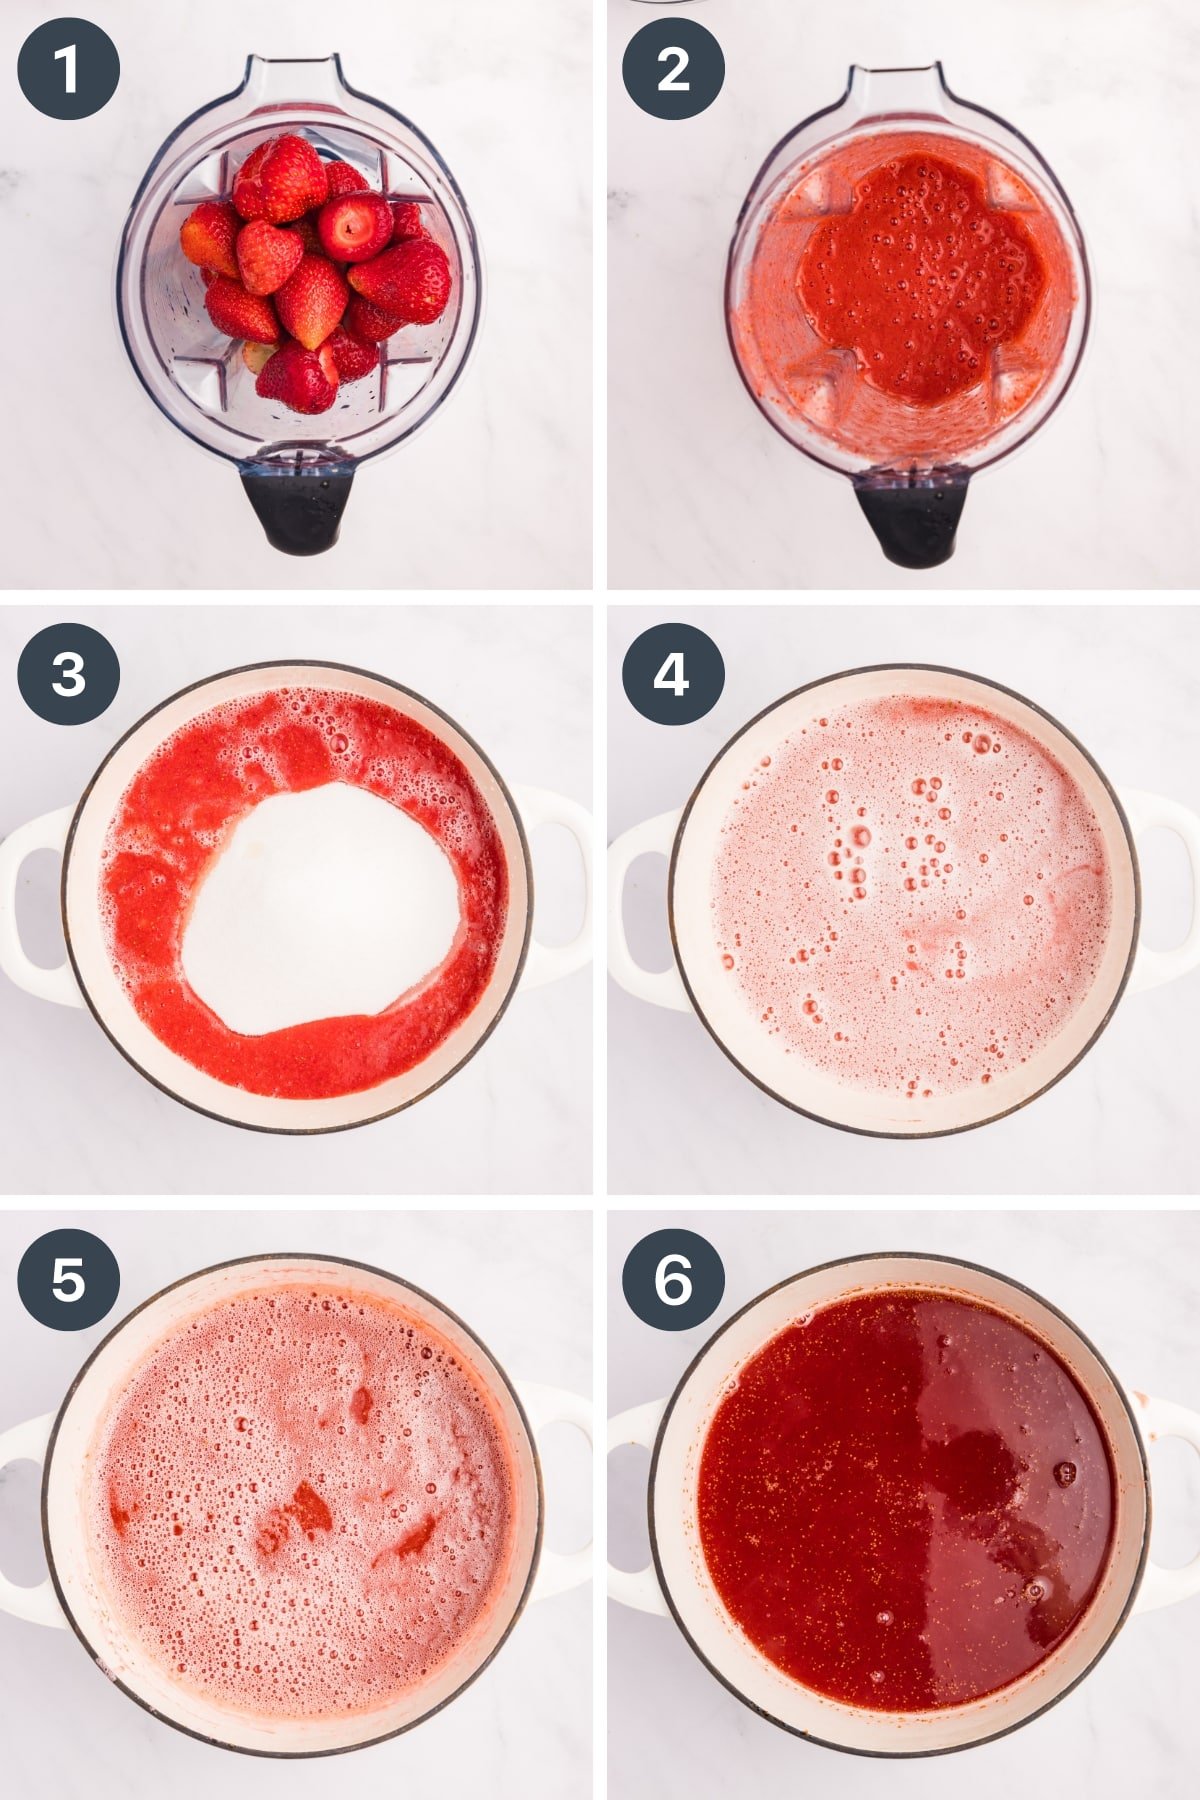
- Working in batches if needed, add a total of 6 cups of hulled strawberries to a blender or a food processor.
- Puree until smooth, with no large pieces remaining.
- Transfer the strawberry puree to a large pot or Dutch oven, along with 4 cups of bottled lemon juice and 6 cups of sugar.
- Whisk well to combine.
- Bring the mixture to a very low, subtle simmer over medium-high heat. You do not want it to boil, so make sure to watch it closely and stir occasionally. You should hear a gentle simmer, but no bubbles. The mixture needs to reach a heat of 190ºF (80ºC), so once you get the correct reading (tested in the center), remove the saucepan from the heat.
- Skim off any foam that rises to the top using a mesh skimmer or spoon.
Water Bath Canning
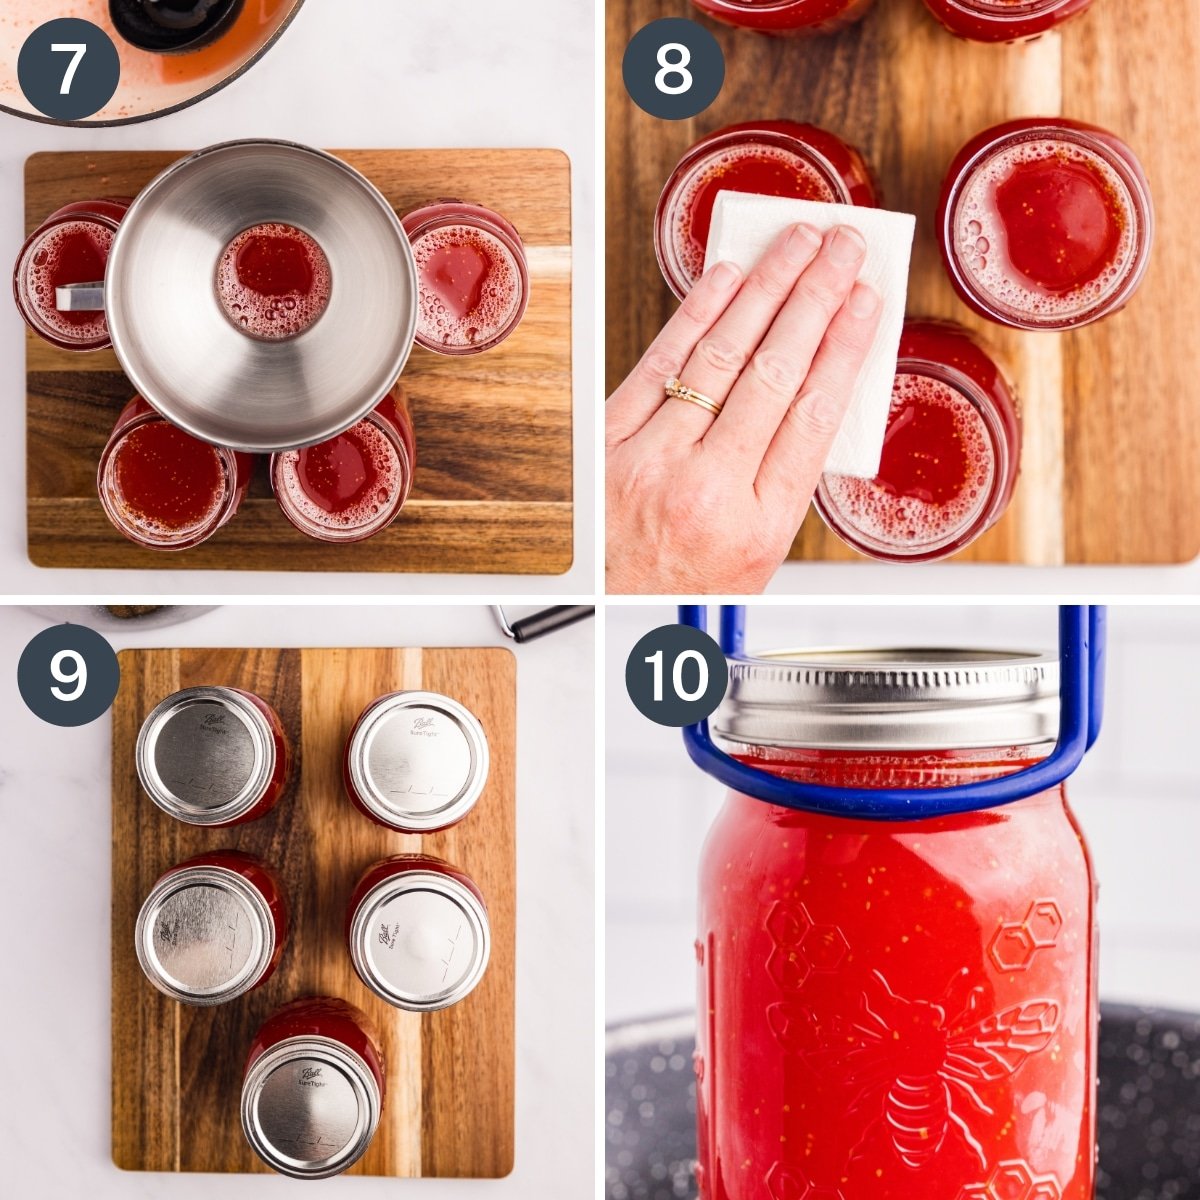
- Ladle the hot concentrate into hot jars, leaving a ¼" headspace.
- Wipe the rims of the jar with a dampened paper towel (or clean kitchen towel).
- Center warm lids on each jar, then place a canning ring and secure it just until it's fingertip tight.
- Place the filled jars in the water bath canner and place the lid on the canner.
- Bring to a full rolling boil, then process the jars for 15 minutes.
Once the processing time is up:
- Turn off the heat.
- Remove the canner from the heat source, and leave the lid on.
- Allow the canner to rest (with the jars inside) for 5 minutes.
- Remove the lid, then carefully remove the jars using a jar lifter.
- Place the jars on a thick kitchen towel (or a wire rack). Leave them in a place where they can go undisturbed for 24 hours.
- Check the seals. As the jars seal you will hear a loud POP and the center will indent slightly. Most of the jars will seal in the first 1-2 hours, but some may take longer.
- Tip: a good way to check for a proper seal is to remove the canning ring and lift the jar up by the metal lid.
What if the Jars don't seal?
- If any of your jars fail to seal, it may be for a variety of reasons (inadequate headspace, imperfections around the rim of the glass jar, imperfections in the lid seal, etc).
- It's very common to have a failed seal occasionally, so as long as the vast majority of your jars sealed you can be fairly sure you did everything correctly.
- Jars that did not seal do not need to go to waste. Transfer them to the fridge, where they can be stored for up to a week.
Storing Canned Food
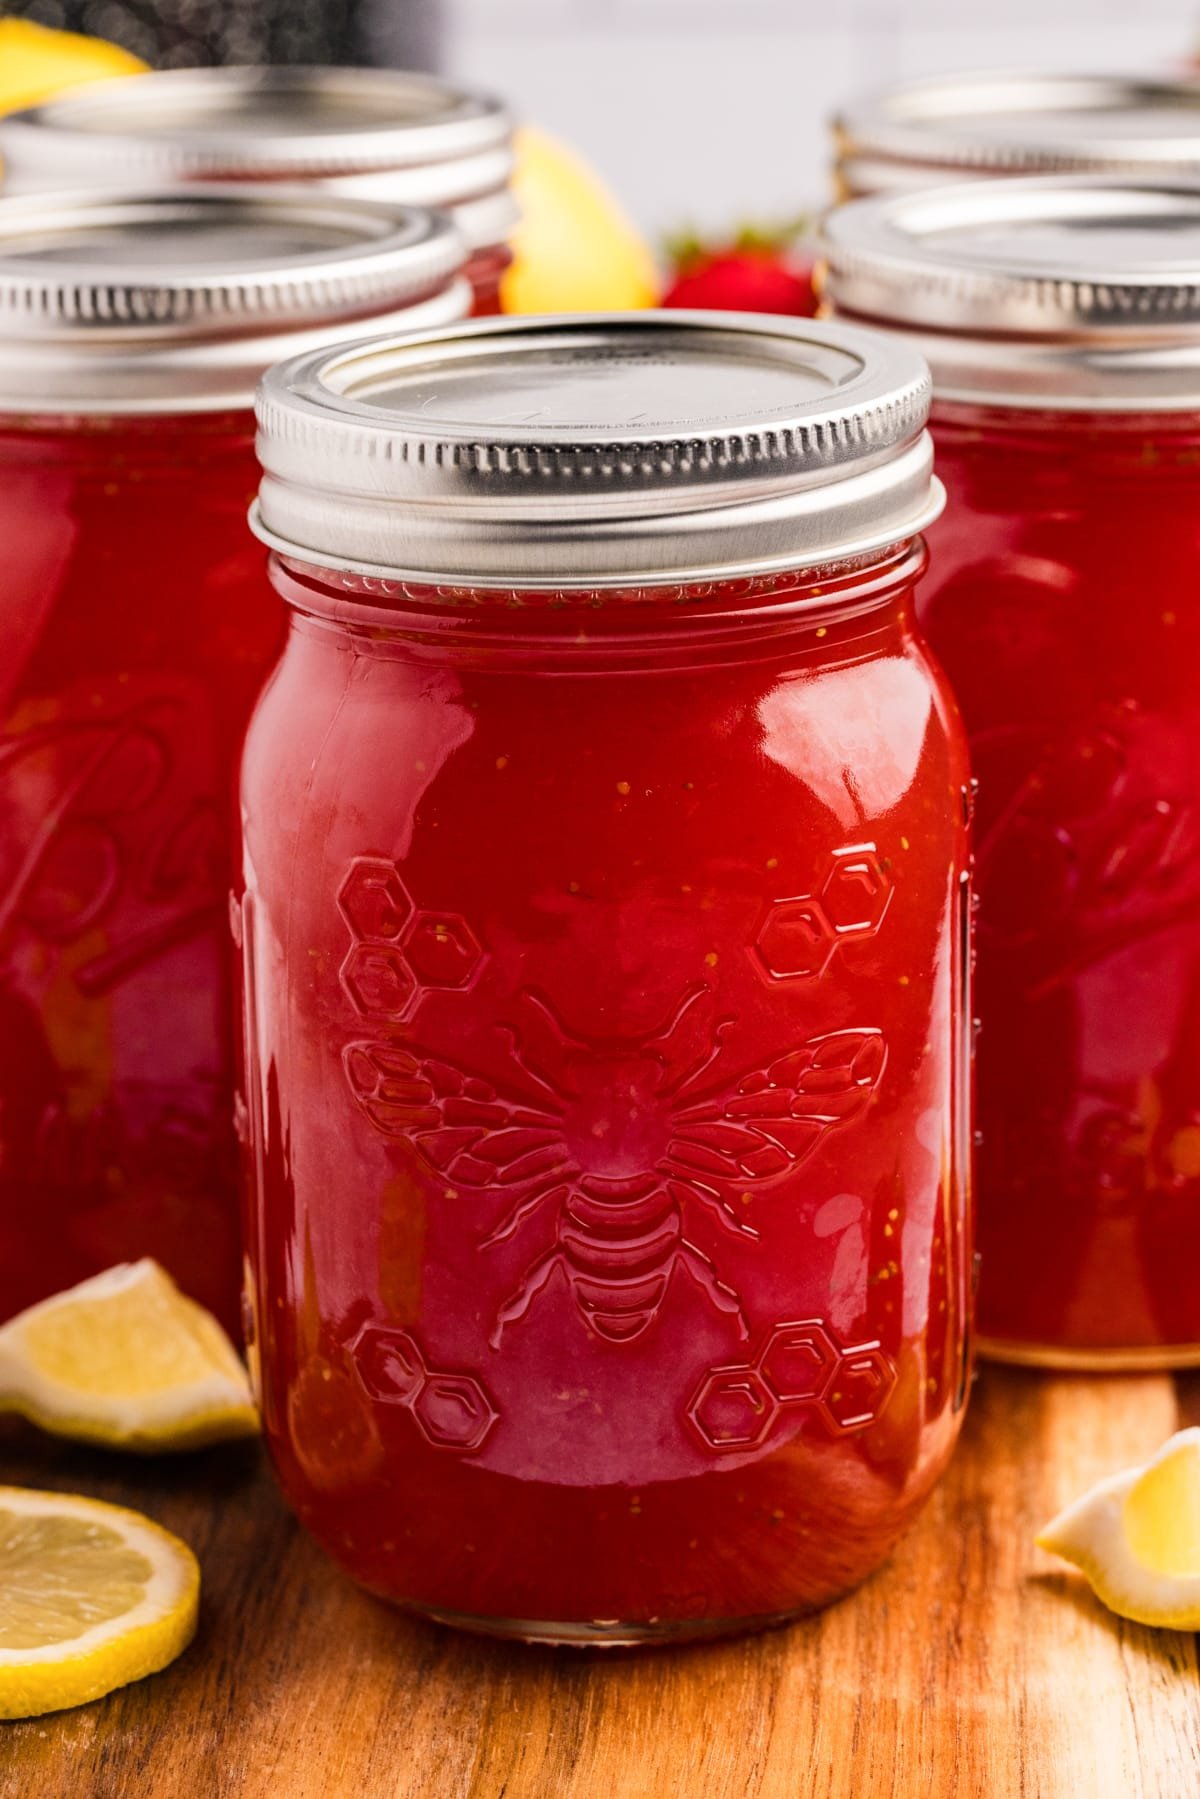
- The USDA states that home canned food (with a true seal) is good for at least 1 year, while most jar manufacturers say the seal is good for at least 18 months.
- Many experienced canners maintain that canned foods are good for many years, but the quality will begin to degrade after 1 year.
- Keep in a cool, dark place (like a basement) for the best results.
- Never store your home canned goods with the outer ring in place, and discard if the seal is compromised or there is any off smell or growth in the jar.
- ALWAYS inspect your canned foods for signs of spoilage and for a secure seal before consuming. Lift the jar up by the lid; if the lid falls off - discard immediately as the seal has been compromised.
Freezer Option
If you don't have a water bath canner, you can make some to store in the freezer instead. Simply prepare the concentrate as outlined in the recipe.
- Heat just until the sugar dissolves (no need to measure the temperature).
- Allow to cool, then transfer to the refrigerator to chill for several hours.
- Ladle into freezer-safe containers (or if using glass jars, those with straight edges like half-pint or asparagus jars), leaving a 1" headspace.
- Add a loose lid and place in the freezer.
- Freeze for up to 6 months, and dilute with the desired amount of cool water, ginger ale, sparkling water, etc.
Preparing and Reconstituting the Juice
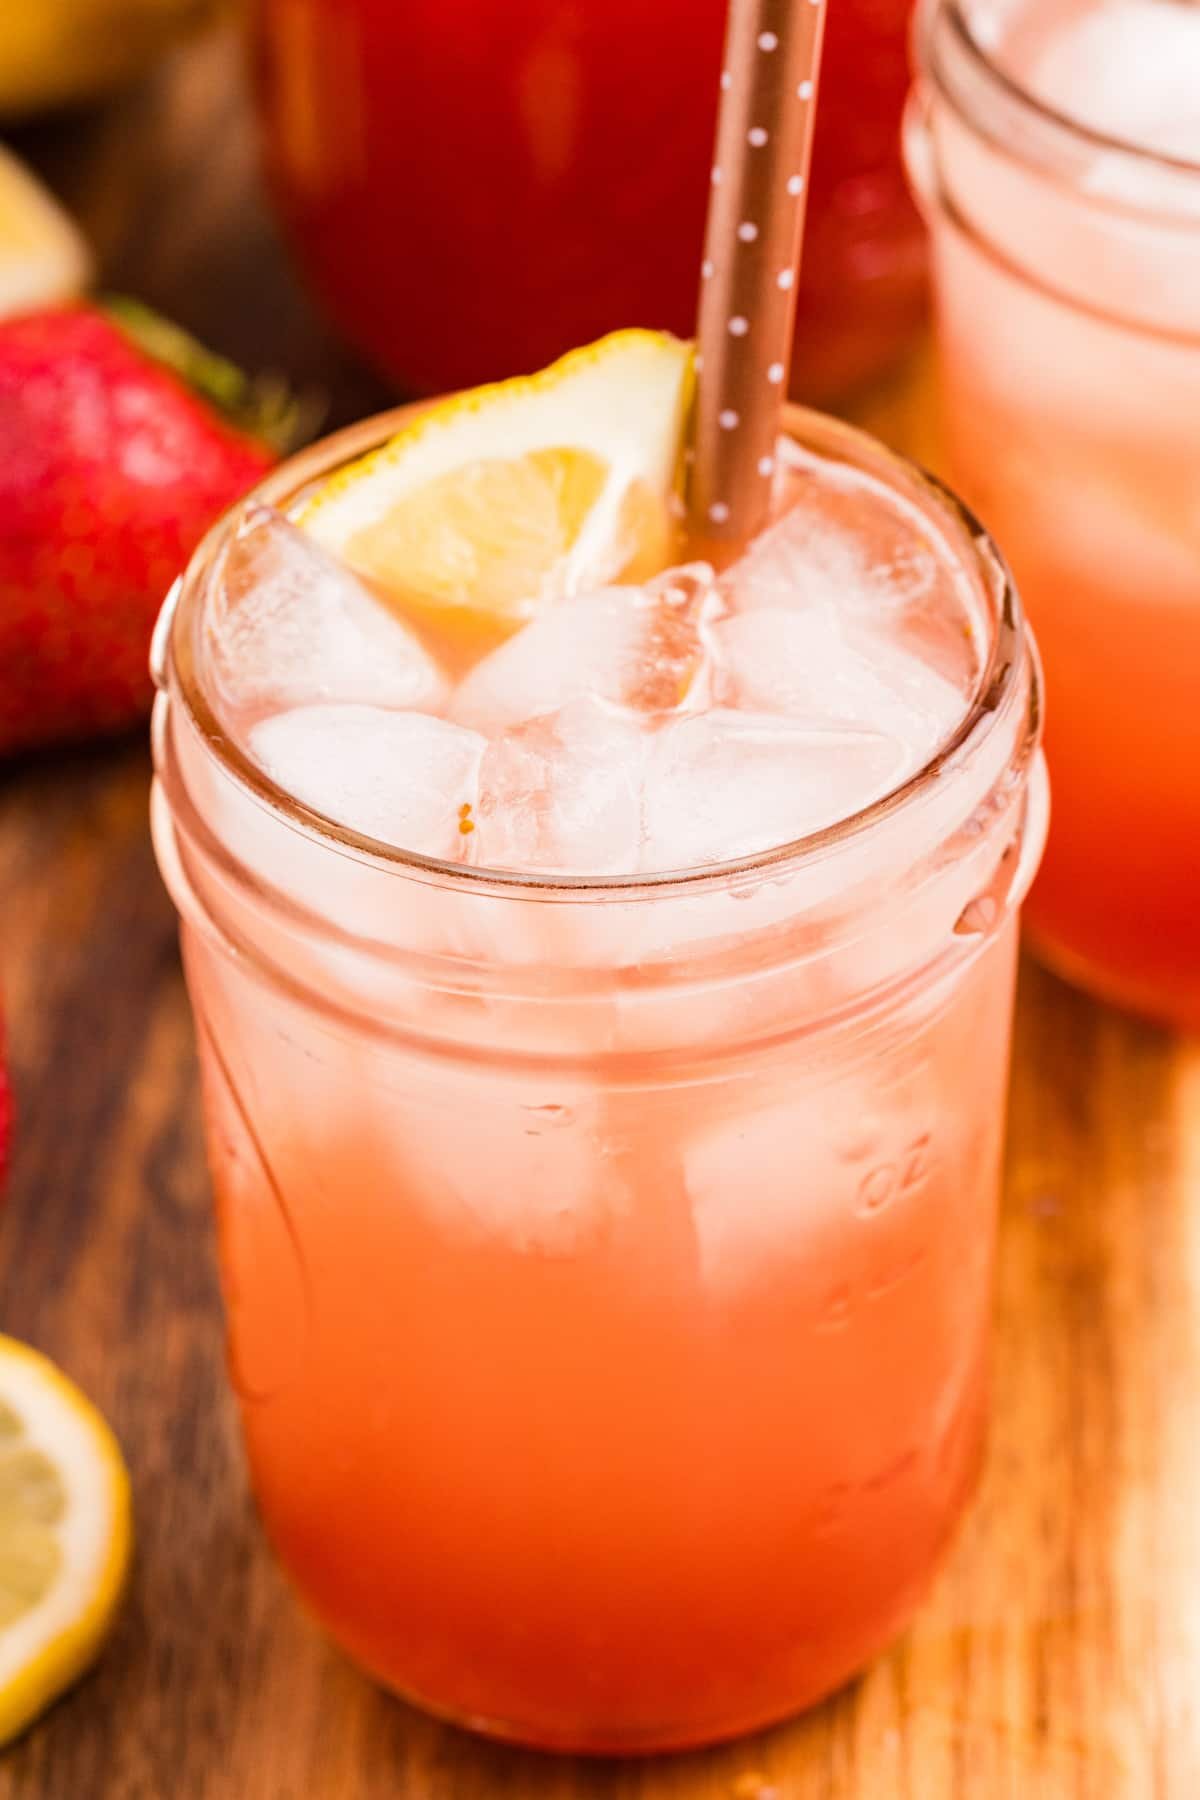
Once you're ready to enjoy your homemade strawberry lemonade concentrate, you can dilute it with any of the following:
- Cool water
- Ginger ale
- Sparkling water
- Lemon-lime soda
- Water kefir
What ratio of liquid to concentrate should I use when diluting?
- Light: Use a 1:1.5 ratio when reconstituting the juice. For every 1 cup of concentrate, use 1 ½ cups of cool water (or liquid of your choice).
- Strong: For a very concentrated flavor, dilute using a 1:1 ratio. For every 1 cup of concentrate, use 1 cup of the liquid of your choice.
- Very light: Use a 1:2 ratio for a very light, refreshing beverage. For every 1 cup of concentrate, use 2 cups of cool water (or the liquid of your choice)
Expert Tips
- Go for good quality. When it comes to canning, you want to be using the best quality produce you can find. Avoid fruits with bruising, soft spots, or mold. Remove the green tops off of the strawberries and wash them well.
- Frozen is fine. If it's the off season and you can only find frozen fruit, it's okay! Just measure the fruit before thawing, then once thawed blend the fruit and reserved juices together to form a puree.
- Adjust the consistency. The recipe as written uses a strawberry puree, which contains seeds. It adds a nice rustic, homemade look to the reconstituted juice, but if you don't like it - you can change it. Strain the puree through a cheesecloth-lined strainer, which will collect the seeds and leave the red puree to collect below.
- Always use bottled lemon juice. Many canning recipes rely on the standardized acidity of bottled lemon juice. Unless stated otherwise, you should use bottled lemon juice when water bath canning.
Recipe FAQs
Yes, you can absolutely freeze this recipe instead! If freezing in glass jars, be sure to use ones that have the straight edges (half-pint or asparagus jars) and leave a 1" headspace. Otherwise, use a freezer-safe plastic container.
No. In water bath canning recipes you never want to substitute the bottled lemon juice for fresh lemon juice unless noted in the recipe. Bottled lemon juice has a minimum acidity, while fresh can fluctuate. Acidity is a core component of safe canning.
I haven't seen any approval to use other fruits in lemonade concentrate from the major canning authorities (NCHFP, Ball, Kerr, USDA, etc), so I would say no.
Strawberries are one of the most acidic fruits, and other berries like blueberries, blackberries, and raspberries are lower in acidity and may not be safe.
Yes! The North Dakota State University extension states that fresh fruit can be substituted for frozen in canning recipes. You will want to make sure the frozen fruit is in good condition (no freezer burn), has been purchased recently, and is measured before thawing. Once thawed, blend the fruit and the reserved juice to make the strawberry puree.
More Water Bath Canning Recipes
If you loved this Strawberry Lemonade Concentrate, let me know by leaving a 5-star review in the recipe card or comment below! You can also tag me on Instagram @littlehomeinthemaking.
📖 Recipe
Strawberry Lemonade Concentrate (Water Bath Canning Recipe)
Ingredients
- 4 cups lemon juice bottled*
- 6 cups sugar
- 6 cups whole strawberries hulled (about 2 quarts)
Instructions
- Prepare equipment. Wash all canning supplies, jars, lids, and rings in hot soapy water. Sterilize if needed.
- Prepare the Jars and Lids. Fill the canner about ⅔ of the way with water and bring to a boil. Add 5-6 pint jars filled with hot water and bring to a boil, holding the boil for at least 5 minutes. Turn off the heat and leave in the canner until needed. Add the jar lids and rings to a pot of gently simmering water and keep warm over low heat during the canning process.
- Add the lemon juice and sugar to a large stainless steel saucepan. Stir well.
- Puree the strawberries. Once your strawberries are hulled (green parts removed), add them (in batches) to a food processor or high powered blender. Blend until completely smooth.
- Preparing the concentrate. Add the pureed strawberries to the lemon and sugar mixture and stir to combine.
- Heat the concentrate. Bring the mixture to a very low, subtle simmer over medium-high heat. You do not want it to boil, so make sure to watch it closely and stir occasionally. You should hear a gentle simmer, but no bubbles. The mixture needs to reach a heat of 190ºF (80ºC)**, so once you get the correct reading (tested in the center), remove the saucepan from the heat.
- Skim off foam. There will be a layer of light pink foam on top. Scoop as much of this off as you can with a spoon.
- Fill the jars. Remove a jar from the water and empty it. Fit the jar with a canning funnel, and ladle the juice concentrate into the jar, leaving a generous ¼” headspace at the top. Remove any air bubbles with a clean butter knife, chopstick, or debubbler tool. Adjust headspace if necessary.
- Wipe the rim of the jar with a clean, damp kitchen towel (or paper towels). Using a magnetic lid lifter, center a warm lid on the jar, then secure a canning ring until it is fingertip tight.
- Place the filled jar in the canner, then repeat with the remaining concentrate until all of the jars are filled (or the liquid has been used up).
- Place the lid on the canner and bring it back up to a rolling boil over high heat.
- Process the jars. Once a boil has been reached, start the timer and process the jars for 15 minutes.
- When the 15 minutes are up, turn off the heat and remove the canner from the element. Remove the lid, and wait 5 minutes.
- After the 5 minutes are up, remove the jars with a jar lifter and place them on a thick kitchen towel. Leave them completely undisturbed for 24 hours.
- Storing. After 24 hours, check the seals and remove the canning rings. Wipe down the jars and label them. Any jars that have not been sealed should be moved to the fridge to be eaten right away.
- When serving, add the jar to a large pitcher. Dilute with 2-4 cups of water, ginger ale, water kefir, or sparkling water***.
Notes
- >1,000 feet: 15 minutes
- 1,001-3,000 feet: 20 minutes
- 3,001-6,000 feet: 25 minutes
- 6,001-8,000 feet: 30 minutes
- 8,001+ feet: 35 minutes
Please note that some of my blog posts here at Little Home in the Making may contain affiliate links. If you make a purchase through these links, I will get a small commission at no additional cost to you. See our disclaimer for more information.
The majority of the canning recipes here at Little Home in the Making are adapted from tested recipes from the USDA, National Center for Home Food Preservation (NCHFP), and other trusted sources. Check the recipe card for listed sources and relevant links.












Ayelora
hello! wondering if you have just a straight lemonade version or if you could just not add the strawberries? wanting both!
Dolly | Little Home in the Making
Hi Ayelora! I don't currently have a straight lemonade version, and I don't think there is a USDA tested recipe, but I'm searching to see what I can find in extension offices, so if I find something I will definitely post the recipe! From what I gather, the acidity of the strawberries helps to lower the PH, making it safe for canning. I personally can't see why straight lemon juice wouldn't be acidic enough, but I'm looking into it!
Donald
There is a version exactly like this on Ball (or maybe Bernadin) that uses 4 cups of FRESH lemon juice instead. That's the one I always make. Either way, it's DELICIOUS and takes so little time for a great product to have on hand.