If you're looking for ways to introduce more fermented foods and probiotics into your daily diet, introducing milk kefir is a great way to do that! You can make your own goats milk kefir with just 2 ingredients and 24 hours, and is an economical way to introduce this superfood into your routine.
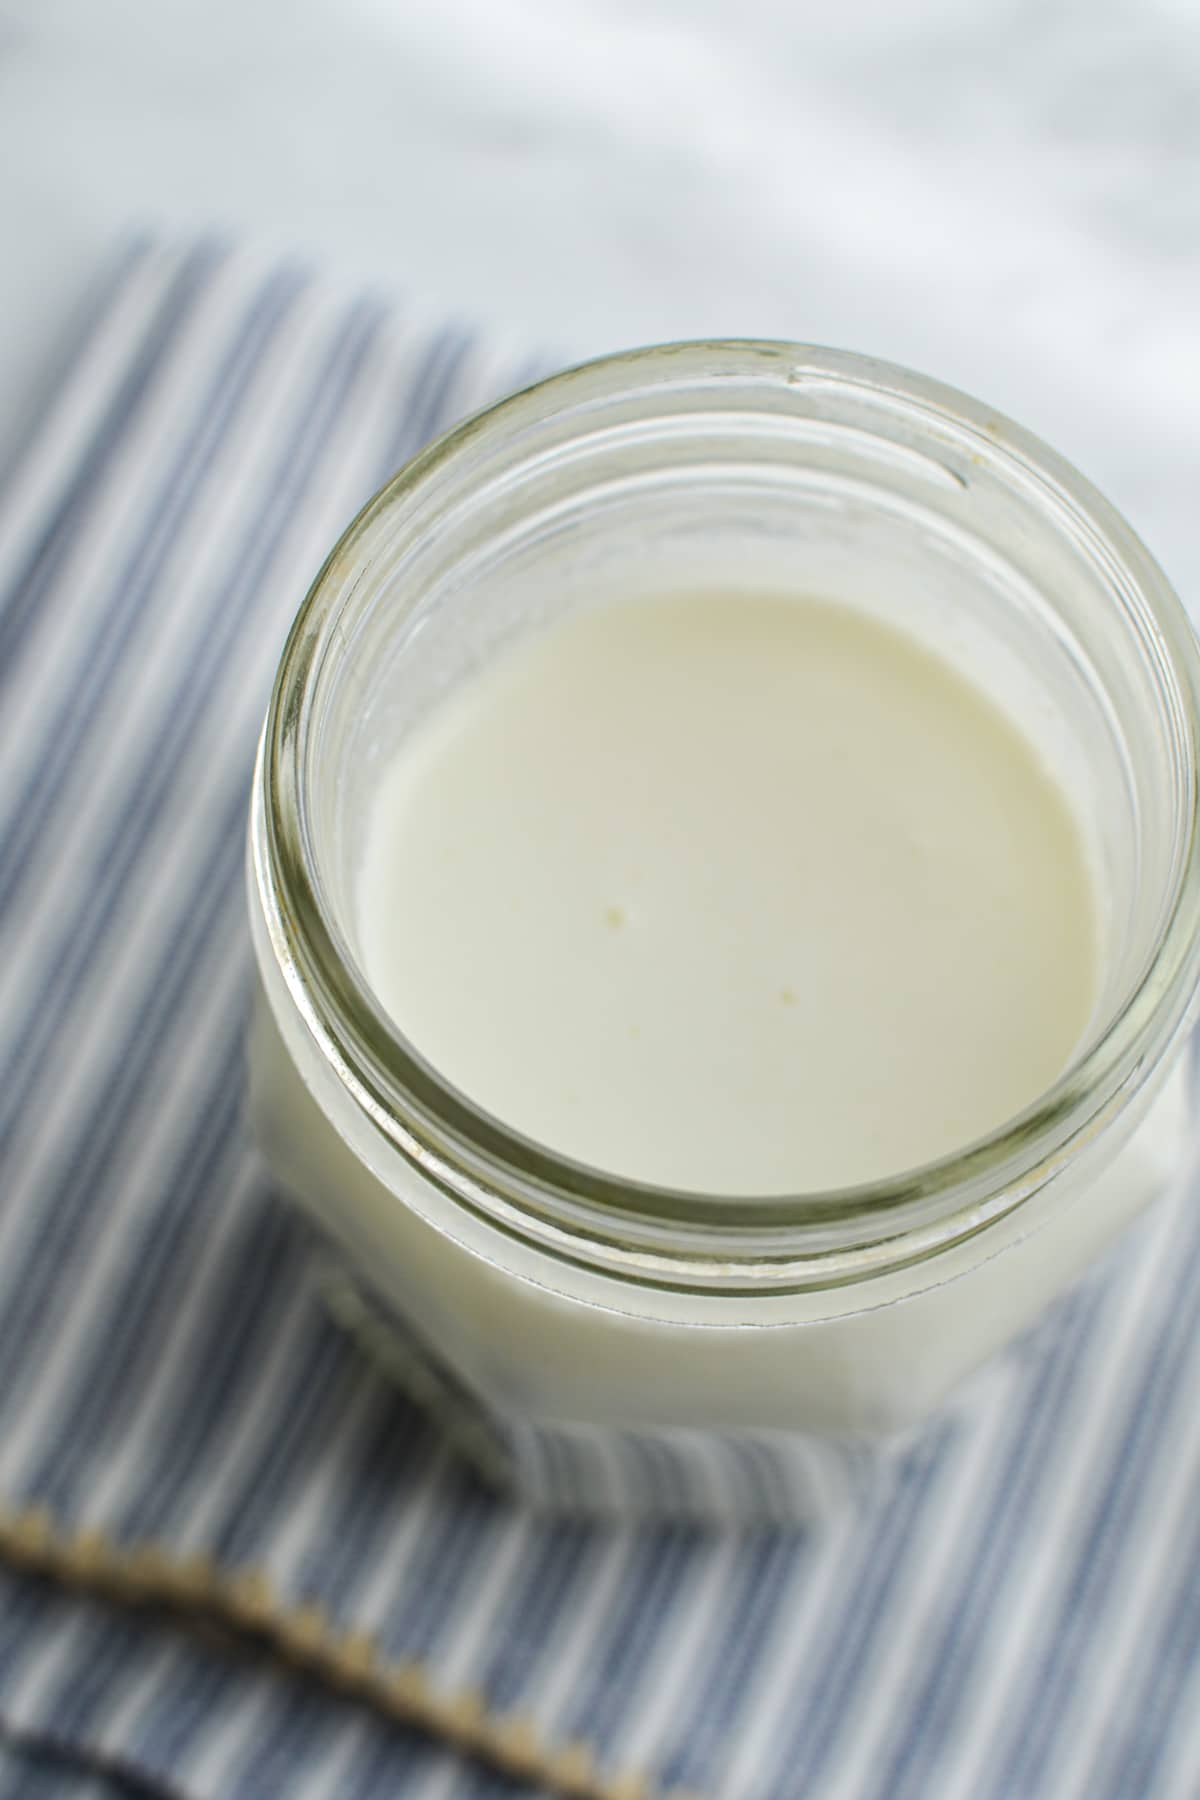
I've been making my own milk kefir for over 5 years now, and I can say that I'm pretty proud that I've kept the same culture going the whole time! Although I'm not entirely sure that's because I'm an awesome kefir grain parent, OR because kefir grains are incredibly resilient once they are established.
The wonderful thing about kefir grains (and making your own kefir at home) is how economical it is. Suddenly, a superfood that can be pricey at the local health food store is totally accessible to all budgets! Once you purchase your grains, the only expense you will have is the milk you use to ferment.
In this case, I'm sharing about how to make goat's milk kefir. Although there is very little difference between goat's and cow's milk kefir, there are a few unique aspects that may benefit those with specific health concerns.
Benefits of Goat Milk Kefir
Goats milk kefir has all the same benefits of traditional cows milk kefir, but also carries the unique benefits of goats milk!
- High in protein
- A great source of probiotics
- Antibacterial properties
- Low in lactose
- Great for gut health
Source: Healthline
Ingredients
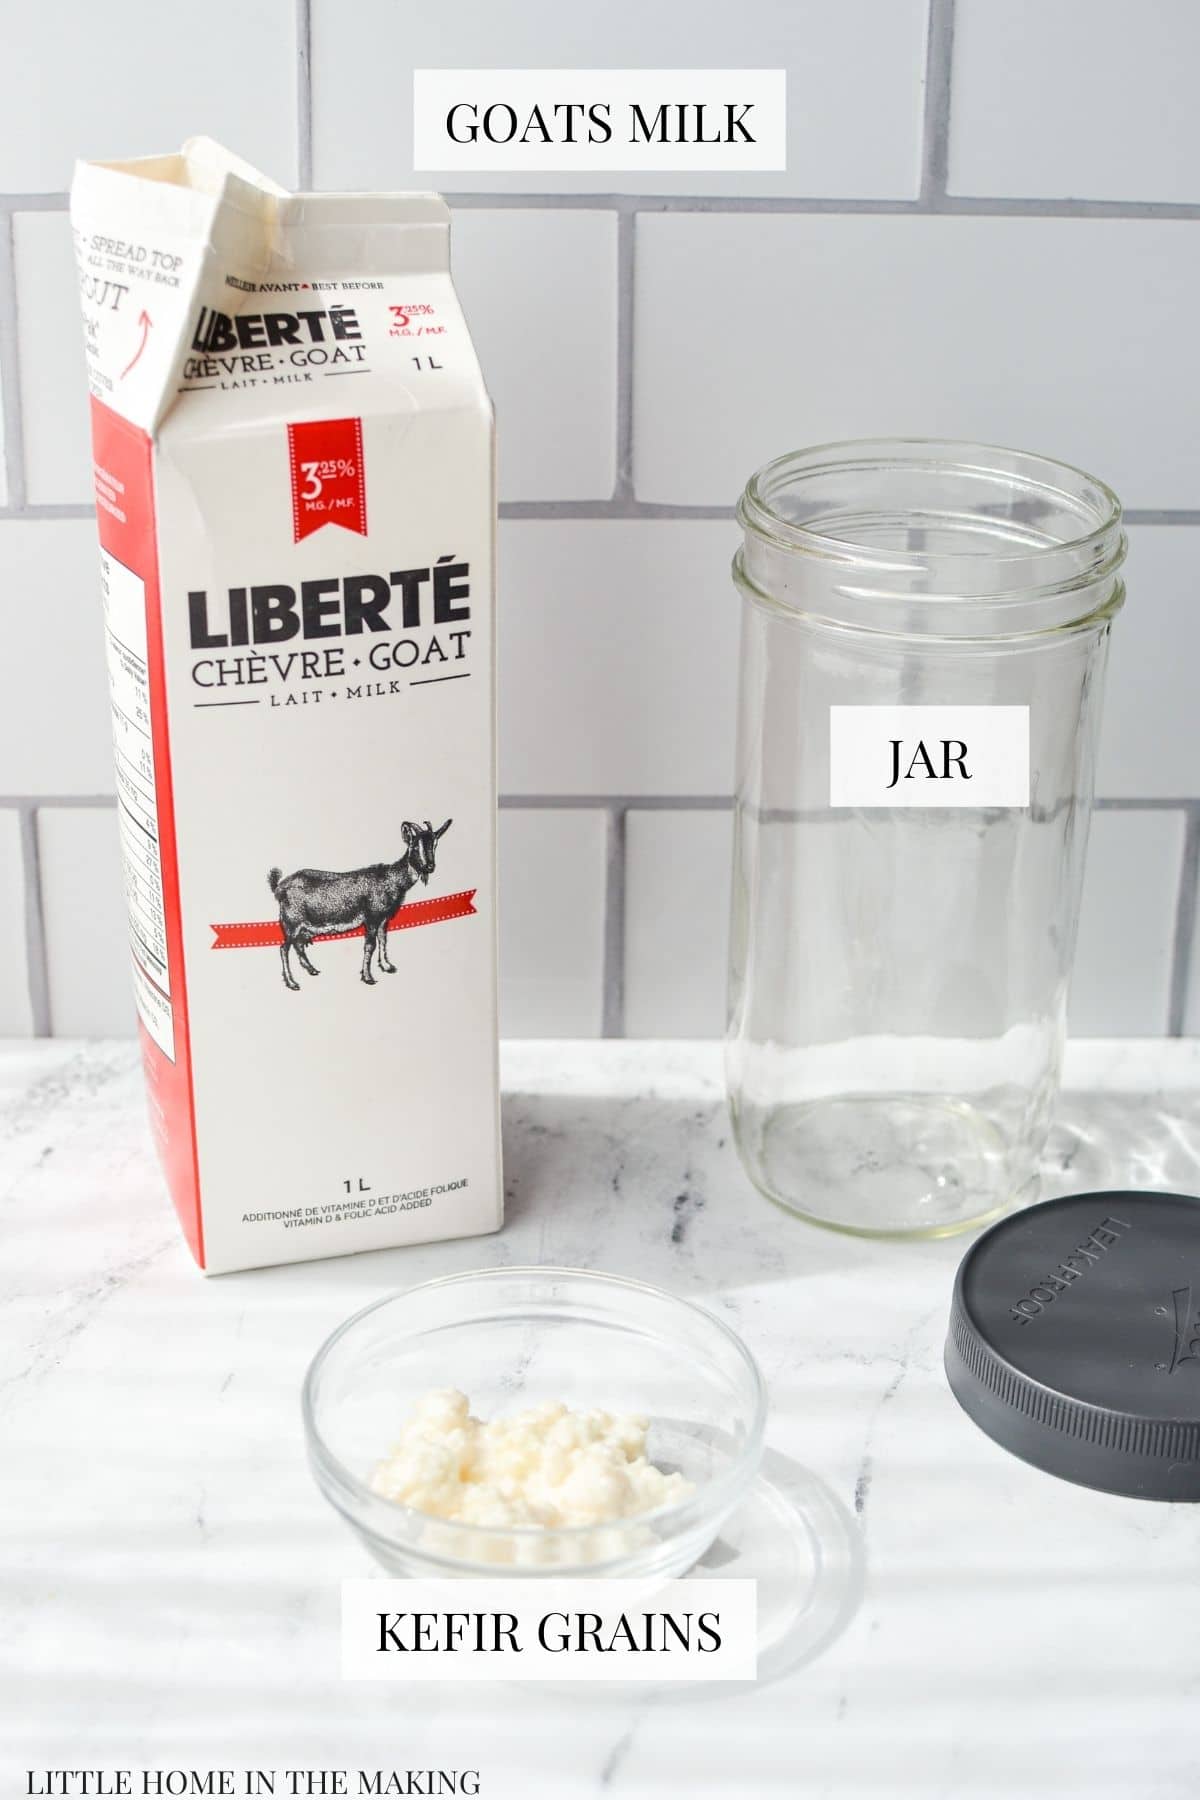
- Goats milk: You can choose store bought, raw, or fresh from the farm! Just make sure your goats milk is fresh, clean, and has been kept in a refrigerated environment after it was collected.
- Kefir grains: You'll want to use milk kefir grains (rather than water kefir grains). If they were used to make cows milk kefir, you can rinse them gently in cool water if there is an allergy or sensitivity. Otherwise, don't worry about the residual milk! You can find grains on Amazon via a small business, or dried through Cultures for Health.
Equipment Needed:
- Glass jar: In order to culture your grains, you'll need a jar for fermentation. A standard mason jar works just fine! For smaller batches, I recommend a pint jar. For larger batches, a wide mouth quart jar works best.
- Lid: A plastic lid that fits your jar is best. If you have a two piece canning lid, that will work in a pinch. The metal lids tend to get a bit rusty with milk kefir, so a plastic lid is preferred. I like these ones for using with all of my ferments.
- Strainer: You'll need a strainer for straining off the kefir grains and storing (or doing a second fermentation) on the finished kefir. I like to use a fine plastic strainer, but if you can find a fine stainless steel one, that will work too. You just have to be certain it is stainless, as kefir will react with aluminum.
How to Make Goats Milk Kefir
Once you've made your own goats milk kefir and have learned the simple routine, you'll never want to buy kefir again! It's SO easy to make, and once the culture is established it's practically indestructible. I have revived grains that have been in my fridge for months, and they always do super well after a ferment or two.
Here's how to make Goat's Milk Kefir:
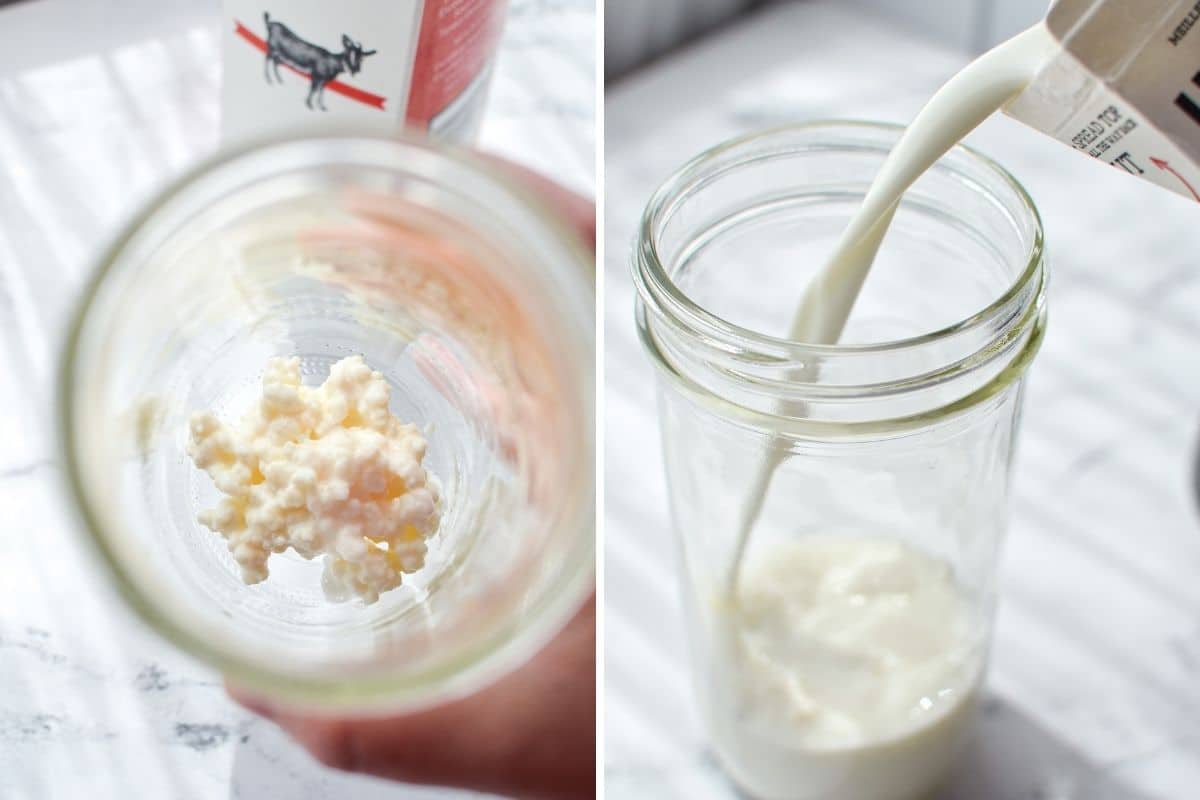
- Add milk kefir grains to the bottom of a clean quart jar. Use ½ - 1 tablespoon of grains per cup of goat's milk used.
- Pour in the milk.
- Gently stir or shake to incorporate the grains into the milk. They will float during the fermentation process and this is okay!
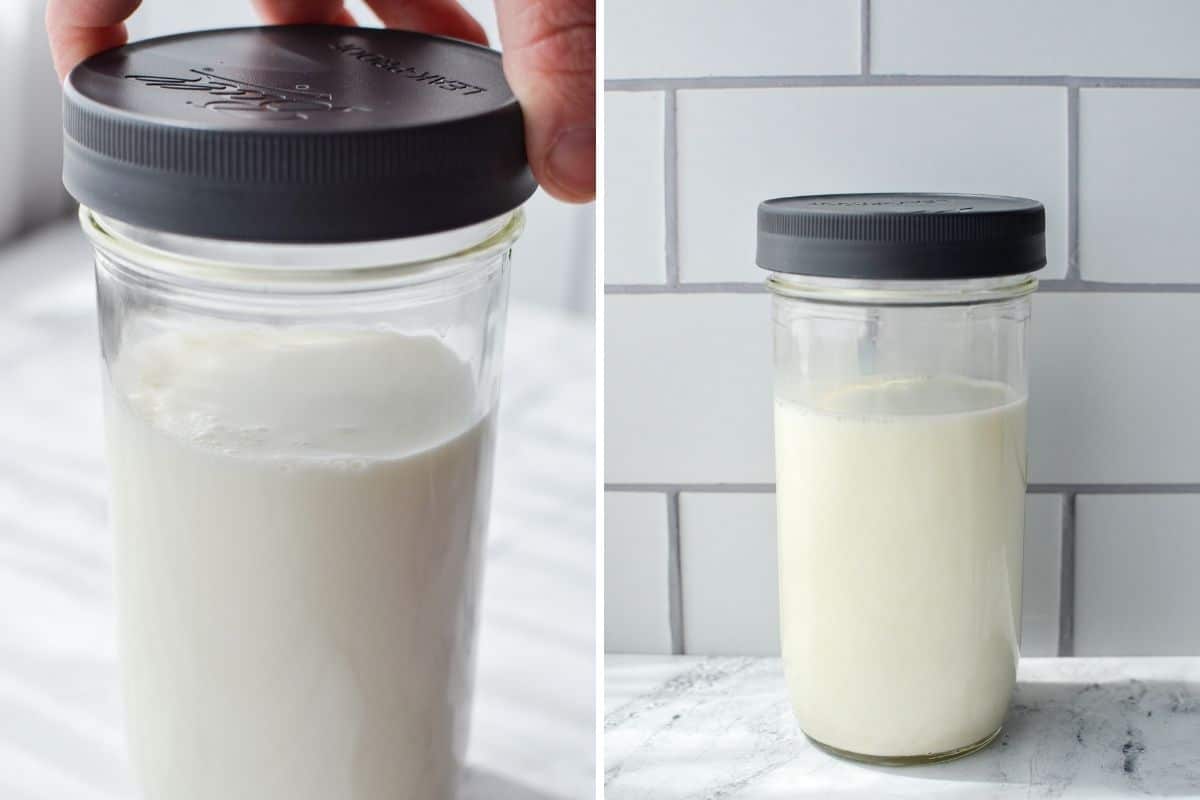
- Add a lid to the jar. It does not need to be super tight, and may need to be "burped" (opened to release air) during fermentation if it is very warm in your house.
- Allow the goat's milk to ferment with the kefir grains for 24-48 hours, or until pockets of whey begin to form and the milk has thickened.
Straining and Finishing
Once there are visible pockets of whey and the milk has thickened to the same consistency of a thin yogurt, your milk kefir is ready to strain. If kitchen is very cool, this process may take as long as 48 hours. Next time, increase the amount of grains used to help speed up fermentation slightly.
Alternatively, if your kitchen is very warm your milk kefir may have fermented in as little as 12 hours. If this is the case, next time use fewer grains per cup of milk. When kefir ferments too quickly, it is often thinner in consistency. You may find that your goats milk kefir does much better in the Winter months than the Summer months.
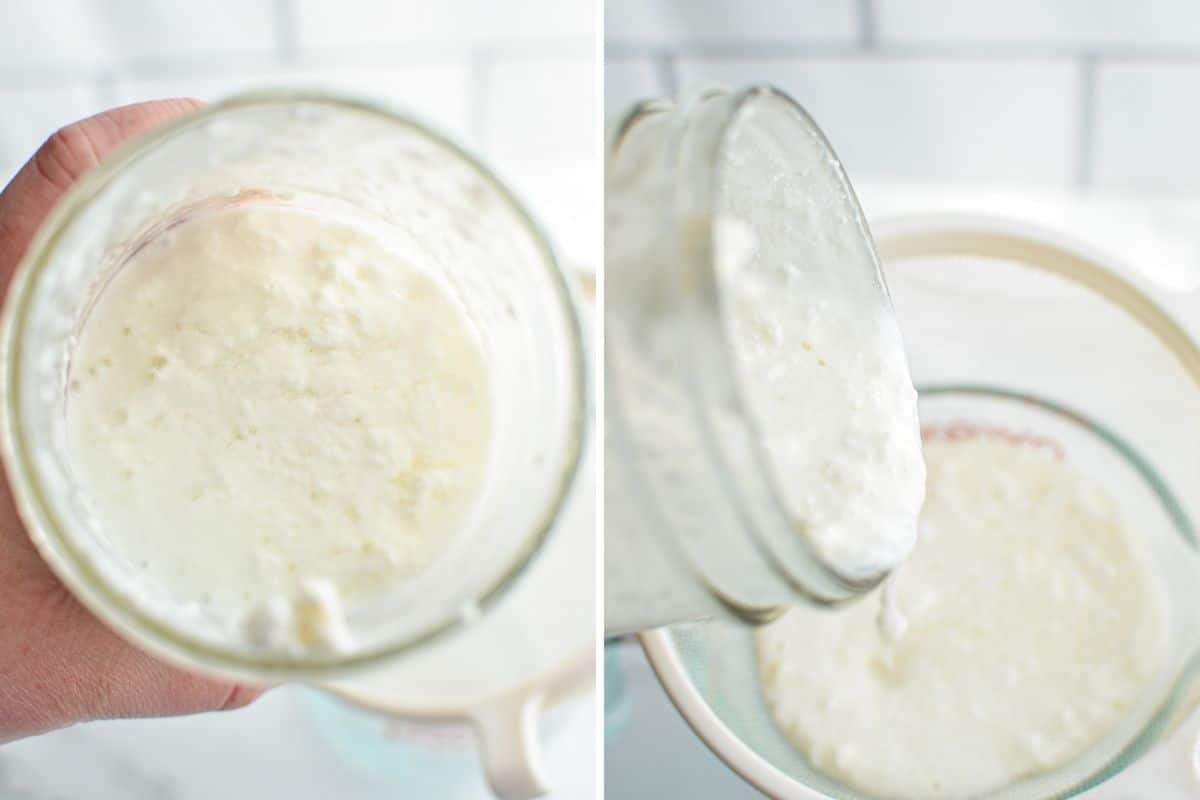
- Fit a bowl or a wide mouth measuring cup with a fine mesh strainer.
- Pour the milk kefir into the strainer, being careful to pour just a bit at a time.
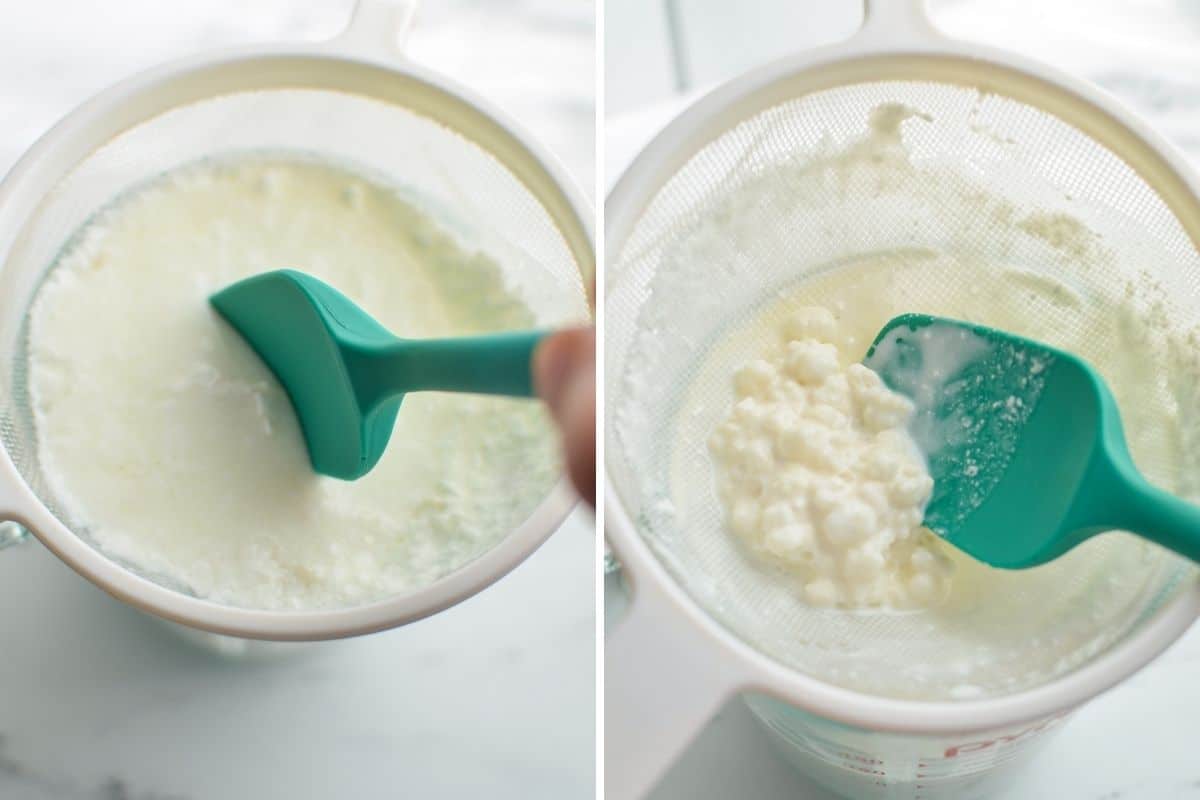
- Use a small silicone spatula to work the milk kefir, helping it to strain into the bowl below.
- Repeat in batches until all of your kefir is strained.
- The remaining grains can be used to start your next batch of Goat's milk kefir. You can also store it for a short period of time in a small amount of milk in a covered jar in the fridge.
Second Fermentation and Flavoring
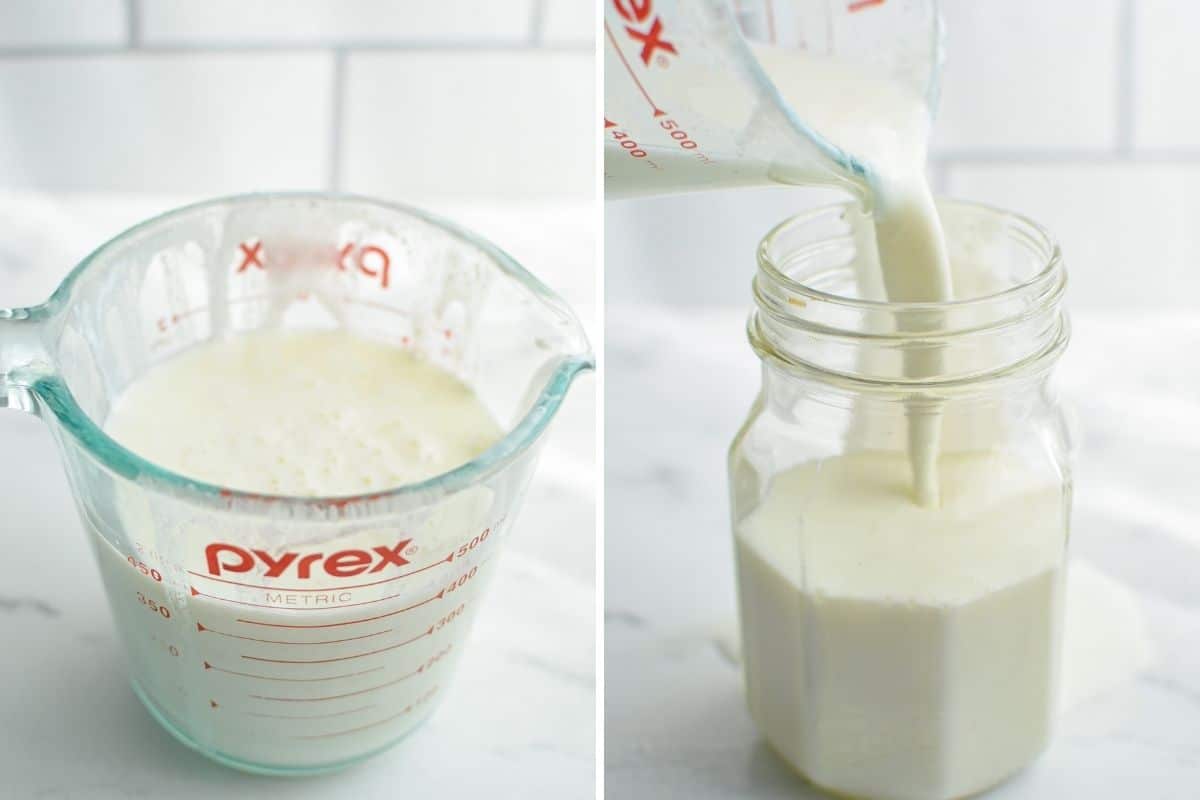
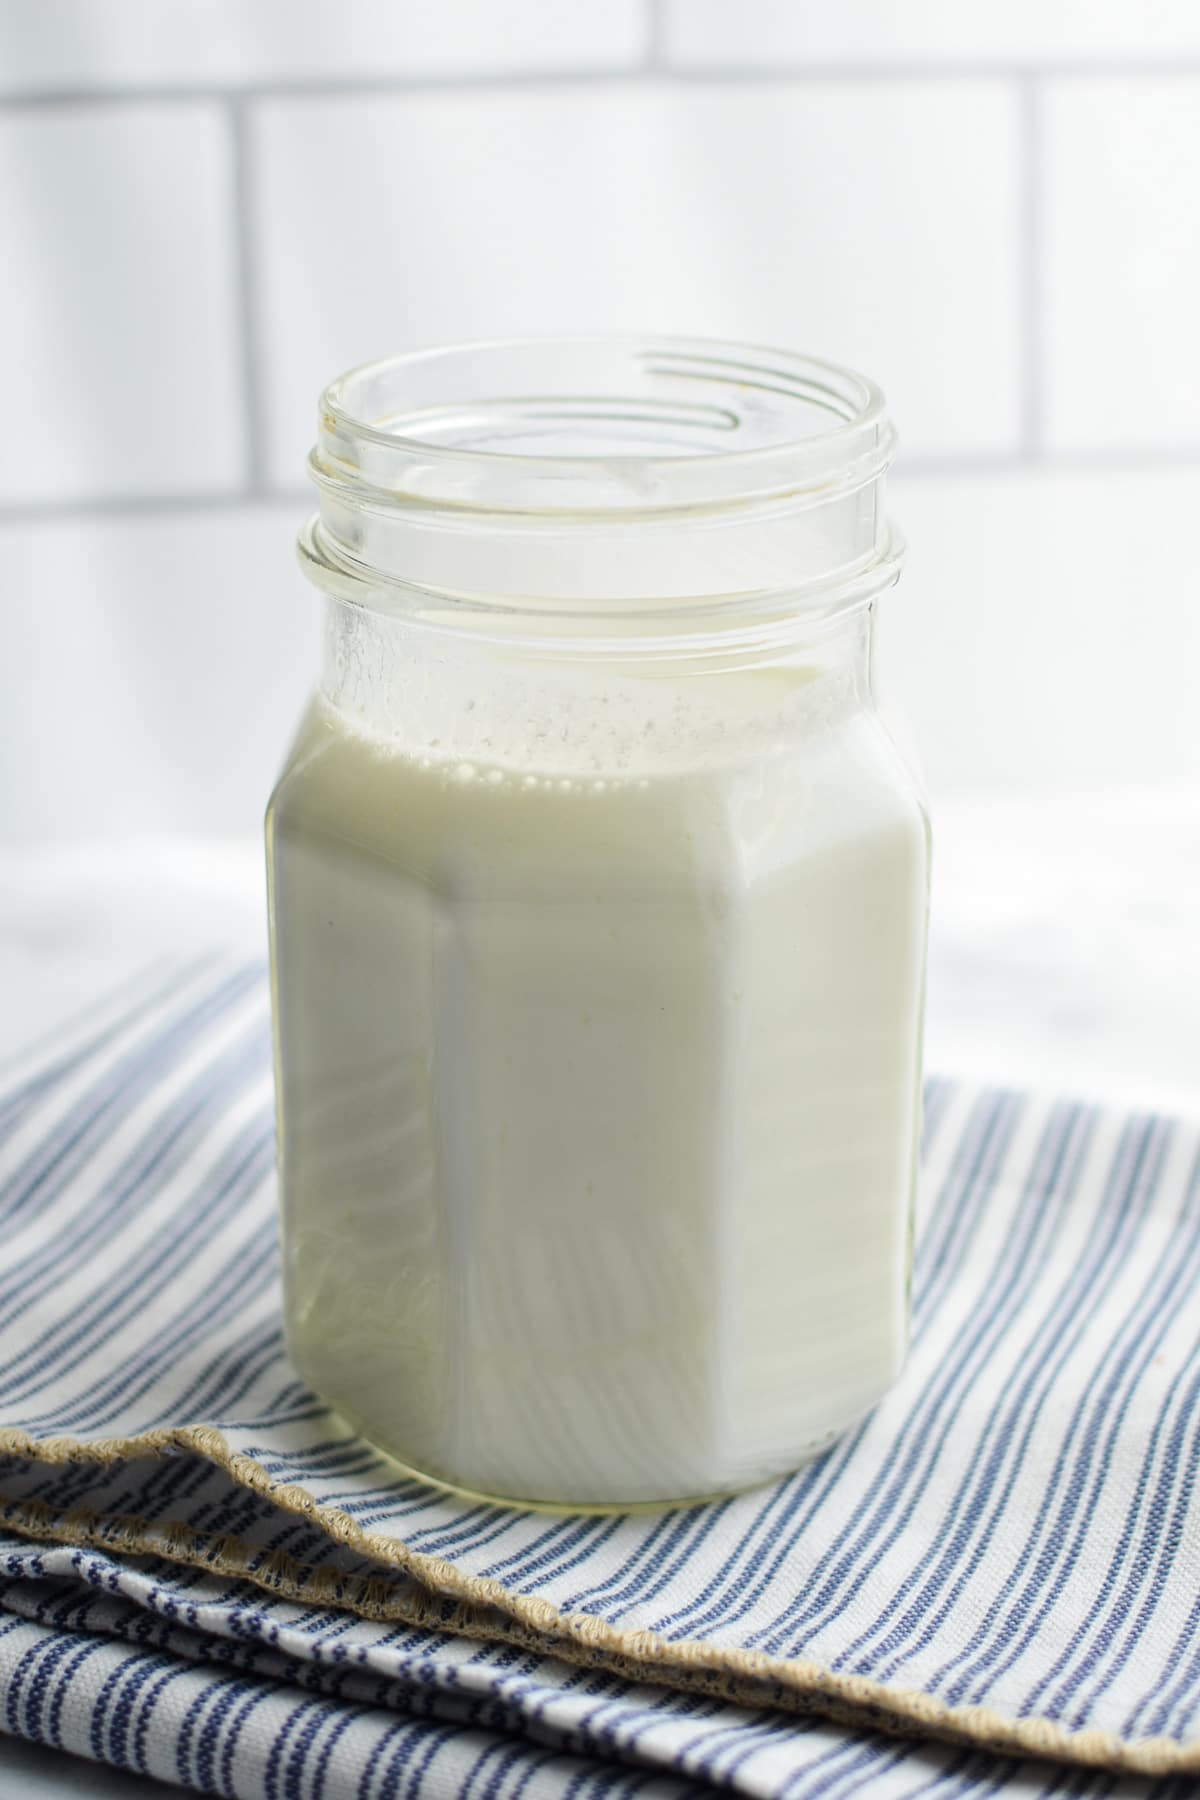
The kefir that is left in the bowl or measuring cup (referred to as "finished kefir"), can be poured into a glass jar and stored immediately in the fridge with an airtight lid. You can then go ahead and use it for smoothies, drinking, or in your favorite recipes. Alternatively, you could do a second fermentation.
A second fermentation is a way to further reduce the milk sugars (lactose) if left plain. Alternatively, it can be a way to add flavoring via the addition of fruit. You can read more about the second fermentation process is my post titled "How to do a Kefir Second Fermentation", but I will give you a quick run down of what the process looks like.
Double Fermentation Process:
- Once your kefir has been strained, pour it into a clean glass jar.
- If you want to add fruit or flavoring, you can add a small amount of fruit (fresh or frozen), vanilla bean, lemon, ginger, chai tea, or other flavorings.
- Top your goat's milk kefir with a lid and allow to ferment at room temperature for another 8-24 hours.
- You will know your kefir has completed its second fermentation when it shows signs of activity like bubbling, pockets of whey, or thickening.
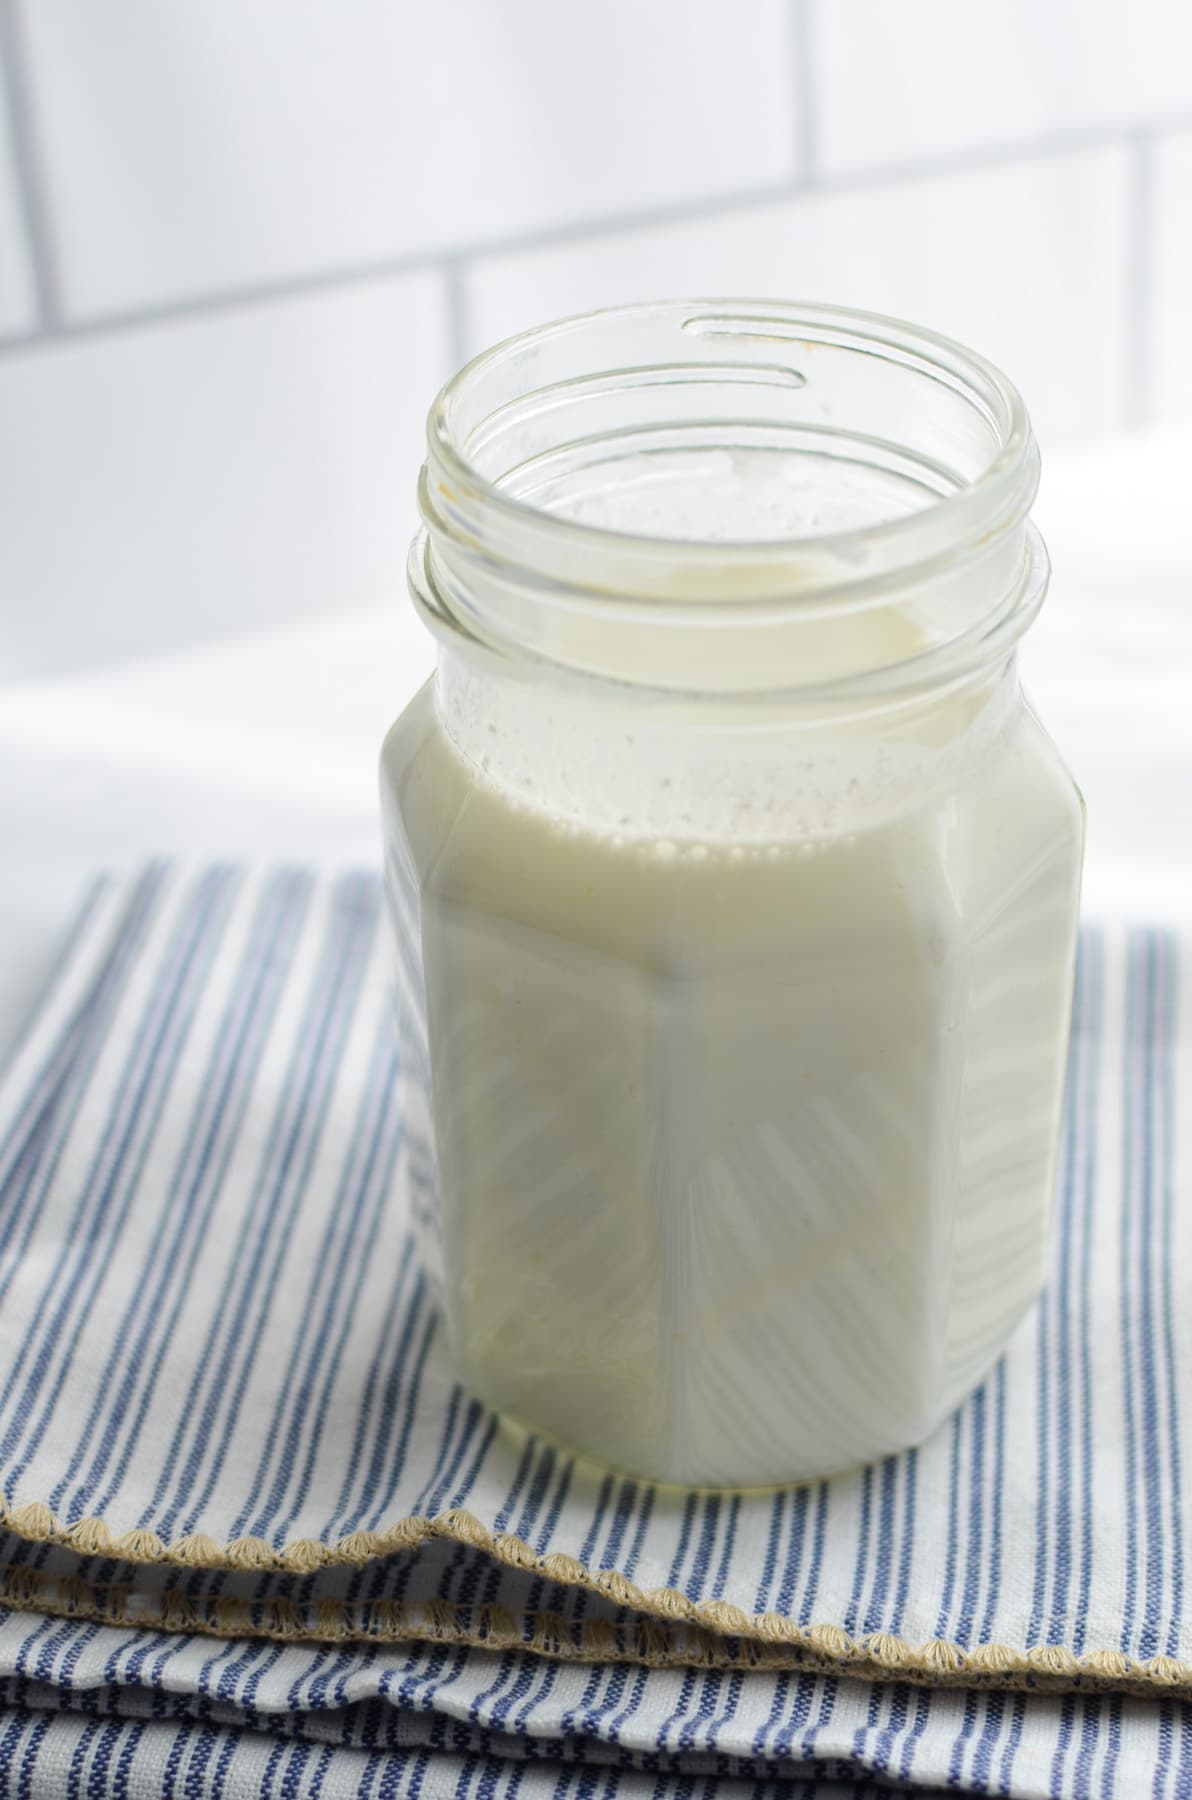
- Transfer your plain milk kefir to the fridge and store with the lid for 1-2 weeks (I often do so for longer, just checking for smell or signs of spoilage)
- If you used fruit, either blend the fruit in and refrigerate for a few days before using, or leave the fruit whole and use within 1 day.
Raw Goat Milk Kefir
If you keep goats yourself or have access to raw goat's milk, you may be wondering if you can make milk kefir with the milk you have available. The answer is "yes." There is no need to use pasteurized milk or heat the milk to make kefir. As with store bought or pasteurized milk, you can simply add the grains and ferment at room temperature until thickened.
Be sure that you source your raw milk from a source that you trust, with clean facilities. Since raw milk is not heated to destroy bacteria, there is always a small risk for contamination, so it's important to know your farmer, OR maintain a clean environment if you are your farmer.
If you have any doubts about the quality of your milk, opt for pasteurized milk instead OR heat your milk to 150ºF for 30 minutes, OR 162º for 15 seconds.
Goat Kefir vs. Cow Kefir
Goat kefir and cow kefir are very similar, in that they are made in the exact same way. The significant difference lies within the differences between the two milks. Goat milk tends to be a bit easier on the digestive system, and contains slightly more protein per serving when compared to cow's milk. This makes the resulting milk kefir easier to digest and a bit higher in protein.
Goat's milk kefir is also lower in lactose, and is naturally homogenized. Cow's milk, if raw, is not homogenized. So raw cow's milk kefir will have a thick layer of cream at the top. This may make it a little more difficult to separate the grains from the cream, but working it through the strainer with a silicone spatula will help.
Cow's milk is much easier to find than goat's milk, making it a popular option for kefir. It is also considerably less expensive, so it can be a great option for those on a budget.
Frequently Asked Questions
Goat milk kefir is made the same way that cow milk kefir is, but it may be better for you based on your needs. Goat milk is lower in lactose, tends to be more digestible, and is slightly higher in protein. If you find goat's milk is more suited for you, chances are goat's milk kefir will be a better fit as well.
Yes, you can make kefir with goat's milk. You use the exact same process as with cow's milk, only using raw or pasteurized goat's milk. You can even use the same grains, although you may want to gently rinse them if you have a sensitivity to cow's milk.
The difference between goat milk and goat milk kefir is that kefir is a fermented, cultured food. Kefir is made by adding cultures (grains) to milk and allowing it to ferment at room temperature. Goat milk that has been fermented with kefir grains is lower in lactose than standard goat milk, and is also filled with many beneficial bacterial (AKA probiotics).
Goat milk kefir is goat's milk that has been fermented with kefir grains at room temperature until thickened, slightly bubbly, and fully cultured. It can be used to drink, or in your favorite dairy based recipes and smoothies. Like cow's milk kefir, it is full of beneficial probiotics and is great for digestion and overall gut health.
Easy Kefir Recipes
Smoothies:
- Strawberry Kefir Smoothie
- Mango Pineapple Kefir Smoothie
- Kefir Green Smoothie
- Blueberry Oatmeal Kefir Smoothie
- Banana and Peanut Butter Kefir Smoothie
More Kefir Recipes:
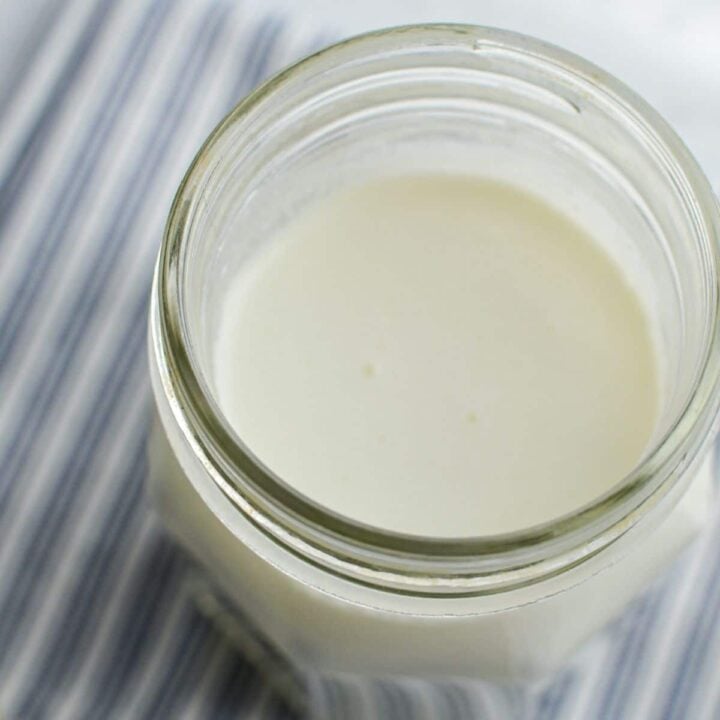
Goat's Milk Kefir
Make your very own Goats milk kefir at home with just 2 ingredients and a simple method. Packed with probiotics and delicious in smoothies!
Ingredients
- 1-2 cups Goat's milk
- 1-2 tablespoons active milk kefir grains
Instructions
- Add your milk to a clean glass jar that has a lid.
- Add in the milk kefir grains, according to how much milk you added in. For every 1 cup of milk, add ½-1 tablespoon of grains. Use ½ tablespoon if your home is very warm, and 1 tablespoon if your home is very cool.
- Stir with a wooden or plastic utensil, and fit the lid until it is fingertip tight.
- Set your jar in a location on your counter that is out of direct sunlight.
- Allow to ferment for 8-48 hours, or until whey begins to form small pockets. Your goat's milk kefir could be ready in 8 hours if it is very warm, OR as long as 48 hours if you used few kefir grains and have a very cool home. The most important markers to look for are pockets of whey and a thick consistency.
- Once the goat's milk kefir is finished fermenting, use a plastic strainer to strain off the kefir grains. Add the finished milk kefir to a clean jar.
- Store immediately in the fridge, OR do a second ferment for up to 24 hours by placing the finished kefir on the counter. If you would like to add fruit, you could do so now, but your second ferment should only last 8-12 hours if fruit is added.
Notes
Raw goats milk kefir: The process is the same whether you are using raw goat's milk or pasturized goat's milk. If using raw, make sure you are using the freshest milk possible for the best results.
Storage: Add an airtight lid to your finished milk kefir and store in the fridge for 1-2 weeks. I normally store mine for longer, and check for smell or signs of spoilage, but 1-2 weeks is a general safe guideline.
Always make sure to use fresh, good quality, and clean milk.
Nutrition Information:
Yield: 2 Serving Size: 1Amount Per Serving: Calories: 175Total Fat: 10gSaturated Fat: 7gTrans Fat: 0gUnsaturated Fat: 3gCholesterol: 27mgSodium: 151mgCarbohydrates: 12gFiber: 0gSugar: 12gProtein: 9g
Nutrition information is an estimate only.
Please note that some of my blog posts here at Little Home in the Making may contain affiliate links. If you make a purchase through these links, I will get a small commission at no additional cost to you. Please see my Disclaimer for more information.



















Sherry Fowler
Can I use goats milk that has been frozen and thawed?
Dolly | Little Home in the Making
I think that should be fine! I haven't tried it personally but I can't see why it wouldn't work.