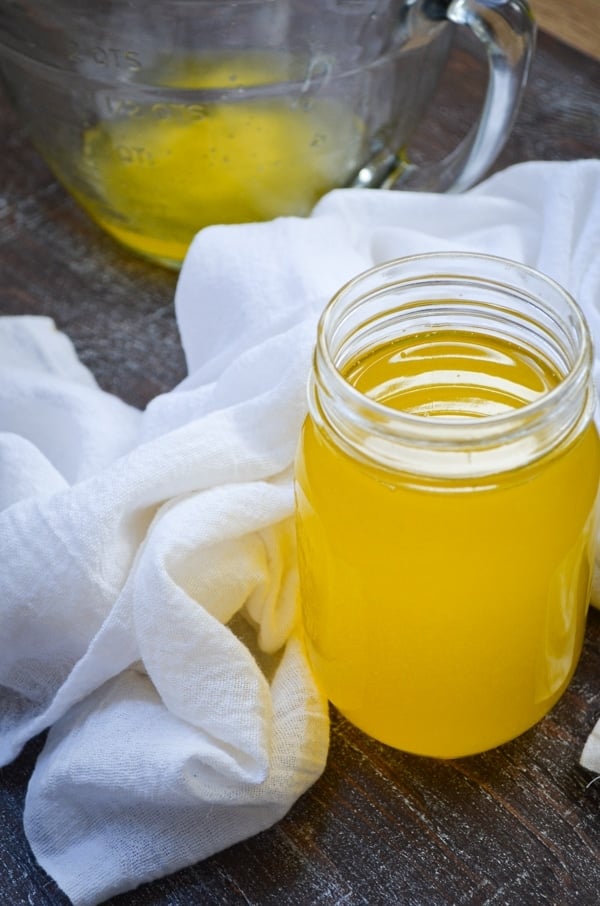
Did you know that you can make ghee at home? And better yet, you can make homemade ghee in the Instant Pot!? Just one ingredient (butter) and a little time will yield you a long shelf life, high smoke point, healthy fat that has been used traditionally for thousands of years. Whole30 and Paleo diet approved. Great for those who are sensitive to dairy.
This post contains affiliate links, which means that if you click a link and make a purchase, we receive a commission at no additional cost to you. See our disclaimer for more information. Any nutritional information is for entertainment and informational purposes only, and is not intended as medical advice. Always seek the advice of your health provider.
How to Cook with Ghee
If you're new to the world of ghee, you may be asking yourself: "okay, but how do I use it?"
My answer for you would be anywhere and everywhere! While of course I wouldn't recommend it in place of a liquid oil like olive oil or avocado (in most applications), it is an ideal fat for cooking all manner of things.
One of my favorite uses of ghee is actually to use to top homemade air popped popcorn. Homemade popcorn with melted butter was always soggy and icky for me, so I sought out a new way to do it. Boy, I am NOT turning back. My husband says my homemade popcorn is even better than the movie theatre. Well duh! Not only does it taste better than movie theatre popcorn, but it is so much better for you too! You're replacing all the fake stuff (like margarine) with a good, whole food fat like ghee. You can opt for grass-fed butter for bonus points. I top mine with some mineral salt, and toss it well. It has been one of our go-to movie night snacks.
Another favorite application for using some of my homemade instant pot ghee is by using it to make delicious, crispy pan fried potatoes. Leftover baked potatoes are a perfect start, since it makes for a super fast side dish. I chop my cold, leftover potatoes into cubes, heat a cast iron skillet with a few tablespoons of ghee, and toss the potatoes in. Let them cook for at least 4-5 minutes before turning them, resulting in a beautiful crispy bottom. I repeat until all sides are crispy and warmed through. I love serving it with a fried egg on top, or with some homemade ketchup on the side. Yum. 😋
Can You Make Ghee with Salted Butter?
The simple answer is yes. The real question though, is should you make ghee with salted butter? I don't happen to think so.
Since we are essentially concentrating the butter by removing milk solids and extra moisture, starting off with a saltier product may not be the best idea. Hey, salted butter is my THING. I love salted butter as much as anyone possibly could, but there is a time and place for unsalted butter. Making homemade ghee in the Instant Pot is definitely one of those times and places.
If you opt for salted butter, you may end up with a very salty ghee, which isn't ideal for cooking at all. You can always add salt to taste, but you can never take away too much salt. It's best to play safe and opt for unsalted butter when making homemade ghee.
Clarified Butter vs Ghee
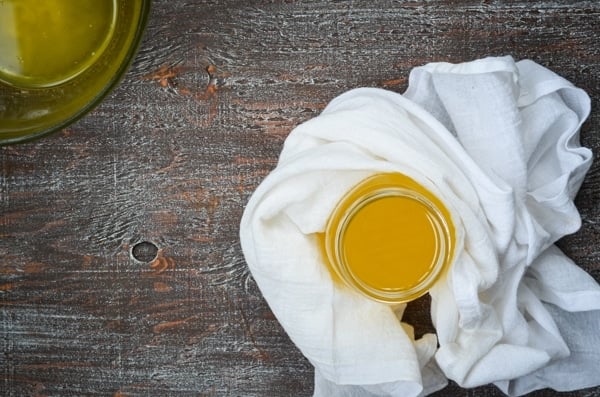
For a long time, I thought that ghee and clarified butter were essentially the same thing. While that is partially true, there are some distinct differences.
- Casein and Lactose: The extra time and straining measures that are employed with making ghee mean that the end product is free from lactose and casein. This is important for those with dairy sensitivities, since many who are dairy sensitive can consume ghee, but not butter.
- Straining: In order to make sure all of those milk solids, ghee uses a fine straining method. This does not need to be used with clarified butter, since the main goal with clarified butter is not to remove all milk solids.
- Storage Time: When you clarify your butter to the stage that it becomes ghee (ensuring the solids on the bottom are toasty brown in color), you also extend the shelf life. Since there are no milk solids, the butter has essentially been converted to an oil, meaning it has a much longer shelf life than typical butter.
- Shelf Stability: If you simply clarify your butter, it is safest to store it in the fridge for the approximate amount of time you would store your regular butter. When you take the extra step of toasting the milk solids and straining them off, you have produced ghee. Ghee not only has a longer storage life when stored in the fridge, but it can be stored unopened at room temperature. This is great if you have limited fridge space, and it's an excellent option for preserving homemade butter.
Ghee: A Healthy, Traditional Fat with a High Smoke Point
We try to avoid refined oils like canola and soybean oil in my home. While this is a fairly easy thing to do these days, with many stable and traditional fats on the market, it can be difficult when it comes to cooking over high heat.
This is because many of the healthier oils and fats like butter and olive oil, have a much lower smoke point. This means that they actually begin to smoke and burn at a specific temperature, which can destroy many of their nutritional benefits.
So what does one do when they want to avoid refined oils, but want to pan fry something over high heat? Why, they turn to ghee!
While ghee is made from butter, it does not share the same smoke point as butter. This is because the milk solids have been removed, leaving behind pure butterfat. This liquid gold has a very high smoke point of 450F/230C. That's a very high number! Only being outdone by refined olive oil, rice bran oil, and safflower oil. It shares the same smoke point with many oils typically utilized in frying such as canola, soybean, and peanut oil. This makes it a perfect swap for those less-than-perfect oils.
The best part? You can make it at home in your Instant Pot. If you don't have an Instant Pot, you can very easily use a heavy bottomed saucepan or dutch oven over very low heat to achieve the same end result.
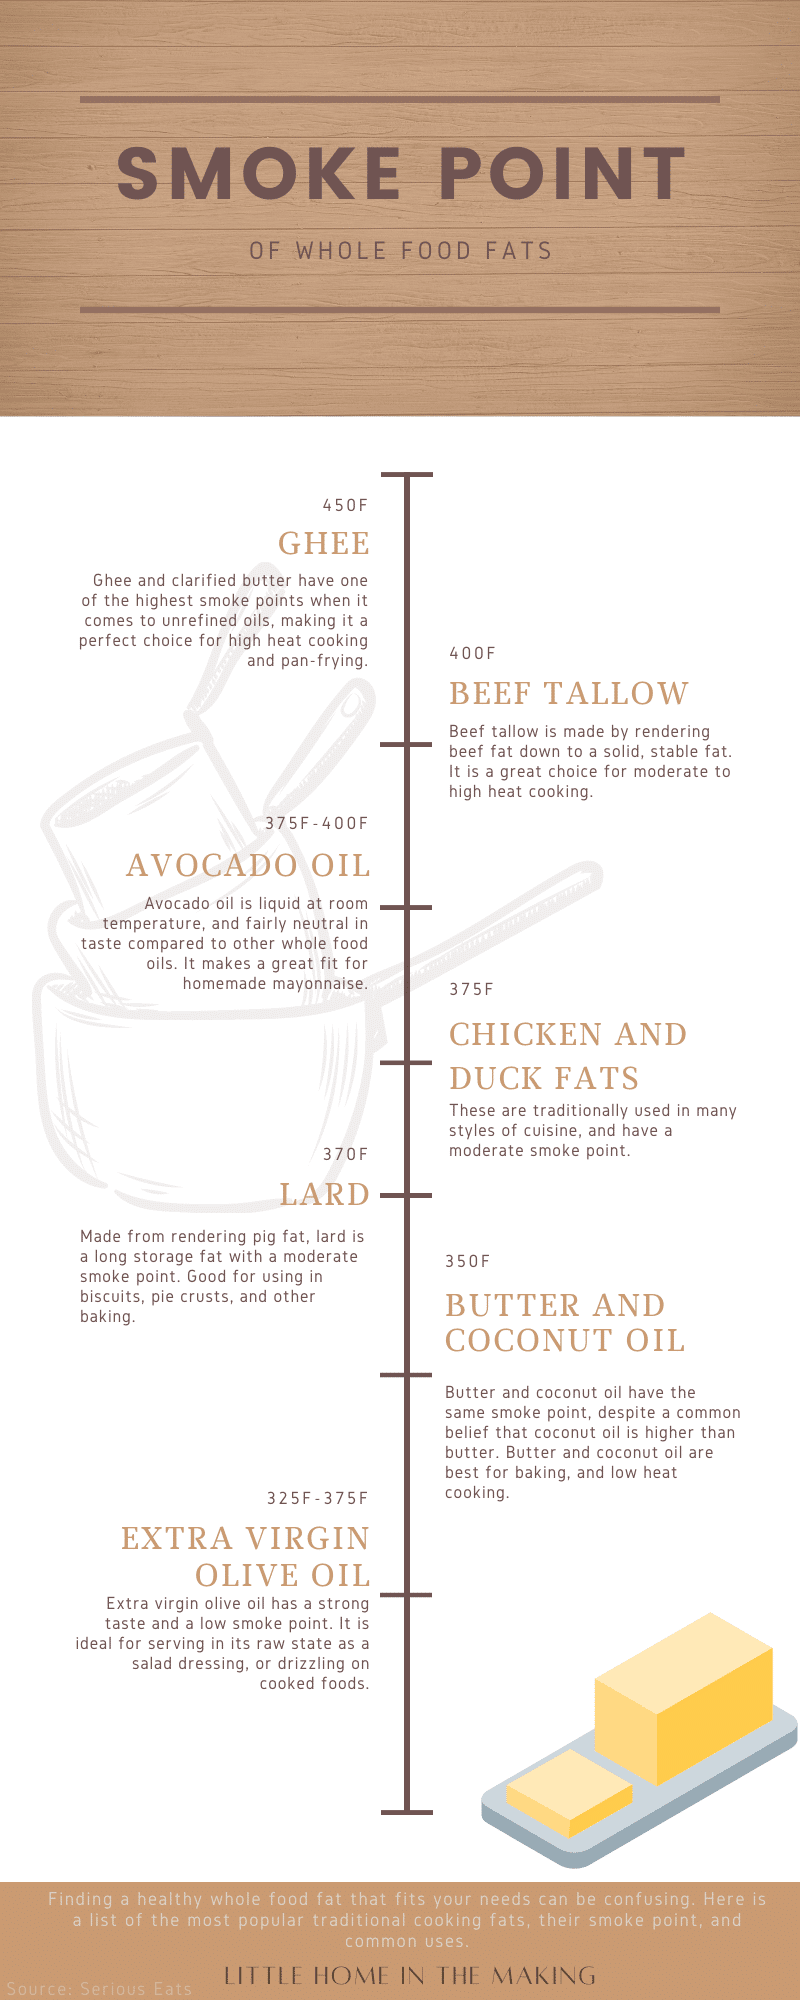
Smoke Points of the Most Popular Traditional Fats
Here's an infographic I made with the various popular traditional cooking fats, along with their smoke points and general uses. My source is this post on Serious Eats.
How to Make Ghee in the Instant Pot
All you need is one wonderful ingredient: Butter.
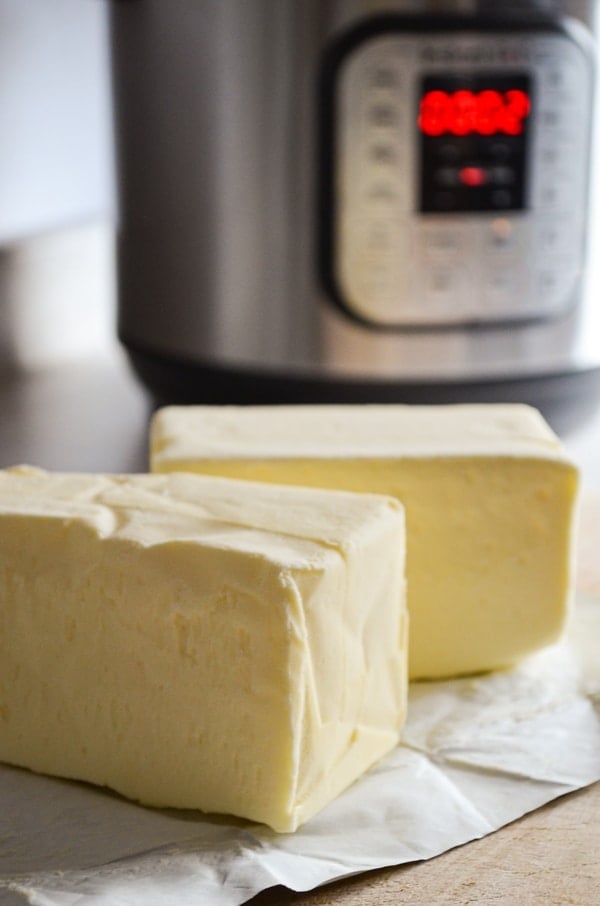
Yes, ghee isn't really so much a recipe as it is a method. You are essentially rendering one product (butter) into another (ghee) by removing milk solids and moisture. Once you have this down pat (and I promise it is EASY), you won't have to refer to a recipe ever again.
I start with two 1-pound blocks of butter. In the future, since we use a fair bit of ghee, I'm just going to stock up on butter when it's on sale and go for 8-10lbs. Since I'm going through the trouble of making ghee, and it lasts for a good long while, I might as well make a go of it. 2lbs is a good place to start though, because it makes approximately 3 cups of finished ghee (about 1 ½ pint jars). This will keep you in ghee for a little while so you can assess how you like using it.
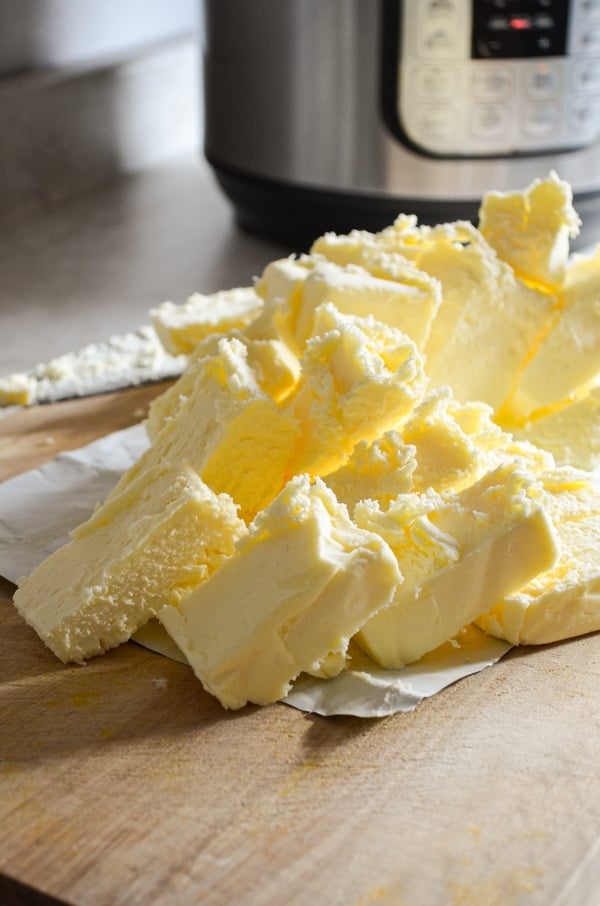
Step One: Cube Your Butter
Cut your butter into cubes. This makes it melt just a little bit quicker than placing entire blocks of butter in your Instant Pot. If you've opted to use sticks of butter, you can just cut them into fourths. To have 2lbs worth of butter sticks, you will need approximately 8 sticks of butter.
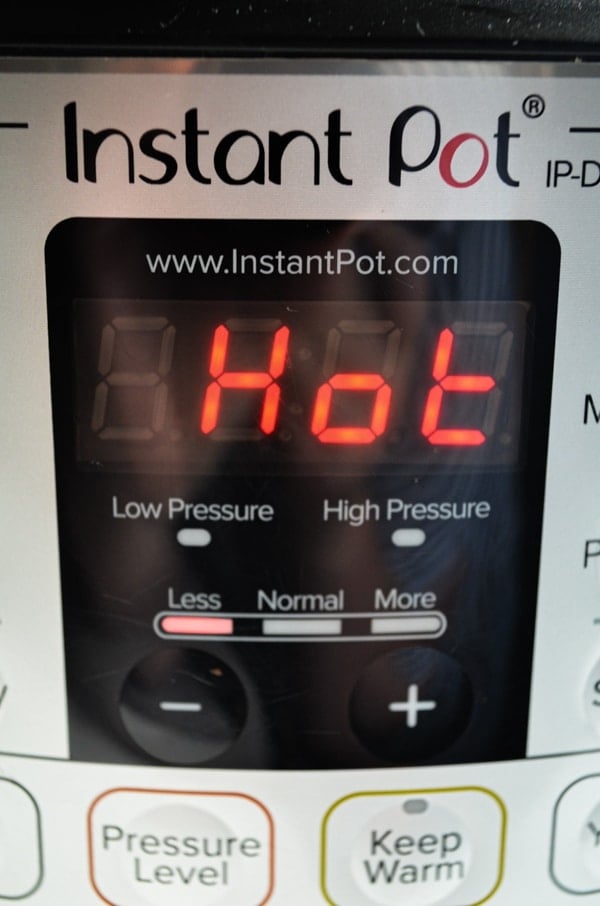
Step Two: Heat your Instant Pot
I'm using my 8qt Instant Pot for this recipe, but you can use a 6qt if that's what you have available. I prefer the 8qt because it has a larger surface area, making the butter spread out a bit more and makes for a nice even heat. Homemade ghee may take a little longer in the 6qt model, but it probably won't be significant.
You want to heat your Instant Pot to the "sauté" function, but you want to select the "less" option, rather than "normal" or more. You do this by hitting the "sauté" button until the light comes on, indicating you have selected the "less" option. This is important because you don't want to burn or boil your instant pot ghee. You are aiming for a gentle simmer and the typical sauté setting is not a low enough heat.
If your ghee is boiling, rather than simmering, go ahead and select the "warm" option for a while and see how that works for you.
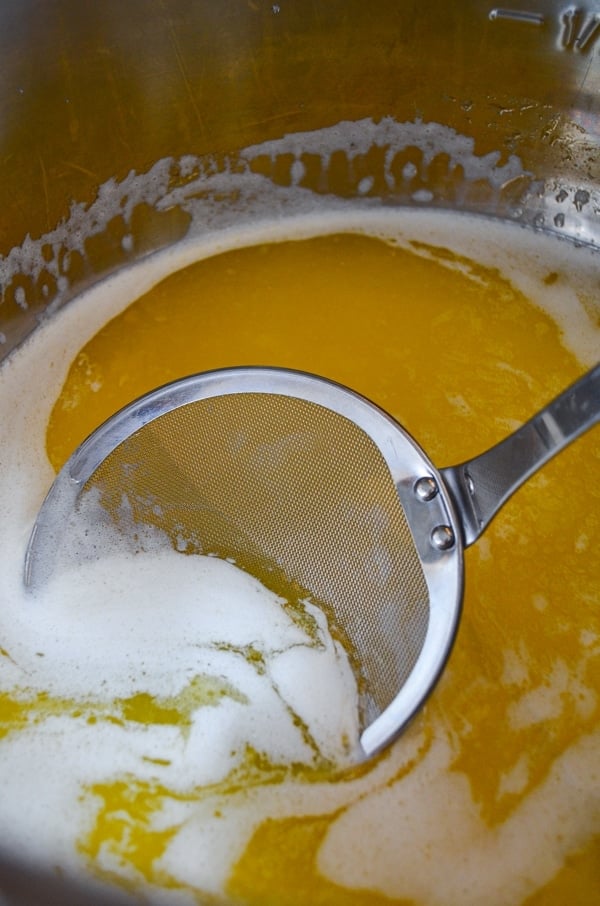
Step Three: Melt and Skim
Let the butter melt completely before starting to skim. You can watch over your ghee and skim constantly, but really it doesn't make a difference if you busy yourself with other things and come back to it occasionally to skim. Since you're using a low setting on the Instant Pot, you don't need to babysit it as much as if you were using a stovetop method.
For skimming, I love love love using a skimming ladle. Nothing works as well for this task as a skimming ladle does. A spoon does the trick, but you end up discarding more actual ghee/clarified better versus when you use a skimming ladle.
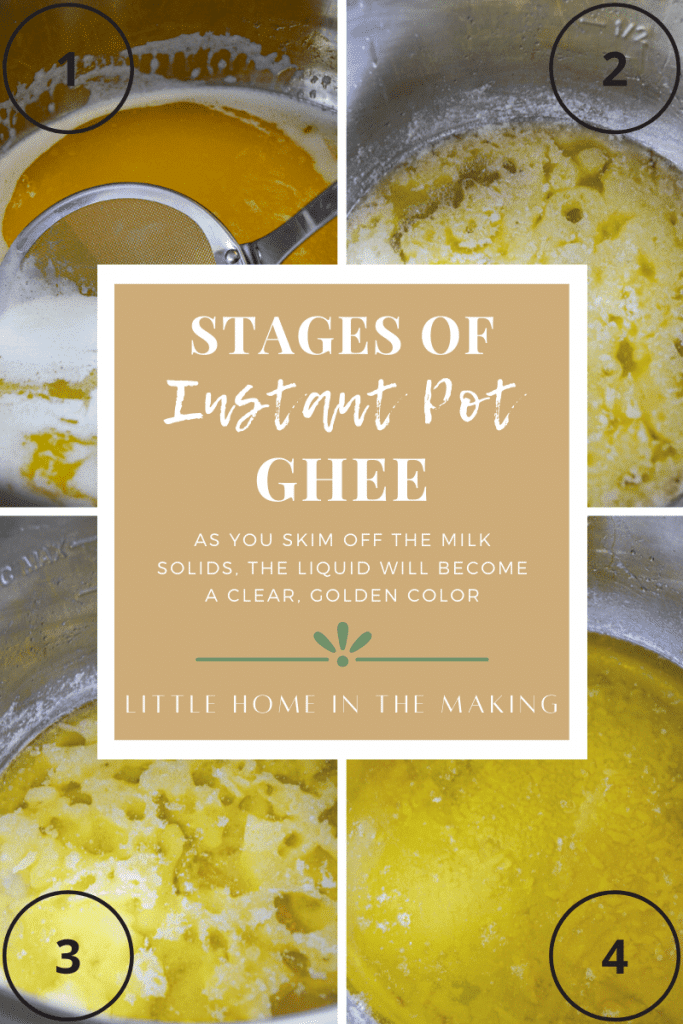
Step Four: Just Keep Skimming
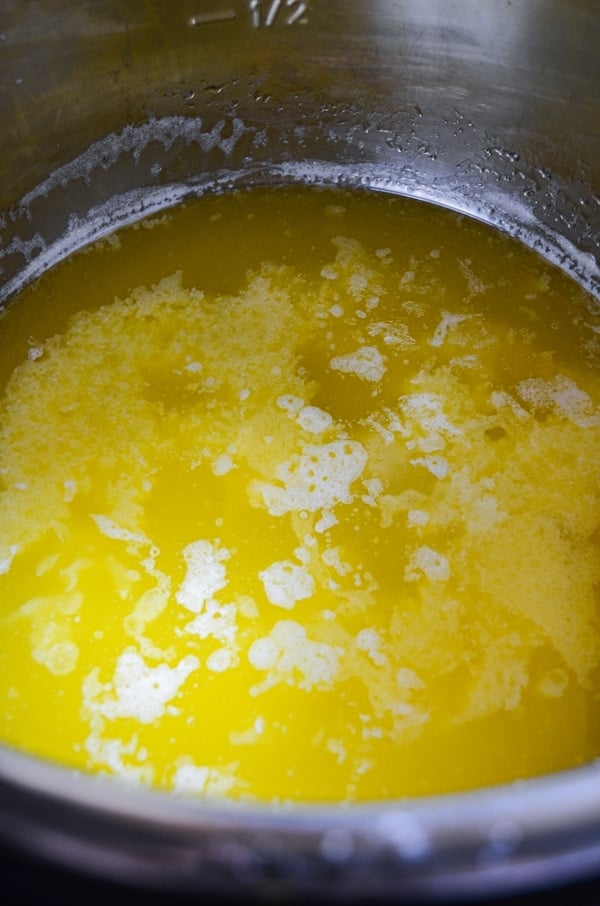
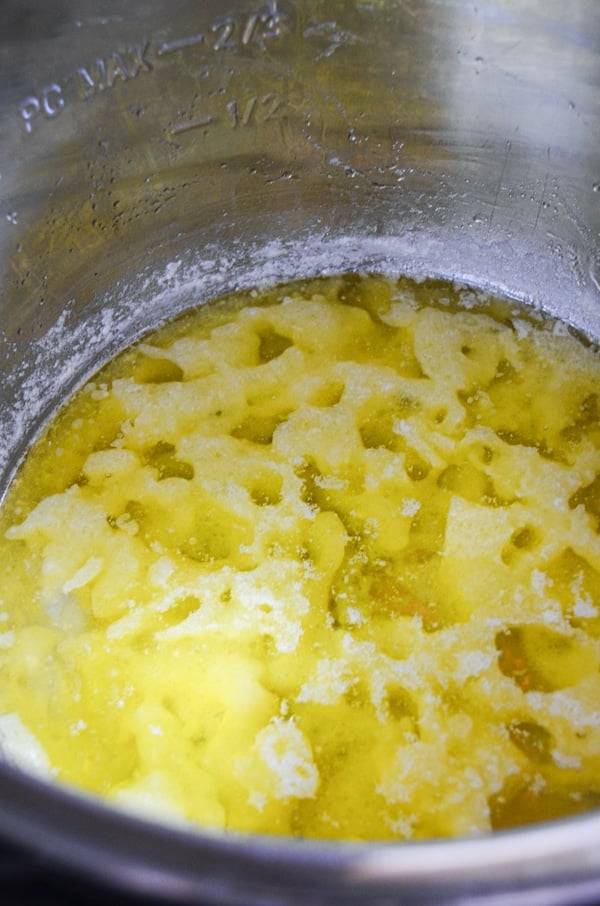
Continue to skim the foam and milk solids that rise to the top of the simmering liquid. You can definitely step away and work on other tasks as you do this, just ensure you keep a relatively close eye on it, as you don't want it to boil.
You can see in the image above the various stages that you ghee will go through as the butter begins to clarify. Towards the end (image 4), your ghee will be a bright golden color. At this point, your liquid will stop simmering and shimmer more like oil does over heat. This is because the milk solids have been removed, and only pure butterfat remains.
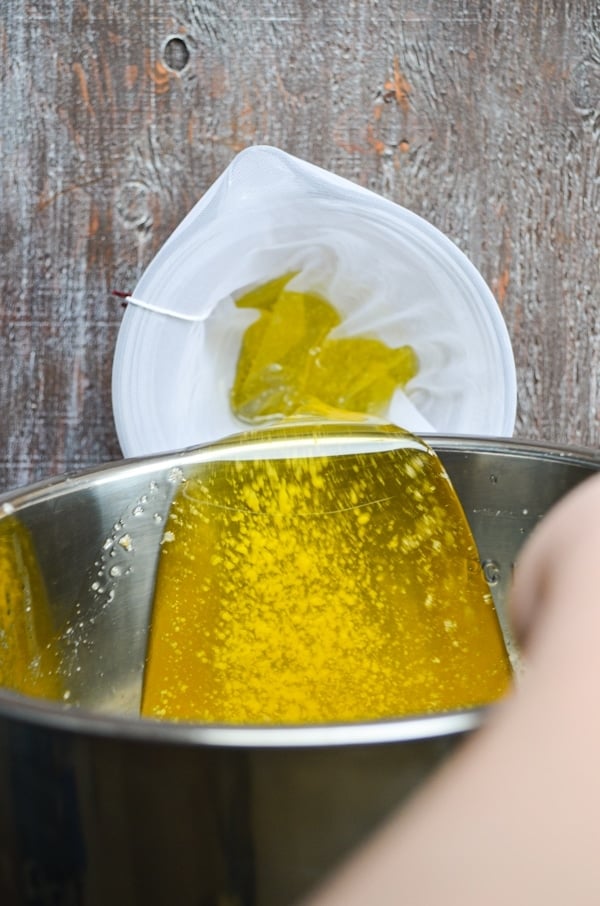
If you're looking to make clarified butter, you can stop and strain at this point. If you're wanting to go for the longer storage time of ghee, let your fat continue to cook until the bottom has brown, toasted bits. Then strain using a coffee filter, nut milk bag, or butter muslin.
Step Five: Strain
Once you have removed the milk solids via skimming, it is time to add the extra step of straining. This ensures all remaining milk solids are removed, which makes for a longer shelf life. If you're using clarified butter because you are sensitive to dairy, it is particularly important to strain your end product sufficiently.
There are several ways to strain your ghee, which I briefly mentioned in Step Four.
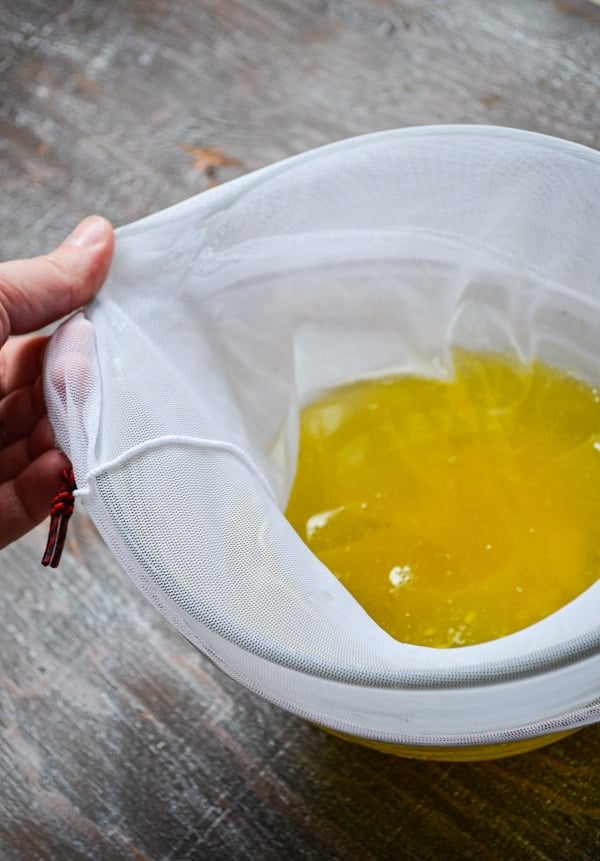
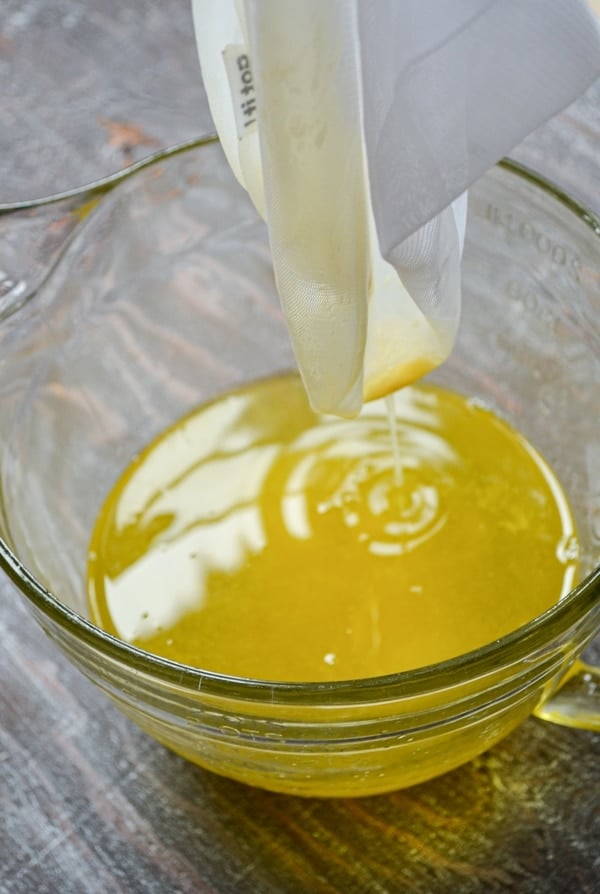
- Nut Milk Bag: I used this method in the photographs for this post, since I had one on hand and I love how carefully nut milk bags work for straining all manner of things. They can be purchased on Amazon and can be washed and reused over and over again. These are particularly useful if you like making your own coconut or almond milk, but also work for straining milk kefir and water kefir grains.
- Butter Muslin: This is finer than regular muslin or cheesecloth. For straining your Instant Pot Ghee, you want a very fine weave to ensure all of the milk solids are left behind. Butter muslin is an extremely fine weave, making it a perfect fit. Line a strainer with butter muslin and set over a large bowl. Pour your ghee into the lined strainer, and your ghee will collect in the bowl below.
- Coffee Filter: This is probably the most time consuming option, but it does make for a very thorough straining. I've tested this recipe with a pour over coffee dripper fitted with a coffee filter. This was great because I was able to strain directly into the glass jars I was storing my ghee in. Although it was a slow process, I know that all of the milk solids were completely removed.
Step Six: Bottle and Store
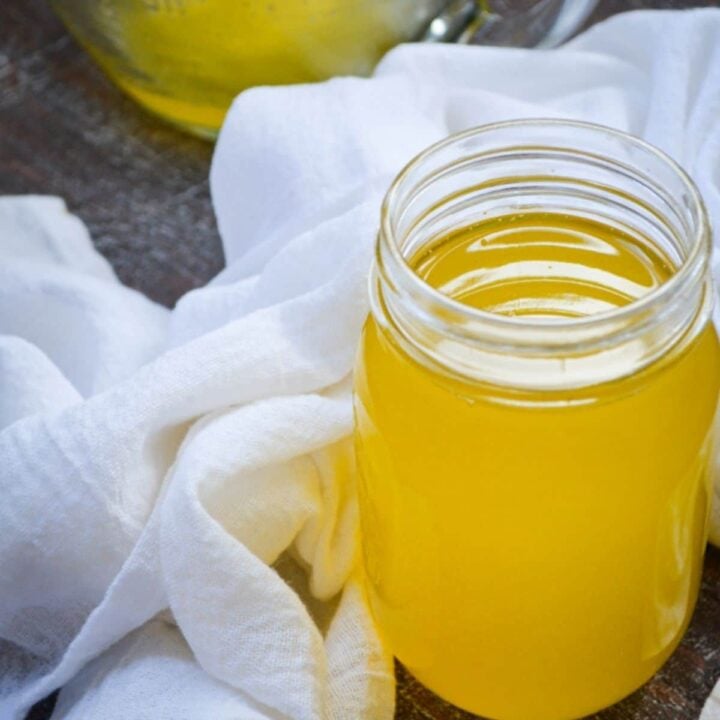
Now that your butter has been clarified and turned into wonderful ghee, you're ready to pour your ghee into containers and store them for later use. Because I'm extra careful, I like to sterilize my glass jars and make sure they are completely dry before pouring my ghee into them. I keep my ghee in the fridge for extra precautionary measures, but many people place ghee at room temperature for 3+ months (see some of my storage tips towards the top of the post).
Once you have your ghee poured into clean containers for storage, let them cool slightly before placing a lid on top. If you put a lid on top of a hot jar of ghee, you may get condensation, which will produce water and make spoilage more likely. Can you tell I'm hyper-vigilant about food safety? It's the canning lady in me. 😊
Scroll down for the detailed printable recipe and slideshow video 👇
Instant Pot Ghee - Homemade Clarified Butter
Who knew it could be so easy to make ghee at home? The Instant Pot makes this process even easier, and results in a long storing cooking fat, perfect for high heat cooking.
Ingredients
- 2 lbs Unsalted Butter, grass-fed, if possible
Instructions
- Select the "Sauté" function on your Instant Pot, and select the "less" option for the lowest sauté temperature. Set the timer for 60 minutes.
- While the Instant Pot begins to heat, cut your butter into 1-2" cubes.
- Once the Instant Pot is heated thoroughly, add the cubed butter to the insert of the Instant Pot.
- Stir the butter with a wooden spoon until it is completely melted.
- Once the butter is melted, a low simmer will begin, and you will see foam and milk solids begin to rise to the surface. Use a skimming ladle or metal spoon to remove the milk solids. I like to place mine in a small container and use in mashed potatoes or to top roasted chicken. You do not need to stand close by and skim all the foam as it rises, just come by every so often and skim off what has risen to the surface.
- Milk solids will continue to rise to the surface. Continue to skim them as they do. If the heat ever becomes to high and the butter begins to boil, lower it to the warm function and proceed with the remaining instructions.
- Keep skimming the milk solids every so often as they rise, until there are no more milk solids and foam and the resulting product is a golden liquid. If you are opting for a clarified butter, you can strain at this point. If you are wanting to make ghee (removing the water, as well as milk solids), wait for the remaining milk solids on the bottom to turn a toasty golden color. Then, you may strain. Once you have made "ghee" the bottom will have a light brown color, and the liquid will be shimmering, rather than simmering. This is because the smoke point of ghee is much higher than butter, so it is acting as a stable oil at this point.
- Fit a medium sized bowl with a nut milk bag or a fine sieve lined with cheesecloth. Pour the ghee through your method of straining. This additional step helps remove all of the milk solids from the ghee, ensuring there is no casein left behind, and helps extend the storage life. I have also found success with using a clean pour-over coffee maker and a coffee filter, although it takes much longer.
- Remove the nut milk bag or strainer, leaving all of the ghee behind. Discard the remaining milk solids and transfer the ghee into clean, glass jars fitting with an airtight lid. I like to sterilize mine beforehand to ensure a long storage without spoilage.
- Store at room temperature for up to 3 months (if using sterilized jars). Once opened, move to the refrigerator. I prefer to store mine in the refrigerator, since it will be good for 6-12 months and I don't have to worry one bit. Just use clean spoons and knives when you take out your ghee for cooking.

Notes
Use sterilized glass jars and lids for best results and longest storage time. If you are simply clarifying the butter, keep in the fridge. If you waiting for the milk solids to turn golden, you have made ghee and the storage time will be longer. This means you can store the ghee at room temperature in a sterilized glass jar if desired.
Note: Ensure you keep a close eye on the butter. You are looking for a gentle simmer, not a rapid boil. Turn the heat down on the Instant Pot if your simmer is starting to approach the boiling point.
Nutritional information is calculated using MyFitnessPal and is an estimate only.
Nutrition Information:
Yield: 64 Serving Size: 1 gramsAmount Per Serving: Calories: 102Total Fat: 12gSaturated Fat: 7gTrans Fat: 0gUnsaturated Fat: 4gCholesterol: 30mgSodium: 2mgCarbohydrates: 0gFiber: 0gSugar: 0gProtein: 0g
Nutritional information is an estimate only.

Sources:
What's a Smoke Point and Why Does it Matter? - Serious Eats
Music:
Lazy Afternoon - Michael Ramir C via Mixkit.co












Leave a Reply