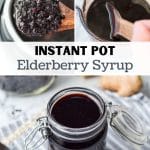
If you're looking for a great preventative to help boost your immune system during the cold and flu season, you have to try this easy recipe for Instant Pot Elderberry Syrup! Made with just 5 ingredients, this beginner-friendly recipe is ready to use in less than an hour.
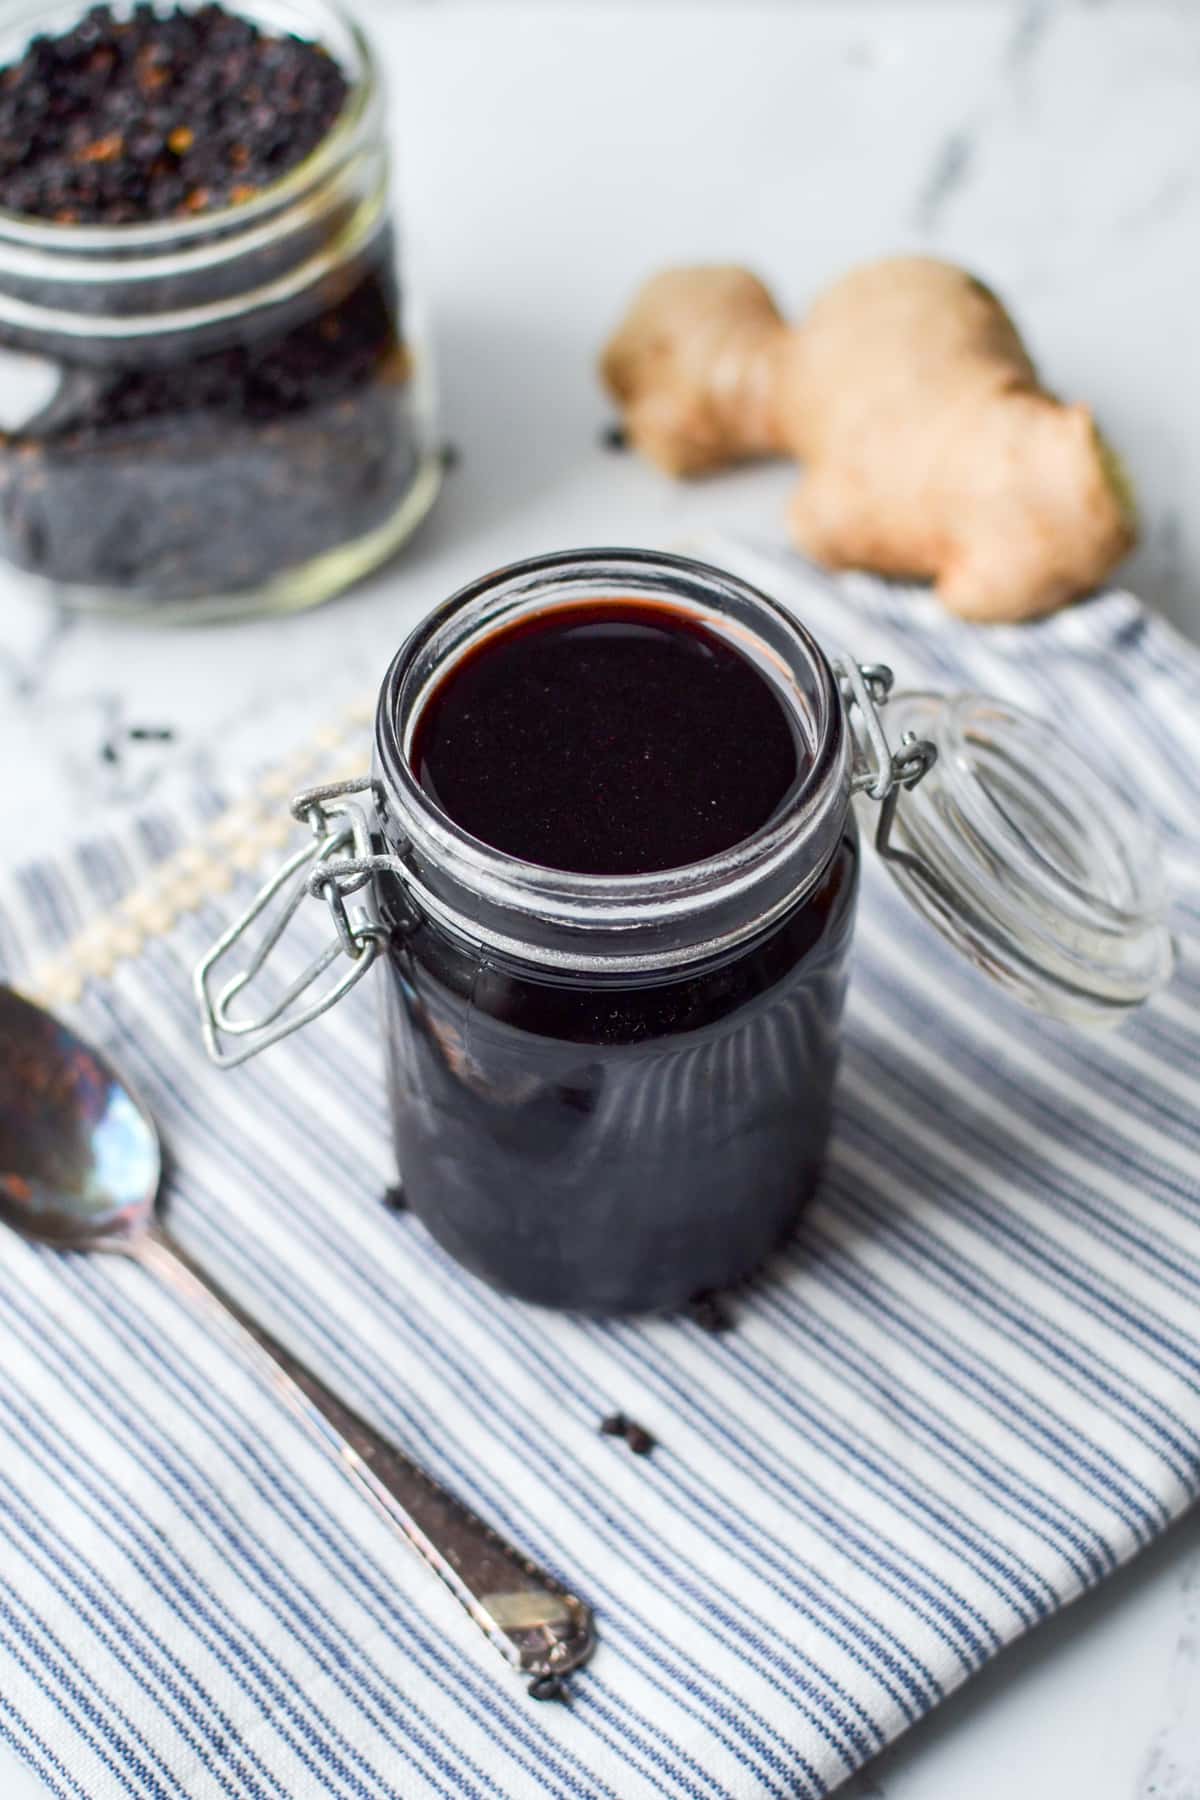
Elderberry syrup is a mainstay in the home apothecary. Not only is it easy to make, it's also a powerful remedy and preventative during the cold and flu season (typically October through to May where I am in the Northeast).
Elderberries have been shown to shorten the duration of colds and flu once they are active, and is super simple to craft with just a few basic ingredients. As long as you've ordered some dried elderberries (or have some fresh ones on hand), you probably have almost everything you need to make this popular herbal remedy.
This version was adapted from a recipe from Nancy and Michael Phillips (author of The Holistic Orchard) that was given to the renowned herbalist Rosemary Gladstar. I've worked on customizing it for the Instant Pot, making for an easy and hands-off approach to crafting homemade elderberry syrup.
Benefits of Elderberry Syrup
Elderberries (and a syrup made from their cooked juices) have been used for many years in folk and herbal medicine. Their efficacy has even been studied, with favorable outcomes for helping with both cold and flu symptoms in double blind studies. Here are a few of the most touted benefits:
- Rich in antioxidants
- High in vitamin C
- A good source of phenolic acids, flavonols, and anthocyanins
- Shortens the duration of influenza
- Reduces the length of a cold
- Significantly reduces upper respiratory symptom during a cold or flu
Elderberry has been show to have a positive correlation with reducing the risk of a variety of diseases and syptoms. You can read more from Healthline, including citations to studies that have been conducted.
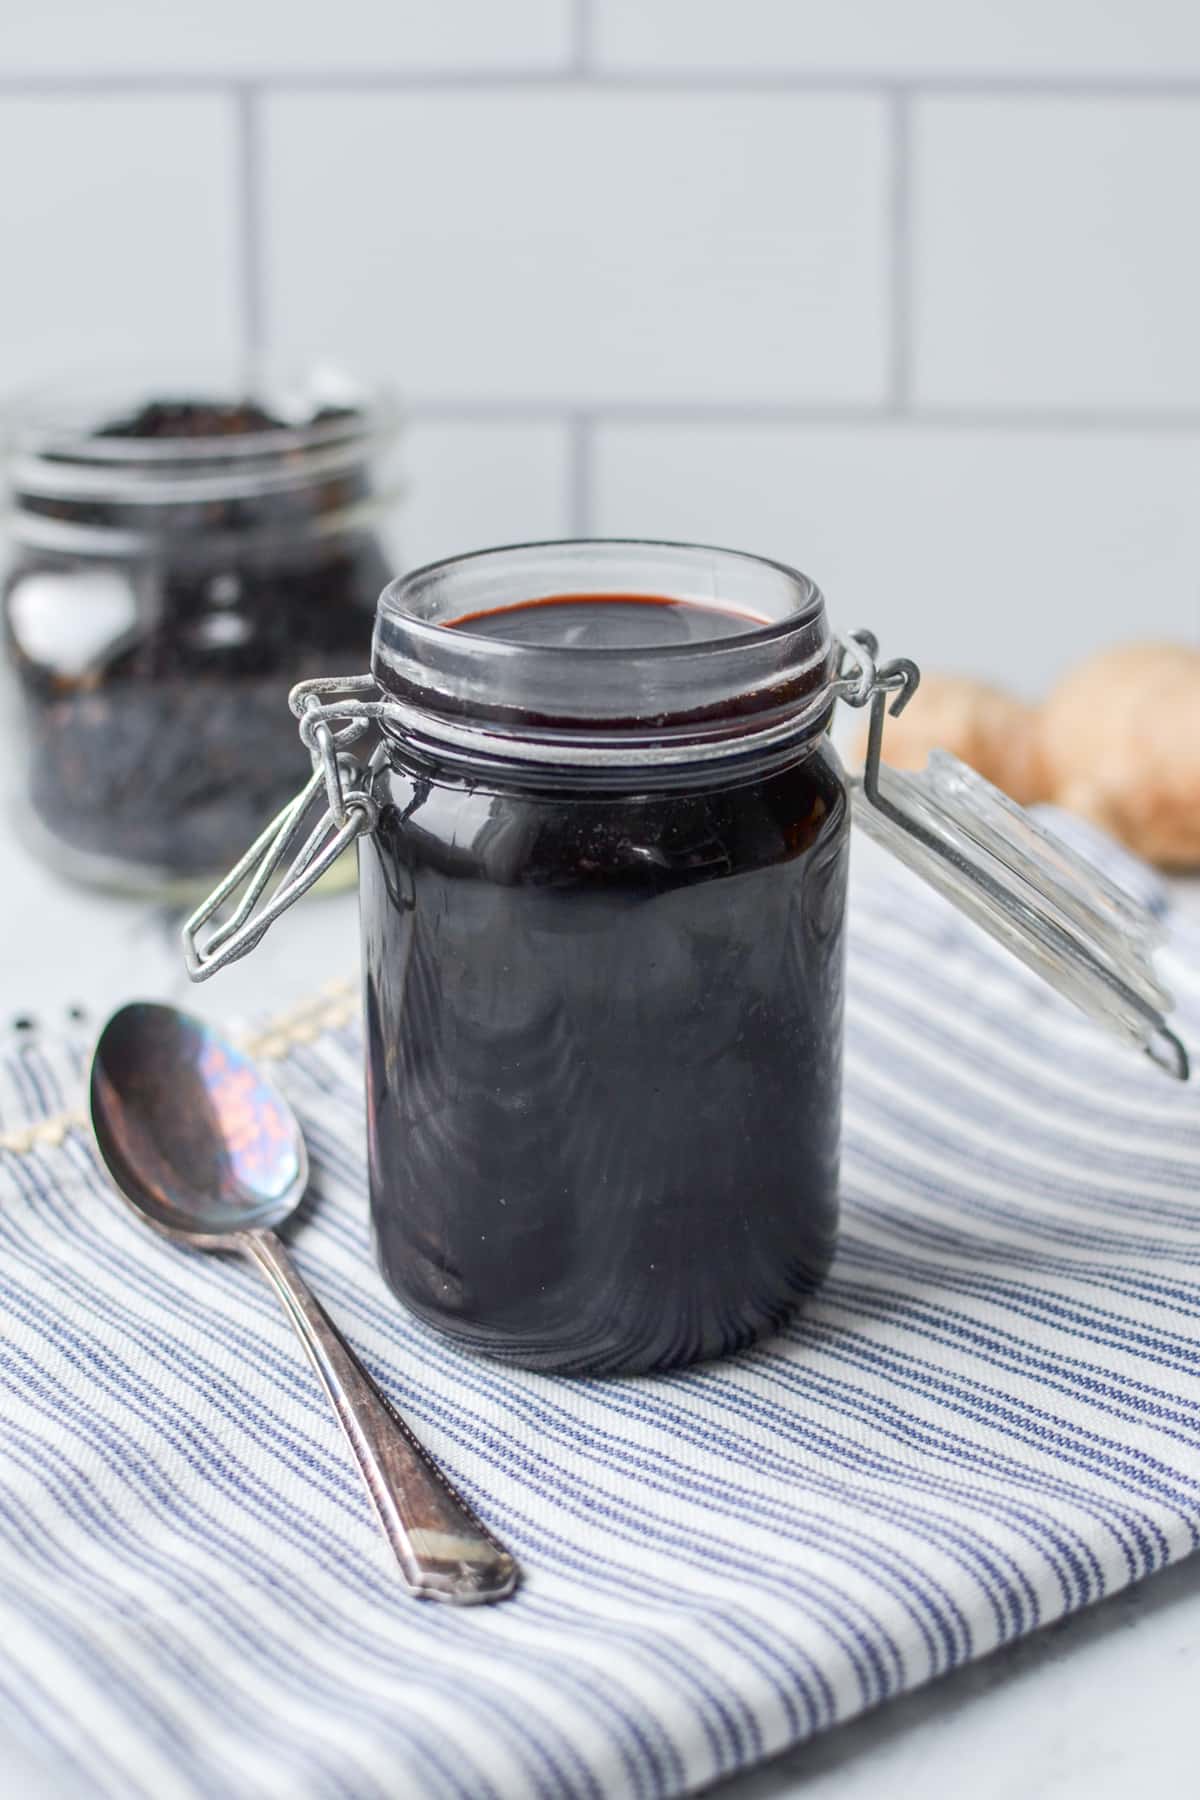
Can You Make Elderberry Syrup in an Instant Pot?
When I first though of the idea of making elderberry syrup in an Instant Pot, I was somewhat skeptical. Was it safe to make a herbal remedy under pressure? Would the high heat and pressure destroy the beneficial elements of this powerful remedy?
So naturally I set about doing some research, and I found this post from The Fewell Homestead (of which I am a long-time reader): Why you Shouldn't Make Instant Pot Elderberry Syrup.
In the post, Amy (who is an herbalist) argues that the reason why you should not make and use elderberry syrup is because the cyanide that is found in the seed of all stone fruits, is greatly reduced first by a longer cooking time, and secondly by the releasing of steam.
"When you don’t release the steam while cooking elderberries, there’s the potential of more cyanide build up in your syrup. In an instant pot, or a pot with a tight lid, the steam cannot escape as efficiently (if at all) as it would in a pot without a lid."
-Amy from The Fewell Homestead
Creating a Safer Syrup
I knew right away that I didn't want to take the risk of cooking the berries under pressure, but I still wanted to have a hands-off and stovetop-free approach to making this traditional recipe. Since I've used my Instant Pot many times to simmer using the sauté mode, I knew I could do the very same thing with the Instant Pot - and so this (safer) method was born.
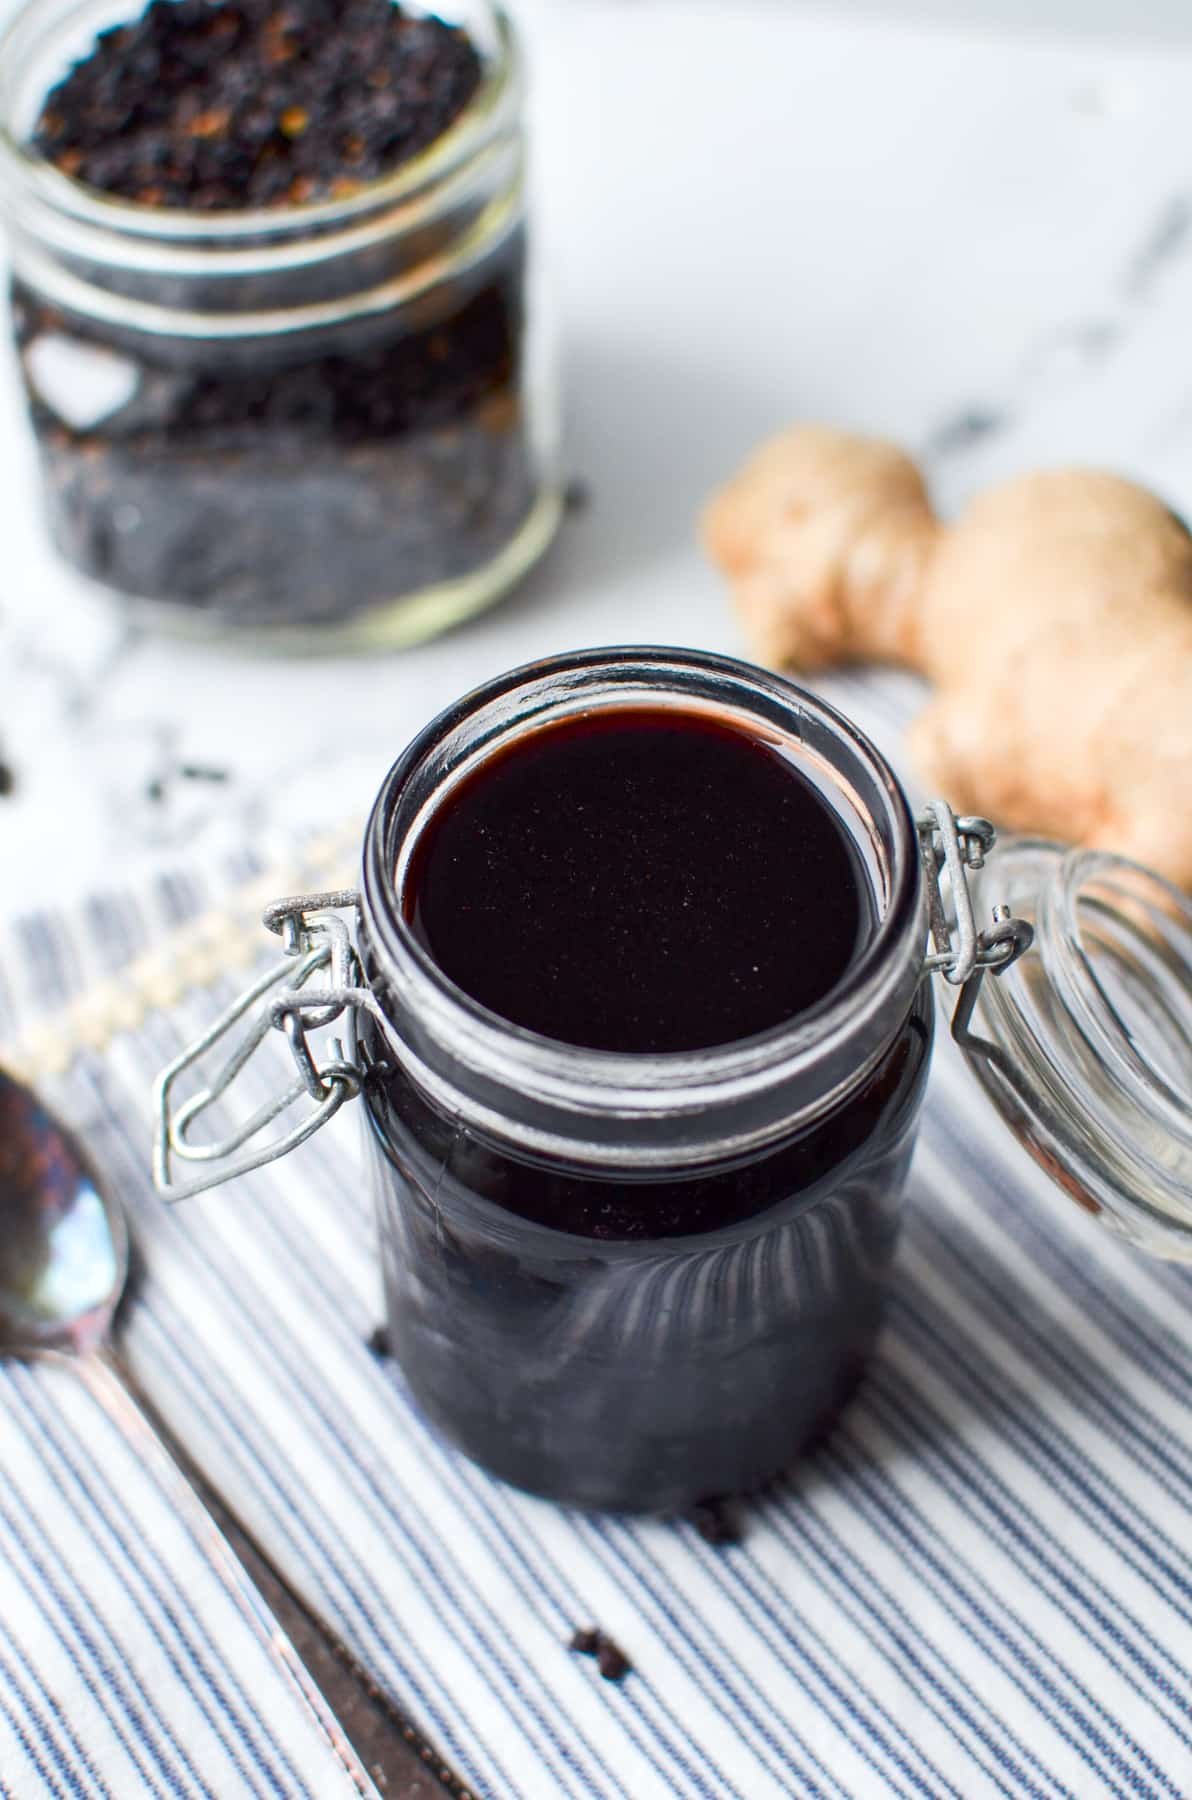
Instead of cooking the berries under pressure for a short time, you cook the berries with the lid off (or resting over half of the pot), allowing the steam to escape and the berries to cook down. It has worked perfectly, creating a syrup that is the same in consistency and flavor to that is made on the stovetop.
Better yet? It combines the longer cooking time and escaped steam to make a safe and easy Instant Pot elderberry syrup.
Ingredients and Equipment
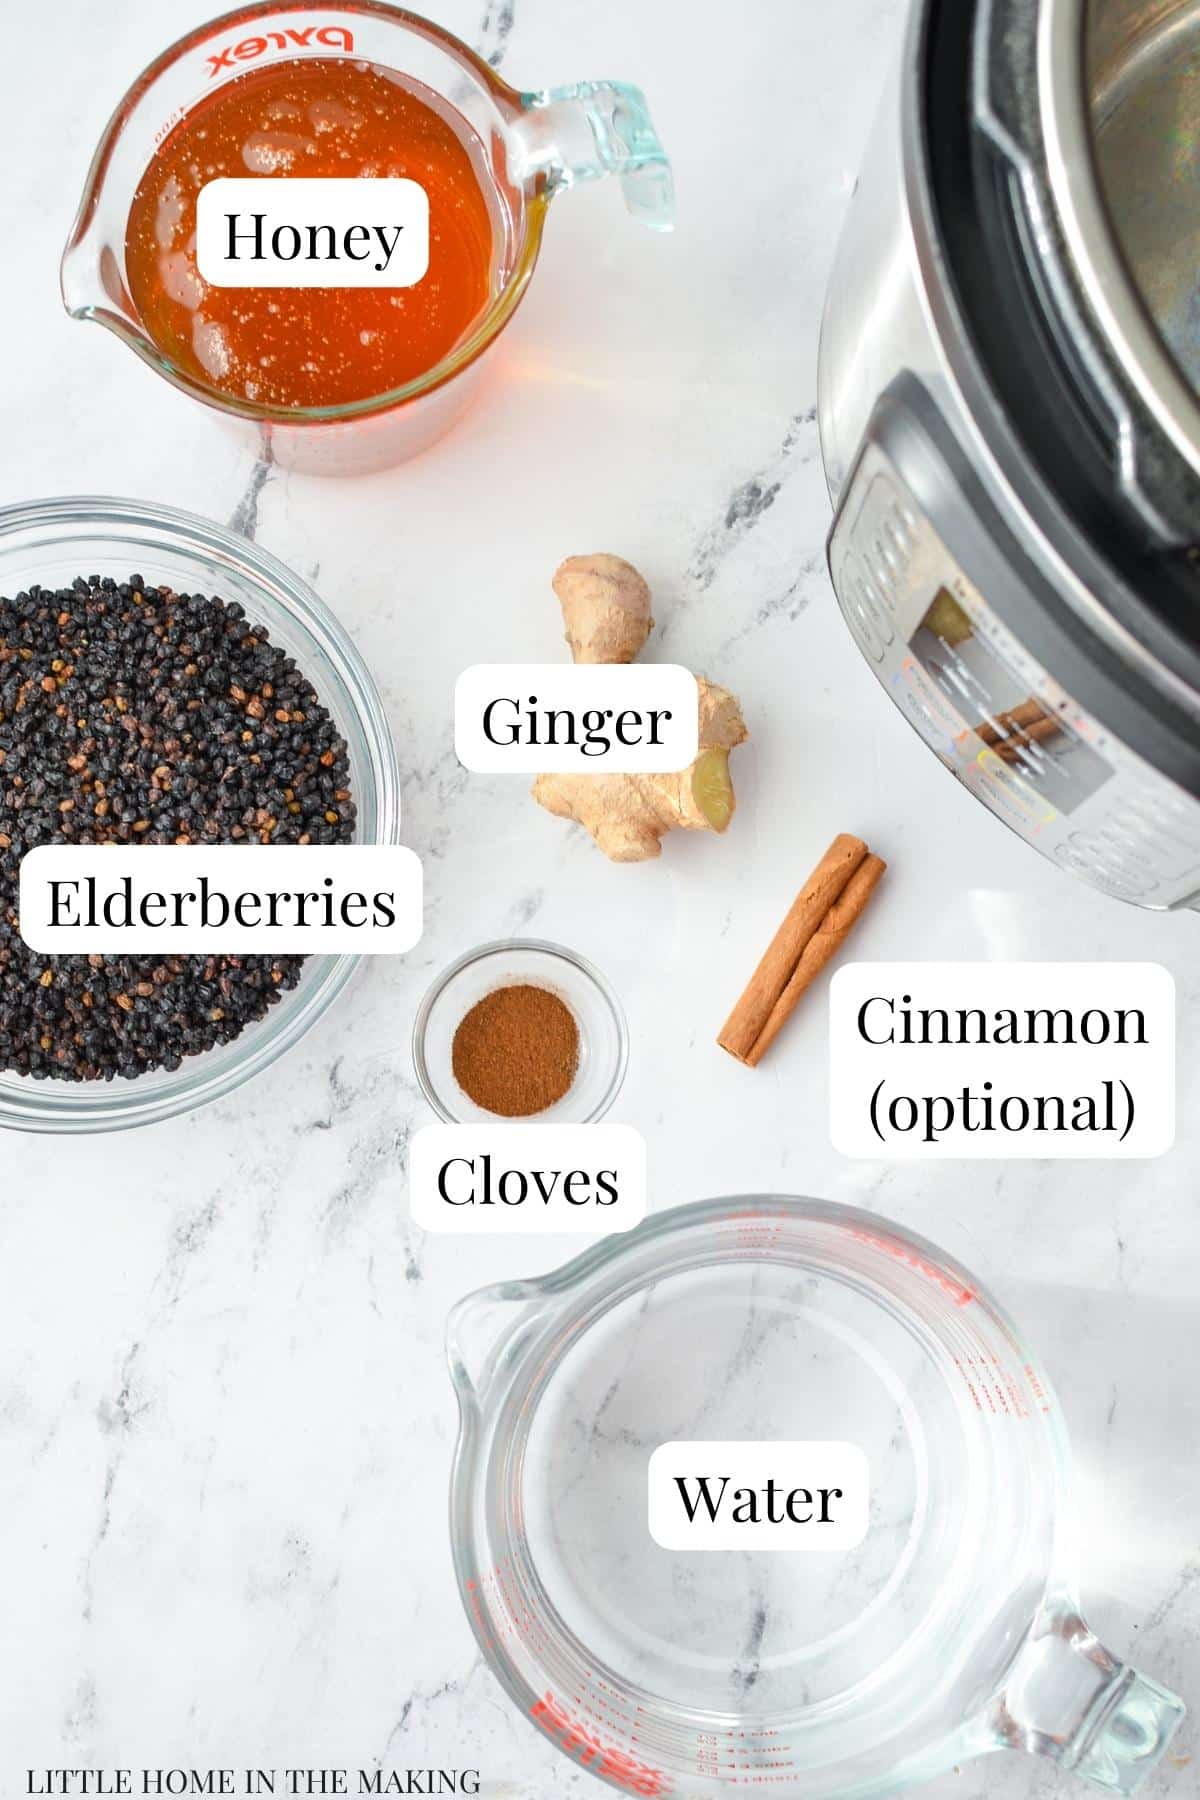
You will need:
- Elderberries: You can use either dried or fresh elderberries for this recipe. Dried are the most common, since they can easily be purchased online during the cold and flu season (I recommend these ones). If using fresh elderberries, be sure to see the recipe notes to make any necessary adjustments.
- Ground cloves: These should be easy to find in your spice cabinet! You could use a whole clove if you have it on hand, but the powdered stuff works just fine.
- Fresh ginger: Traditionally ginger has been used to help with nausea, but it is also antiseptic, warming, and decongesting, making it the perfect addition to elderberry syrup. It also tastes delicious!
- Cinnamon stick (optional): I like to add cinnamon to my elderberry syrup because of its flavor, but it's also great for clearing congestion. If you don't have a cinnamon stick, you can substitute it for ½ teaspoon of ground cinnamon.
- Water: You will need 4 cups of water for every 2 cups of dried elderberries. This will be simmered down and reduced to about 2 cups (or less) of elderberry infused liquid.
- Honey: You'll want to use an unpasteurized (or raw) honey in an equal measure of the strained elderberry juice. That could be up to 2 cups, so make sure you have enough on hand before getting started.
Equipment:
- Instant Pot: You can use whatever model you own, but be sure to leave off the lid to allow the steam to escape. I have the 8 quart Instant Pot duo, and I love it for making big batches of bone broth or homemade yogurt.
- Fine mesh or stainless steel strainer: I have this set of three mesh strainers, which work well for straining everything from bone broth, to kefir grains, and even the solids from this Instant Pot elderberry syrup.
- Glass measuring cup: You can use a glass bowl instead, but a large glass measuring cup allows you to measure the liquid level easily.
- Jar with a lid: For storing your elderberry syrup. You can use a standard quart mason jar, or whatever jar you happen to have a tight-fitting lid for.
- Medicine syringes, for serving (optional): While you can easily use a teaspoon or tablespoon for serving, toddlers and kids tend to take this easier when given with a medicine syringe. We keep some of these ones on hand for this purpose.
How to Make Elderberry Syrup in an Instant Pot (Safely)
Before you get started, make sure you pick over your elderberries. Remove any leaves, stems, or otherwise odd looking pieces.
Add 4 cups of water to the insert of your Instant Pot, followed by 2 cups of dried elderberries. If using fresh elderberries, add just ¼ cup of water and 4 cups of fresh elderberries.
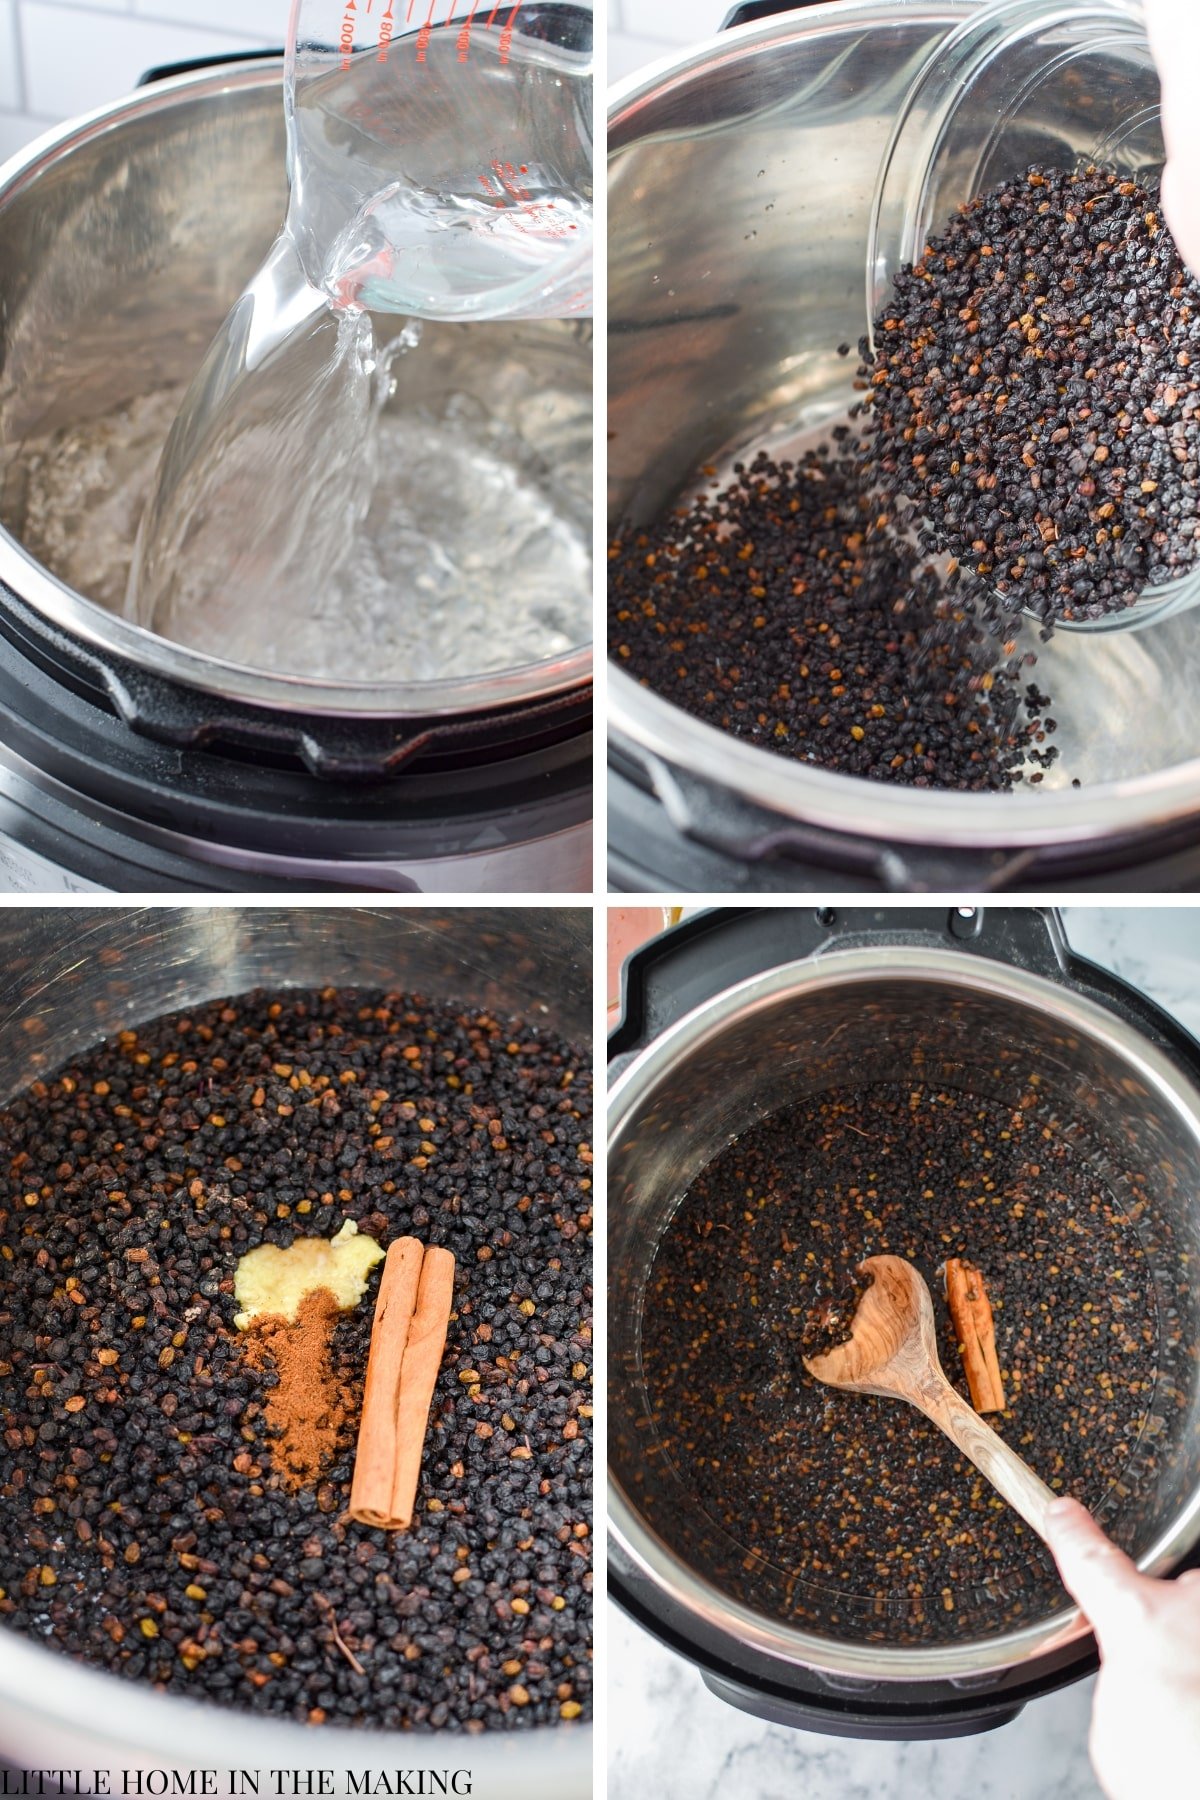
Then add the cinnamon stick, ground cloves, and freshly grated ginger and stir everything together to combine.
Cooking the Elderberries
- Set your Instant Pot to the "sauté" setting and select the high heat option.
- Bring the elderberries and water to a high simmer/low boil, then turn the saute option down to the "less" setting.
- Do not secure the lid during the cooking time, instead cover just half of the pot by simply resting the lid to one side of the pot. You WANT the steam to escape.
- Cook for 20-30 minutes, stirring often to prevent burning.
- Make sure to pull your pot away from the underside of your cupboards, as the steam can warp the wood.
- Once the elderberries have cooked for at least 20 minutes and are soft, check the liquid level - it should have reduced by about half.
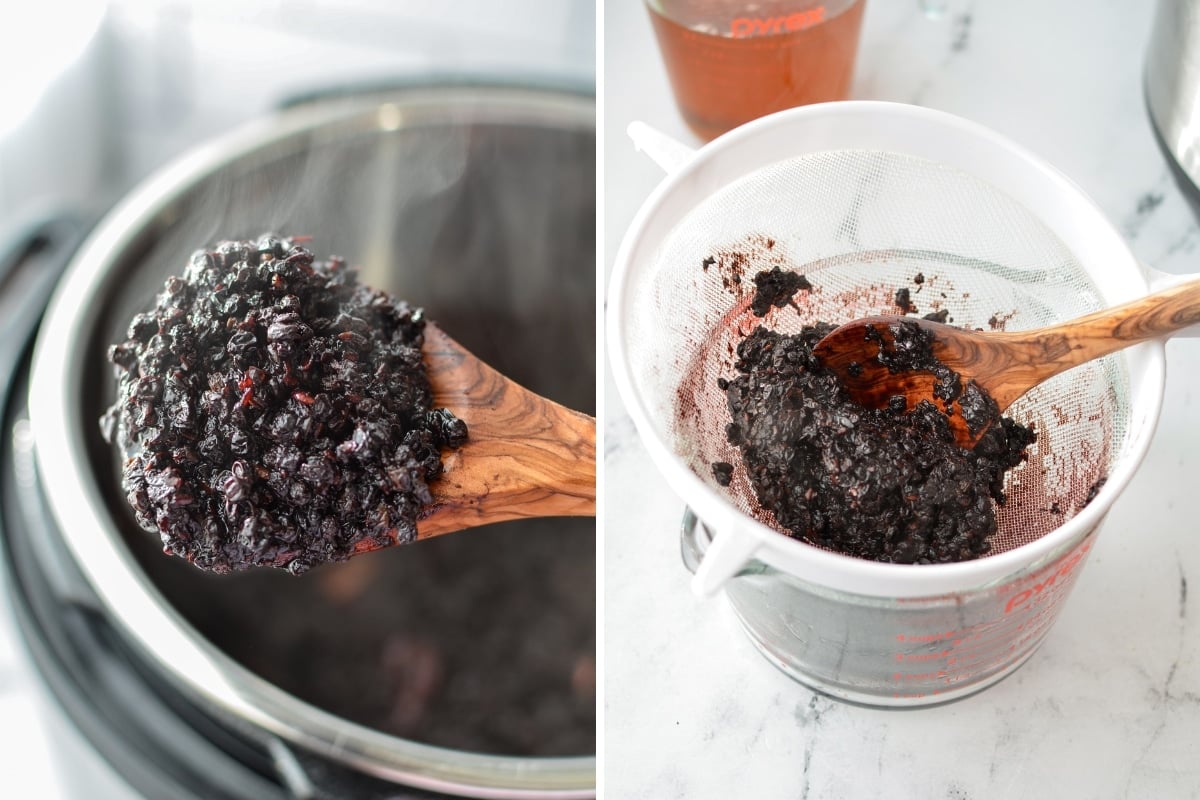
- Set a fine mesh strainer over a glass measuring cup and transfer the cooked elderberries and liquid, working in batches.
- Massage the berries with a spoon to help release the liquid, catching in the measuring cup (or bowl) below.
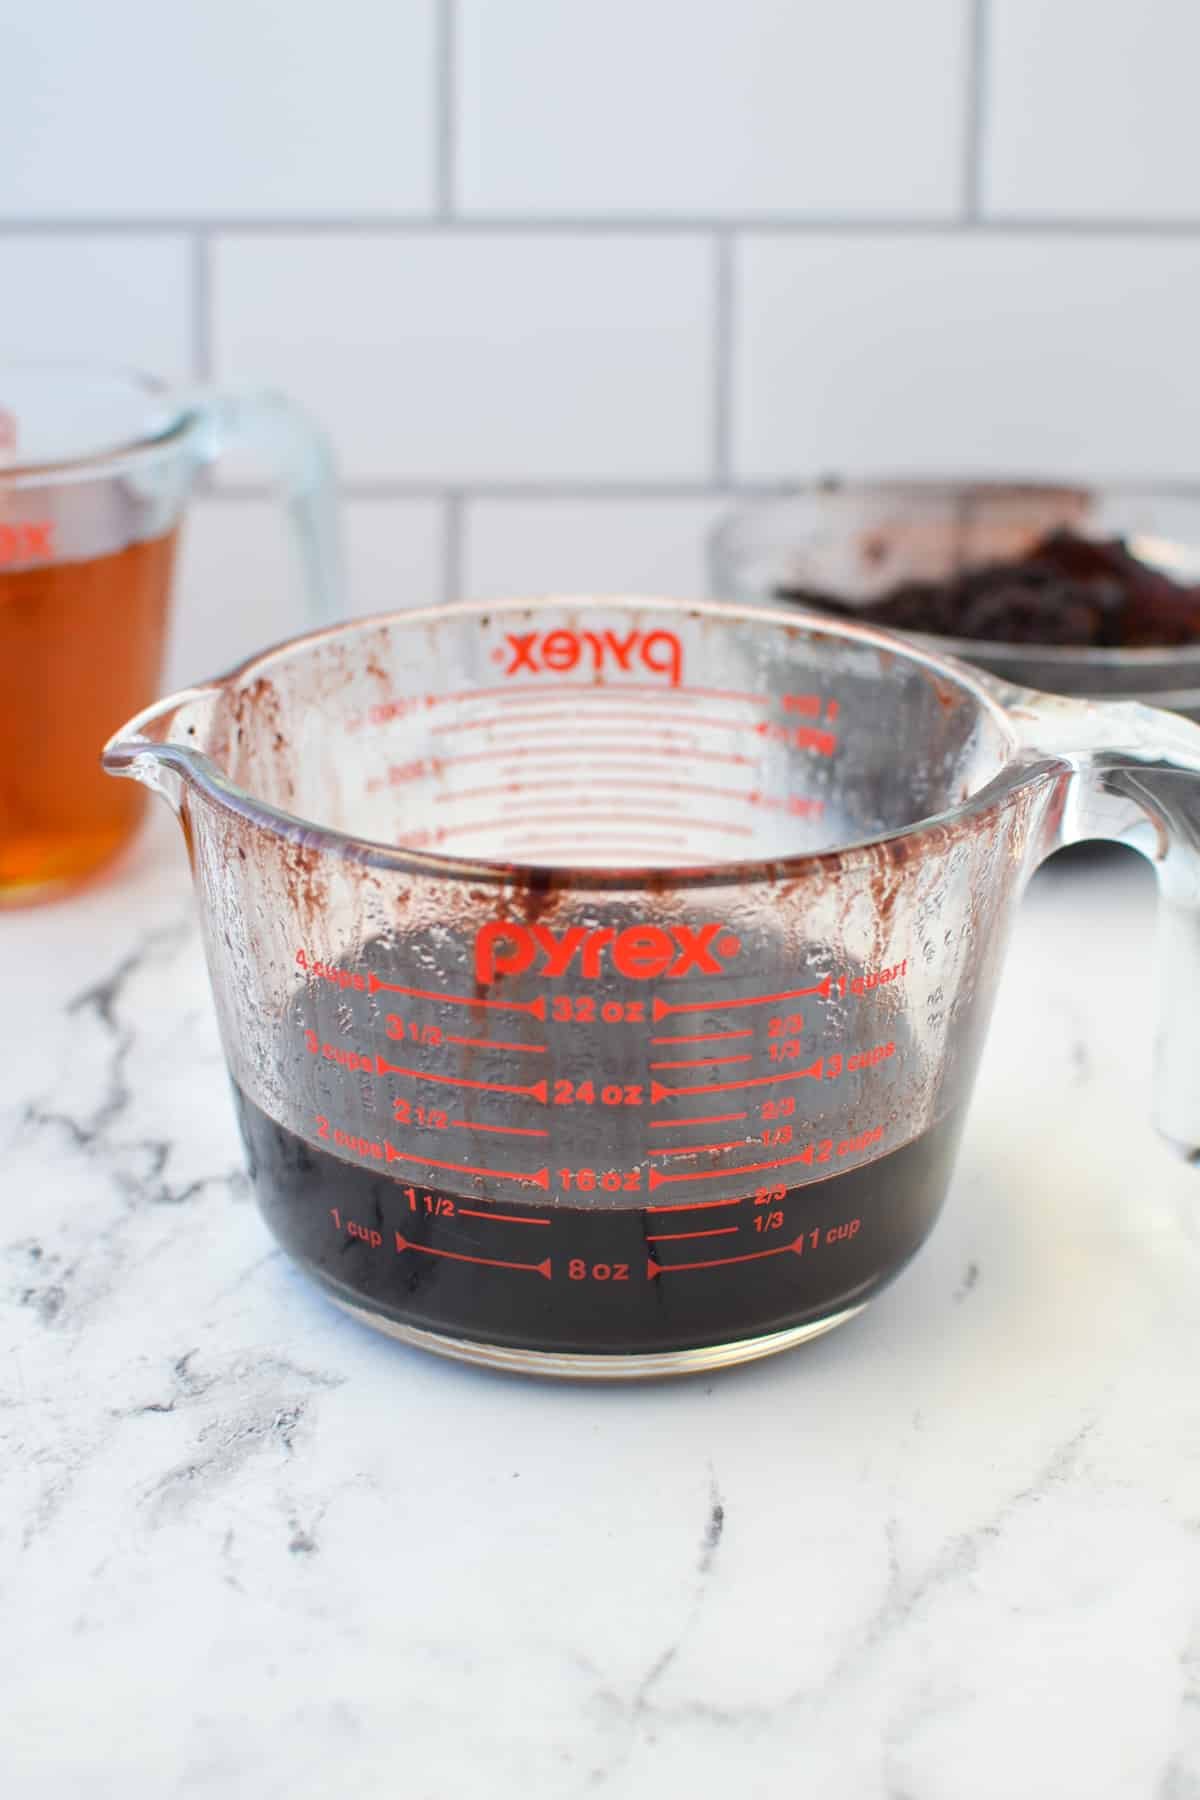
Checking the Elderberry Juice Concentration
- Once all of the solids are strained, check the liquid level. It needs to be reduced by at least half (so 2 cups).
- If the liquid is more than 2 cups, wipe the Instant Pot clean and add the liquid. Use the sauté function to simmer the strained liquid until it reduces to 2 cups or less.
Adding the Honey
I recommend allowing the mixture to cool down before adding the honey to the elderberry liquid. This is to preserve the enzymes in the honey, but it is an optional step. I look for a temperature below 104ºF (40ºC) before adding the honey.
Amy from The Fewell Homestead recommends that if you want the syrup to last for a longer period of time (or be shelf stable for some time), you can boil the honey and elderberry juice together. So that is an option if you don't expect to use your syrup within 2-3 months.
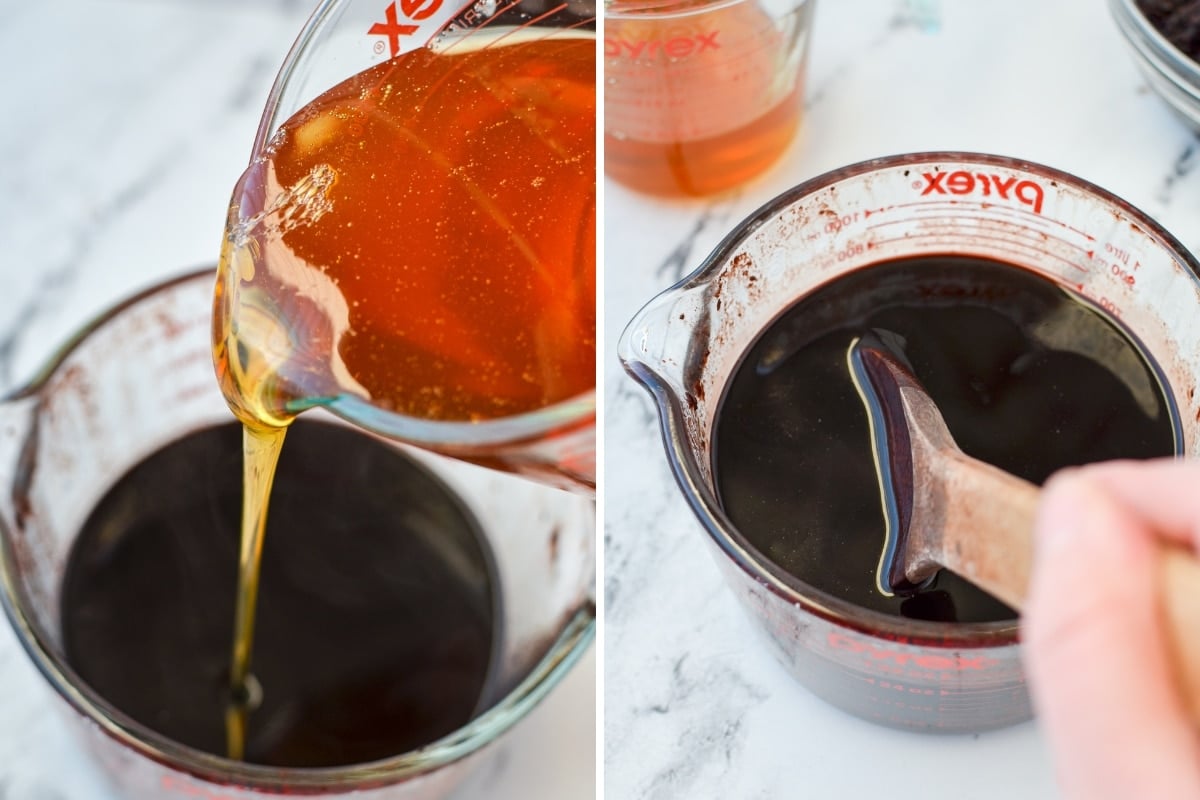
Otherwise, add an equal measure of raw/unpasteurized honey to the elderberry liquid. So if you have exactly 2 cups, add 2 cups of honey. If you have 1 ½ cups, add 1 ½ cups of honey and so on.
Then stir it all together until well combined. Cover the syrup with a lid or some plastic wrap and place in the fridge to chill. Once it is completely chilled (I do overnight, for the sake of ease), transfer it to a clean storage container with a lid.
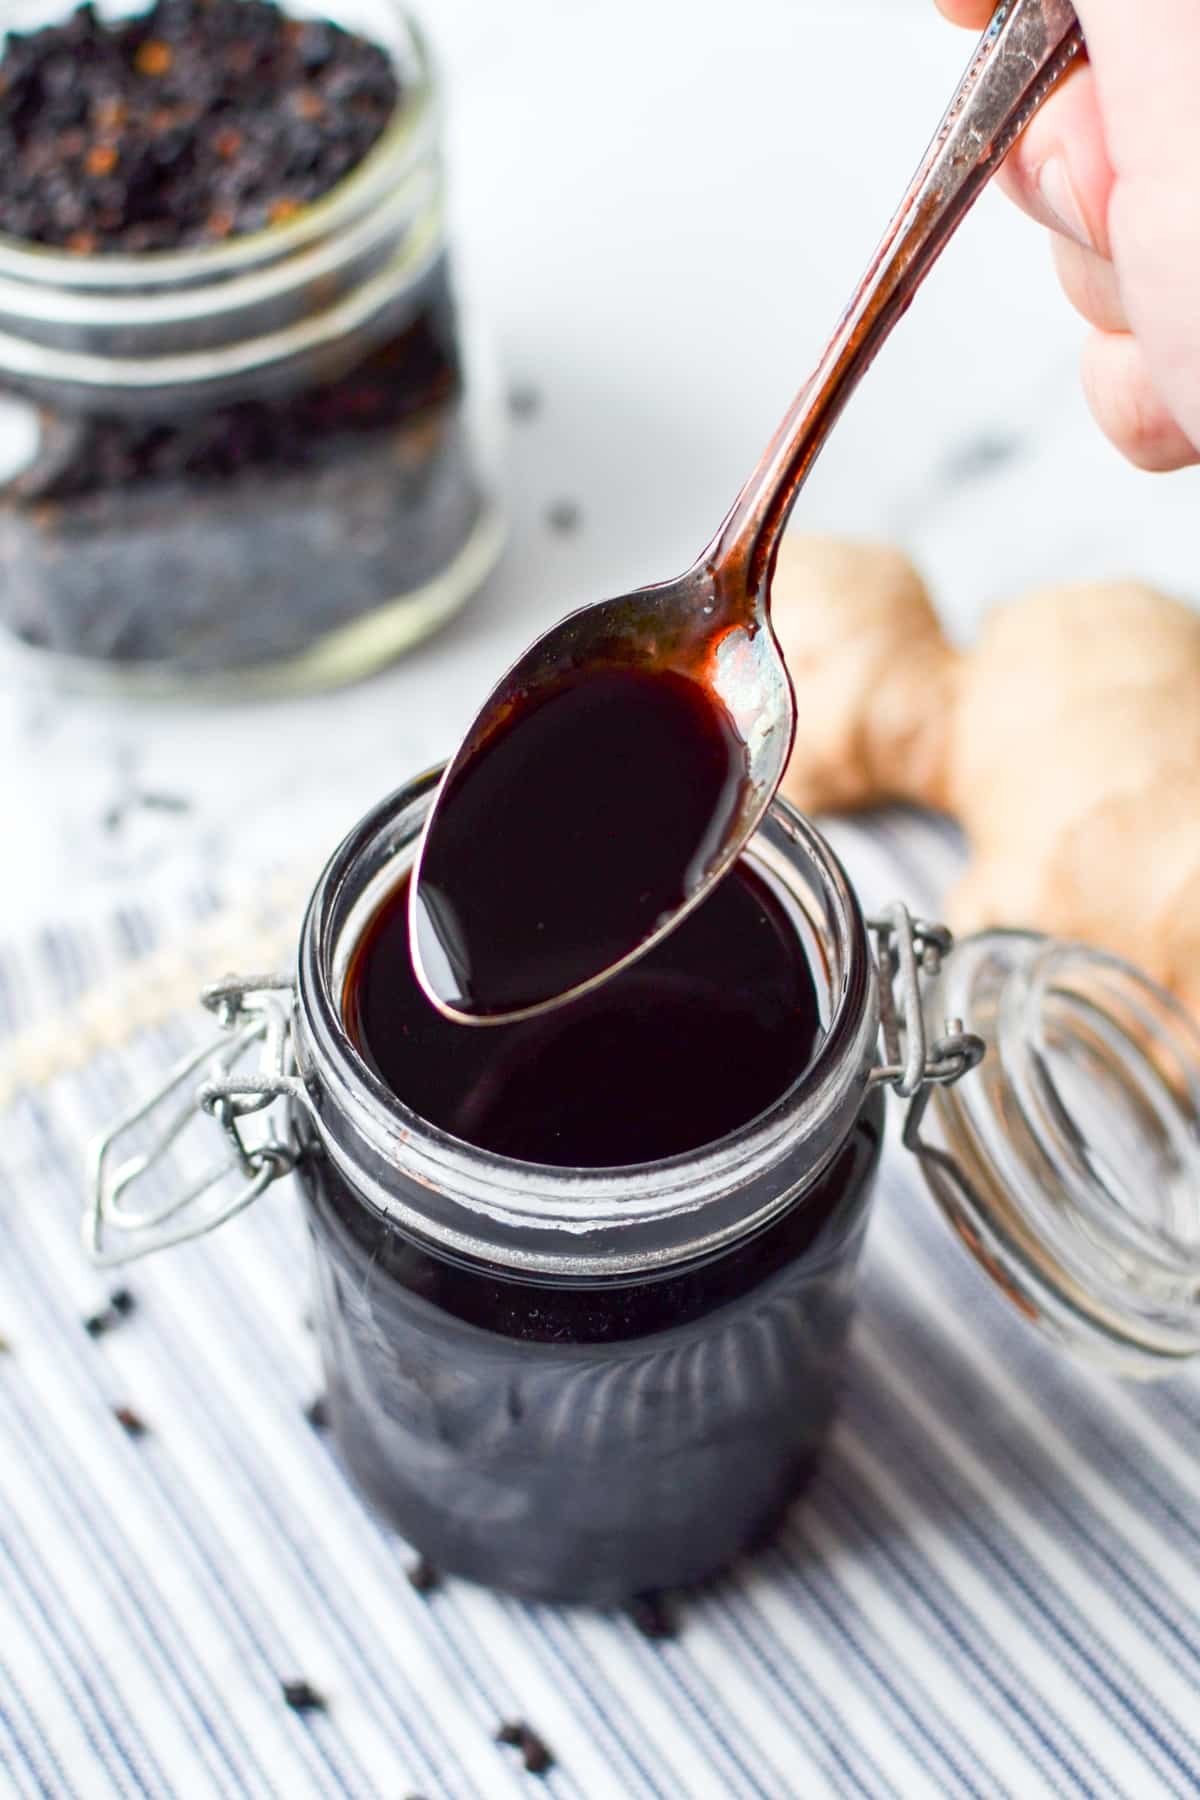
Label with the name (elderberry syrup) and date produced and store it in your fridge for 6-12 weeks. Discard if you see (or smell) any signs of spoilage.
IMPORTANT NOTE: Honey is not safe for babies under the age of 1 year to consume. You could try a preparation made with maple syrup instead, but be sure to consult with your health care provider first.
How to Use Elderberry Syrup
The most typical way to use Elderberry syrup is as a preventative during the cold and flu season, but it is also used in higher doses to treat an active cold, and can be used for the benefits that elderberries offer for a variety of conditions.
You can also use your elderberry syrup to make delicious elderberry gummies, which is an excellent way to deliver them to small children who are resistant to taking spoonfuls of medicine.
Elderberry Syrup Dosage
As a preventative: Take 1-2 teaspoons (5-10 milliliters) daily during the cold and flu season as a preventative measure to boost your immune system.
For treating cold and flu: Take 1-2 tablespoons (15-30 milliliters) several times per day, until your symptoms go away. After you are feeling better, take the preventative dose until the end of the season.
Giving to Children
I find using medicinal syringes is a great way to deliver this Instant Pot elderberry syrup to children who you may have trouble taking a spoonful. The taste is not at all strong, but children can be reluctant to anything that resembles medicine. These are the ones I use, as they have the measured amount in teaspoons as well as milliliters.
Elderberry Syrup Variations
Using Fresh Elderberries
If you have access to fresh elderberries, you can easily make this Instant Pot elderberry syrup using those in place of the dried berries called for in the recipe. You'll need to make just a few adjustments, but the results are very much the same.
- Increase the total amount to 4 cups of elderberries.
- Scale the water down to ¼ cup. The fresh berries will release juices during cooking, creating the required amount of liquid.
- Simmer them in the Instant Pot with ¾ teaspoon of grated fresh ginger, ¼ teaspoon of ground cloves, and a cinnamon stick (optional) for 20 minutes.
- Strain and follow the rest of the recipe as directed.
With Elderflower
If you would like to add some extra benefits to your batch of elderberry syrup, you can actually add some dried elderflowers into the batch. Here is a snippet from the renowned herbalist Rosemary Gladstar:
“Adding elderflowers to the syrup introduces a diaphoretic property, helping you to “sweat out” a fever. After cooking down the juice with the ginger and cloves, you can turn off the heat, add ½ cup dried elderflowers to the hot juice, put the lid on, and let infuse for 20 minutes. Then strain the flowers from the syrup and proceed with the honey.”
Rosemary Gladstar, Medicinal Herbs: A Beginners Guide
Tips and Tricks for Making Elderberry Syrup
- There are several cultivars of black elderberries, which are the type that is used to make elderberry syrup and elderberry tea. Sambucus nigra is the variety that tends to have the most medicinal properties and is recommended by herbalists.
- Allow the mixture to simmer for at least 20 minutes without a lid (or the lid only covering half the pot), allowing the steam to escape.
- The liquid needs to reduce by at least half before you add the honey. So if you have more than 2 cups of liquid, your syrup will not be concentrated enough. Return your liquid to a clean Instant Pot and simmer until the liquid falls below 2 cups. Then add an equal measure of honey.
- Allow the liquid to cool down to 104ºF or less (40ºC) before adding the honey- this will preserve the beneficial enzymes in raw honey.
- If you want a longer lasting syrup, you can actually combine the juice and honey and bring to a boil, stirring for several minutes. This destroys the beneficial enzymes in the raw honey, but you will still get the benefits from the elderberries.
More Nourishing Winter Recipes
- Honey Onion Cough Syrup
- Rosehip Syrup
- How to Make Chicken Broth (Meat Stock)
- How to Make Sauerkraut in a Crock
- Fermented Red Cabbage (Purple Sauerkraut)
📖 Recipe
Ingredients
- 2 cups dried elderberries *See notes for using fresh elderberries
- 4 cups water
- ¾ teaspoon grated fresh ginger
- ¼ teaspoon ground cloves
- 1 cinnamon stick optional
- 1 ¼ - 2 cups raw honey
Instructions
- Add 4 cups of filtered or drinkable quality water to the insert of your Instant Pot, along with 2 cups of dried elderberries that have been picked over to remove any stems or leaves.
- Add in the grated fresh ginger, ground cloves, and cinnamon stick (if using). Stir well to combine.
- Set the pot to the “saute” function. It will take approximately 5-10 minutes for the pot to heat up and for the elderberries to begin to simmer.
- Once the berries come to a simmer, reduce the saute function to the “less” option so they are maintained at a gentle simmer.
- Allow your elderberries, water, ginger, cloves, and cinnamon to simmer for 20-30 minutes, stirring occasionally. Do not put the lid on the Instant Pot, instead cover just half of the pot by resting the lid on one side. This will allow the steam to escape, which is essential to creating a safe syrup.
- Once your berries have simmered for 20-30 minutes and are soft, turn off the Instant Pot.
- Prepare a glass measuring cup or bowl by placing a fine mesh or stainless strainer over it.
- Transfer the elderberries and juices to the strainer, working in batches.
- Allow the mixture to strain, working it with a silicone spatula or wooden spoon. The juices will collect in the bowl or measuring cup below, with the solids remaining in the strainer. Discard or compost the solids, leaving only the liquid behind.
- Once you have strained all of the contents of the Instant Pot, measure the resulting liquid. You want to see somewhere between 1 ¼ - 2 cups of liquid. If there is very little liquid, you may have cooked your berries for too long or on too high of a heat.
- If you have more than 2 cups of liquid, clean the inside of your Instant Pot and return the juices (not the solids) to the Instant Pot. Set to simmer (with the lid off) and allow to simmer until the liquid level is below 2 cups.
- Allow your elderberry juice to cool until it is not too hot to touch, or below 104ºF (40ºC).
- Once the juice has cooled, add an equal measure of honey to the juice and stir to combine. So if you had 2 cups of liquid, add 2 cups of honey. If you had 1 ½ cups, add 1 ½ cups of honey.
- Once the honey has fully been incorporated, cover the container with a lid or plastic wrap and allow it to chill in the fridge.
- Once the elderberry syrup is thoroughly chilled, remove it from the fridge and transfer it to a clean container with a lid.
- Store your elderberry syrup in the fridge for 4-12 weeks, discarding if there are any signs of spoilage.
Notes
To use fresh elderberries you will need to increase the total amount to 4 cups of elderberries, and scale the water down to ¼ cup. The fresh berries will release juices during cooking, creating the required amount of liquid. Simmer them in the Instant Pot with ¾ teaspoon of grated fresh ginger, ¼ teaspoon of ground cloves, and a cinnamon stick (optional) for 20 minutes, then strain and follow the rest of the recipe as directed. With elderflower: From Rosemary Gladstar, “Adding elderflowers to the syrup introduces a diaphoretic property, helping you to “sweat out” a fever. After cooking down the juice with the ginger and cloves, you can turn off the heat, add ½ cup dried elderflowers to the hot juice, put the lid on, and let infuse for 20 minutes. Then strain the flowers from the syrup and proceed with the honey.” Elderberry variety: There are many varieties of elderberries, with black elderberries being the ones that are used for herbal remedies. The cultivar with the best medicinal properties is Sambucus nigra.
Nutrition
Please note that some of my blog posts here at Little Home in the Making may contain affiliate links. If you make a purchase through these links, I will get a small commission at no additional cost to you. See our disclaimer for more information.
The content provided on this website is for informational purposes only and is not intended to be medical advice or to substitute medical care. Seek the advice of a healthcare professional.












Nikki
if you're releasing the steam after the pressure time is done, then why is that bad?
Dolly | Little Home in the Making
Hi Nikki! Great question!
Amy from The Fewell Homestead goes into this a little bit in her post on Elderberry Syrup (she's a certified herbalist, and I'll link below), but it's essentially because an Instant Pot (or pressure cooker) concentrates, rather than evaporates. A small amount of steam is released after the cooking time is done and the lid is opened, but you simply will not have the same level of evaporation as an open pot (or in the case of my recipe, and open Instant Pot).
Amy's post: https://thefewellhomestead.com/why-you-shouldnt-make-instant-pot-elderberry-syrup/
Kim
I am not a fan of spicy elderberry_ is this spicy to the taste or sort of mellow?
Dolly | Little Home in the Making
In my opinion, it's very mellow. It has an intense berry-like flavor and sweetness.