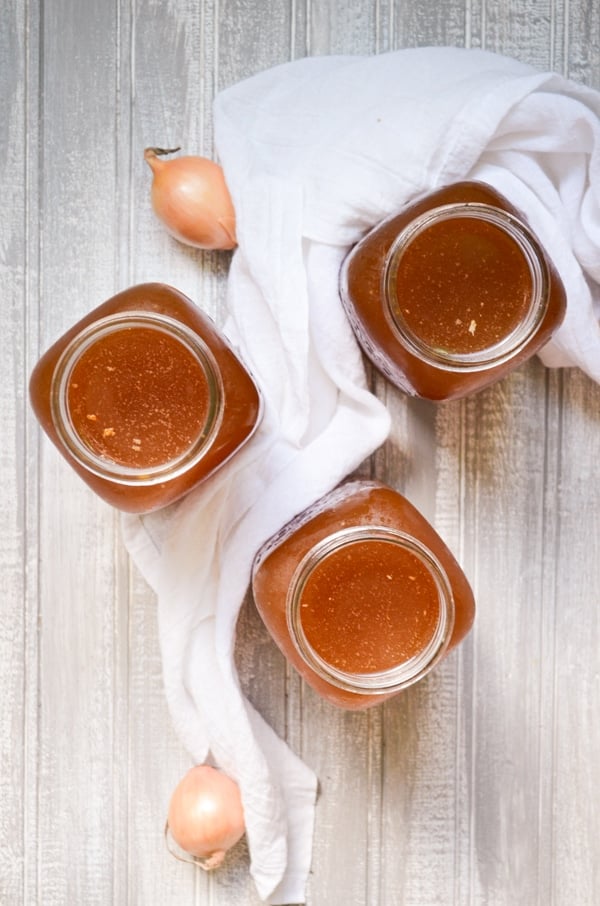
Instant Pot Bone Broth is the BEST way to use up leftover roasted chicken. Make this nutrient dense, delicious chicken bone broth in your Instant Pot for extra ease. Perfect for using in homemade soups.
This post contains affiliate links, which means that if you click a link and make a purchase, we receive a commission at no additional cost to you. See our disclaimer for more information. Any nutritional information is for entertainment and informational purposes only, and is not intended as medical advice. Always seek the advice of your health provider.
Making our own foods from scratch can be such a wonderful experience. When I'm roasting a delicious chicken, I feel connected to homemakers from years past. I wonder what their lives would have been like: washing clothes with a washboard, churning butter, milking cows. I think about how much has changed since even my Grandmother's era, and I can't help but feel grateful for my washing machine, and so many other modern conveniences. Folks like myself can think too romantically about the past sometimes, but it is helpful to think of how burdensome all those chores (every day; every week) would have been. We have been given a common grace in dishwashers, washing machines, local grocery stores, and the vast information available on the internet. We are truly blessed to be living in the time that we currently are, no matter how difficult things may seem.
Still, there is something wonderful about connecting to the past. I love making my foods from scratch, but because I get to, not because I have to. It's cathartic for me to escape into my kitchen and create something beautiful from nothing. I think that us humans were designed to create, and there are so many ways to do that. I know some women who paint beautiful pictures, others who sew gorgeous gowns, still more who crochet or knit or draw or write. If you're here, chances are one of your methods of creative expression is cooking. Yes, cooking is creative. Finding that perfect spin on a recipe you've been wanting to try is creative. Looking through your pantry and fridge to find inspiration for a meal is creative. Making the most of your grocery budget and making foods from scratch: again, creative. When you start to think of your endeavors as opportunities to create, you start to find more joy in your work. I am not simply "cooking dinner", but rather I am "creating delicious sustenance." It has a much better ring to it, wouldn't you say?
A home is a place where a pot of fresh soup simmers gently on the hob, filling the kitchen with soft aromas and filling your heart, and later your tummy, with joy.
Keith Floyd
There seems to be a particularly wonderful spot when the two things intersect: the old ways, and the new ways. Such is true with this Instant Pot Bone Broth. The old ways, in the making of broth simply from leftovers and essentially garbage. The new ways, in the use of a time-saving modern appliance. Our great grandmothers certainly didn't have an Instant Pot, but you better believe they would have used it if they could have. The Instant Pot breaks down the bones from your leftover roasted chicken, turning them into a delicious bone broth that is the foundation of many meals to come. Nothing makes a gal feel more like an old fashioned homemaker than the taking of one thing, to create a new thing. Bone broth is a wonderful way to learn how to operate a frugal kitchen, and it's nutritious to boot! Making bone broth is a way to get in touch with previous generations, and use the most of what we have to provide delicious meals for our family. That's my heart here at Little Home in the Making.
Nothing makes a gal feel more like an old fashioned homemaker than the taking of one thing, to create a new thing.
Benefits of Bone Broth
Things we know:
- It's rich in collagen, gelatin, and magnesium
- Loaded with minerals
- Some evidence that it can help with healing your gut
I'm by nature a homemaker and a cook, not a scientist. I can't present you with evidence and studies speaking of the benefits of bone broth, but I can share with you personal experience. A homemade soup (and thus: homemade broth) has long been a remedy to many generations. There is something magical about the slow simmering of bone broth that soothes the soul, and perhaps the body as well.
Some things of the past (blood letting anyone?) should be left in the past, but then there are other traditions that are long-standing and for good reason. Whether bone broth is the amazing superfood that some proclaim it to be, or just the simple ingredient that others consider it, bears little weight on how you use it in your kitchen. Bone broth is exceedingly simple and practical, and we shouldn't seek to make it more complicated than it is. Use it, enjoy it, and you will love it.
Can I Use Rotisserie Chicken for Instant Pot Bone Broth?
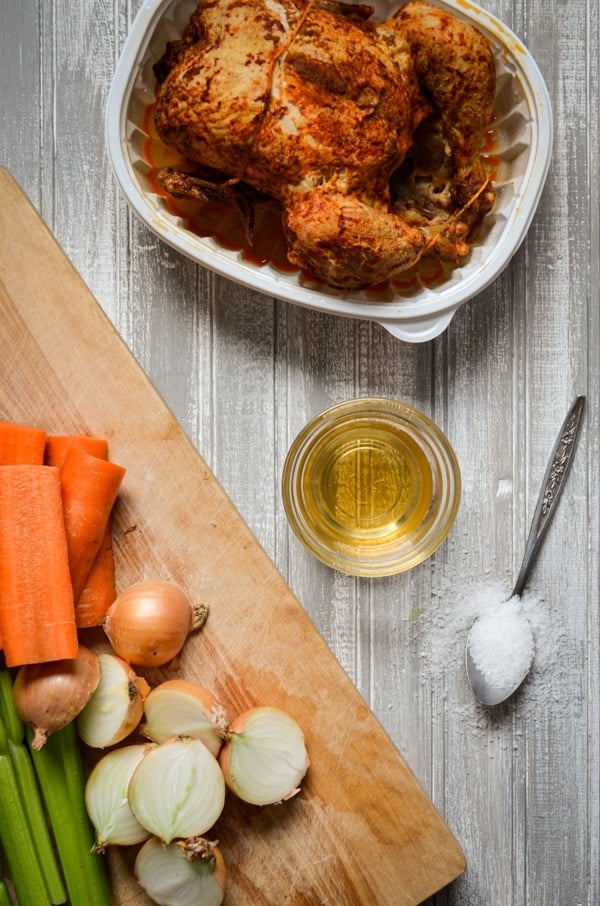
Yes! My mom often brings me rotisserie chicken when she comes to visit. I think this is her way of trying to ease my burden so I don't have to cook as often. I normally pull all the chicken off the bones, stash the chicken in the freezer for future casseroles and pot pies, and get the bones going in the Instant Pot for a nice batch of Instant Pot Bone Broth.
The ideal situation is to use pastured and organic chicken, but I don't like to sweat too much over ideal situations. If you happen to have a rotisserie chicken and you'd like to make bone broth out of the bones, please do! My mother had brought me some rotisserie chickens just before shooting this recipe, so I used them in the photos and in my bone broth.
I've heard some reports of residual glyphosate being in the bones of conventional chicken, but "residual" would be the key word. I don't worry because I know I'm doing the best I can to feed my family good, whole foods. Finding the perfect sources will come with time, and as my budget grows.
How Long Does Bone Broth Last in the Fridge?
When it comes to assessing how long Instant Pot Bone Broth can be kept in the fridge, you must also think about the length of time your whole chicken was kept in the fridge. I left my rotisserie chicken in the fridge for about a day, and it had been out for about half a day (I assume) at the grocery store. I wouldn't leave my broth for more than 3 days in this particular situation. If you used a fresh chicken, on the day of roasting (like if you made my Rosemary Dutch Oven Chicken) I would say you could get 4-5 days out of your bone broth. The thing is: it freezes so well!
I love to freeze my bone broth in 2 cup and 4 cup sizes, since those are the portions I use most often for soups, pot pies, and cooking grains like rice. I have tried many times to freeze in glass jars, and while it works sometimes, I have broken too many to count. Because I can't seem to find an absolute fool proof way of freezing bone broth, I love to use these containers from Ball. They are food safe, and can be reused over and over again! I also love them for freezing my Instant Pot "Refried" Beans.
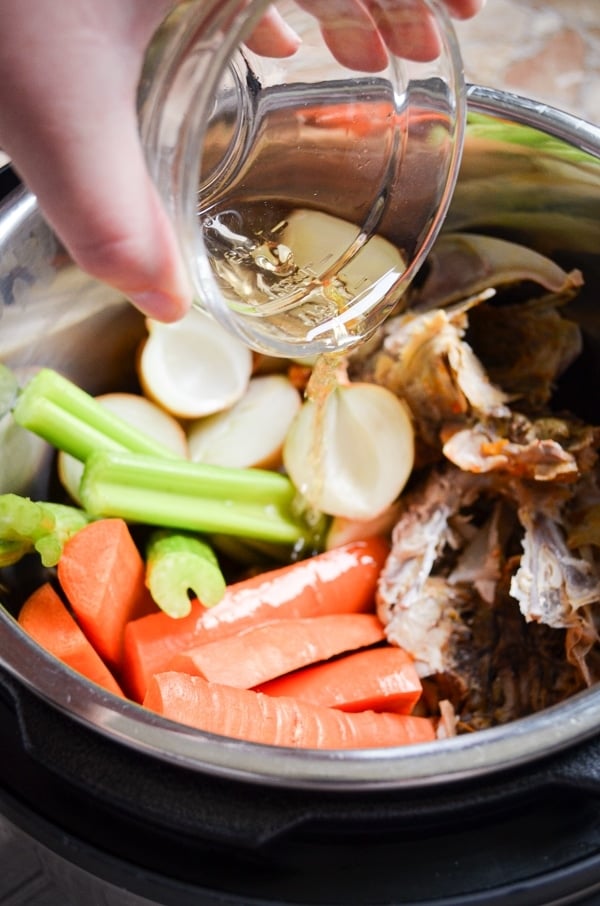
Making Instant Pot Bone Broth
Like I've mentioned in past posts, I was a late adopter of the Instant Pot. Since I love doing everything from scratch and cooking traditionally, I thought the Instant Pot could never be for me! While I've cooked the occasional "one pot" meal that they have been made famous for, I love my Instant Pot for cooking up the basic components of meals...ultra speed! Bone broth, beans, rice, potatoes, yogurt, and applesauce are some of my favorites to make in my Instant Pot. I love that it's a powerful tool in my aresenal, allowing me to make so many awesome foods from scratch. I also love that the insert is stainless steel, ensuring there is no leaching going on while I'm cooking up my from scratch favorites.
I've made bone broth for almost a decade, and while I've done most of that with a slow cooker or on the stove top, my favorite way is in an Instant Pot. Not only is Instant Pot Bone Broth basically hands off, it also makes a wonderful bone broth. I do two cooking cycles when I make my Instant Pot Bone Broth, resulting in a thick, colorful broth that lends a delicious flavor to my homemade soups. I like to let my Instant Pot do a full natural pressure release, resulting in a clear (rather than cloudy) broth.
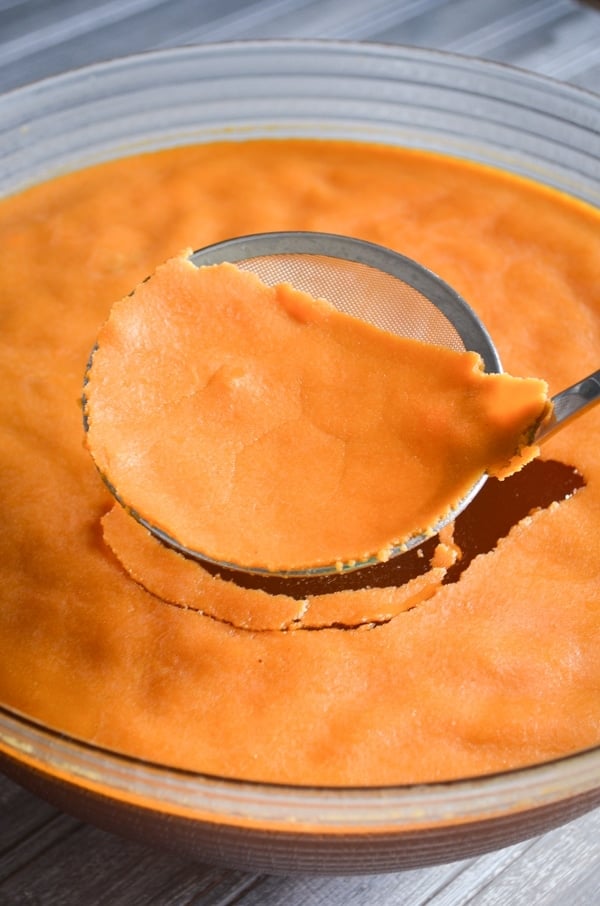
Tools You Will Need
- An 8 Qt Instant Pot: If you're wanting to make a good quantity of bone broth at a time, it's helpful to use the larger 8 qt. Instant Pot. I use the 8qt model for making my bone broth, as well as my homemade yogurt. Having the larger size available means I can make a big batch and freeze extra for later. The 8qt size Instant Pot is perfect for using two chicken carcasses. If you are only using one chicken carcass, you can certainly use the 6qt size and should have no problems. Just be sure to cut the recipe quantities in half.
- Skimming Ladle: This is an irreplaceable tool in my kitchen. I love it for making easy work of skimming off the layer of fat from my Instant Pot Bone Broth, but also for making homemade ghee. It's an excellent tool for removing any sort of foam or fat that forms during the cooking process. You can find it on Amazon here.
- Fine Sieve: A regular colander will not work for straining off the broth, since there are so many fine broken down pieces of bones and vegetables. A fine sieve will work well for straining out the larger bits. You will be left with some sediment, but that will be easy enough to avoid.
- Large Bowl: Set your fine sieve over a very large bowl. This ensures that every bit of your broth is saved.
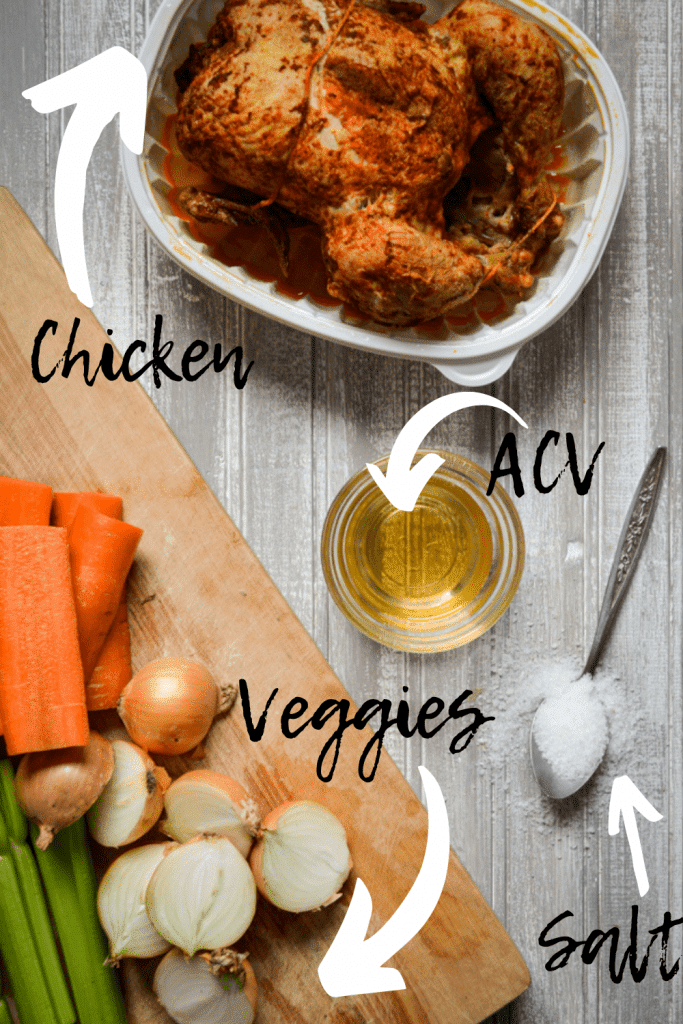
What Do I Need to Make Instant Pot Bone Broth?
- Chicken Bones: Either an assortment of leftover chicken bones, or a full carcass. I use two chicken carcasses for this recipe, which is made in an 8qt Instant Pot.
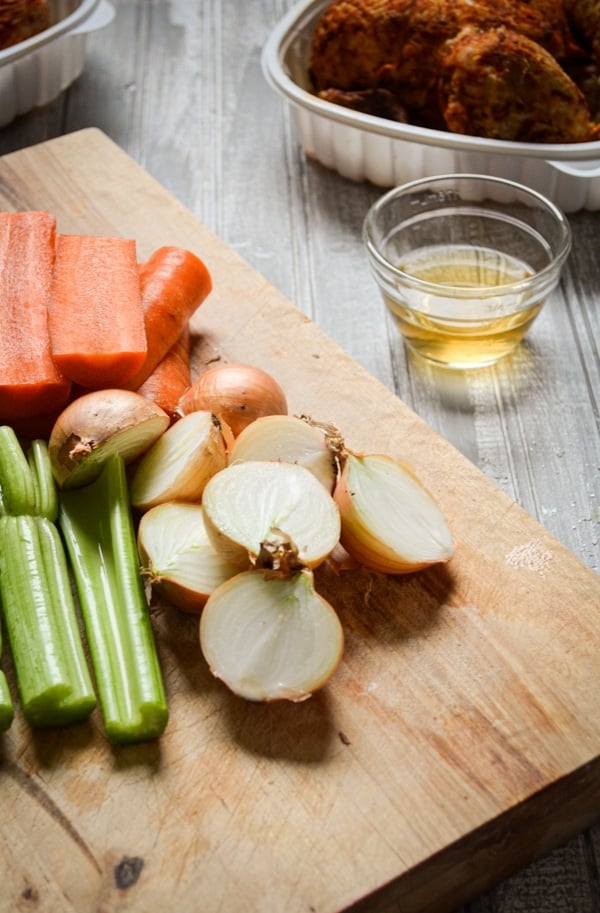
- Carrots: These are an aromatic vegetable, and are readily available and inexpensive year round. You can leave the peels on if you use organic, but make sure to peel them if you opt for conventional.
- Onions: An essential aromatic, onions are perfect for using in Instant Pot bone broth. Again, if you purchase organic, you can leave the skins on.
- Celery: No need to use the perfect, outer stalks of celery. The small inner stalks, leaves, and ends are all good additions to your bone broth. The beauty of bone broth is that it uses up ends and bits.
- Salt: I like to use kosher salt or mineral salt. A good amount of salt is essential here, since recipes tend to call for conventional broth, which is very salty. When substituting bone broth, you'll have to adjust the salt to your taste when using a recipe.
- Apple Cider Vinegar: The acid helps pull additional nutrients from the bones and helps them break down. Use raw apple cider vinegar with the mother in it. Braggs is a great brand to use.
How Do I Make Instant Pot Bone Broth?
The process is a simple one, but it does take a fair bit of time. Since you're using the Instant Pot, this is passive time and you can be doing all sorts of things while your delicious bone broth "simmers" away. There are a few basic steps in making your Instant Pot bone broth:
- Strip the Meat Off the Bones: If you have not already, remove all the excess meat from your leftover or rotisserie chickens and set aside. I like to freeze my meat for another casserole or meal later on.
- Prepare Your Vegetables: Give your vegetables a good washing, and peel them if you're using conventionally grown vegetables. If you're using organic, you don't need to worry about the peels so long they are thoroughly washed.
- Add All Your Ingredients: Add the carcasses of the chickens to the inner pot of an 8qt Instant Pot. If you only have a 6qt pot, I would recommend cutting the recipe in half since it would be very difficult to get two chicken carcasses in a 6qt pot, plus all of the aromatic vegetables. Add the carrots, celery, and onions to the Instant Pot too, pressing them down so they are below the fill line.
- Do a 30 Minute "Soak": Sprinkle in the salt and pour in the apple cider vinegar. Place the lid on and lock it. Leave the bones, water, and vegetables to sit for about 30 minutes. This is to let the apple cider vinegar work to permeate the bones and draw all the good stuff out. I find this helps me get a nice thick broth.
- Let Your Instant Pot Do its Thing: Set the valve to “sealing” and set the Instant Pot to manual high pressure for 90 minutes. The pot will beep when it has reached pressure (about 20-30 minutes), and then again when the 90 minutes are up.
- Natural Pressure Release: When the 90 minutes are up, leave the pot as is to do a full natural pressure release. This takes an additional 1 hour 15 minutes by my estimation. You could also do a quick release, but I like doing a natural pressure release because it results in a clear broth rather than cloudy. I consider broth an all day affair anyway, so this doesn’t bother me.
- Do it Again: This is an optional step, but one that I always do with my Instant Pot broths. Once the natural pressure release is complete, hit cancel and set the Instant Pot to manual high pressure for another 90 minutes. Yup, I run through the cycle a second time. I also do a second natural pressure release. This results in a dark, clear broth and a more intense flavor. I also find I get more gelatinous broth by using this method. I highly recommend it.
- Strain the Broth: Once your pressure releases are complete, fit a large bowl with a fine sieve. Use a ladle to ladle the broth into the sieve. The sieve will catch the bones, vegetables, and odds and ends. Your broth will be in the bowl. There will be some sediment in the bowl, but you can either use it or discard it once you’re done.
- Chill the Broth: Let the bowl of broth cool until room temperature. Cover it with plastic wrap and move it to the fridge, where it will set and chill until the following day.
- Remove the Excess Fat: The next day, use a fine skimming ladle or spoon to remove the layer of fat that has risen to the top and solidified.
- Storing the Broth: My preferred method of storing Instant Pot Bone Broth is freezing. I’ve tried freezing my broth in glass and have had mixed results. I feel like I have tried all the tricks, and still the glass breaks about half the time. My best results have been from using these freezer containers, or glass lock&lock containers. I like to freeze my broth in 2 cup and 4 cup measurements, since that is what I typically use in my kitchen.
- Using the Broth: If you'd like to use your broth right away, you can make excellent use of it in a lovely soup. Instant Pot Zuppa Toscana and Slow Cooker White Chicken Chili are a few of my favorite soups.
And Now for the Recipe!
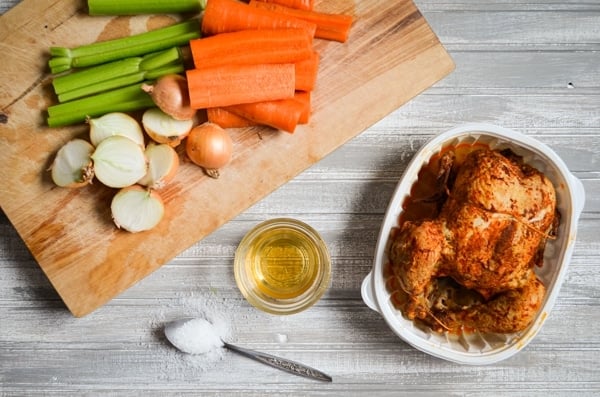
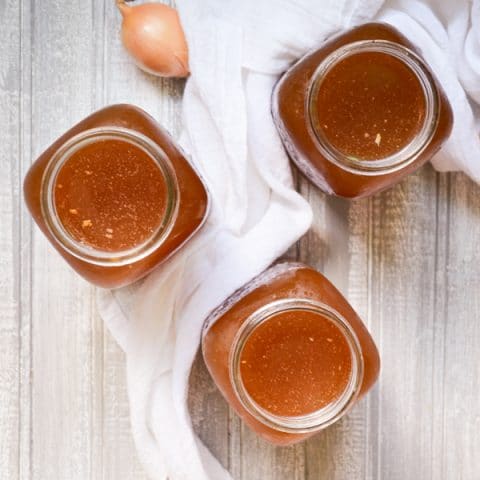
Instant Pot Bone Broth
Instant Pot Bone Broth is the BEST way to use up leftover roasted chicken. Make this nutrient dense, delicious chicken bone broth in your Instant Pot for extra ease. Perfect for using in homemade soups.
Ingredients
- 2 Chicken Carcasses , home roasted or store-bought
- 2 large Carrots, peeled and halved
- 2 Celery Stalks, trimmed and halved
- 2 medium Yellow Onions, peeled and halved
- ¼ cup Raw Apple Cider Vinegar
- 1 tbsp. Kosher Salt
- Filtered Water, to cover
Instructions
- If you have not already, remove all the excess meat from your leftover or rotisserie chickens and set aside. I like to freeze my meat for another casserole or meal later on.
- Add the carcasses of the chickens to the inner pot of an 8qt Instant Pot. If you only have a 6qt pot, I would recommend cutting the recipe in half since it would be very difficult to get two chicken carcasses in a 6qt pot, plus all of the aromatic vegetables.
- Add the carrots, celery, and onions to the Instant Pot too, pressing them down so they are below the fill line.
- Sprinkle in the salt and pour in the apple cider vinegar. Fill the pot with cool water to completely cover the bones and vegetables. I normally go all the way up to the fill line (I leave a little bit of margin though).
- Place the lid on and lock it. Leave the bones, water, and vegetables to sit for about 30 minutes. This is to let the apple cider vinegar work to permeate the bones and draw all the good stuff out. I find this helps me get a nice thick broth.
- Set the valve to “sealing” and set the Instant Pot to manual high pressure for 90 minutes.
- The pot will beep when it has reached pressure (about 20-30 minutes), and then again when the 90 minutes are up. When the 90 minutes are up, leave the pot as is to do a full natural pressure release. This takes an additional 1 hour 15 minutes by my estimation. You could also do a quick release, but I like doing a natural pressure release because it results in a clear broth rather than cloudy. I consider broth an all day affair anyway, so this doesn’t bother me.
- This is an optional step, but one that I always do with my Instant Pot broths. Once the natural pressure release is complete, hit cancel and set the Instant Pot to manual high pressure for another 90 minutes. Yup, I run through the cycle a second time. I also do a second natural pressure release. This results in a dark, clear broth and a more intense flavor. I also find I get more gelatinous broth by using this method. I highly recommend it.
- Once your pressure releases are complete, fit a large bowl with a fine sieve. Use a ladle to ladle the broth into the sieve. The sieve will catch the bones, vegetables, and odds and ends. Your broth will be in the bowl. There will be some sediment in the bowl, but you can either use it or discard it once you’re done.
- Once all the broth has been strained, discard or compost your scraps. Let the bowl of broth cool until room temperature. Cover it with plastic wrap and move it to the fridge, where it will set and chill until the following day.
- The next day, use a fine skimming ladle or spoon to remove the layer of fat that has risen to the top and solidified. Use the broth as desired, or freeze in freezable containers for future use.
Notes
Note: I’ve tried freezing my broth in glass and have had mixed results. I feel like I have tried all the tricks, and still the glass breaks about half the time. My best results have been from using these freezer containers, or glass lock&lock containers. I like to freeze my broth in 2 cup and 4 cup measurements, since that is what I typically use in my kitchen.
Nutrition Information:
Yield: 12 Serving Size: 1 gramsAmount Per Serving: Calories: 43Total Fat: 2gSaturated Fat: 1gTrans Fat: 0gUnsaturated Fat: 1gCholesterol: 13mgSodium: 336mgCarbohydrates: 2gFiber: 1gSugar: 1gProtein: 4g
Nutrition information is an estimate only.



Marlene Gallemore
I tried this with Costco roasted chicken DELICIOUS! I didn't have celery. I canned it in pint jars using an electric canner, easy peasy. I've already used some in soup and canning raw chick peas, heavenly flavor. Thanks a bunch!
Dolly | Little Home in the Making
So glad you love the recipe Marlene!