Make your own chicken broth at home and not only save money, but have a healthier end result too! Made with the whole chicken, some vegetables, and a few seasonings, you're never going to want to buy this staple from the store again. GAPS, whole 30, paleo, and gluten free.
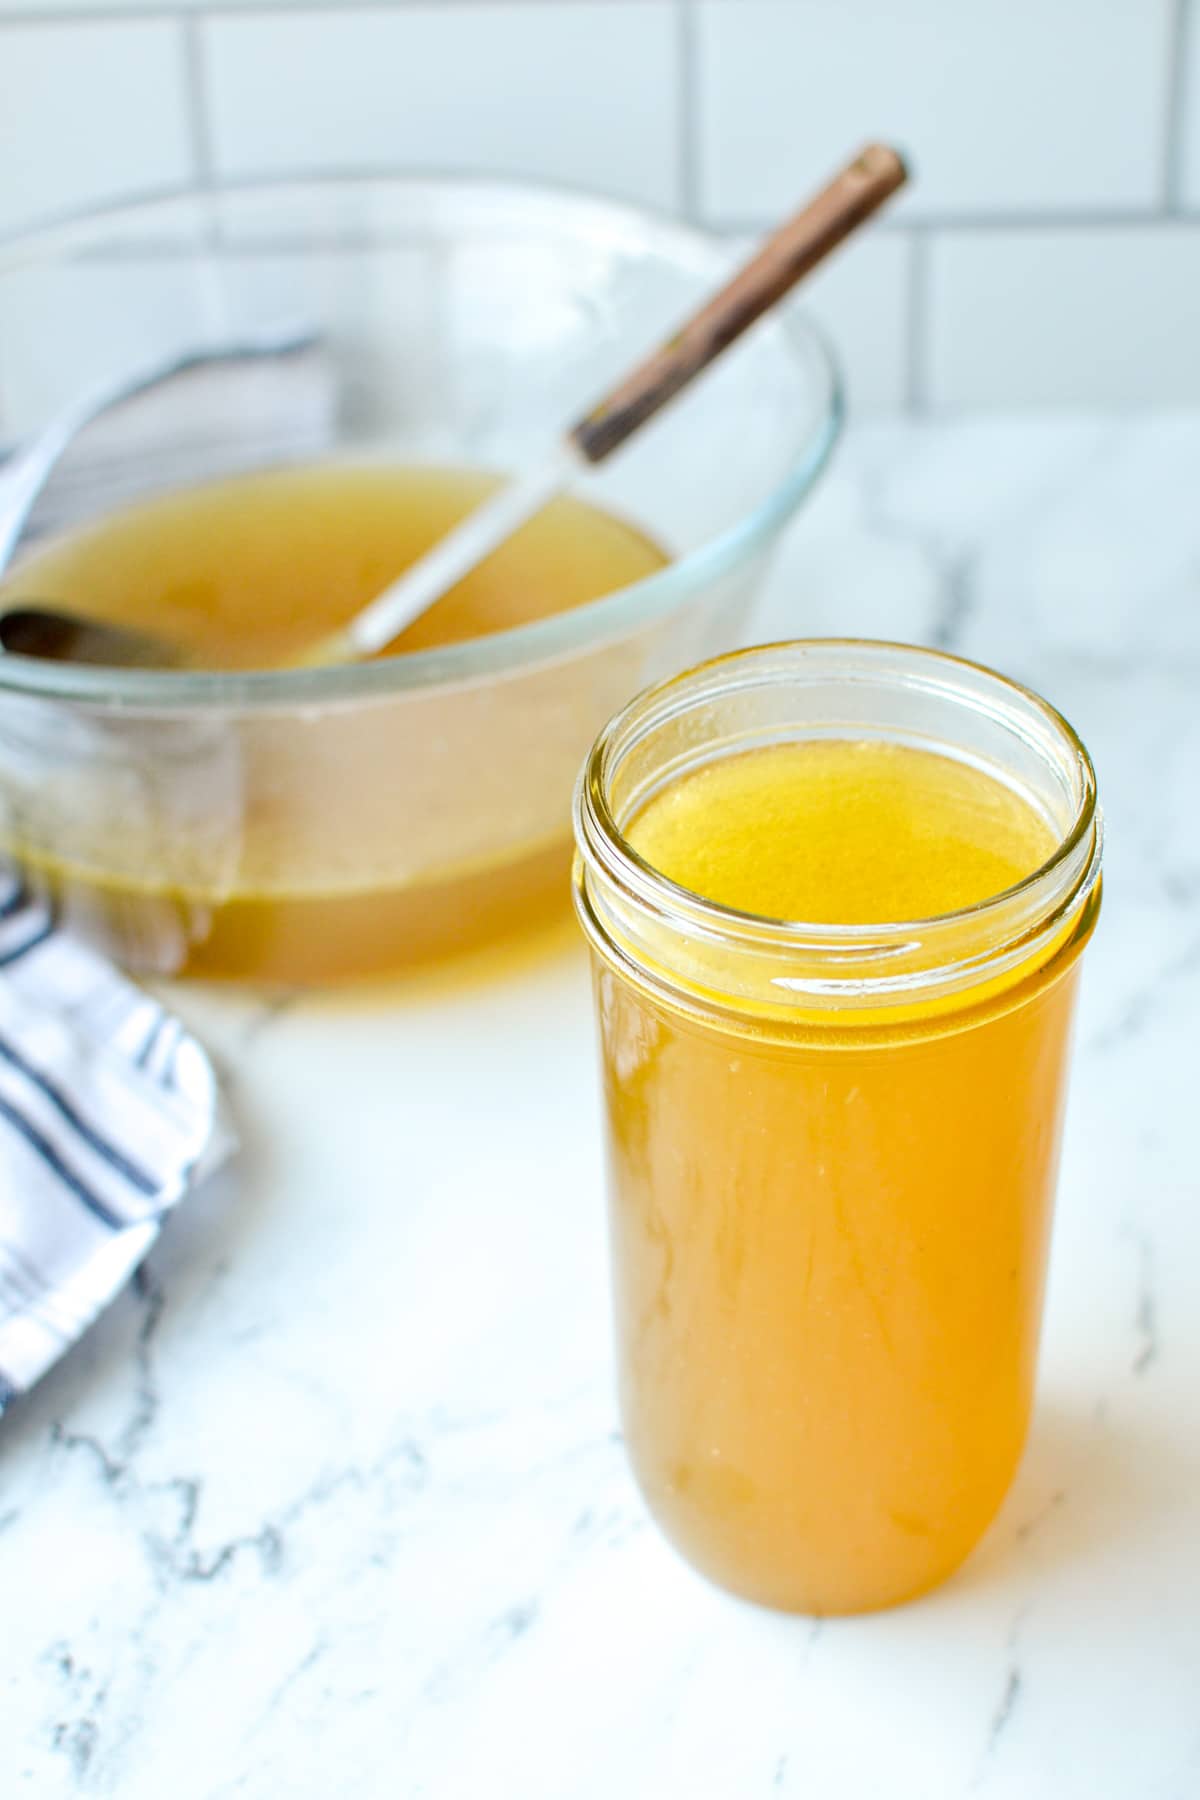
Did you know you can make your own chicken broth at home? And not only is it cheap and easy, but it's good for you too!? Today I'm going to show you how to make flavorful chicken broth, and give you all the tips and tricks for making the most of your grocery dollar.
Homemade Chicken Broth is full of vitamins, minerals, and (if you're lucky and get a great bird!) lots of jiggly collagen and gelatin. It's SO simple to make, and is a soothing balm in the cold, blustery winter months. I love to use mine in soups, stews, for cooking rice, and even for roasting potatoes!
This chicken broth is gently simmered for 2 hours, making it GAPS approved, as well as whole30, paleo, and gluten free. Because you're making the broth, you can control the ingredients and use the best possibly quality you can afford.
A Cornerstone of Home Cooking
Chicken broth is an economical and foundational staple to your from scratch kitchen. It's the building block of so many meals, and can even be stored in the freezer for later use if needed. This style is made from the whole chicken, both bones and meat, and is a little more time consuming that bone broth (which I make in my Instant Pot), but it has a mild and gentle flavor that is SO versatile. You're going to love it!
Let's get started and I'll show you how to make chicken broth at home!
Ingredients
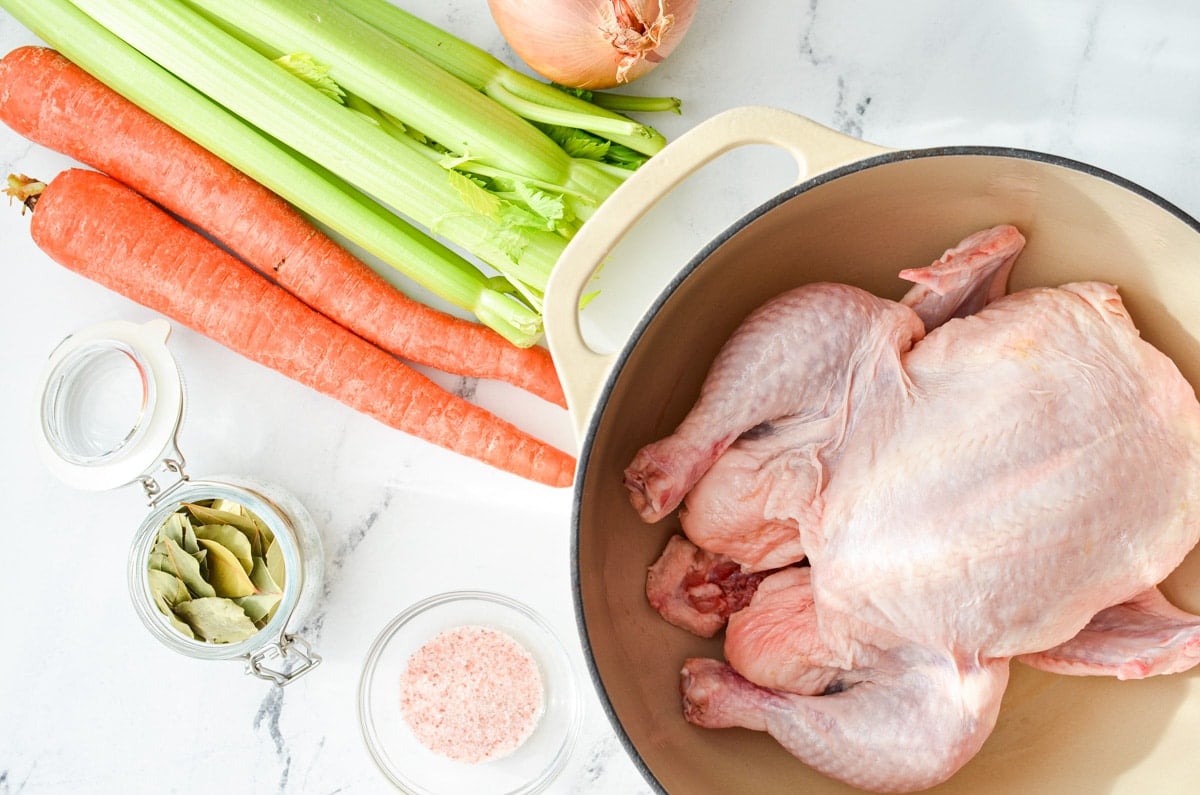
- Whole Chicken: Organic and pasture raised is ideal, but you can use whatever you have on hand!
- Carrots: If these are organic, you won't need to peel them. Just wash and cut to size.
- Onion: You can leave the peel on if your onions are organic, but it's totally fine to use conventional. Just remove the peel and outer layer.
- Celery: Gently rinse your celery and roughly chop it into 5-6" pieces
- Salt: Use a good quality mineral salt like Real Salt or Celtic Sea Salt
- Bay Leaves: I love adding these to my soups, stews, stocks and broths. They are inexpensively purchase dried and last forever!
- Parsley: If you have fresh parsley on hand, add some to your broth for some additional flavor! To keep the flavor bright and beautiful, be careful not to add it until the final 15 minutes of cooking.
Equipment Needed:
- Dutch Oven or Stock Pot: You will need a large pot that has a heavy bottom and holds at least 6 quarts. I have this Dutch Oven and I use it for everything from marinara sauce to baking sourdough bread.
- Skimmer: I absolutely love this stainless steel skimmer and use it for making my own broth (like this recipe OR my Instant Pot Bone Broth), as well as for making homemade ghee. It's one of my favorite tools! If you don't have one, you can totally use a spoon in a pinch but the skimmer makes it so much easier.
How to Make Chicken Broth From Scratch
Making your very own nourishing and versatile chicken broth is SO easy, and you're going to LOVE how much better it makes all of your homemade soups and stews taste. It also freezes great, making it perfect for thawing and using later on.
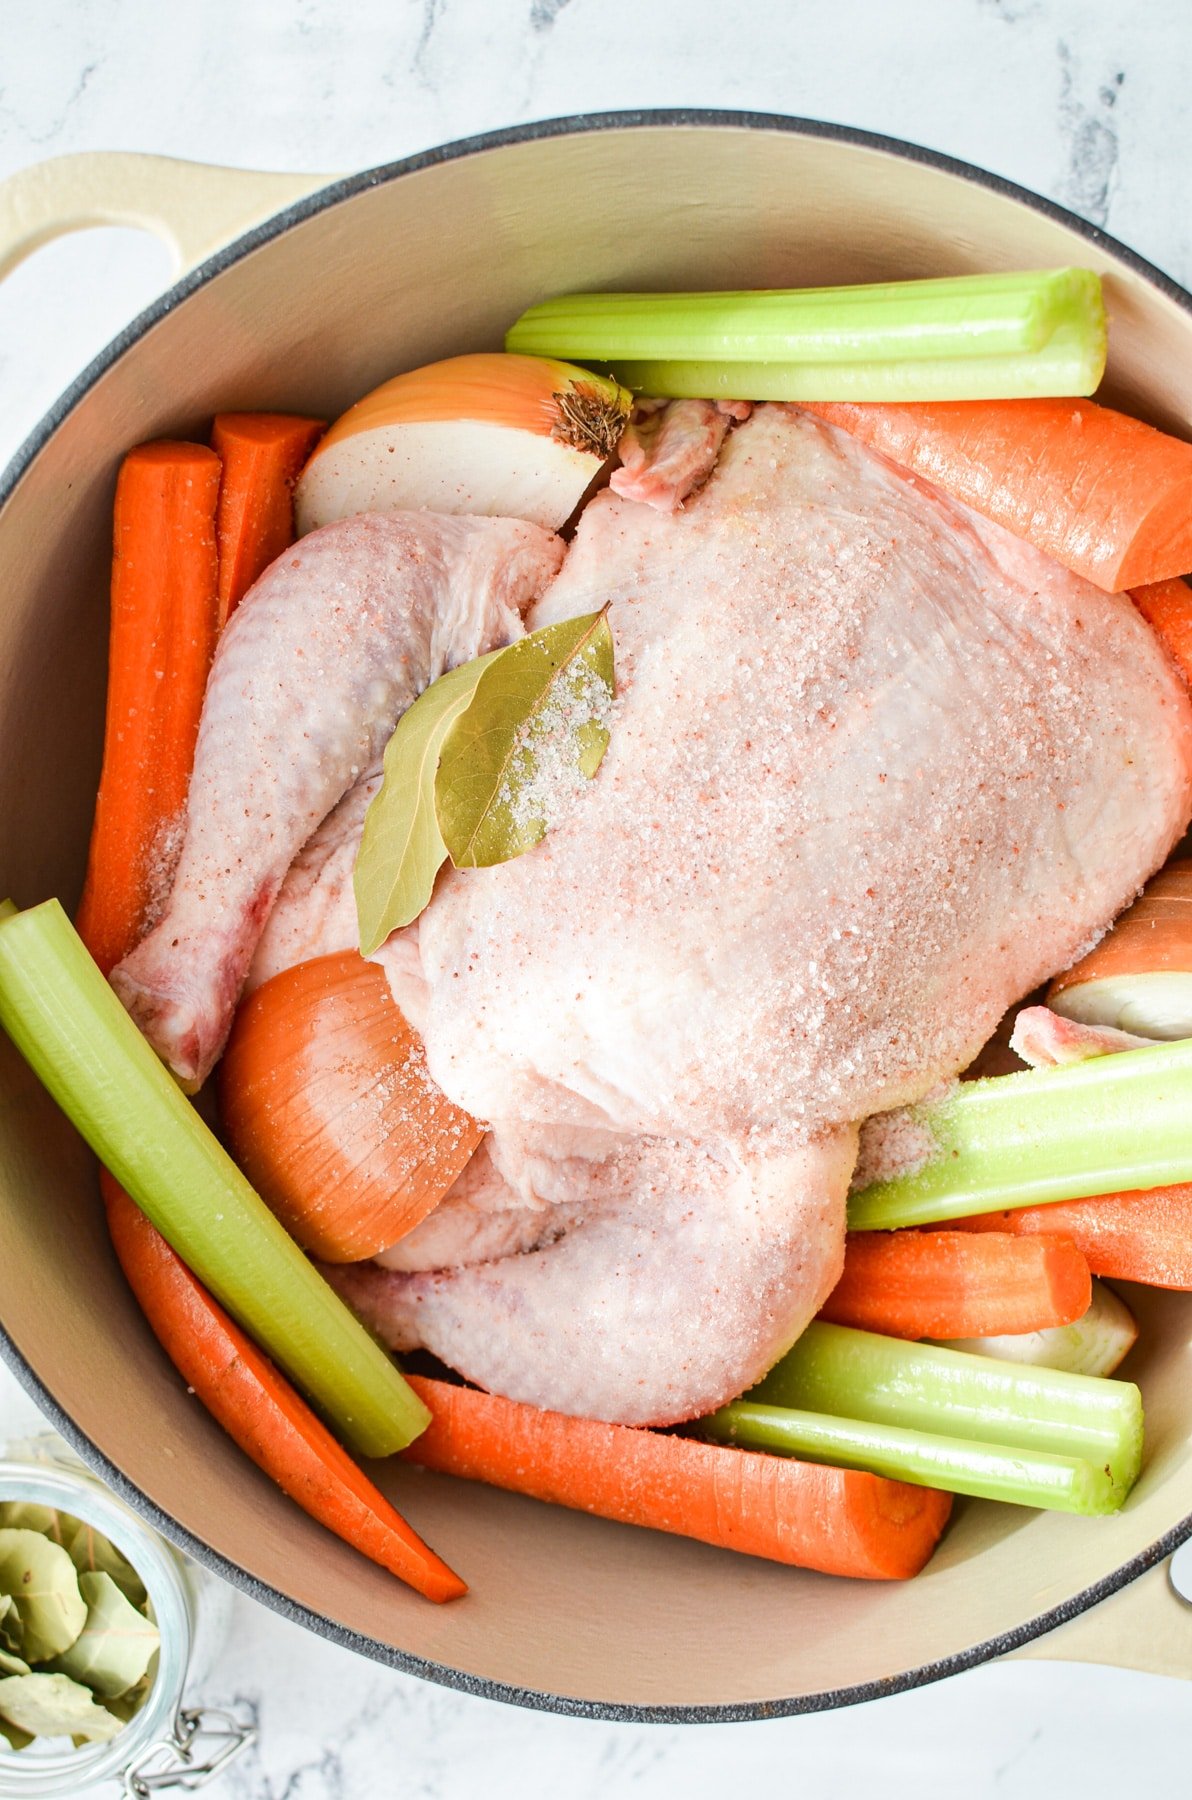
Add your chicken and all of your veggies to a large stock pot or Dutch oven.
Add in the salt and bay leaves.
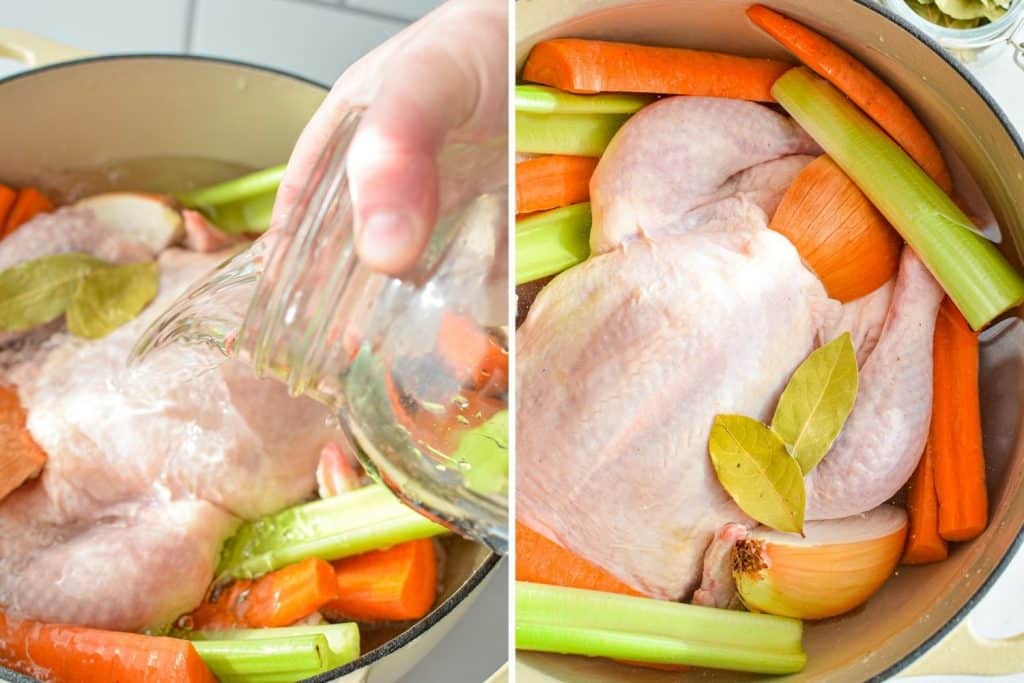
Pour in cold, filtered water (or drinkable quality) over your chicken and vegetables until it is fully covered.
Your chicken should be fully submerged in the water by at least 1 inch. Since the chicken may float, press it down with a wooden spoon to see if you've added enough water.
You can also add more water during the early stages of simmering if you find you need it.
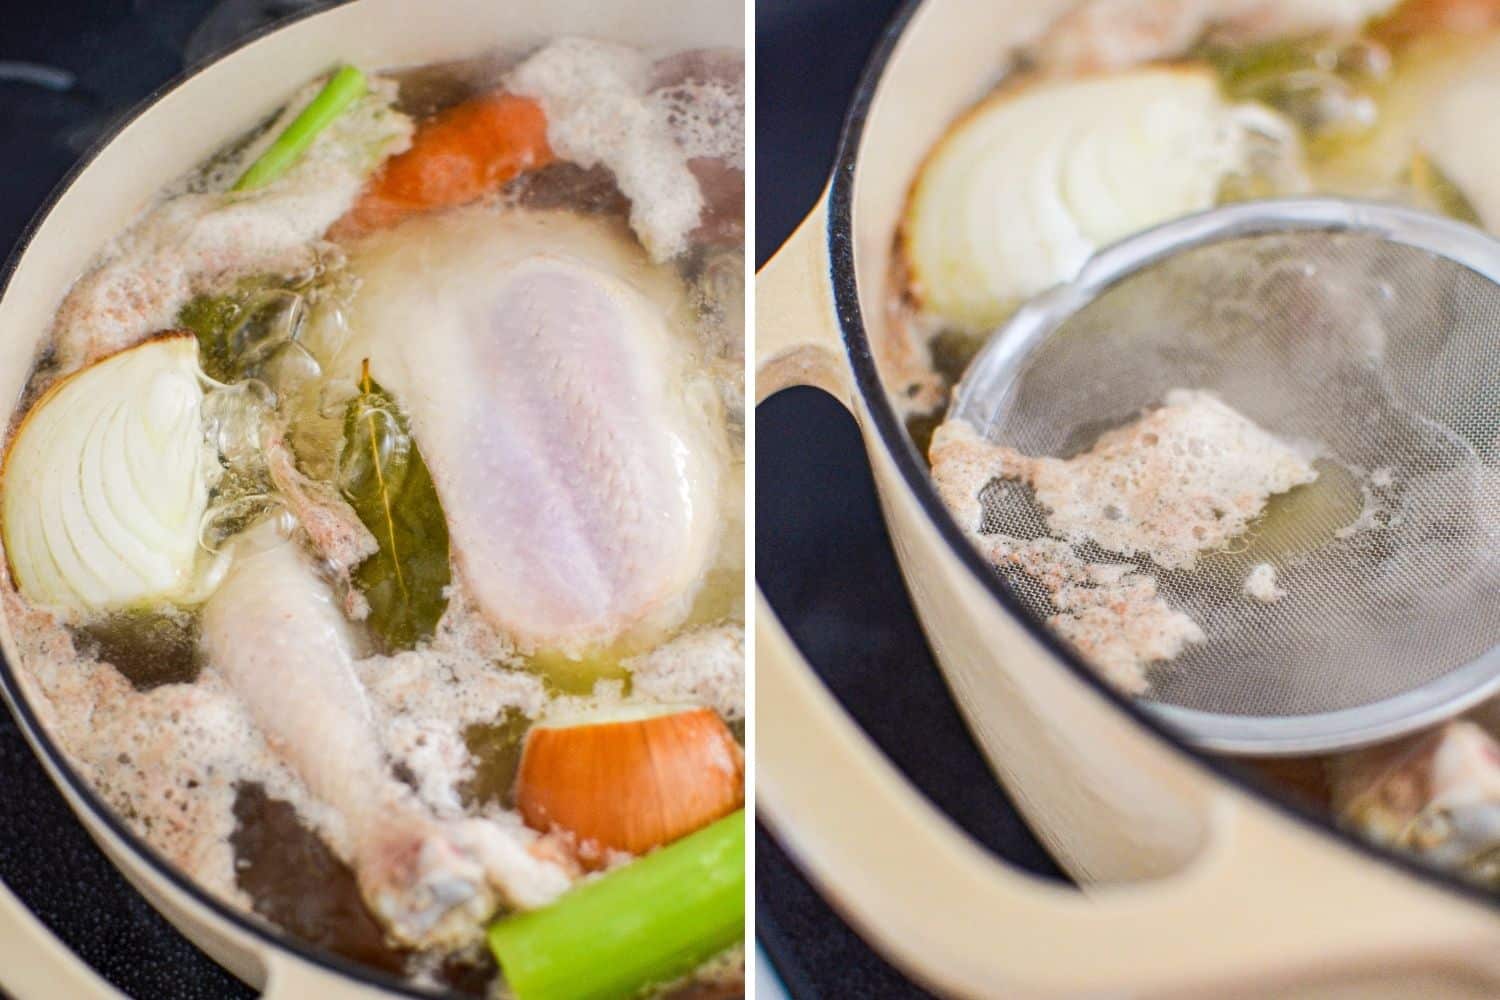
Skimming
Bring the pot to a boil over high heat, and then reduce it to medium-low for a low simmer.
Leave your pot uncovered, and remove any scum or foam that rises to the top during the cook time. Most of this will rise during the first 30 minutes of simmering, so don't feel the need to babysit your broth too much.
Allow your broth to simmer for 1 ½ to 2 hours total, turning the chicken halfway through to ensure even cooking.
During the last 15 minutes of cooking, add in the parsley (if using) and check the internal temperature of the chicken in several different locations.
If a minimum internal temperature of 165°F is not reached, increase the heat and allow the broth to simmer until the chicken reaches the proper temperature.
Remove the broth from the heat, and use a pair of sturdy tongs to remove the chicken to a plate to cool.
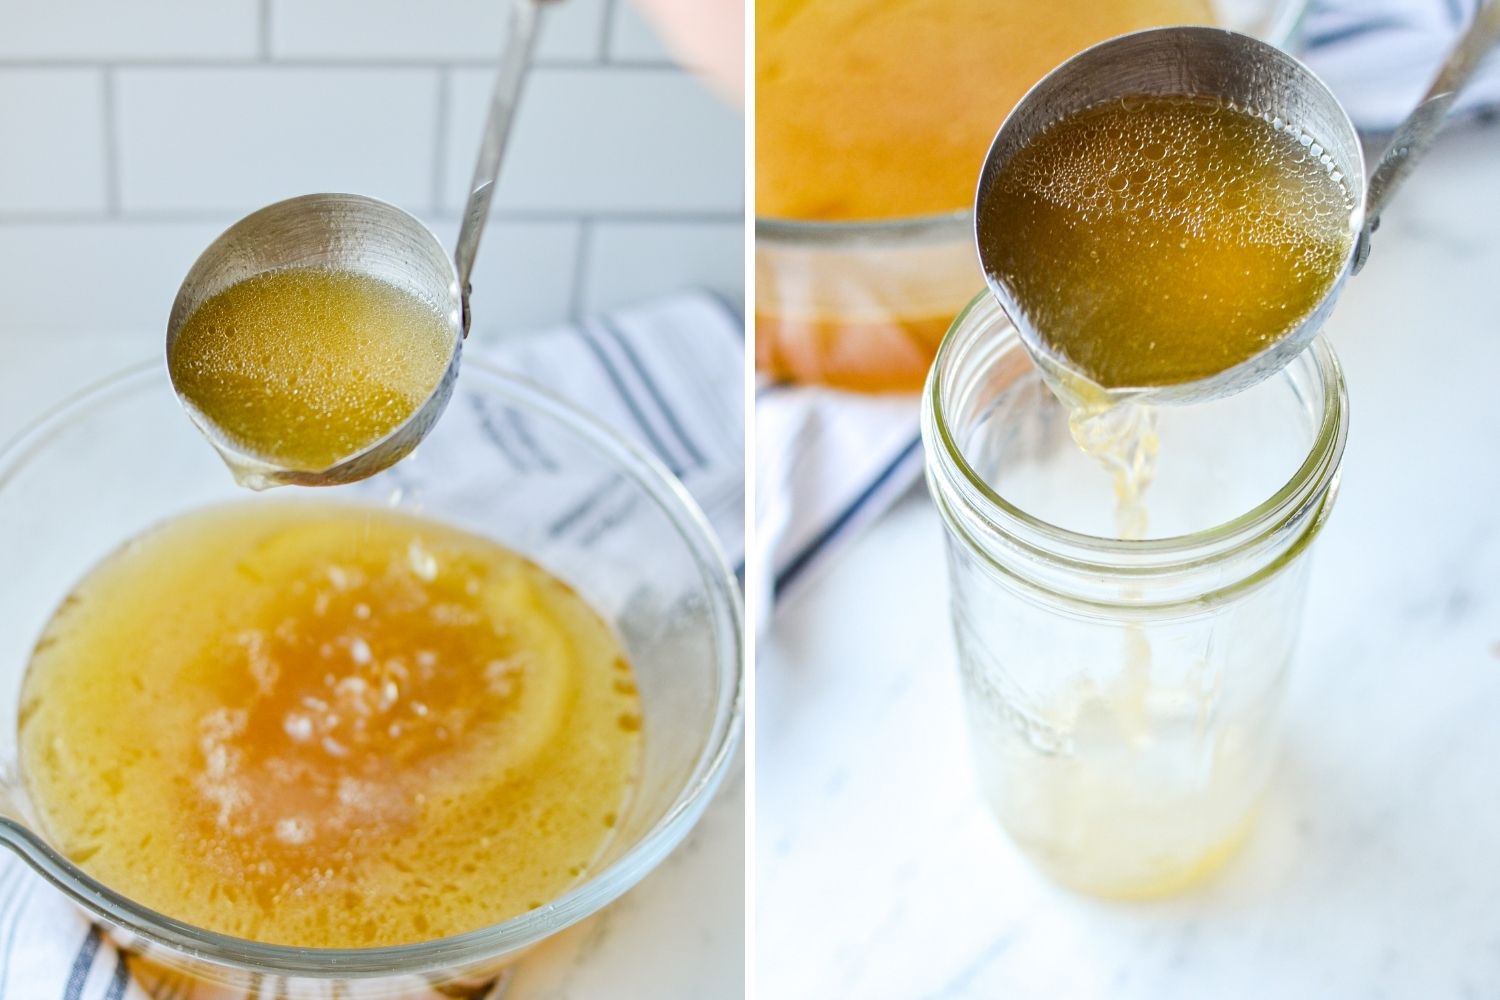
Straining
Fit a large bowl with a stainless steel or fine mesh strainer. Pour the broth through the strainer, allowing it to catch the cooked vegetables and herbs. You can add these to your compost, a bokashi bucket, or feed them to your chickens if you have any!
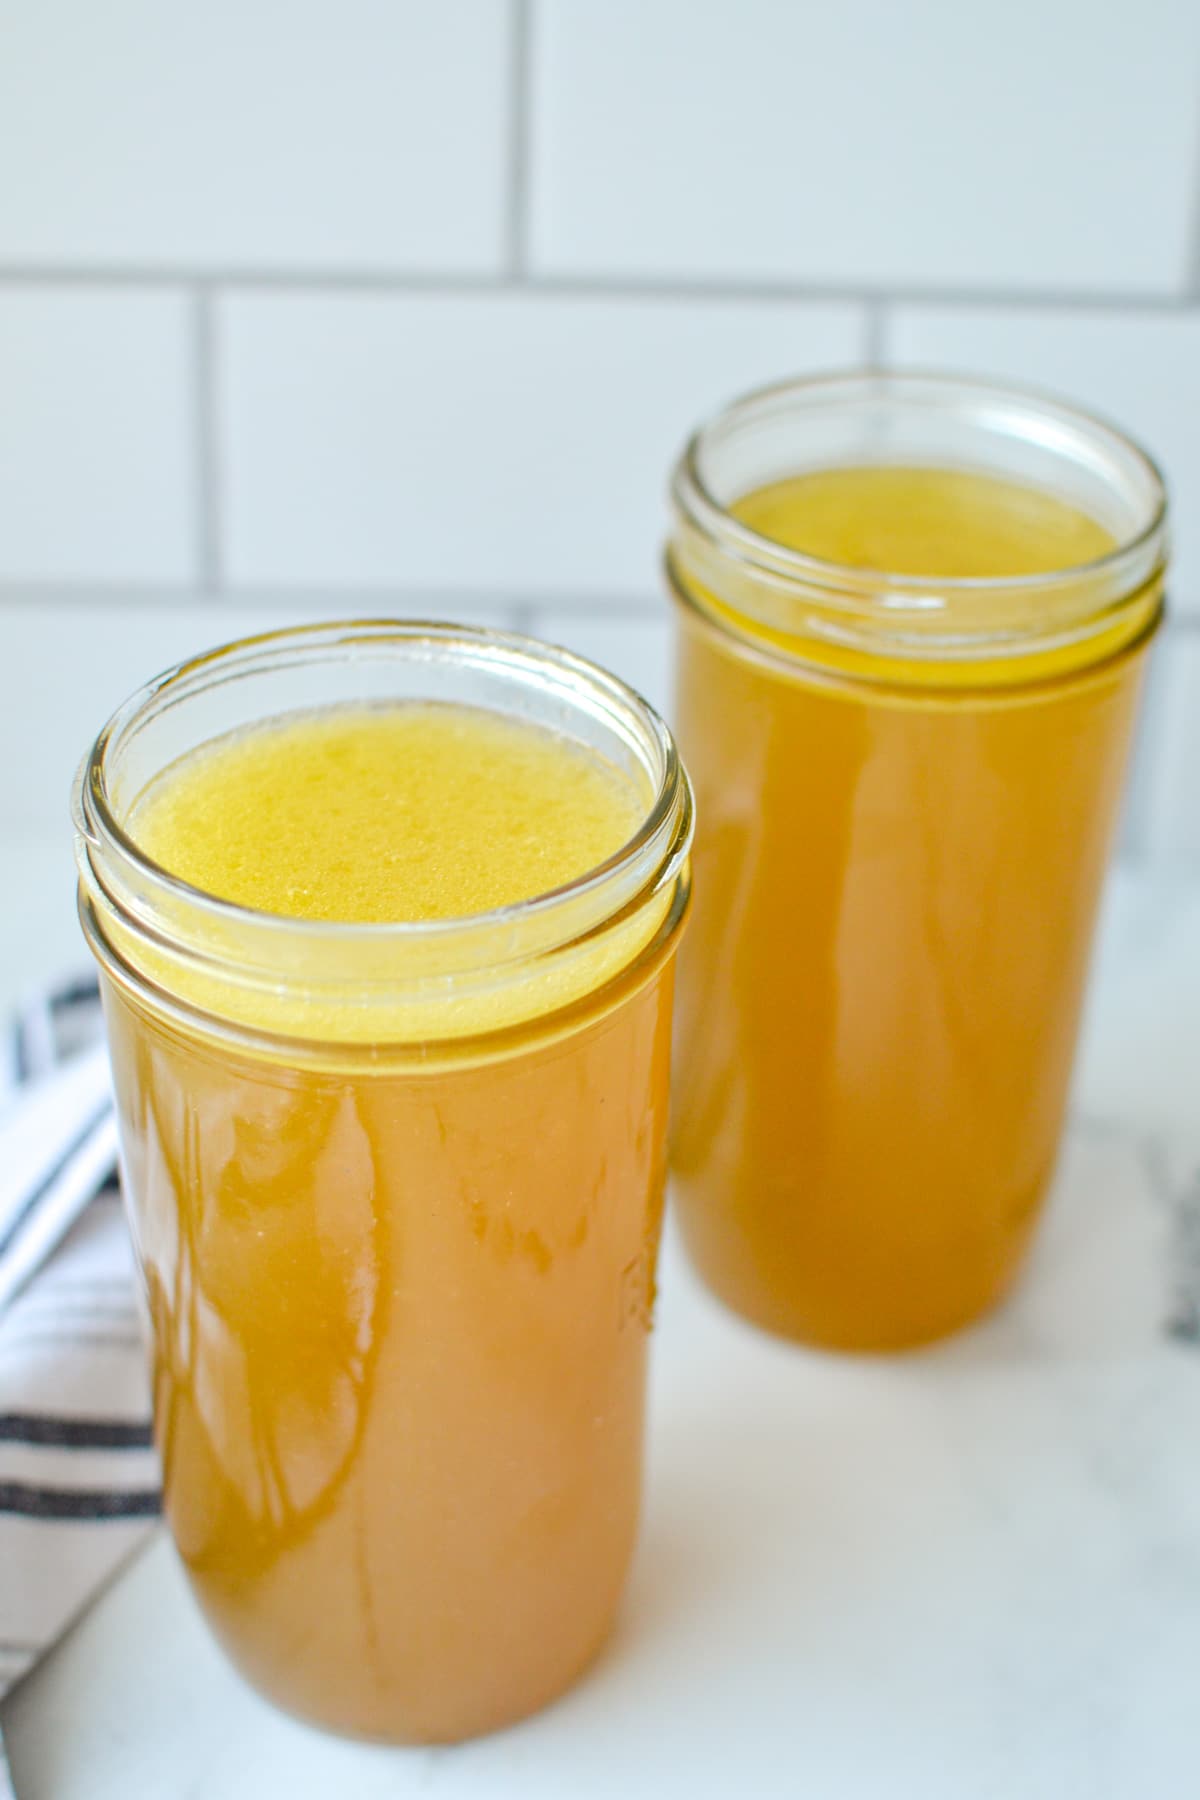
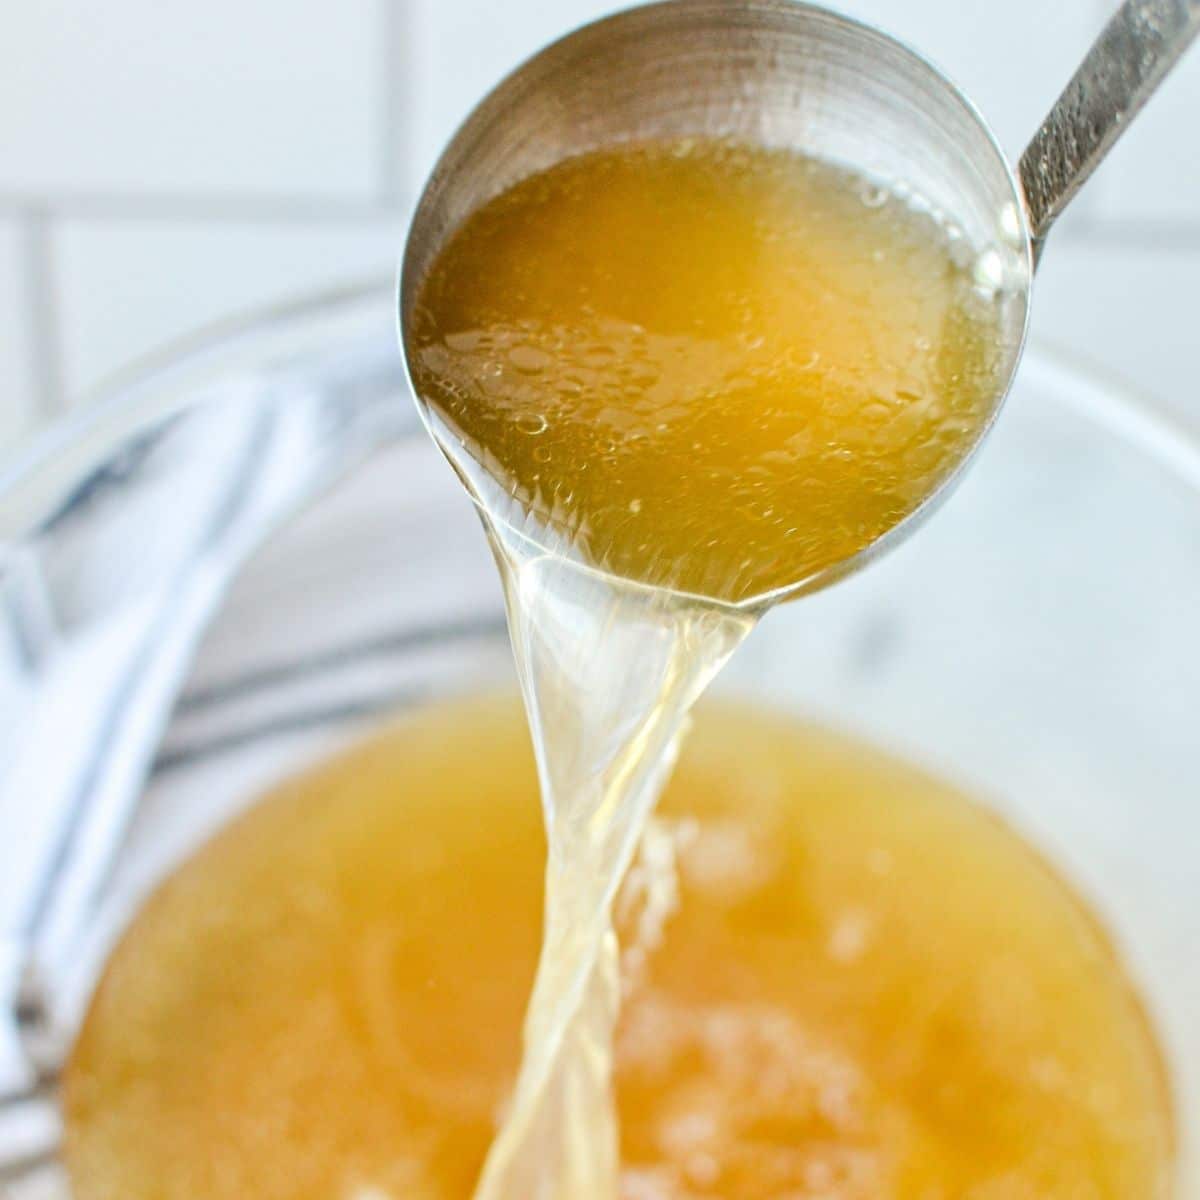
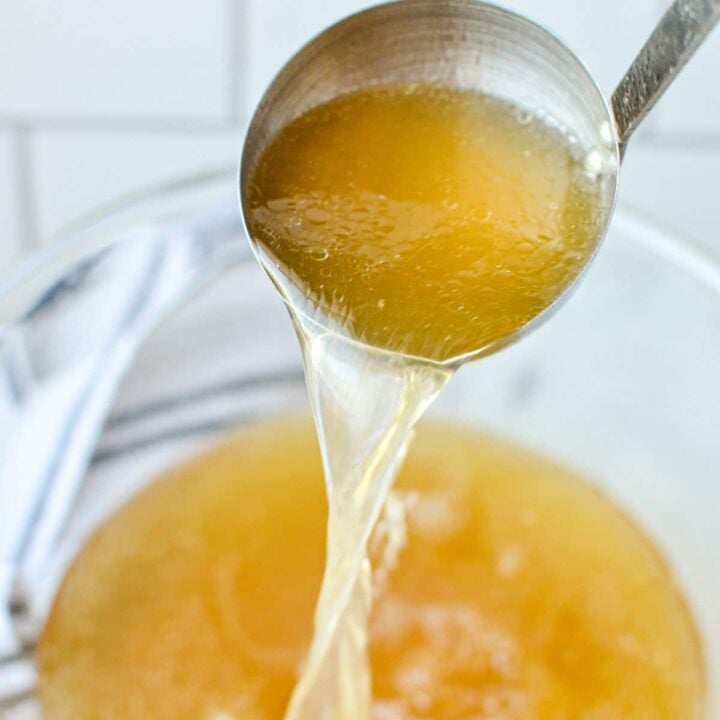
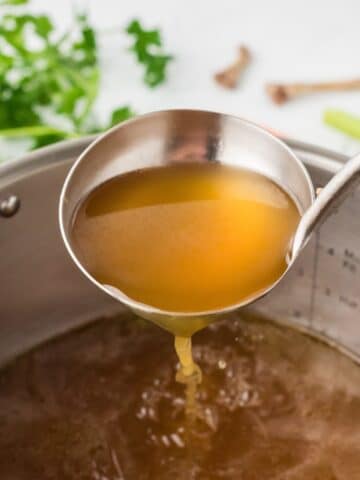
The remaining broth in the bowl is your finished homemade chicken broth! Use a ladle to transfer your broth to clean glass jars for storage, or store in the bowl itself if you'll be using all of your broth at once.
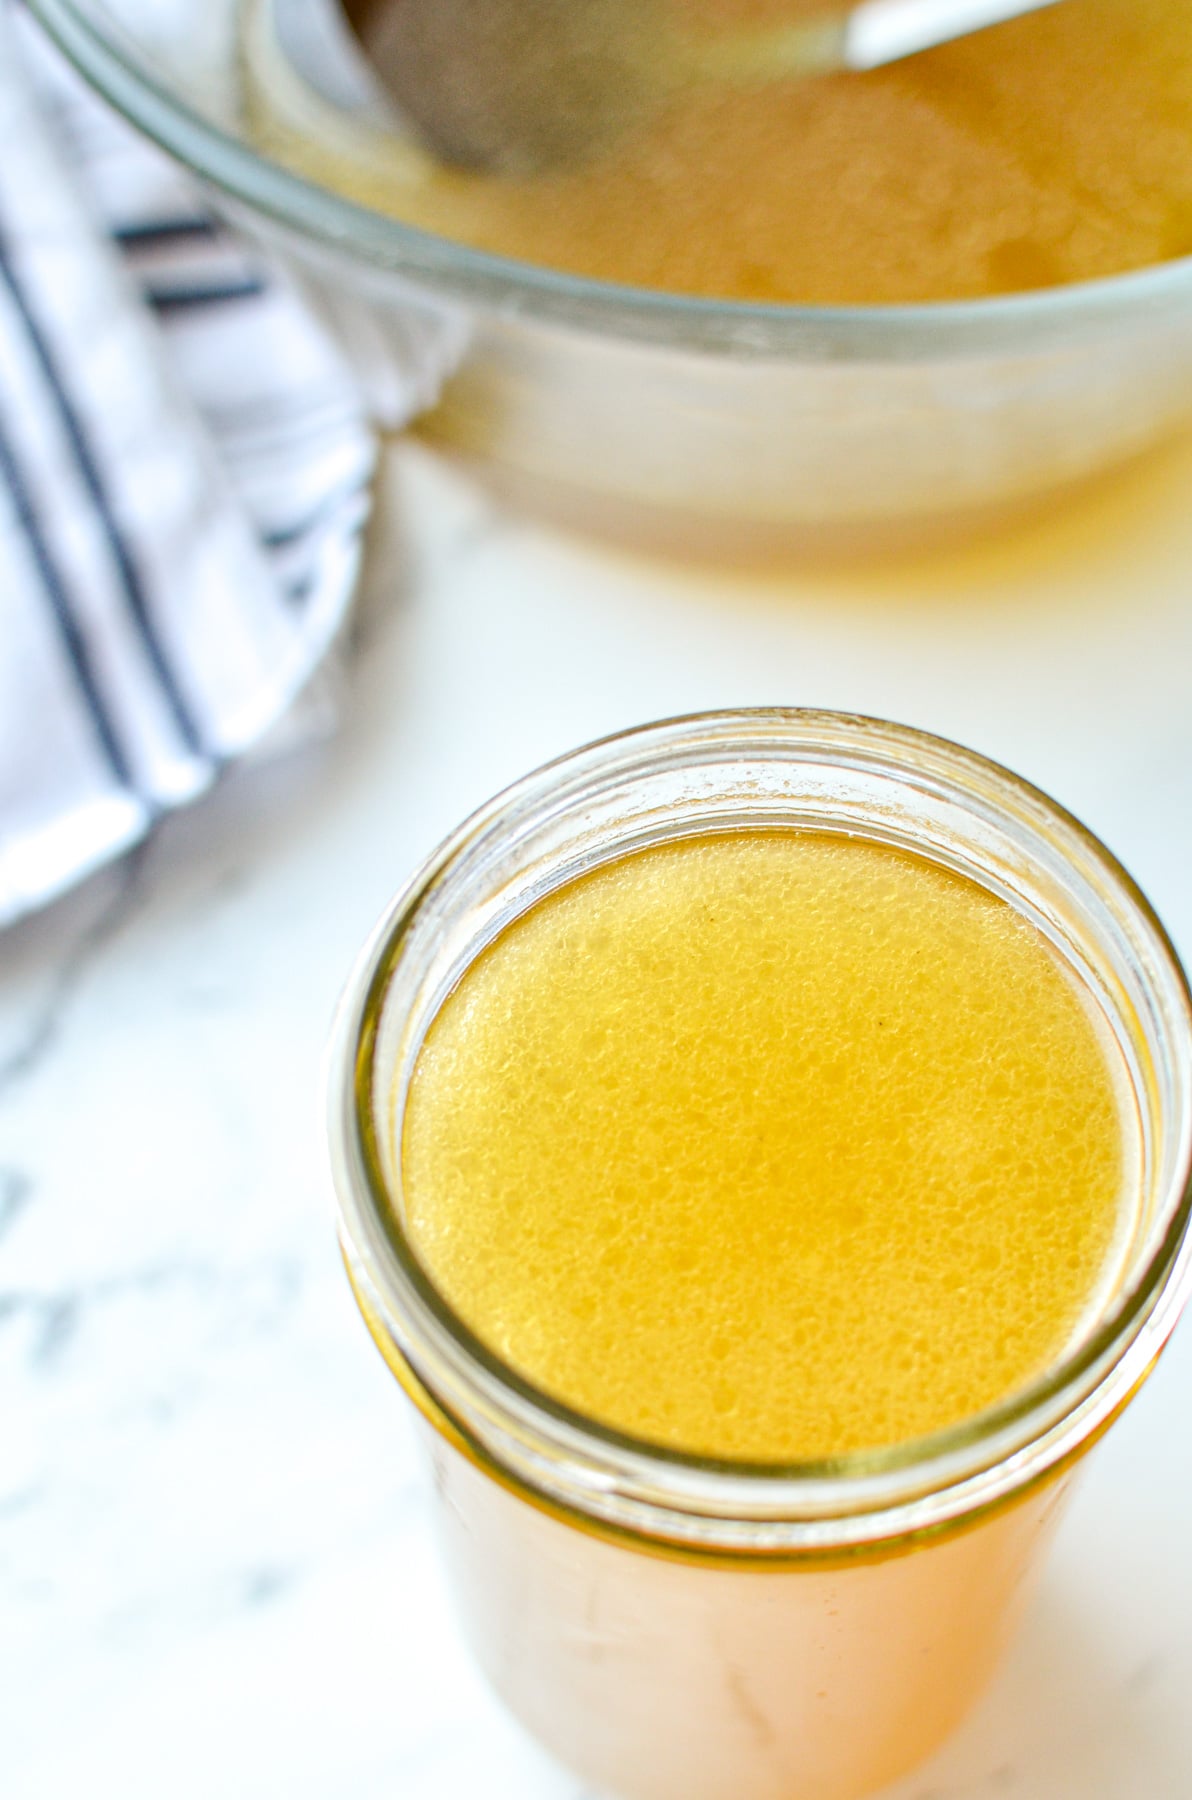
Storage
In the Fridge
To store your homemade chicken broth in the fridge, add it to clean glass jars with a lid and allow it to cool to room temperature before placing them in the fridge to chill.
Use your homemade broth within 3-5 days for best results. Leaving the top layer of fat intact will allow your broth to have a longer storage life, since it prevents oxygen from reaching the broth itself.
In the Freezer
To store your broth in the freezer, transfer to plastic freezer containers, these glass containers, or silicone molds like Souper Cubes.
Be sure to allow your broth to chill in the fridge completely before transferring to a freezer container, as you want your broth to be completely cool before adding to the freezer. Adding a hot liquid to the freezer causes condensation and freezer burn.
Use your frozen homemade chicken broth within 3 months for the best results.
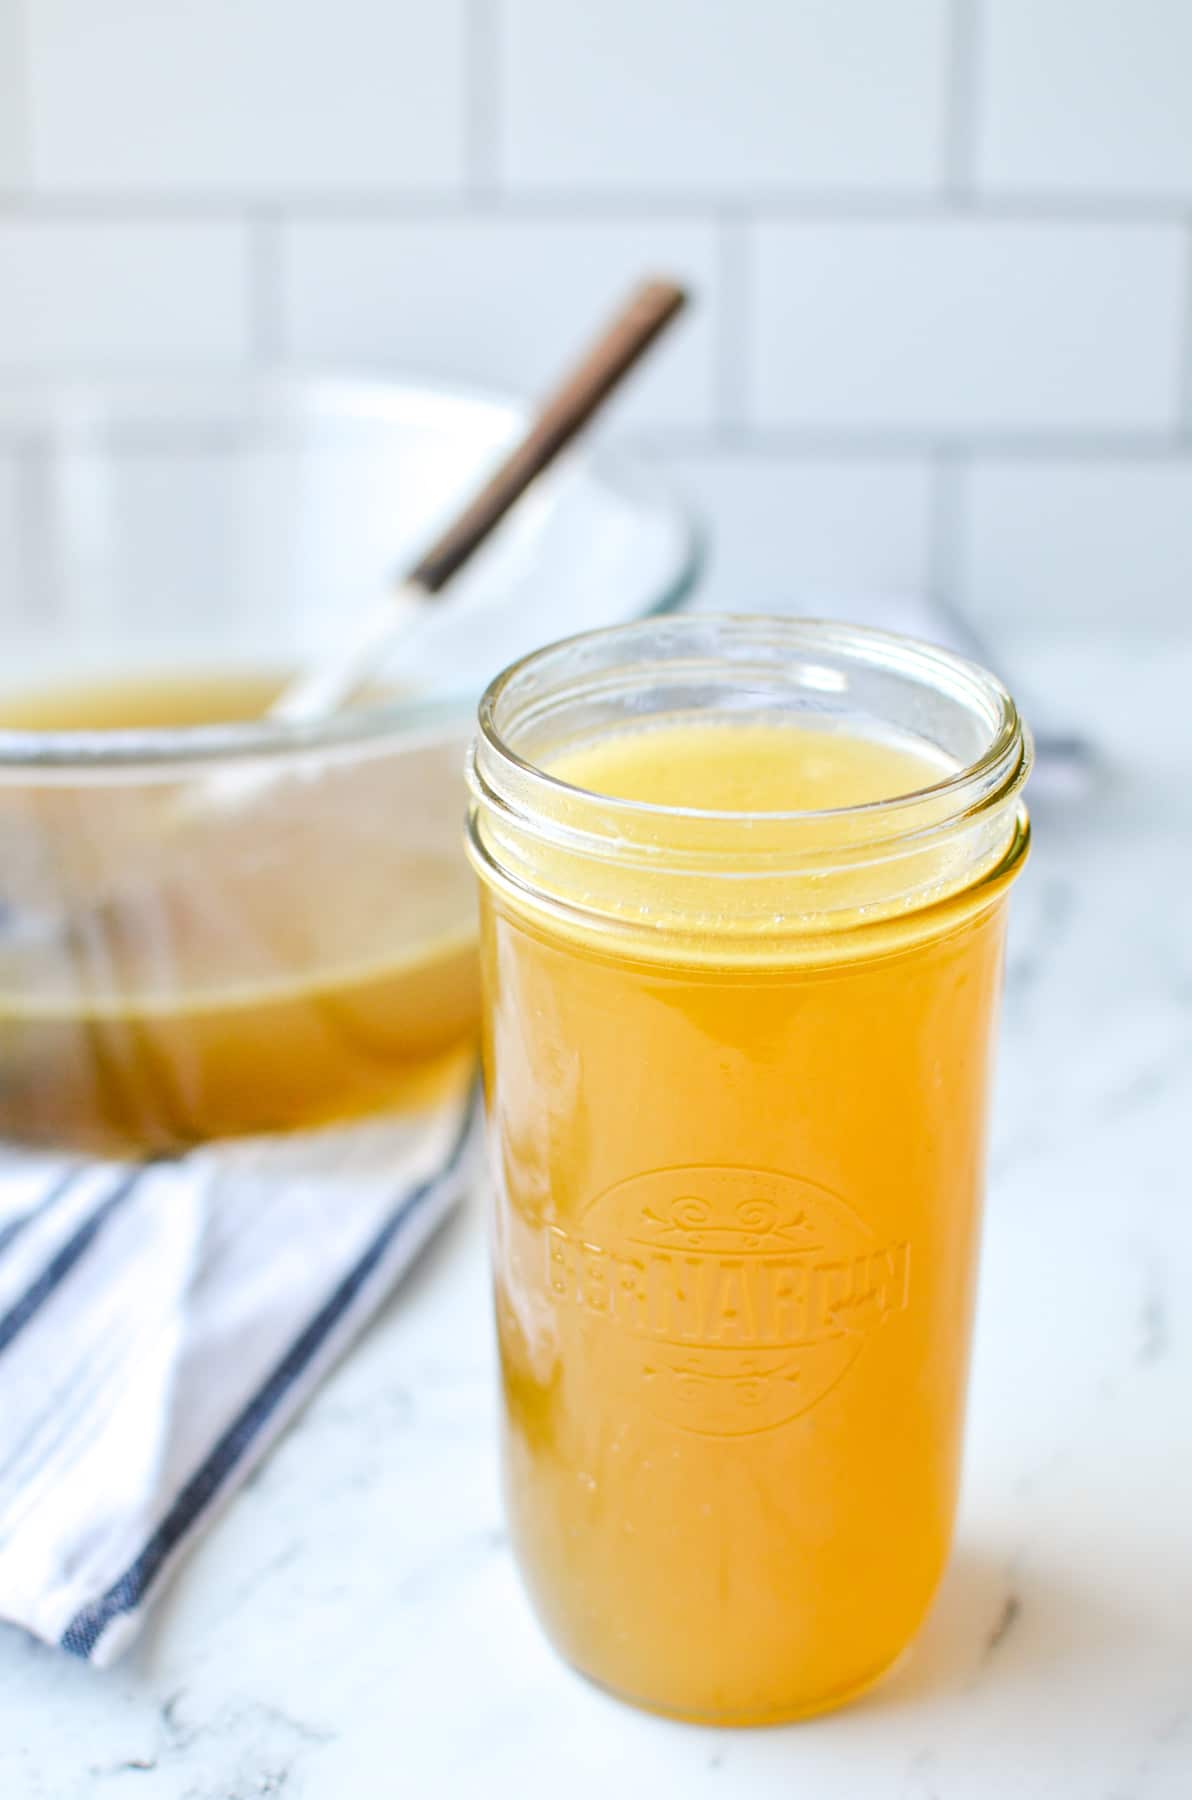
Expert Tips
- Since this homemade chicken broth recipe uses a whole chicken (rather than bones, like a classic bone broth recipe), you'll have lots of leftover cooked chicken to use. Chicken salad, casseroles, and soups (like my Healthy Mexican Chicken Soup) are all a great way to use this leftover cooked chicken. You can also freeze it in freezer bags or glass containers for another day!
- Leave the fat on top of your broth if storing in the fridge. This protects the broth from oxygen, which makes for a longer storage life.
- Remove the fat from the broth just before adding to your favorite soups, stews, and risottos. Save the fat for using like you would schmaltz, which is a rendered chicken fat. It's particularly great for roasting potatoes.
Chicken Broth vs. Bone Broth
There can be a lot of confusion when it comes to chicken broth vs. bone broth. Since they both contain the word "broth", it's common to think they are one in the same. The truth is, bone broth is actually more of a stock. Stock is made from the bones of protein source, whilst broth is made from a cut that contains both bone and meat.
Additionally, chicken broth is simmered for a short amount of time, while bone broth has a long simmering time to release the most amount of minerals and flavor from the bones as possible. Both can be gelatinous if made with high quality bones and meat, but the color of bone broth is significantly darker than that of chicken broth.
Can I Use the Re-Use the Bones for a Second Batch of Broth?
If you'd like to use the bones for a second batch, you absolutely can. This is called Remouillage and is a very economical way of making broth. I recently read about this on The Healthy Home Economist, and I think it's a great way to make the most out of your grocery budget.
Simply add the bones and fresh vegetables to a pot and cover with water again. This time, simmer the broth to about half of its original volume to concentrate the flavor of the broth. While it will not be gelatinous like your first batch, it will still be very nutritious and will work well in all of your favorite recipes!
Frequently Asked Questions
Most chicken broth, both homemade and store bought is gluten free. If you are purchasing store bought chicken broth, check the list of ingredients to verify that none contain gluten. Also check to see if there could be possibly cross contamination.
Yes! Like anything else, if left for too long your chicken broth will go bad. While it does have a longer shelf life than cooked meat, you should consume it within 3-5 days for the best results. Freeze if you want longer storage.
No. Although the two are similar and can be used interchangeably for most recipes, they are not the same. Chicken broth often involves the meat portion, as well as the bones of the protein source. Stock is made using just the bones. Stock is also simmered for a long period of time to pull minerals and flavor for the bones, while broth is simmered for less time in comparison.
Broth is made out of beef, chicken, turkey, fish, any many other protein sources. Vegetables and seasonings such as bay leaf and parsley may be included, as may salt. The meat, bones, vegetables, and seasonings will be removed from the simmering liquid and what is left behind is broth.
Yes! Since you can control the quality of ingredients and salt content, you can make a very healthy broth full of minerals. Homemade broth is rich in gelatin, and is perfect for sneaking into your favorite soups and stews in place of store bought boxed broth.
If you don't have chicken broth on hand, you can use some hot water whisked together with a small amount of nutritional yeast, parsley flakes and salt. You can also use white wine in its place, or even water if the recipe does not need the additional boost of flavor from the chicken broth.
My Favorite Recipes that Use Chicken Broth
- Dutch Oven Chicken and Dumplings
- Healthy Mexican Chicken Soup
- Lemon Garlic Roasted Potatoes
- Instant Pot Butternut Squash Soup with Coconut Milk
- Instant Pot Zuppa Toscana
- Slow Cooker White Chicken Chili
How to Make Chicken Broth
Learn how to make your very own nourishing chicken broth (aka meat stock) for use in your favorite soups, stews, and risottos!
Ingredients
- 1 whole chicken (4-5lbs)
- 1 onion, quartered
- 2 carrots, quartered
- 2 celery stalks, halved
- 2 teaspoons mineral salt
- 1 teaspoon peppercorns (optional)
- 2 bay leaves (optional)
- ½ bunch parsley (optional)
- 8-12 cups water (filtered or drinkable quality)
Instructions
- Add your chicken to a large stock pot or a Dutch oven that holds at least 6 quarts.
- Add in the vegetables, salt, peppercorns (if using) and bay leaves (if using).
- Pour in your filtered water until everything is covered by at least 1 inch. Note that the chicken may float a bit, so press it down with the end of a wooden spoon to see if you need to add more water.
- Once the water is added, place your Dutch oven or stock pot on the stovetop and heat it over high heat.
- Once your pot comes to a boil, reduce the heat to medium-low and simmer uncovered for 1 ½ to 2 hours.
- Use a spoon or a skimmer to remove the foam that rises to the top during the first 30 minutes or so of cooking. This will make for a clear, clean broth.
- Rotate the chicken halfway through to ensure even cooking. If you're adding parsley, do so during the last 10 minutes of cooking.
- Check the internal temperature of the chicken, and if it has not yet reached 165F return the the heat and turn up the heat to a high simmer until the chicken is cooked through.
- Remove the chicken from the broth, and fit a very large bowl with a strainer.
- Strain the broth through the strainer, allowing the bowl to catch the strained broth.
- Ladle the broth into glass jars for storage, and allow to cool to room temperature before transferring to the fridge for storage. Use within 3-5 days.
- If extended storage is needed, allow your broth to chill in the fridge before transferring to freezer safe containers to store for up to 3 months.
Notes
Leftover Chicken: Since we use the entire chicken (meat included) for this meat stock/broth, you will have plenty of leftover meat to use. Simply remove the cooked meat from the bones of the chicken and use in your favorite recipes, or in a batch of chicken soup. Chicken salad is also a great way to use this leftover, cooked meat.
A Second Batch: If you'd like to use the bones for a second batch, you absolutely can. This is called Remouillage and is a very economical way of making broth. Simply add the bones and fresh vegetables to a pot and cover with water again. This time, simmer the broth to about half of its original volume to concentrate the flavor of the broth. While it will not be gelatinous like your first batch, it will still be very nutritious and will work well in all of your favorite recipes!
Freezing: Transfer cooled and chilled broth to freezer safe containers (like these plastic ones, these glass ones, or silicone molds like Souper Cubes). Label and store for up to 3 months in the freezer.
Fat: If you would like to remove the fat, wait for the broth to chill completely and remove the top hardened layer. The fat creates a seal and prevents oxygen from getting in, so leaving the fat intact will prolong storage time. Removing fat is recommended just before using in your favorite soup or stew. You can even use the removed chicken fat for cooking, similar to how you would use schmaltz.
Nutrition Information:
Yield: 6 Serving Size: 1Amount Per Serving: Calories: 253Total Fat: 14gSaturated Fat: 4gTrans Fat: 0gUnsaturated Fat: 8gCholesterol: 88mgSodium: 959mgCarbohydrates: 3gFiber: 1gSugar: 1gProtein: 28g
Nutrition information is an estimate only and includes the whole chicken and all of the vegetables, even though they will all be strained off and not actually consumed with the broth.
Please note that some of my blog posts here at Little Home in the Making may contain affiliate links. If you make a purchase through these links, I will get a small commission at no additional cost to you. See our disclaimer for more information.







Beth Husom
Can you can this?
Dolly | Little Home in the Making
Hi Beth! You may can this using a tested pressure canning recipe for chicken broth. You will have to heat the broth after skimming off any fat. Here's one from NCHFP: https://nchfp.uga.edu/how/can_05/stock_broth.html