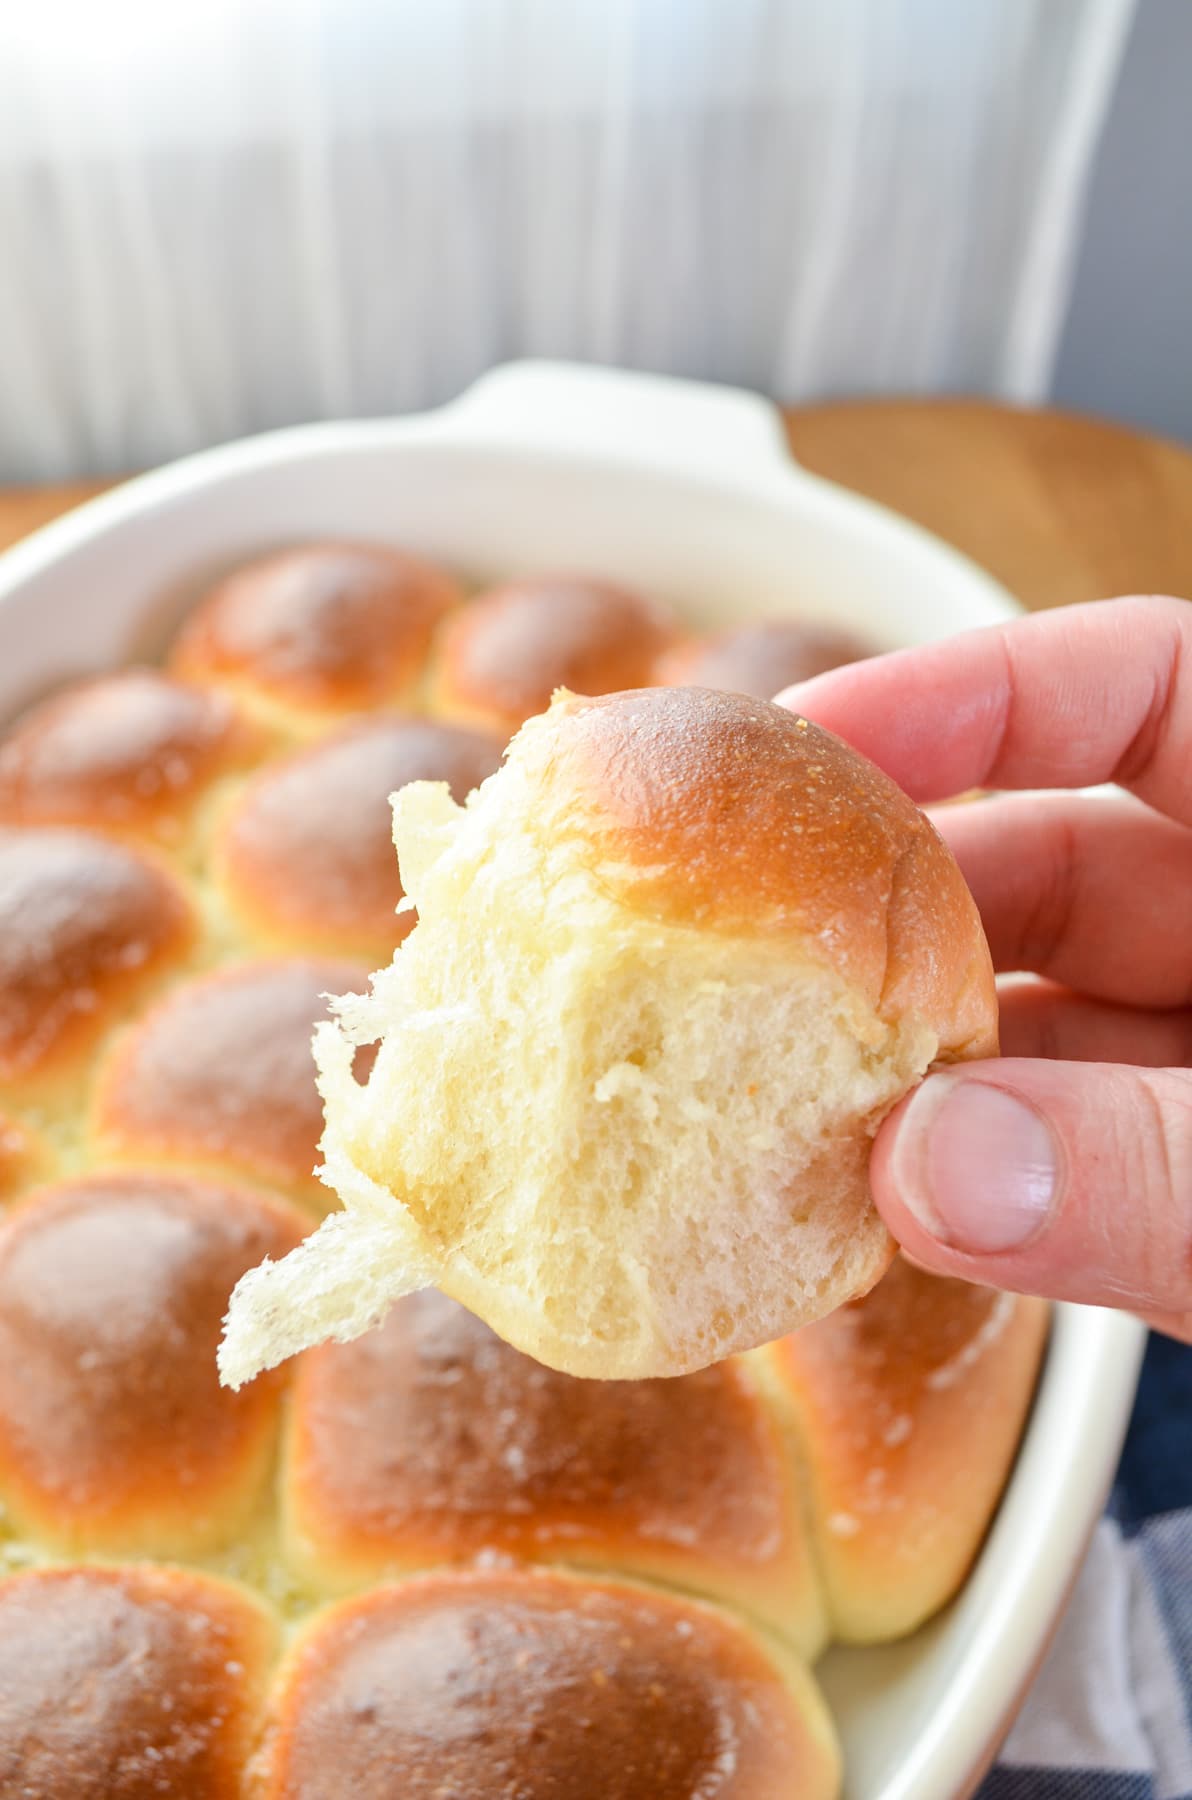
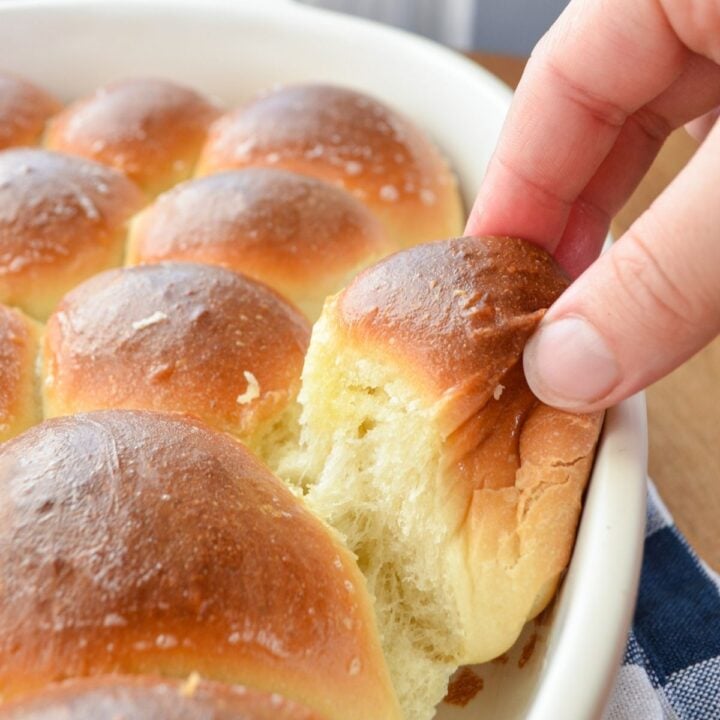
These easy, fluffy, and rich Snowflake Rolls are perfect for serving with your favorite soups, stews, and hearty cold weather meals. Ready in around 1 ½ hours (including cooling time), they are the perfect everyday dinner roll. Brush with melted butter for an extra special treat!
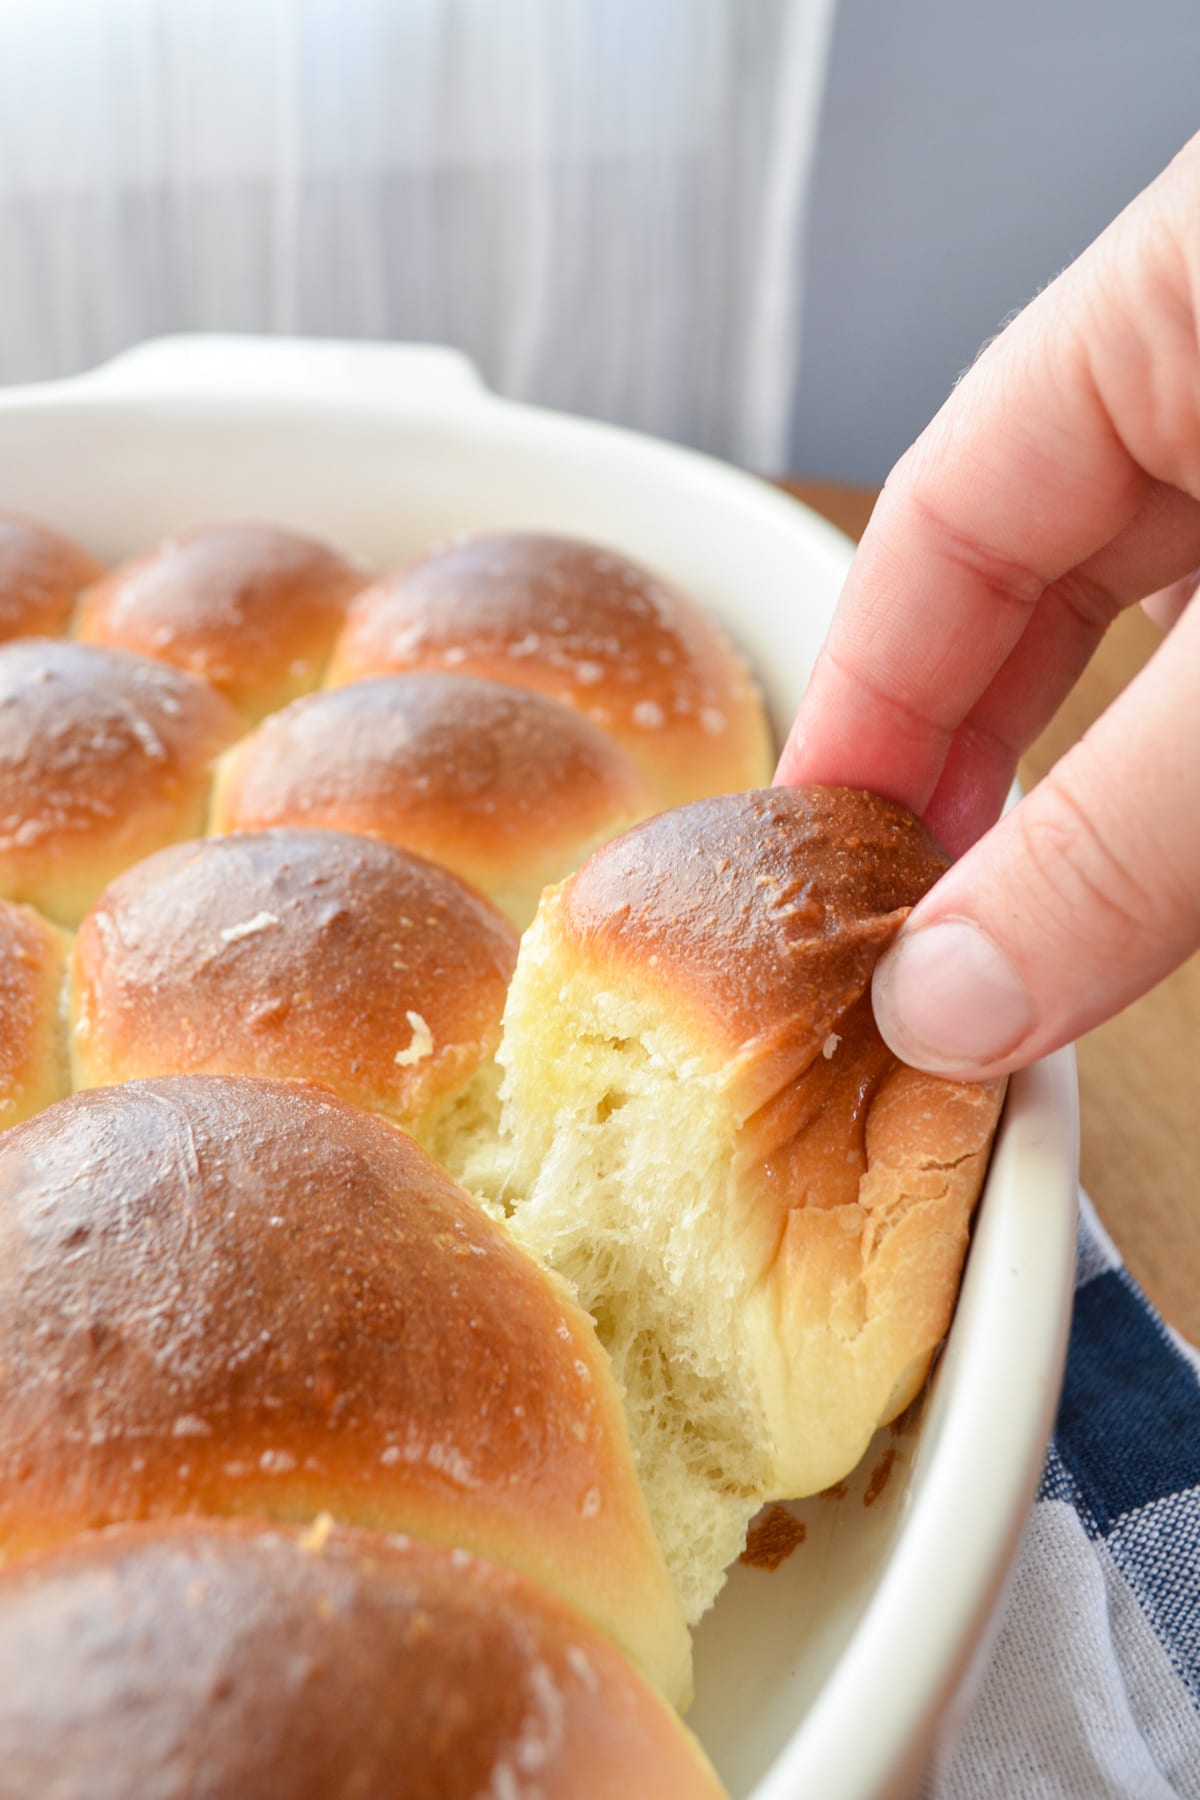
With the cooler weather comes to opportunities to make alllll the soups. Everything from Zuppa Toscana to Chicken Taco Soup make frequent appearances at my dinner table, and I couldn't be more excited! Soup is economical, tasty, and generally pretty healthy! But I'm always left thinking that I should have made some rolls to go with these delicious delights! Problem is, most dinner roll recipes take upwards of hours. Not so with these soft and fluffy Snowflake Rolls.
Ready in less than an hour and half, they are perfect for making for Dinner. Snowflake rolls use basic pantry staples and feature a rich dough and a quick rise. They are perfect for serving with your favorite soups, stews, and hearty Fall and Winter meals.
Ingredients
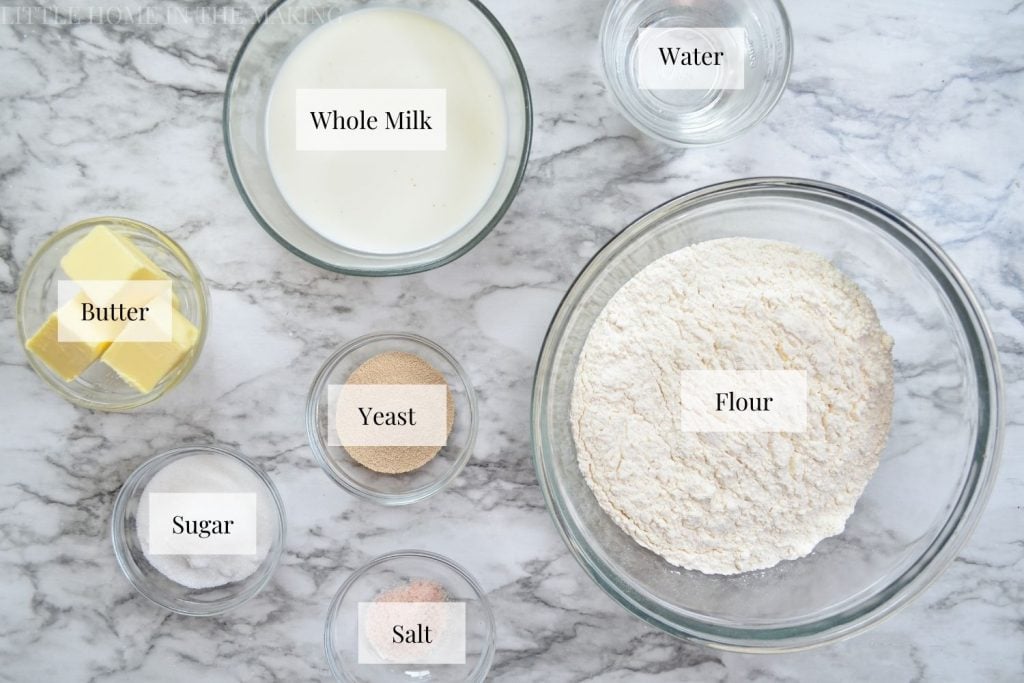
- Flour: All purpose flour is perfectly fine for making snowflake rolls, but you can certainly use bread flour if that's what you have on hand (see my tutorial on how to make your own bread flour)
- Butter: I like to use salted, but if you have unsalted that's fine too! Just add a pinch or two more salt to the recipe.
- Milk: While whole milk is preferred to give the dough a rich, yummy texture, you can use whatever dairy milk you have on hand.
- Yeast: We use instant yeast in this recipe because we want it to rise quickly. Since I buy my yeast in bulk this measures out to 4 ½ teaspoons, but if you buy yours in the packages you will use 2 packets.
- Other: Salt, sugar, and a little bit of water is also used for this recipe!
How to Make Snowflake Rolls

In the bowl of a stand mixer, or in a large mixing bowl, add 2 cups of the flour, sugar, salt, and yeast. Whisk to combine.
Add the butter to a medium sized saucepan and place over medium heat.

Once the butter has melted, add the milk and water. Stir to combine, and heat until the mixture becomes very warm, but not hot, about 105F.
Add the warm butter, milk, and water to the mixed dry ingredients and mix with the paddle attachment if using a stand mixer.

Once the flour is fully incorporated, begin adding a little more flour at a time until you have a soft and tacky (not sticky) dough. This will vary greatly on your brand of flour, time of year, and general humidity, so exact measurements aren't possible.
Once the dough has enough flour to form a cohesive, slightly tacky mass, switch your stand mixer attachment to the dough hook and knead for 5-7 minutes, or knead by hand for the same amount of time.

Grease a large bowl with a small amount of cooking oil, and pat the kneaded dough into a large smooth ball. Place the dough ball into the greased bowl and turn to coat.
Cover the bowl with plastic wrap and place in a warm place and allow to rise until doubled, about 15-20 minutes.
Turn dough out onto a very lightly floured surface, or a pastry mat. Use a bench scraped to cut into 16 equal pieces.

Shaping the Rolls
Roll each portion into a ball by tucking the ends under to form a mushroom-like shape, and then shaping with the palms of your hand.
Grease a 9X13 baking dish and place your shaped rolls into the dish, spacing them out evenly. Don't worry if your rolls touch, as long as the rolls aren't crowded in one particular area and not another. This would cause uneven baking.
Cover the rolls with plastic wrap and place in a warm area to rise for an additional 15-20 minutes.
Preheat the oven to 425F.
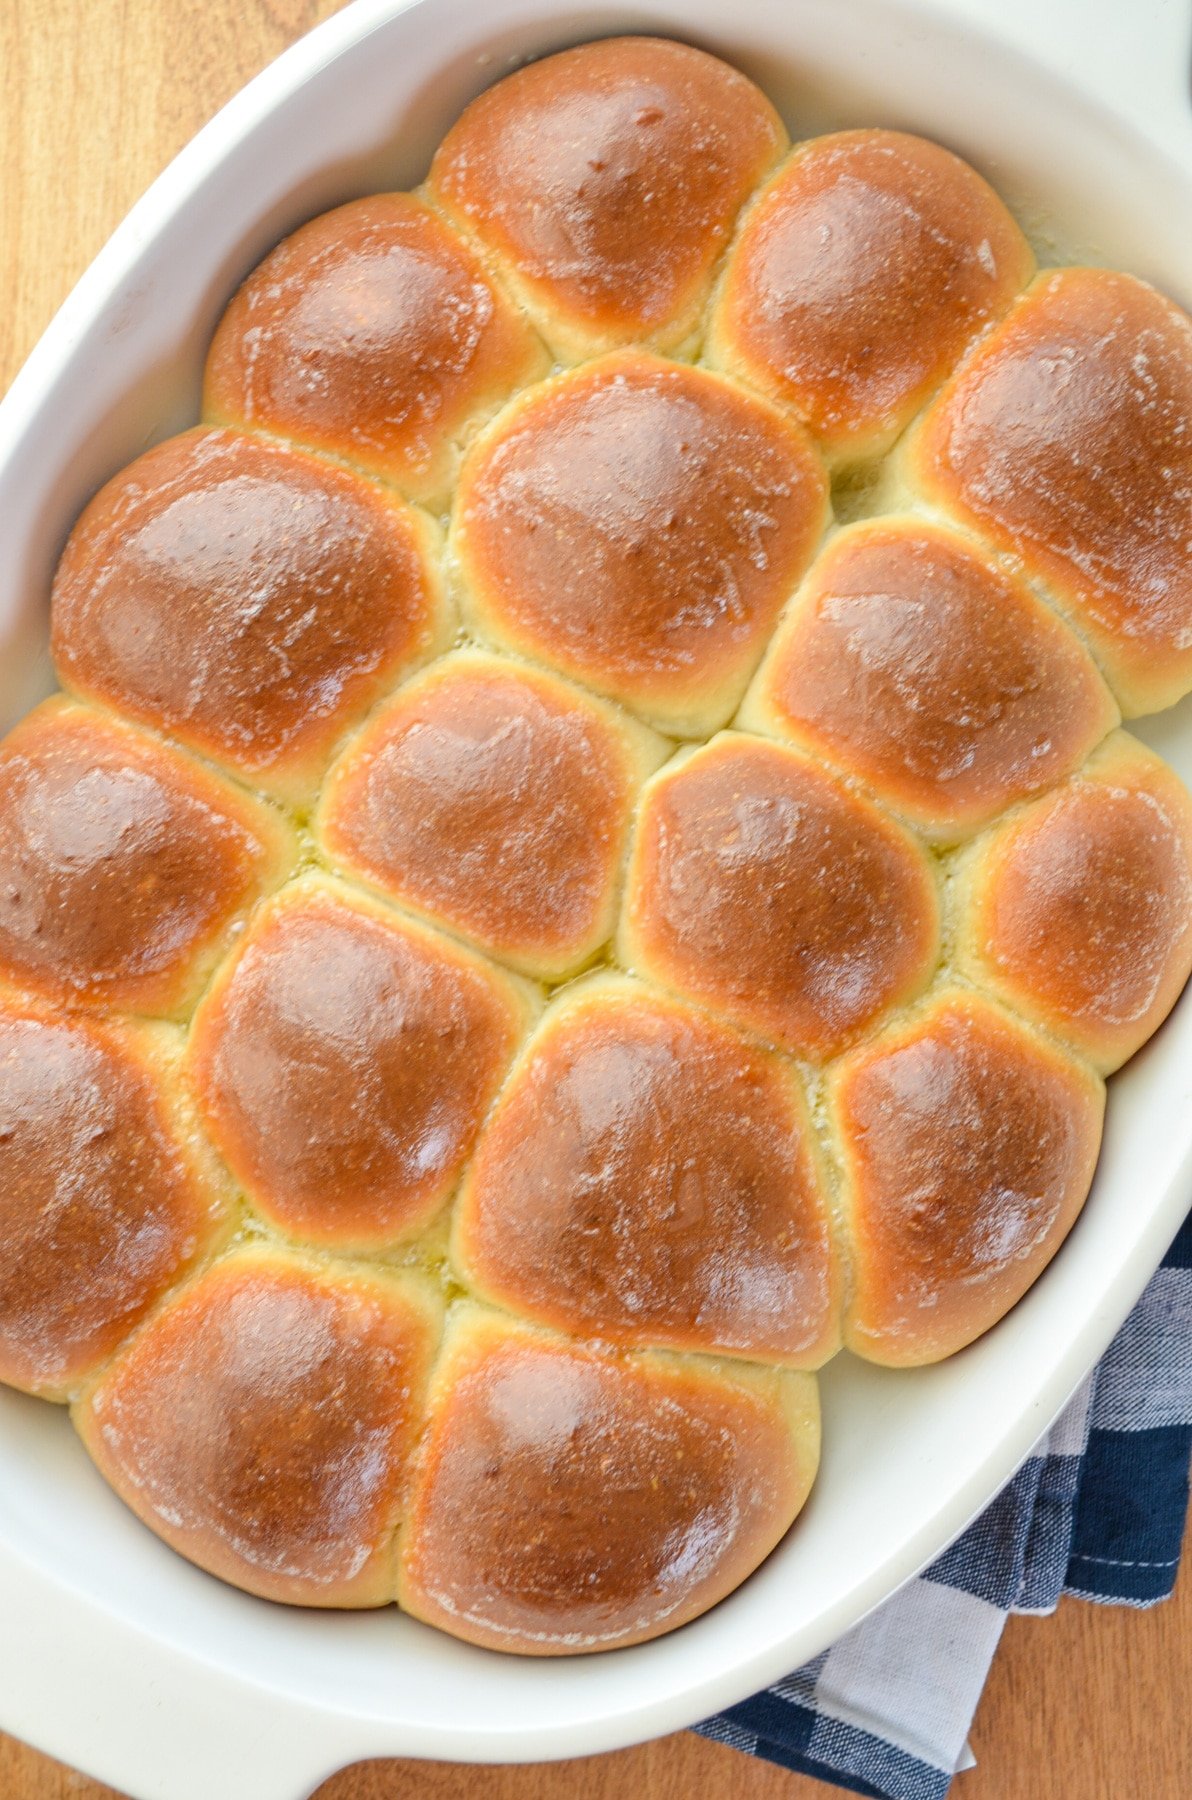
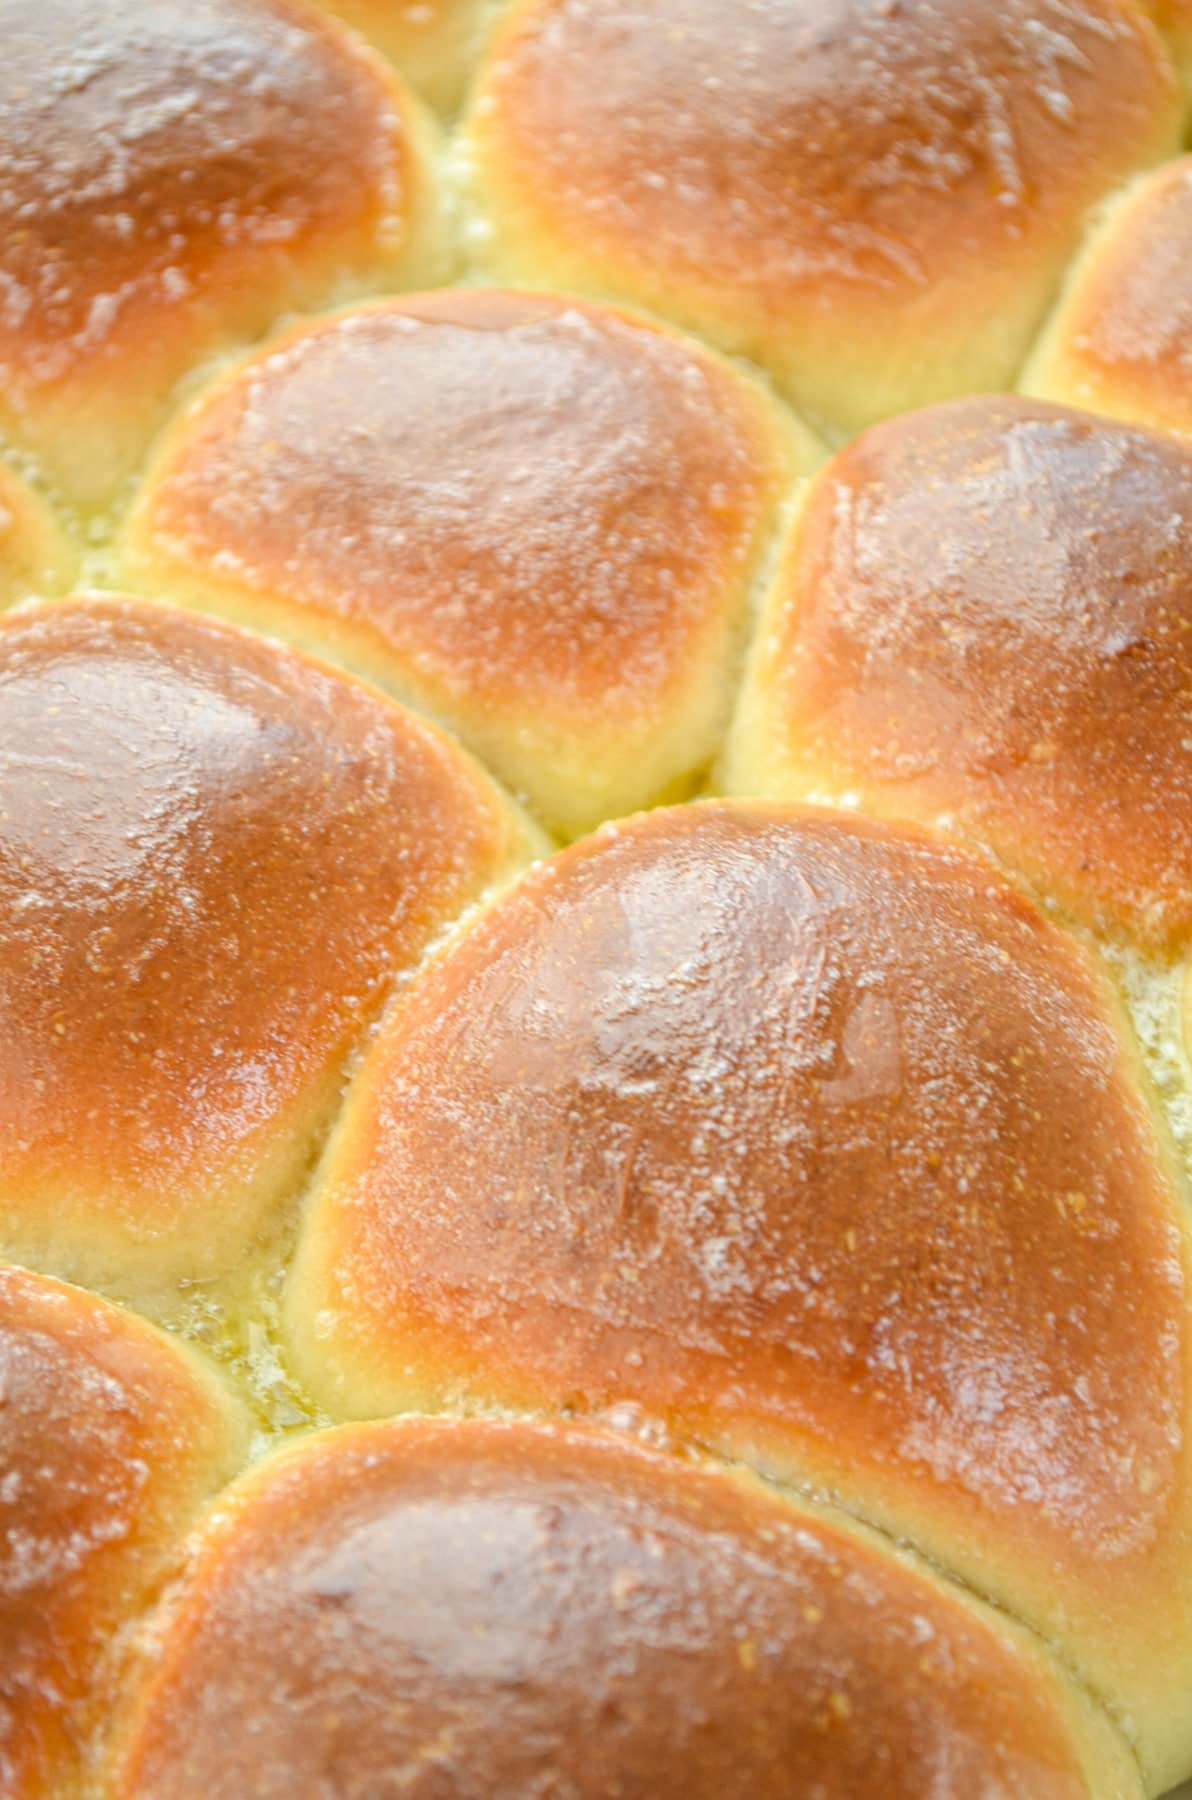
Bake your risen rolls in the preheated oven for 20-25 minutes, or until a minimum internal temperature of 180F is reached. Brush with melted butter, cool for 5 minutes, and serve with your favorite hearty meals.
Substitutions
Sugar free: Substitute the granulated sugar in this recipe for a sweetener that measures 1:1 with sugar.
Dairy free: Substitute the butter for a non dairy butter alternative like coconut oil or butter flavored coconut oil. Substitute the milk for a higher fat plant based milk like cashew or almond milk.
Vegan: Substitute the butter for a vegan butter alternative like coconut oil or butter flavored coconut oil. Substitute the milk for a higher fat plant based milk like cashew or almond milk.
Recommended Equipment
- Stand Mixer: You can definitely make these Snowflake Rolls by hand, but it is much easier if you use a stand mixer with a dough hook, as well as a paddle attachment.
- Bench Scraper: This easily lifts dough off the counter, and is perfect for dividing dough into smaller pieces for rolls.
- Baking Dish: You will need the classic 9X13 baking pan for this recipe, but you can use two 8X8 baking dishes if you do not have the 9X13 size.
What to Serve with Dinner Rolls:
- Slow Cooker Pot Roast and Gravy
- Beef stew
- Roast chicken
- Hearty soups (like Zuppa Toscana)
- Cabbage rolls
- Chicken pot pie
- Roast turkey
- Brown Sugar Glazed Ham
Snowflake Rolls
These easy Snowflake Rolls feature basic pantry ingredients and a quick rise. Perfect for beginner and advanced bakers alike.
Ingredients
- 3 ½ - 4 cups all purpose flour, scooped and leveled
- ¼ cup granulated white sugar
- 1 teaspoon salt
- 4 ½ teaspoons instant yeast (2 packages)
- 1 cup whole milk
- ½ cup water
- ½ cup butter, melted
Instructions
- In the bowl of a stand mixer, or in a large mixing bowl, add 2 cups of the flour, sugar, salt, and yeast. Whisk to combine.
- Add the butter to a medium sized saucepan and place over medium heat. Once the butter has melted, add the milk and water. Stir to combine, and heat until the mixture becomes very warm, but not hot, about 105F.
- Add the warm butter, milk, and water to the mixed dry ingredients and mix with the paddle attachment if using a stand mixer.
- Once the flour is fully incorporated, begin adding a little more flour at a time until you have a soft and tacky (not sticky) dough. This will vary greatly on your brand of flour, time of year, and general humidity, so exact measurements aren't possible.
- Once the dough has enough flour to form a cohesive, slightly tacky mass, switch your stand mixer attachment to the dough hook and knead for 5-7 minutes, or knead by hand for the same amount of time.
- Grease a large bowl with a small amount of cooking oil, and pat the kneaded dough into a large smooth ball. Place the dough ball into the greased bowl and turn to coat.
- Cover the bowl with plastic wrap and place in a warm place and allow to rise until doubled, about 15-20 minutes.
- Turn dough out onto a very lightly floured surface, or a pastry mat. Use a bench scraped to cut into 16 equal pieces.
- Roll each portion into a ball by tucking the ends under to form a mushroom-like shape, and then shaping with the palms of your hand.
- Grease a 9X13 baking dish and place your shaped rolls into the dish, spacing them out evenly. Don't worry if your rolls touch, as long as the rolls aren't crowded in one particular area and no another. This would cause uneven baking.
- Cover the rolls with plastic wrap and place in a warm area to rise for an additional 15-20 minutes.
- Preheat the oven to 425F.
- Bake your risen rolls in the preheated oven for 20-25 minutes, or until a minimum internal temperature of 180F is reached.
- Brush with melted butter (if desired), cool for 5 minutes, serve and enjoy!
Notes
Leftover Rolls: While these rolls are best served on the day of, you can serve them up to 3 days after baking. Simply reheat the desired amount of rolls in the microwave in 30 second intervals until warmed through.
Freezing: If you would like to freeze these rolls, complete the first rise, shape into balls in a baking dish, cover, and freeze. When you're ready to bake, remove the rolls from the freezer 2-3 hours before and allow to thaw and rise on the counter. You can also thaw overnight in the refrigerator, approximately 6-12 hours.
Nutrition Information:
Yield: 16 Serving Size: 1Amount Per Serving: Calories: 474Total Fat: 7gSaturated Fat: 4gTrans Fat: 0gUnsaturated Fat: 2gCholesterol: 17mgSodium: 187mgCarbohydrates: 88gFiber: 3gSugar: 4gProtein: 12g
Nutrition information is an estimate only.
Please note that some of my blog posts here at Little Home in the Making may contain affiliate links. If you make a purchase through these links, I will get a small commission at no additional cost to you. See our disclaimer for more information.

















Amber
These are the best rolls I have ever tried. Everyone loves them. Thank you so much. I have a question. If I wanted to make cinnamon raisin bread, would I just add in raisins and cinnamon or do you happen to have a delicious recipe for this as well?
Dolly
Hi Amber! I'm so glad you enjoyed the rolls! I haven't tested this with cinnamon and raisin and unfortunately I don't have a recipe for cinnamon raisin bread (although now I'm thinking I should work on one!). I have tried the Cinnamon Raisin Bread from Sally's Baking Addiction before though and it was delicious! Here's the link to the recipe: https://sallysbakingaddiction.com/homemade-cinnamon-swirl-bread/
I do have a recipe for an Amish Cinnamon Bread but it's more like a quick bread (like Banana bread or pumpkin loaf): https://www.littlehomeinthemaking.com/amish-cinnamon-bread/
Kristin
These are amazing and so simple! Everyone loves them and now never want store bought rolls again!
Is there a way to make the dough and refrigerate a few hours to bake fresh? My freezer storage is low! Also, could I double the recipe for more rolls?
Dolly
I'm so glad you enjoyed the recipe!
Yes, you can definitely shape the rolls and refrigerate them. This is sometimes referred to as "cold-proofing". Just cover with some plastic wrap and let them come to room temperature before baking.
If you double the recipe, I recommend baking them in two separate pans. If you place both of the pans in the oven together, you may need to add in additional cooking time. I hope that helps!