Did you know that you can make your own bread flour? All you need is a few simple ingredients and about 5 minutes. Then you'll be on your way to soft, fluffy sourdough loaves and delightfully chewy bagels. This DIY bread flour recipe can be made in a pinch, meaning you never have to make a last minute grocery run again!
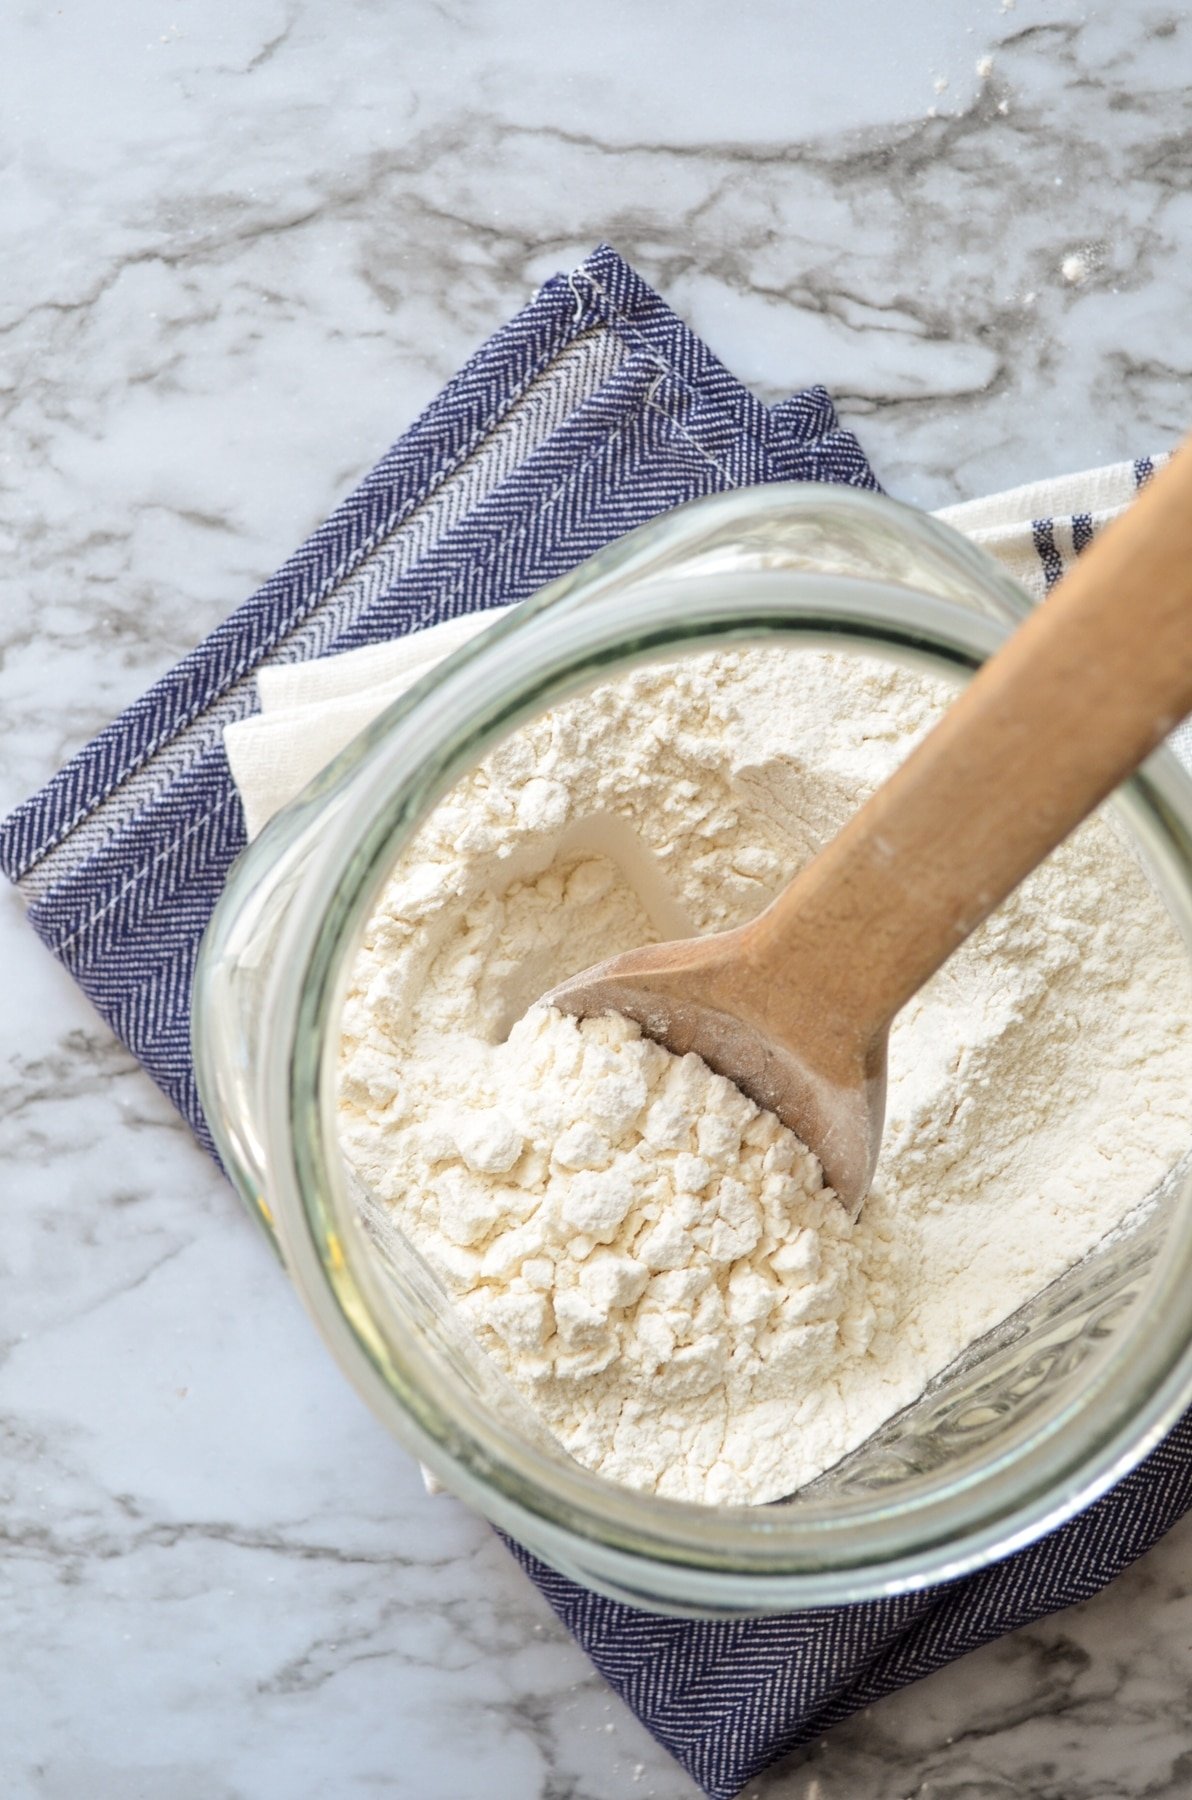
Baking can be such a wonderful joy. It is truly wonderful that a sticky, lump of a thing can turn into a delicious mound of light, fluffy sourdough bread. To see the fruit of our hands is a true joy, and there seems to be no satisfaction like that of making our very own bread from scratch.
Those from a bygone era perhaps wouldn't feel so romantic about bread baking, but our abundance here in North America has us adopting traditional skills for sheer nostalgia and glee. There is something about working with your hands to create something that just gives you this deep connection. To your food, to your home, and to your family. You feel like a proud toddler, making their way over to their Mommy and presenting her with a beautiful handmade gift of a popsicle stick picture frame. You look up and say, "I made this for you."
And this is how it is with bread baking.
But like with all arts, sometimes we need a new tool to create something new. But we are faced with a problem: we don't have what we need. With painting, perhaps we need a brush that will allow us to use a special technique. With knitting, we may need to pick up a cable needle to be able to further our skill. The art of bread baking is no different. There are tools we may need that we don't have (see my list of my favorite bread baking tools), or (in this case) ingredients we need that we don't have. And so what do we do? We can head off to the store and purchase said ingredient or said tool.
Or we can make our own.
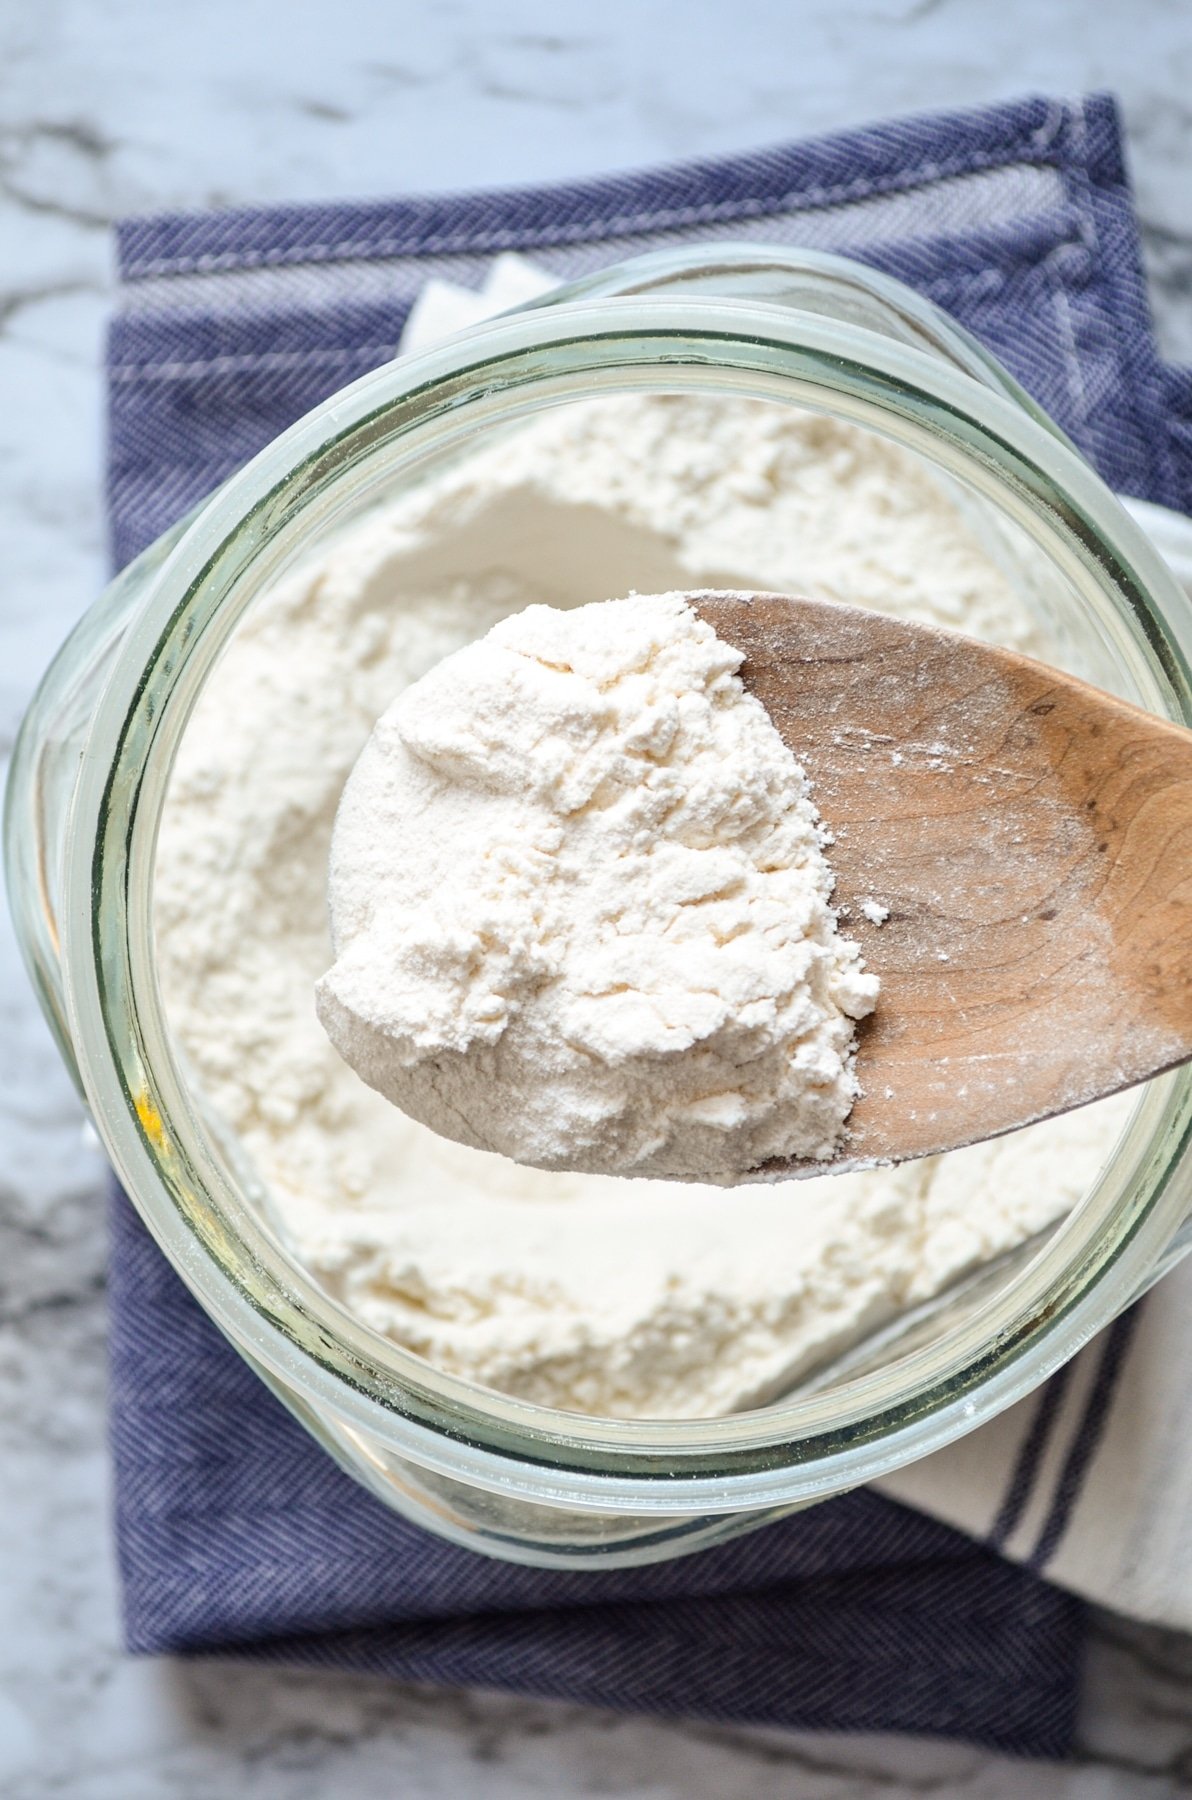
Can you make your own bread flour?
Yes you can! All you need is two simple ingredients: all purpose flour and vital wheat gluten (also called gluten flour or wheat gluten). When you combine the two in the proper quantities, you have a viable substitute that makes delicious, chewy bagels and stretchy, yeasty pizza crusts. Bread flour is a marvel in the bread bakers kitchen, but it can be hard to come by, expensive, or used so infrequently it's hard to use a full bag of it.
That is when this homemade, DIY bread flour comes in handy.
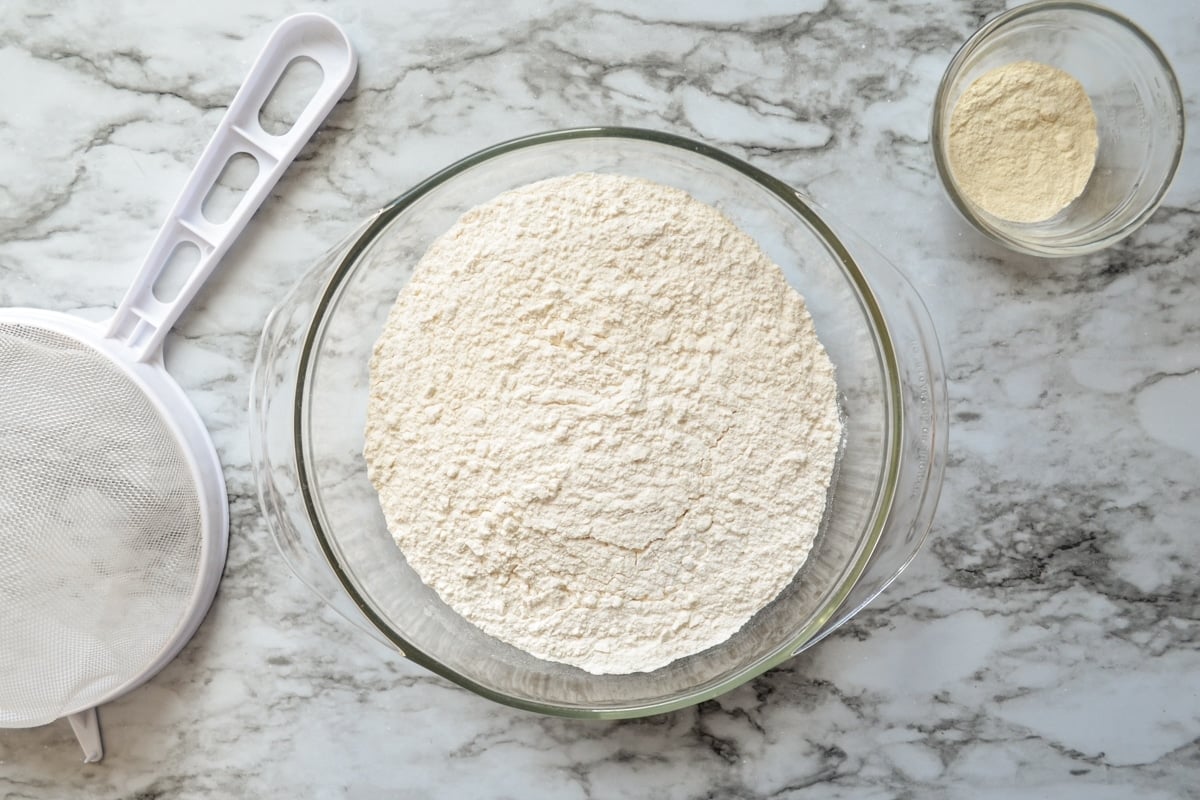
How do I convert all purpose flour to bread flour?
It is so easy to convert regular, all purpose flour to bread flour using vital wheat gluten. For equipment, all you will need is:
- A Bowl: While a prefer glass, any type of bowl will do! Just make sure the opening is wide enough to accommodate the sifting of your flour. For this reason I opt for a medium sized bowl or larger.
- Fine Mesh Strainer: or a flour sifter. I like to use the fine mesh strainer because it has a wider surface area. This makes for quick work of sifting the flour. I use this set for everything from rinsing quinoa to straining milk kefir. If you don't have something to sift your flour with, don't worry. You can just stir it or whisk it very well to combine.
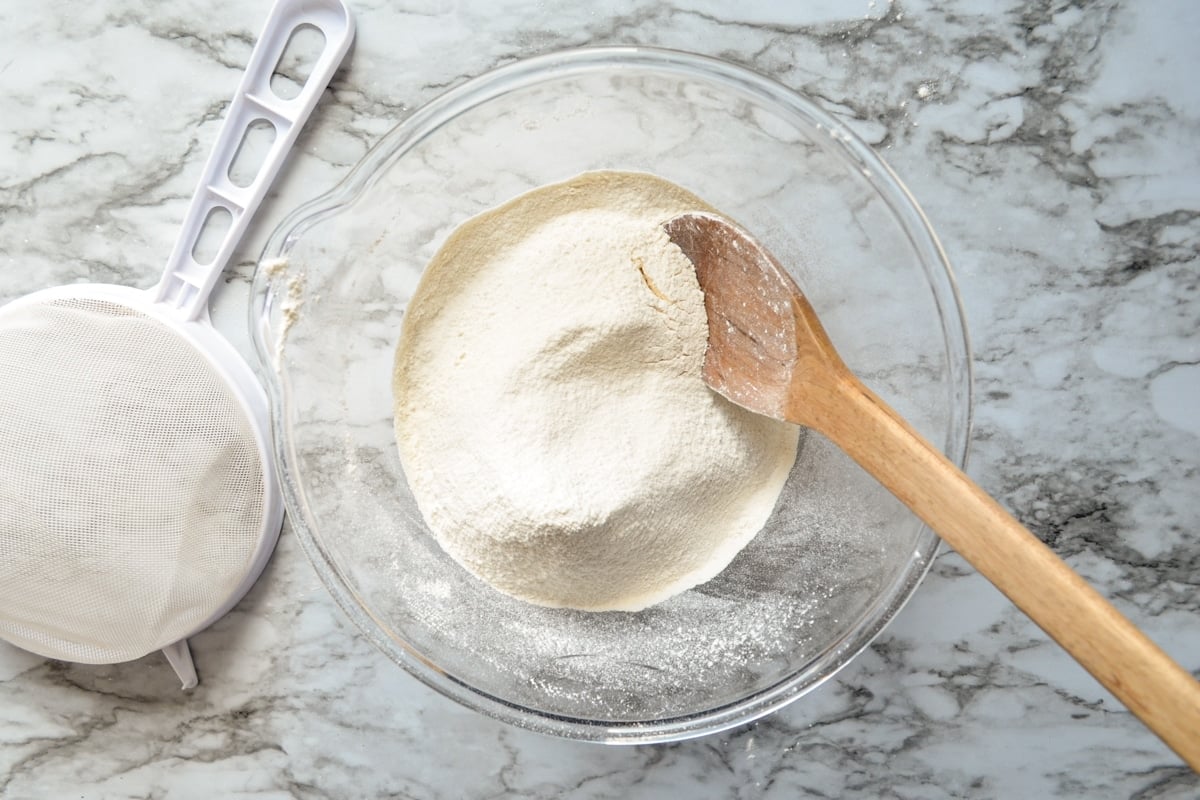
Step one: Set your strainer over a wide bowl and add your flour to the strainer.
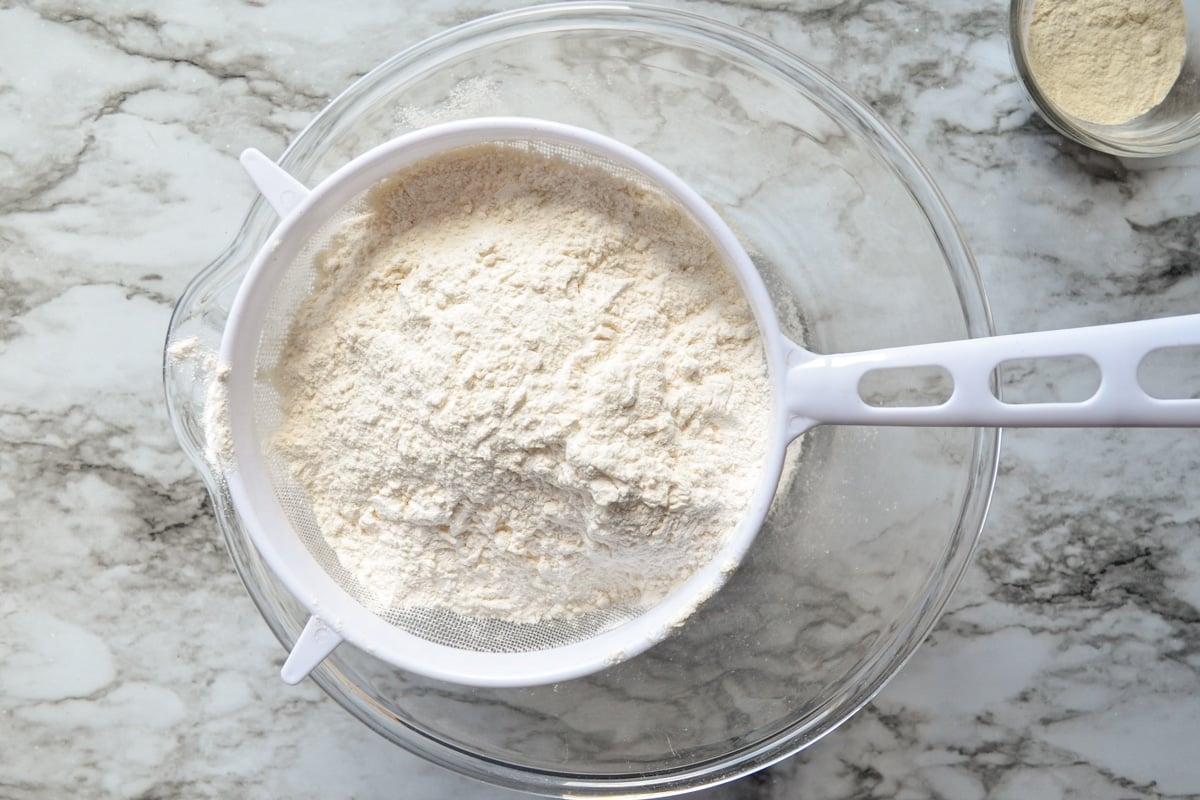
Then, Add the gluten flour on top of the flour.
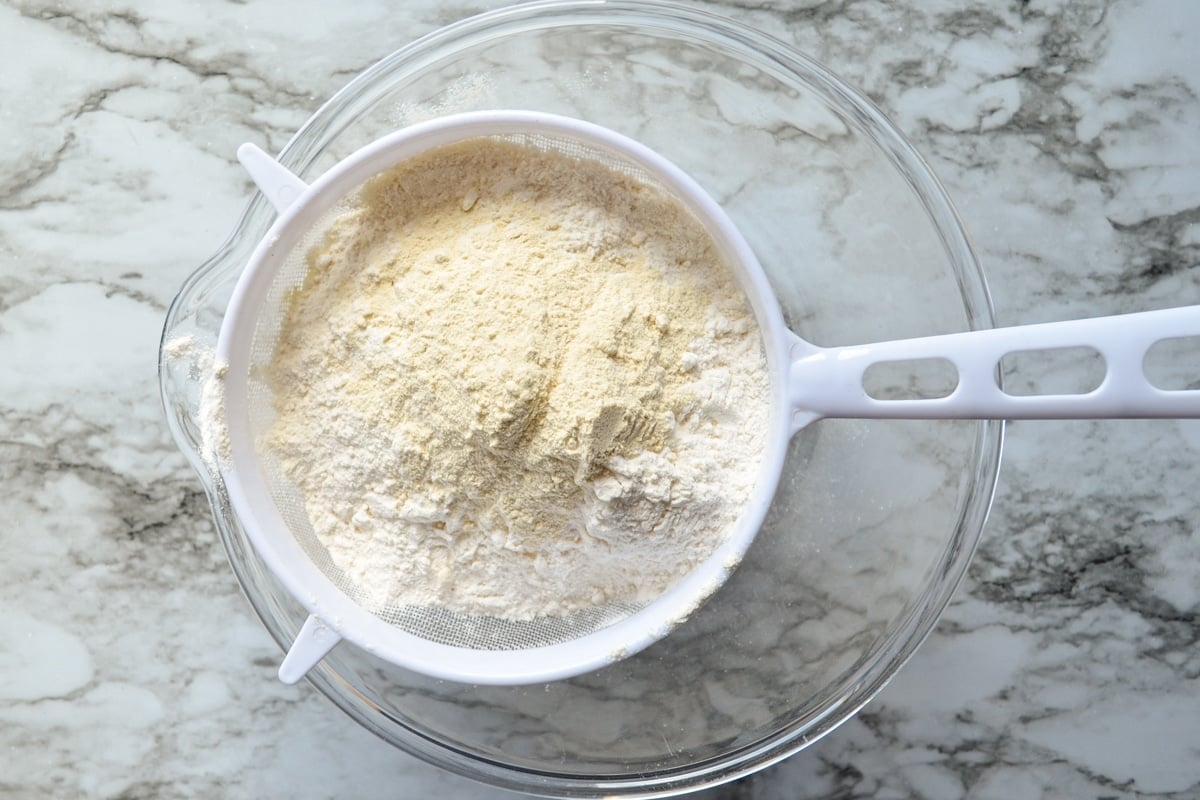
Step Three: Use a wooden spoon to gently move the flour and gluten through the holes of the strainer, into the bowl below.
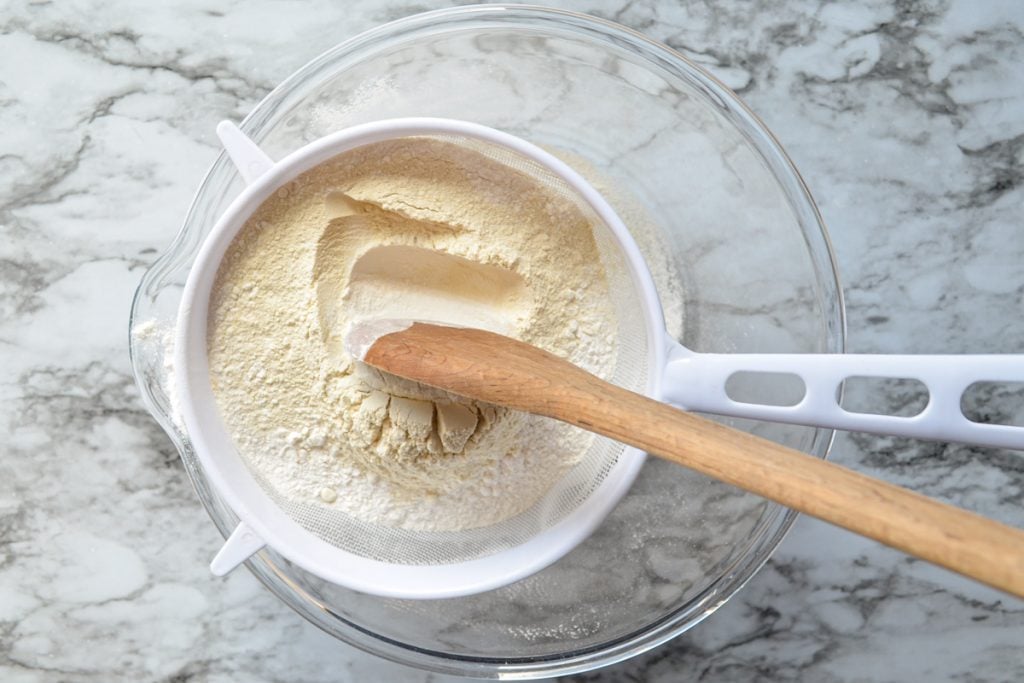
Finally, Store your sifted flour, or use immediately in place of bread flour.
Storage Tips
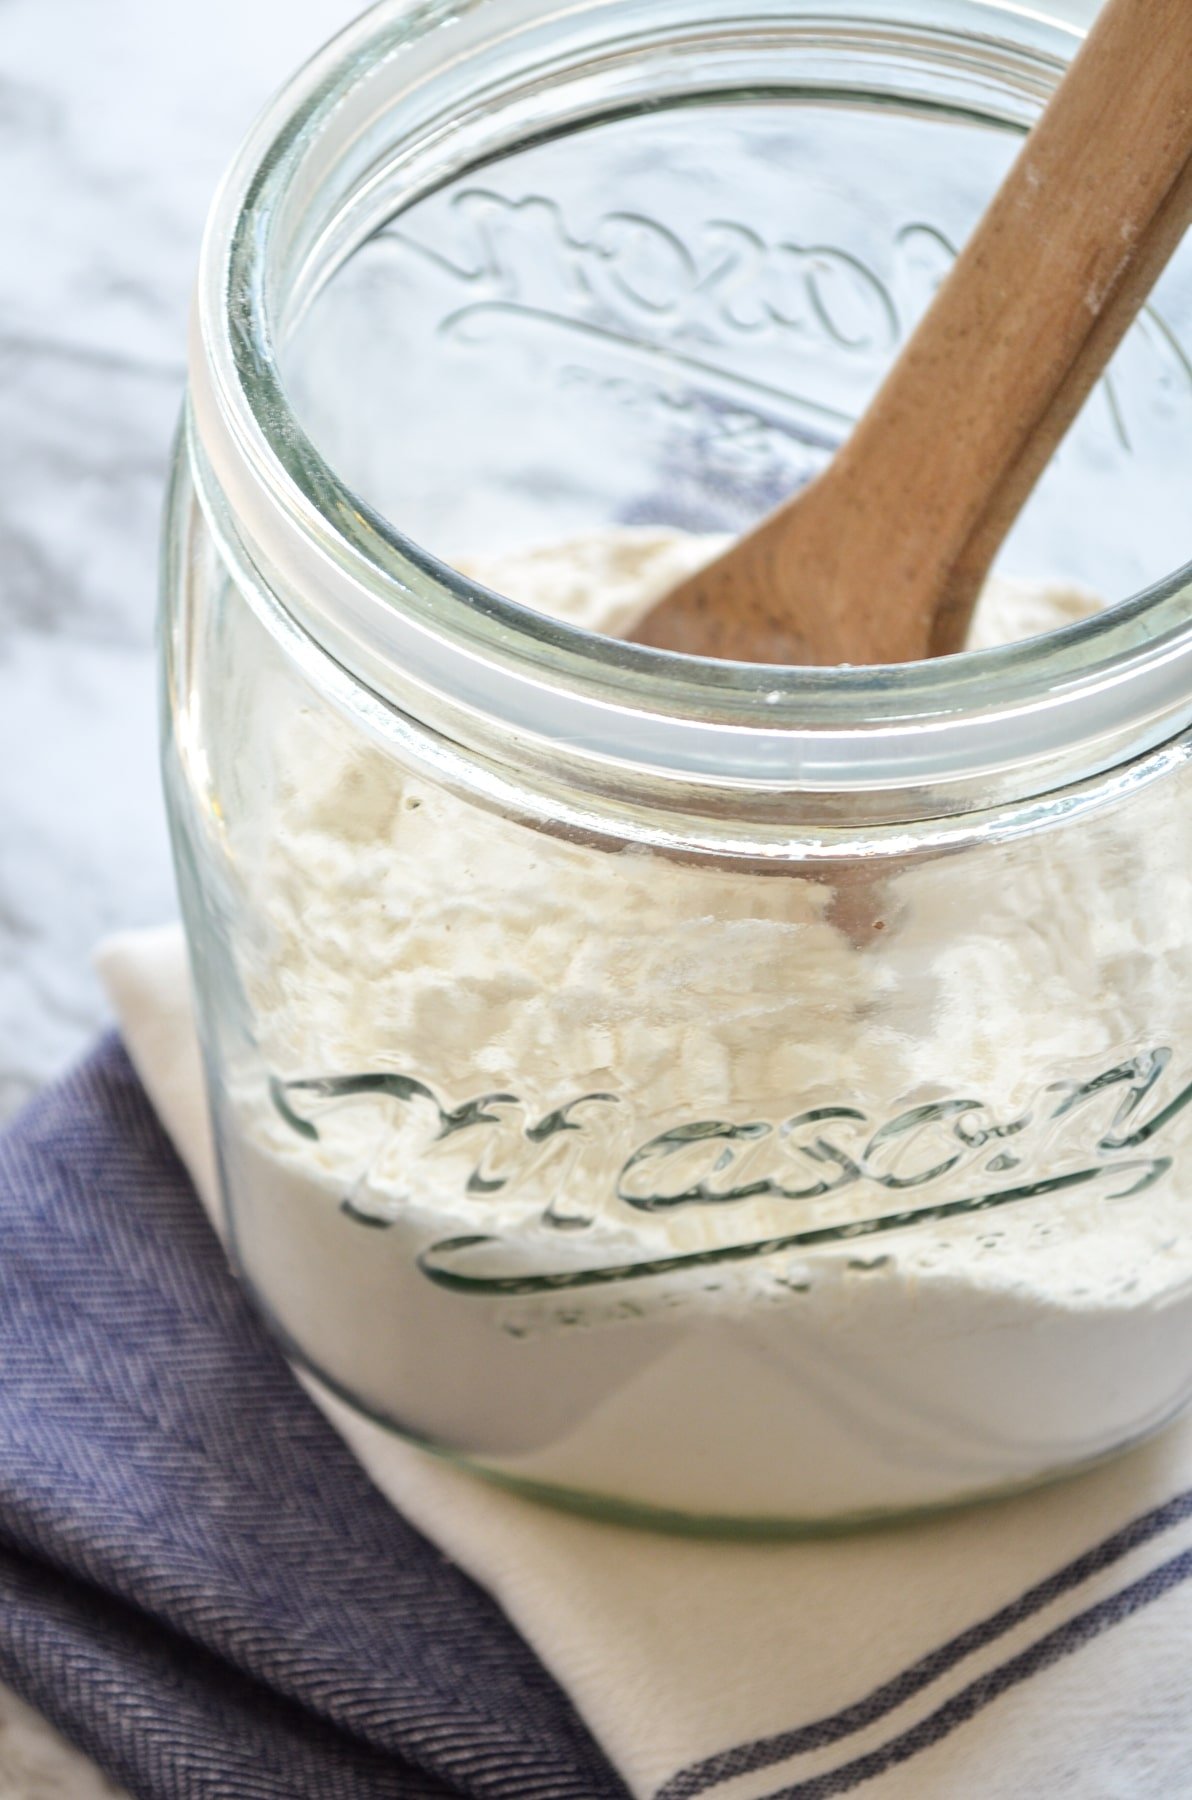
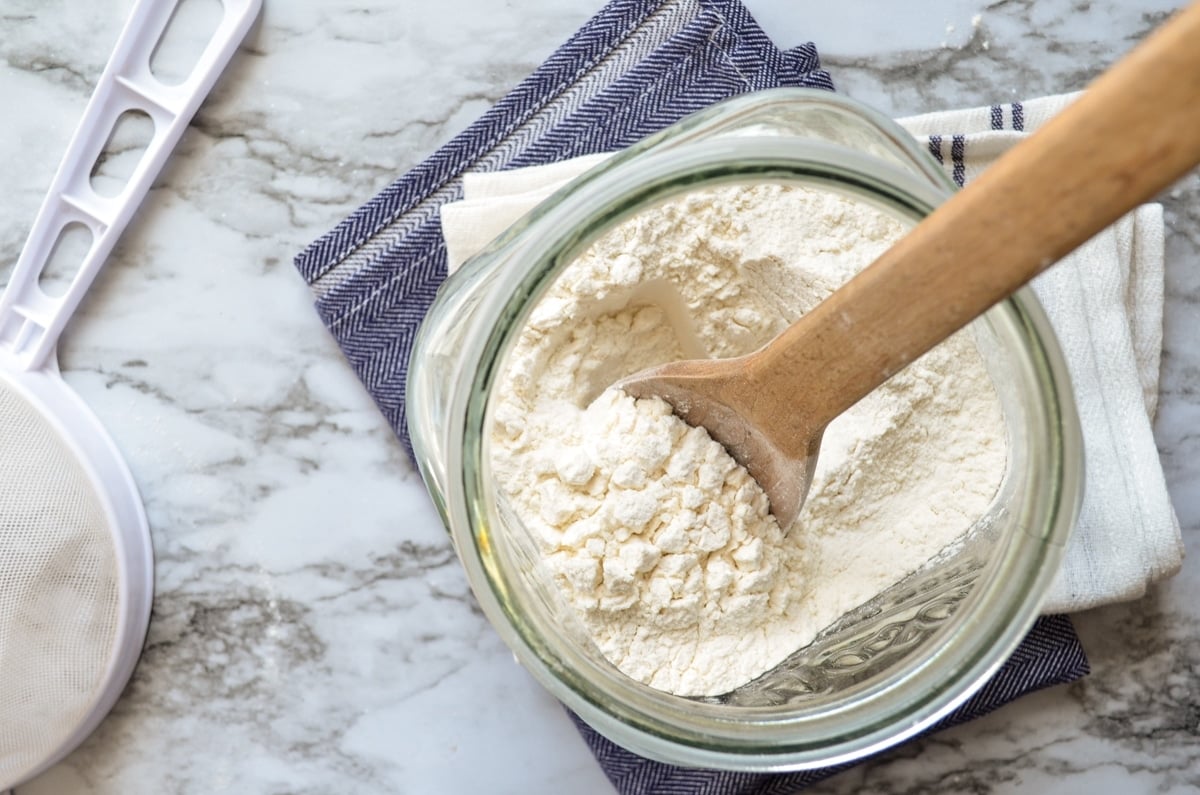
Once you've successfully made your homemade bread flour, you're ready to store it. If you aren't using the flour immediately in a recipe, place it in an airtight container (like these OXO containers). Place your homemade bread flour in a cool, dry place like a dark cupboard or pantry.
How long can you store homemade bread flour?
You can store your homemade bread flour in the cupboard or pantry for up to 6 months. If you require a longer storage time, you may move your flour to gallon-sized freezer bags and place in the freezer until needed. Since flour contains little moisture, your flour will not freeze. This means you can use it straight from the freezer.
FAQ:
Vital wheat gluten (also known as gluten flour) is good for several years unopened. Once opened, or when purchased in bulk, you will want to use your stash within about 6 months for best results.
Like all gluten containing foods, this depends on whether gluten is a problem for you personally or not. Since it is a common allergen, some people can be very sensitive to it. Since this is a largely personal factor, it's best to talk with your own personal care provider to see what items you can include in your diet, and which those you should avoid.
This product goes by several different names, so it can be tricky to find. You may find it under the names of wheat gluten, gluten flour, or vital wheat gluten. It's not widely stocked in grocery stores (although many do carry it), so it may be best to buy online. You can find a bag of Bob's Red Mill for about $7.50 on Amazon.
Yes. While the best results come from using the flour type directed in the recipe, you will still generally get satisfactory results if you make a substitution. You can make your own bread flour using a mixture of all purpose flour and wheat gluten, which can be found in grocery and health food stores.
Bread flour is often higher in protein, which helps develop more gluten in breads, pizzas, and bagels. All purpose is comparatively low in protein, and is best for what the name implies: all purposes. When bread flour is called for, you can often substitute all purpose in a pinch, but if you want a nice rise and chewiness it's best to stick with bread flour.
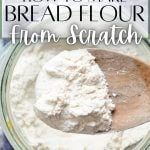
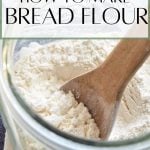
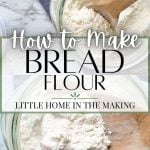
How to Make Bread Flour
Did you know that you can make your own bread flour? No more running to the store at the last minute. With just two ingredients, you can keep the needed elements for this recipe on hand at all times. You'll never be caught without bread flour again!
Ingredients
- 500g All purpose flour
- 20g Vital wheat gluten (also known as gluten flour)
Instructions
- Fit a medium sized bowl with a fine mesh strainer or a flour sifter.
- Add the all purpose flour, then the vital wheat gluten.
- Tap your strainer or use your flour sifters handle to move the mixture through to the bowl below.
- Once the flour has been sifted, store your flour blend in an airtight container at room temperature for up to 6 months. Use it in place of bread flour in a 1:1 ratio in recipes.
Notes
Storage:
Store your bread flour in a cool, dry, and dark place like a cupboard or pantry. Use within 6 months. If you wish to store your bread flour for longer, place it in a gallon sized freezer bag and store in the freezer until needed.
Cup Measurements:
This yields approximately 2 ¼ cup of homemade bread flour.
To prepare the recipe using cup measurements, use 4 cups + 2 tbsp. + 2 tsp. of all purpose flour and 2 tbsp. + ¾ tsp. of vital wheat gluten. This is an approximate measurement and may change based on humidity and your personal measuring standards, but it is a rough estimation. I recommend using weight for best results.
Nutrition Information:
Yield: 10 Serving Size: ~50gAmount Per Serving: Calories: 189Total Fat: 1gSaturated Fat: 0gTrans Fat: 0gUnsaturated Fat: 0gCholesterol: 0mgSodium: 2mgCarbohydrates: 38gFiber: 1gSugar: 0gProtein: 7g
Nutrition information is an estimate only.
Please note that some of my blog posts here at Little Home in the Making may contain affiliate links. If you make a purchase through these links, I will get a small commission at no additional cost to you. Please see my Disclaimer for more information.













Cindy
If you’re starting out with 4+ cups of all purpose flour how do you end up with only 2+ cups of bread flour ? Am I missing something
Dolly | Little Home in the Making
I think you're referring to the notes section for a cups measurement conversion. The recipe as written (in grams) yields 2 ish cups of finished bread flour. BUT if you are not weighing it, I scaled the recipe up just to avoid having very odd measurements for the vital wheat gluten and flour. If you don't want the 4 cups of flour you can do the weighing method, OR cut the cup measurements in half (a little math will be required).
I hope that makes sense! I can see where it would be confusing.