


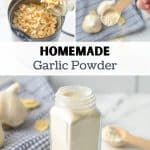

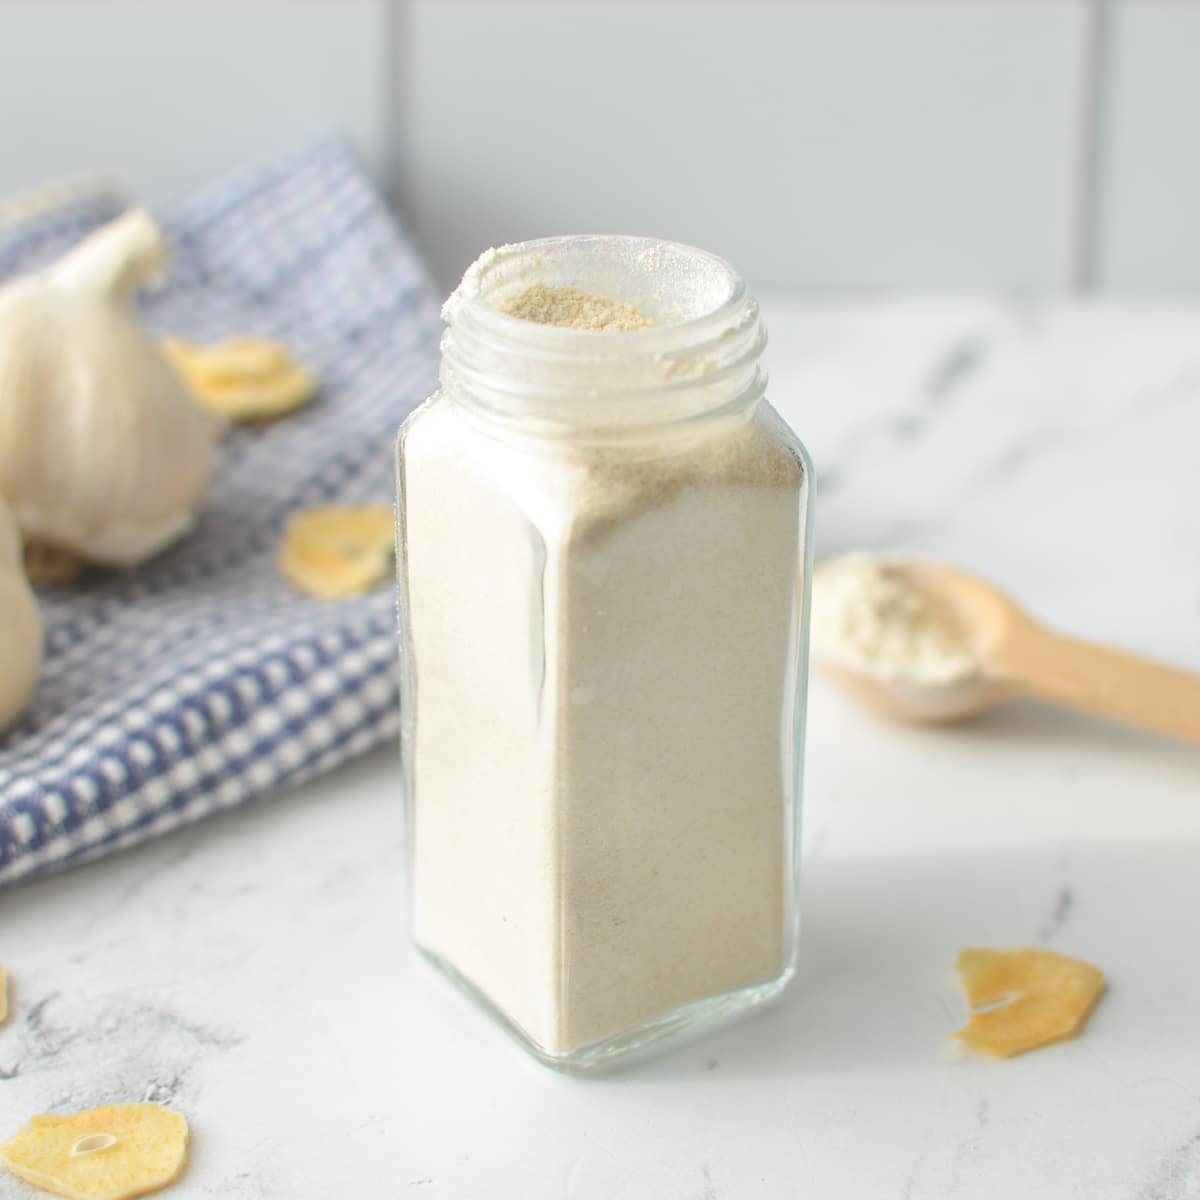
If you've been wondering how to make garlic powder, now's the time to try it out! This homemade garlic powder recipe is made from scratch using either a dehydrator or low temperature oven. The flavor results are FAR better than anything you could get from a store.
I started on a journey over 10 years ago to learn how to make as much of my food from scratch as possible. I've had some success, I've had some failures, and I've had some setbacks. Along the way I learned one really important thing: homemade always tastes better.
This homemade garlic powder is no exception. Even though it's probably cheaper to buy some from the store when all is said and done, nothing beats the flavor of freshly dried garlic ground into powder. It's at least twice as good as anything I've bought from the store!
If you're using garlic you grew yourself it's probably pretty cheap even compared to the store-bought stuff, but I would say even with having purchased local garlic it's totally worth it.
I have a mason jar of homemade garlic powder sitting proudly in my pantry, right next to some homemade onion powder, artisanal shallot powder, and multiple jars of home dried herbs. Once you get bit by the dehydrating bug, I'm sure you'll do the same!
Why Make Homemade Garlic Powder?
- Homemade garlic powder tastes WAY fresher, with intricate flavors I've never had with store-bought.
- A great way to preserve excess garlic, be it home grown or purchased in bulk.
- No fillers, preservatives, anti-caking agents, or irradiation.
- You can even stack your dehydrator with trays of dehydrated onions and dehydrated shallots to create a trio of homemade powders for your culinary delight.
Ingredients
- Garlic: If you've already made dehydrated garlic, great! If not, seek out the freshest garlic you can find. Whether that means you grow your own, OR you pick up some locally grown garlic at the Farmer's market. The fresher, the better the flavor once made into garlic powder.
If you have already made dehydrated garlic, you're good to go - otherwise you'll need to take the additional step of drying the garlic before making garlic powder. No worries though, it's a pretty hands off process.
Note: If you want to make your own garlic powder, but don't want to dehydrate fresh garlic first, you could opt to buy dried minced garlic at the store and grind it yourself. That being said, it would be just as easy to pick up garlic powder, so I'm not sure why you would do that - but it's an option!
Equipment and Tools
- Garlic peeler (optional): If you haven't already dehydrated garlic, you'll need to prep and peel some garlic for drying. While you can definitely do it by hand, I highly recommend these silicone garlic peelers - they work SO well!
- Dehydrator OR oven: I recommend using a dehydrator (like this Excalibur model) for drying garlic, but you can use a low setting on your oven if you haven't made the investment yet.
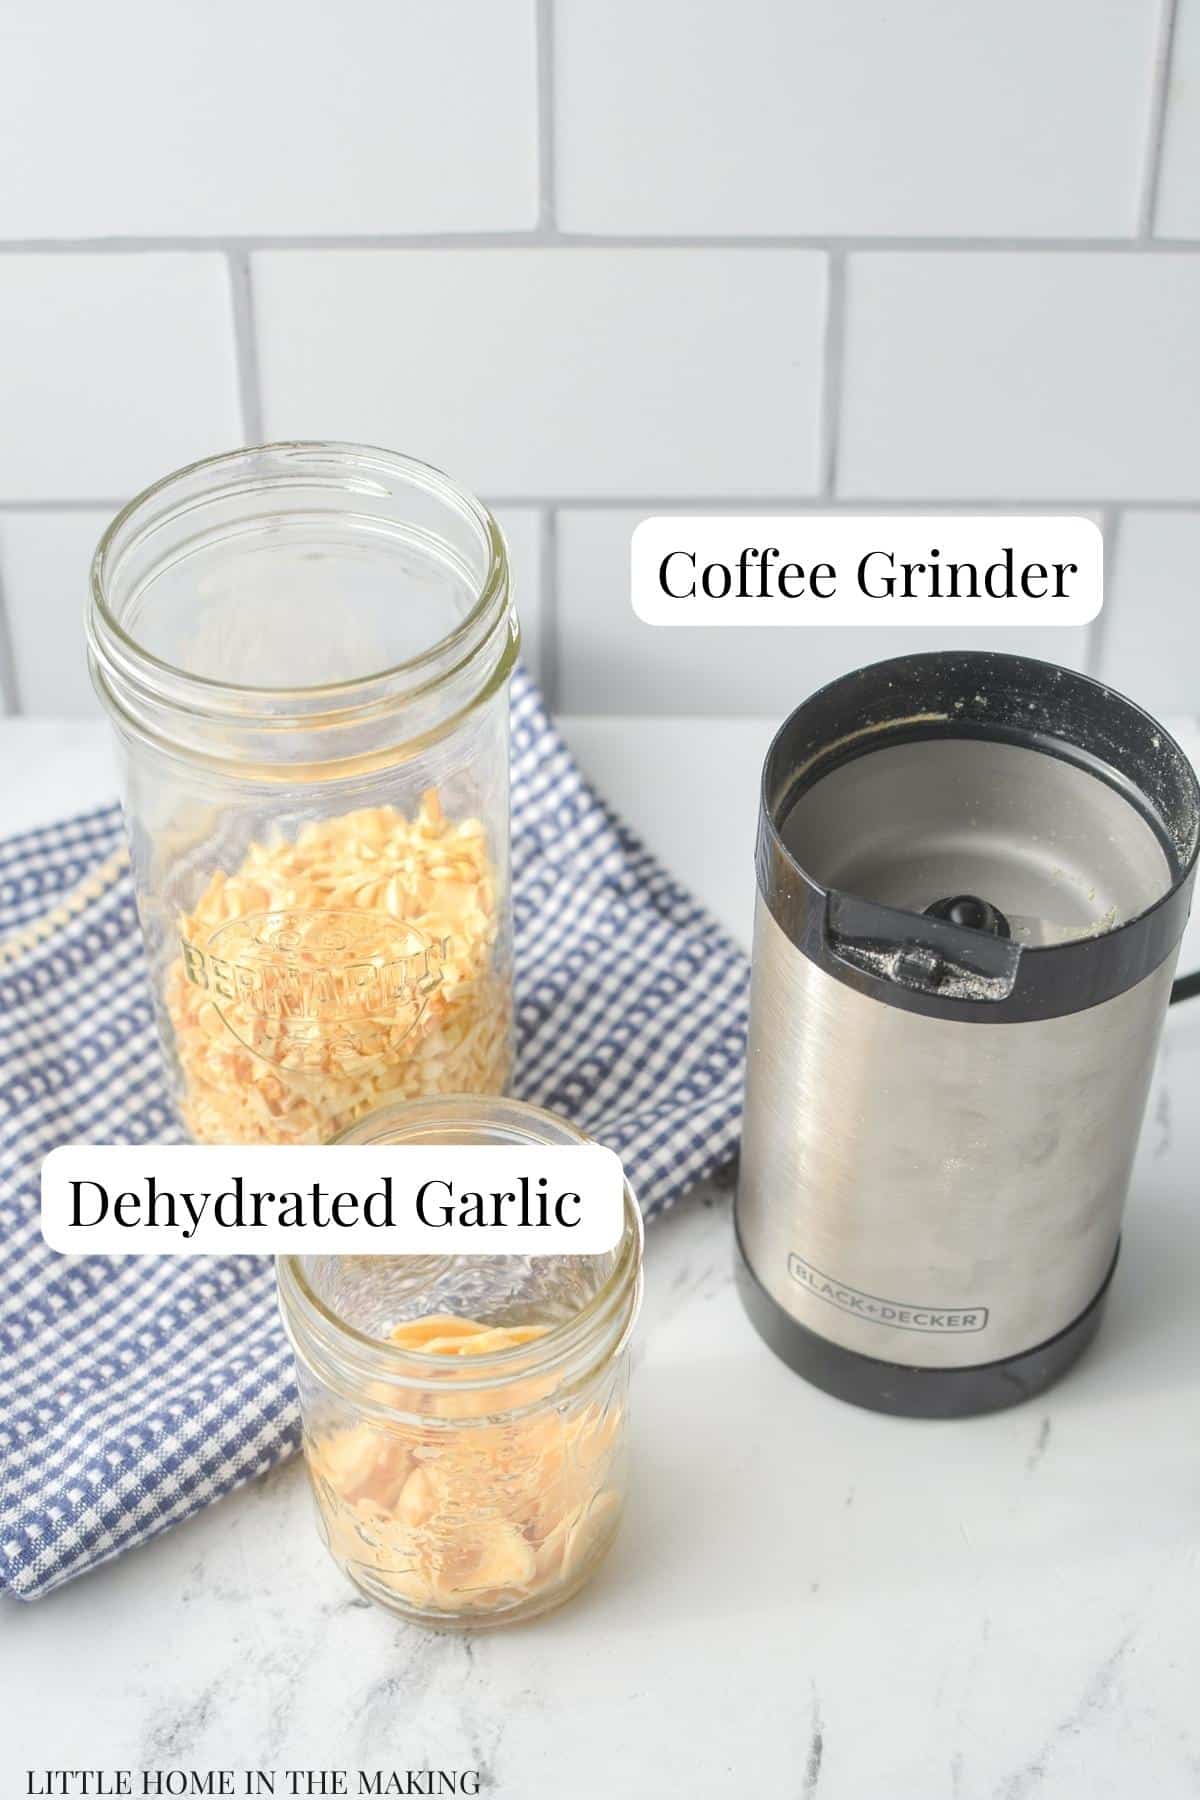
- Spice grinder or coffee mill: In order to grind the dried garlic into a powder I recommend using a spice grinder or coffee grinder that is set aside specifically for that purpose. I have one that I use to make homemade powders - because no one wants a garlic-flavored cup of coffee.
- Parchment paper OR dehydrator liners: Since garlic is small in size you'll need to line your dehydrator trays if they have large holes like the one I used. If you have fine mesh screens - no worries.
- Glass jar: A glass jar with a lid is needed for conditioning the garlic. Conditioning ensures that the garlic is fully dried and redistributes moisture if necessary. It can also be used for storing your garlic powder.
How to Make Garlic Powder
If you haven't already prepared some dehydrated garlic, it's time to get down to business!
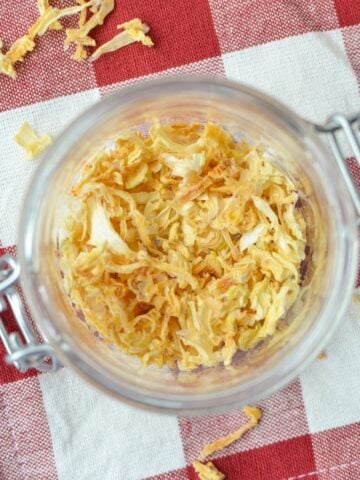
Start off by prepping and peeling you garlic. That is done by removing the papery skin and finely mincing the cloves OR cutting them into ⅛" slices.
I find the slices dry more uniformly and are easier to prepare, while the minced garlic does grind more easily into a powder and can also be used to add to soups and stews in its dried form.
Dehydrating the Garlic
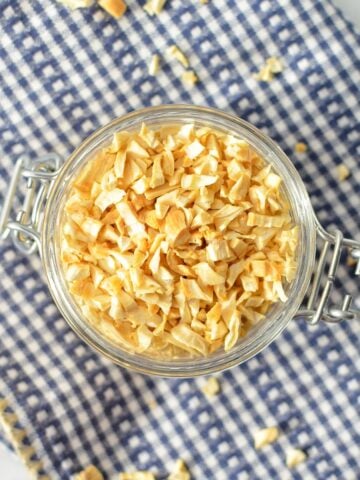
Once you've sliced or minced your garlic, place it onto mesh OR parchment lined dehydrator trays and place them inside of your dehydrator.

Set the temperature to 125ºF (52ºC) and dry for 6-12 hours, or until the pieces are brittle and break easily. Minced pieces should be very hard and not able to be pierced with a fingernail.
Once the garlic is fully dry, allow it to cool completely to room temperature. You can leave the trays in the (turned off and unplugged) dehydrator overnight, OR you can remove the trays to the counter and allow them to cool there for about an hour.
Conditioning Dehydrated Garlic
Once the garlic is completely cool it's time to move onto the step of conditioning. This ensures there is no excess moisture in the garlic itself, proving that it is dry enough to become garlic powder.
Simply add the dried garlic to a glass jar and top with an airtight lid. Place it in a visible location that is out of direct sunlight, and shake the jar a few times over the next 24 hours.
If any fog or condensation developed in the jar you'll need to return the garlic to the dehydrator to dry further. If your food was totally okay with no signs of moisture, you're good to go and proceed to making your very own homemade garlic powder!
Grinding into a Powder
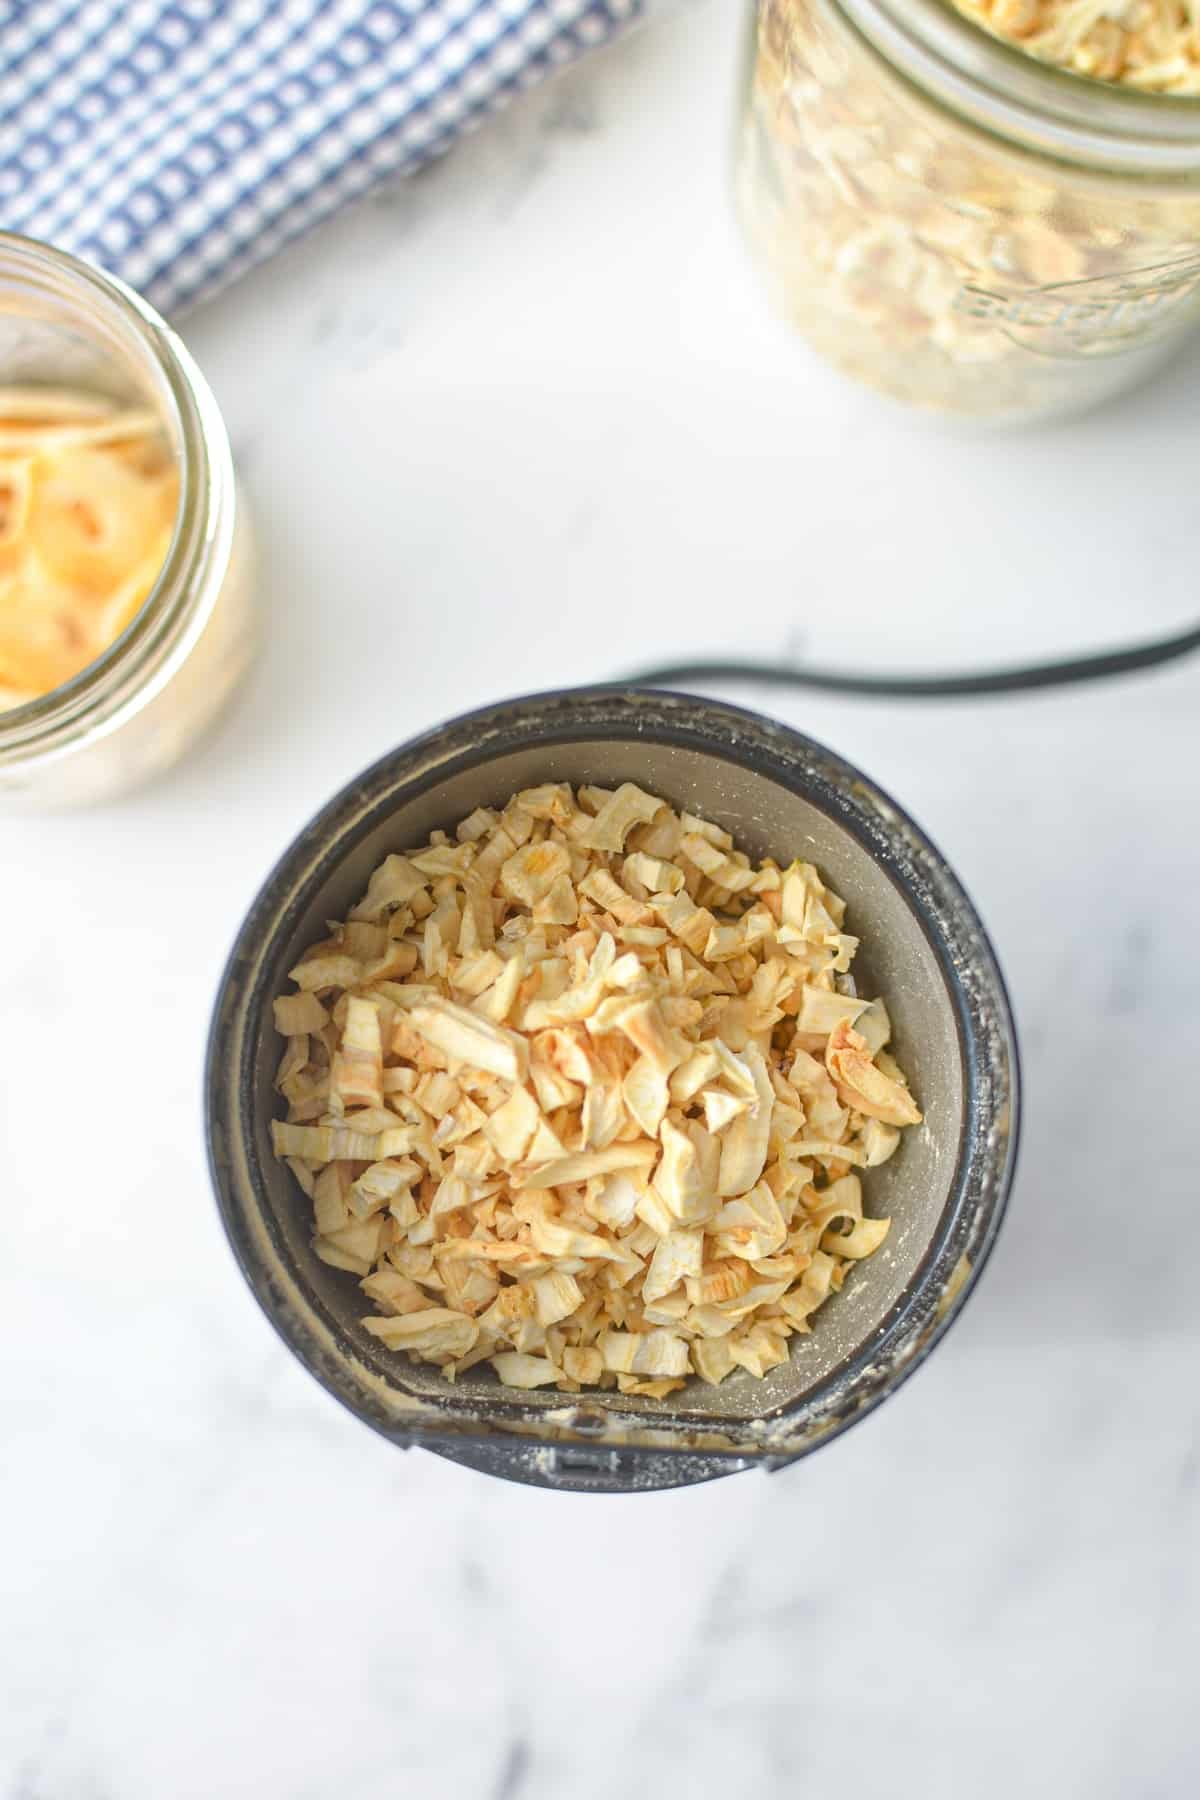
Once your garlic is completely dry, begin adding it to the clean coffee grinder in small batches.
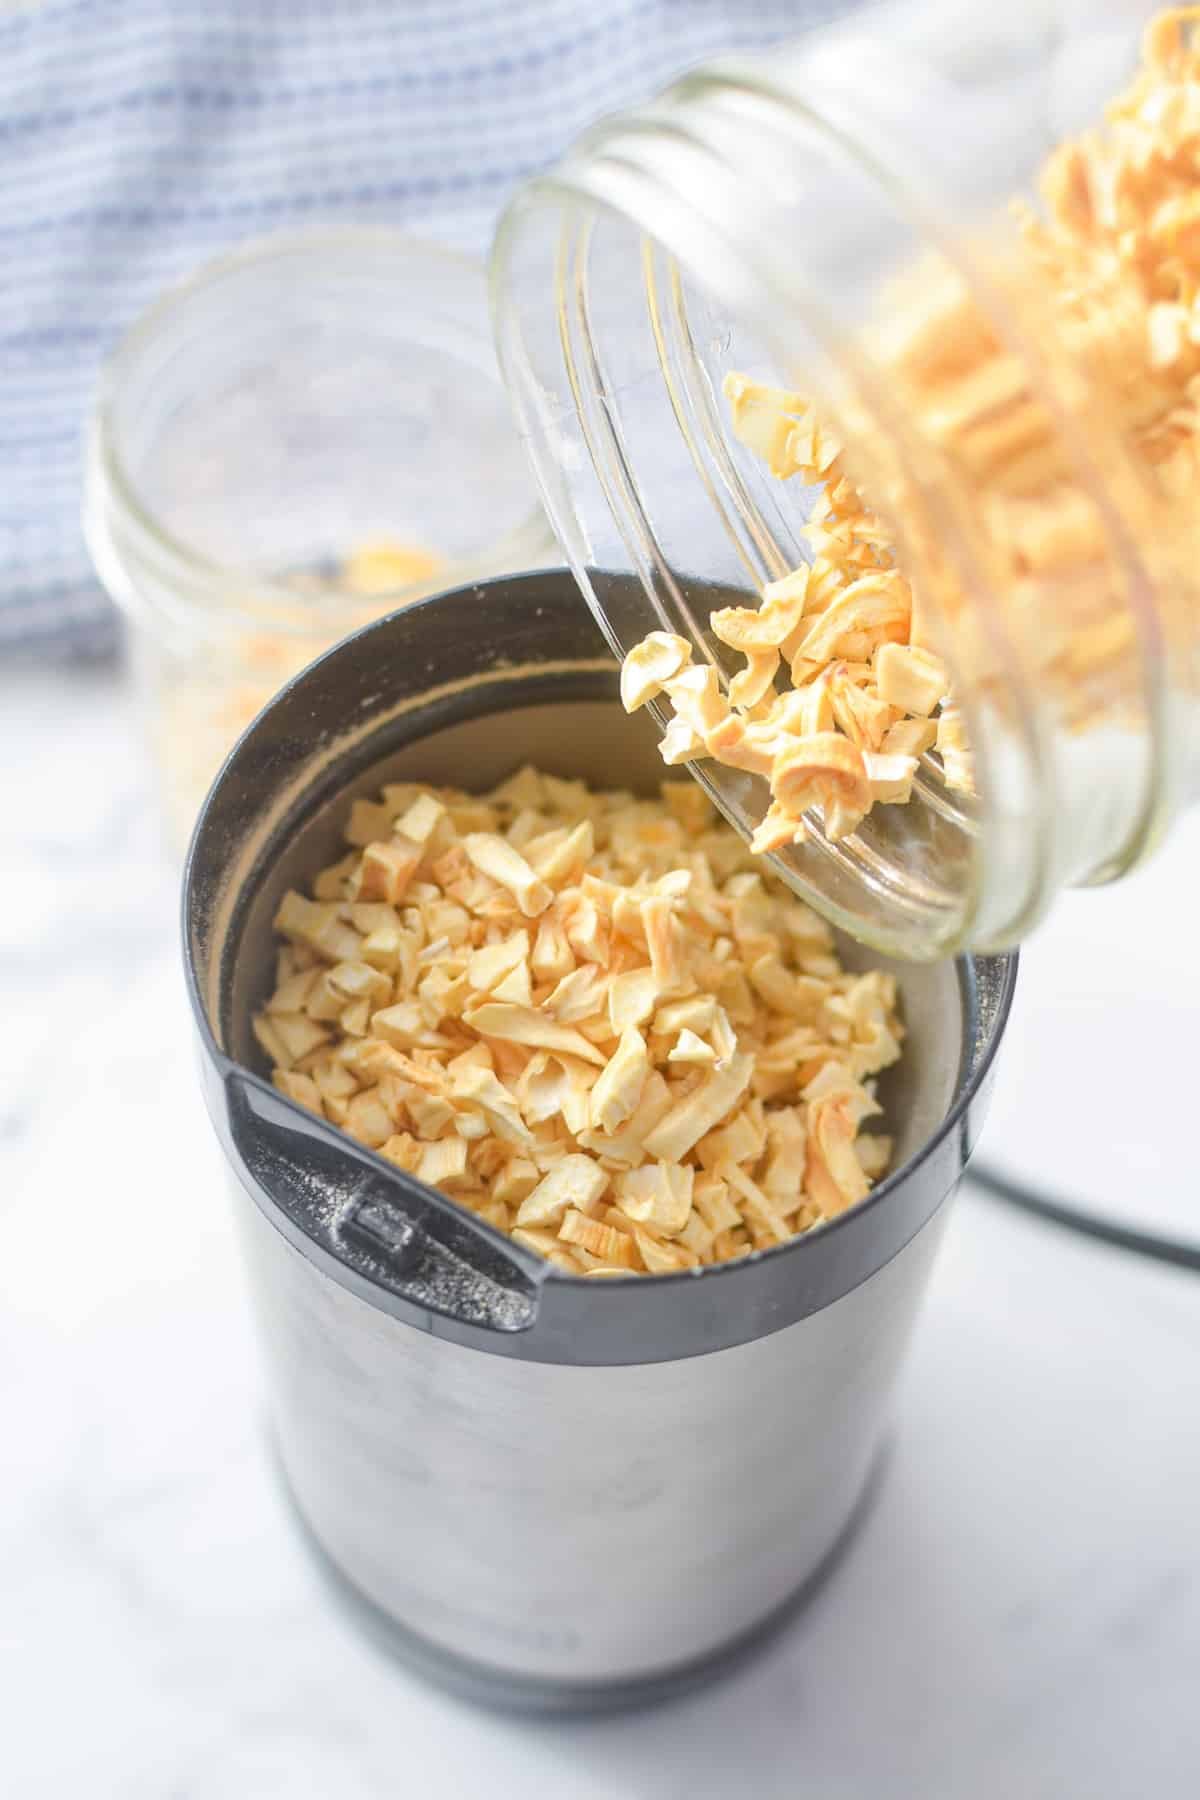
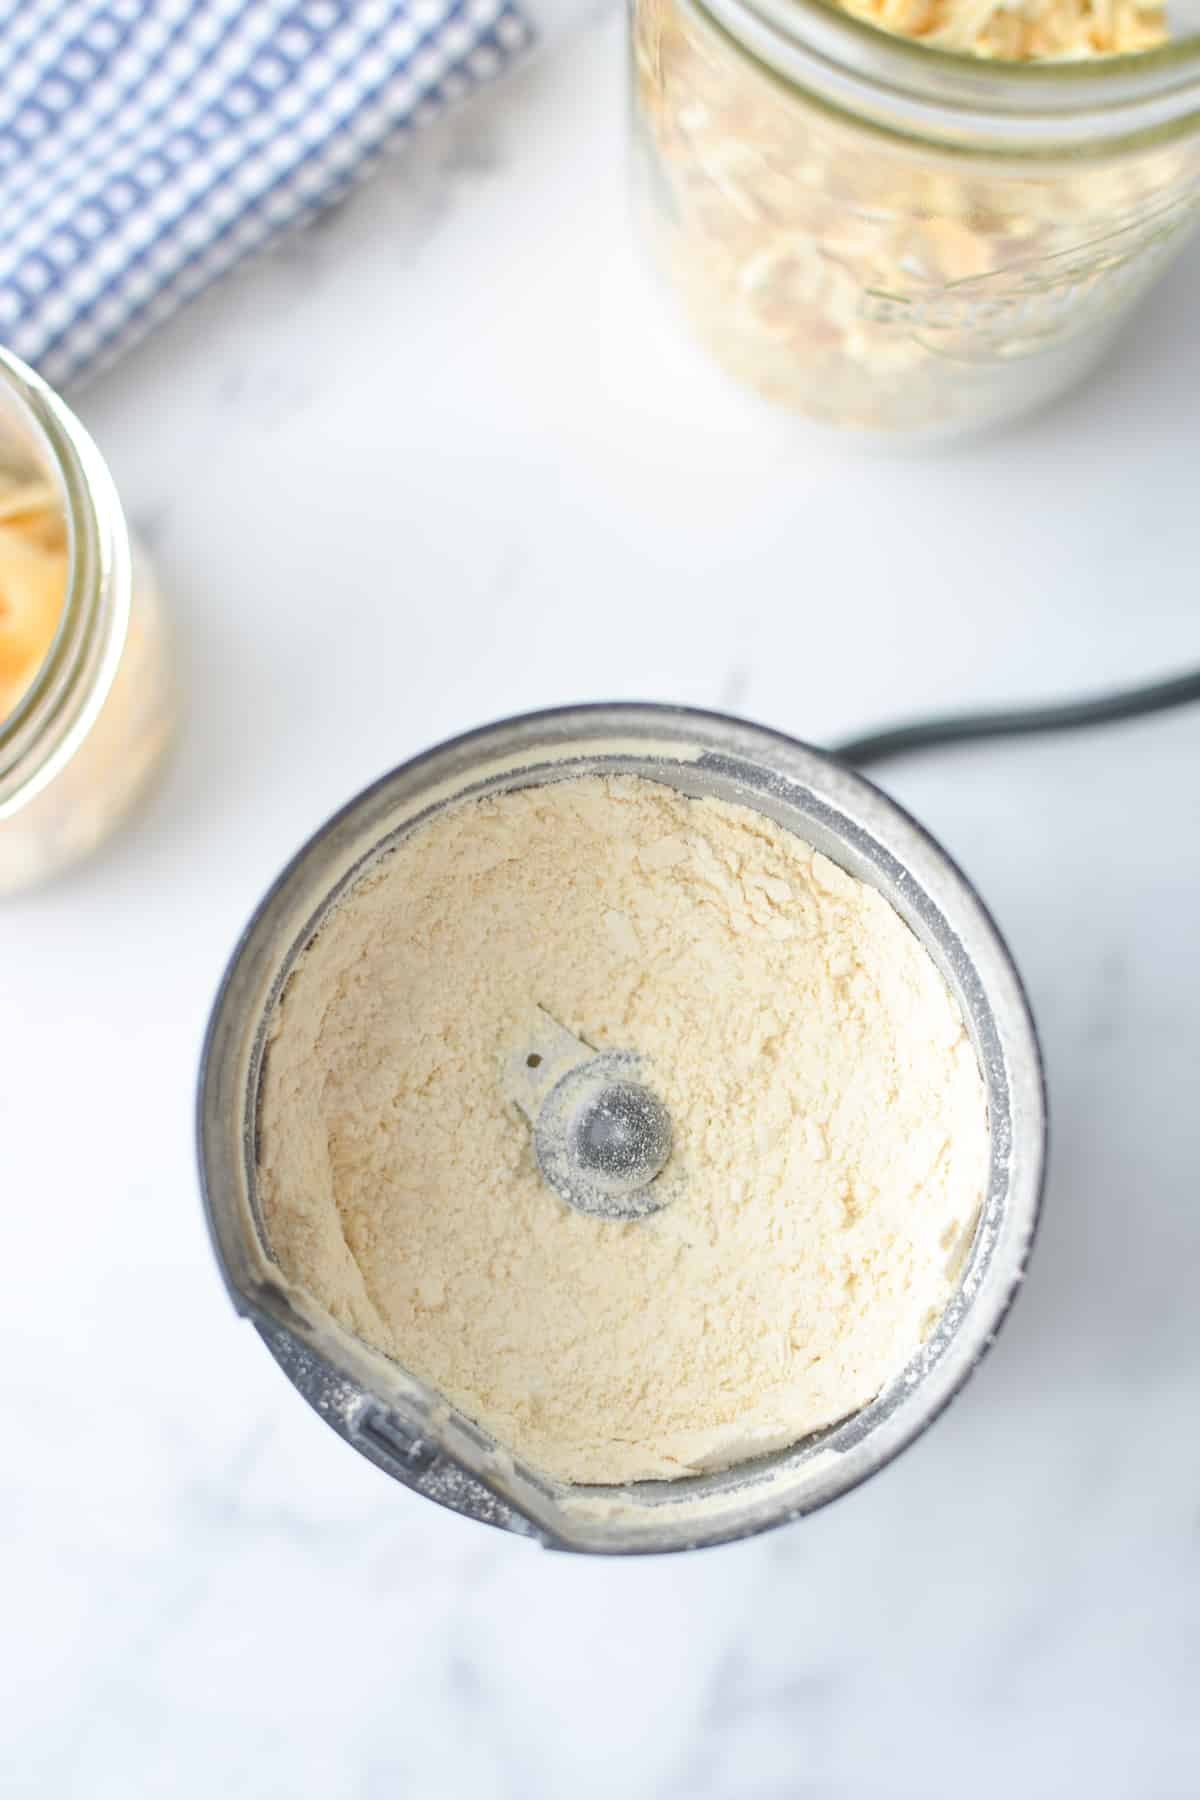
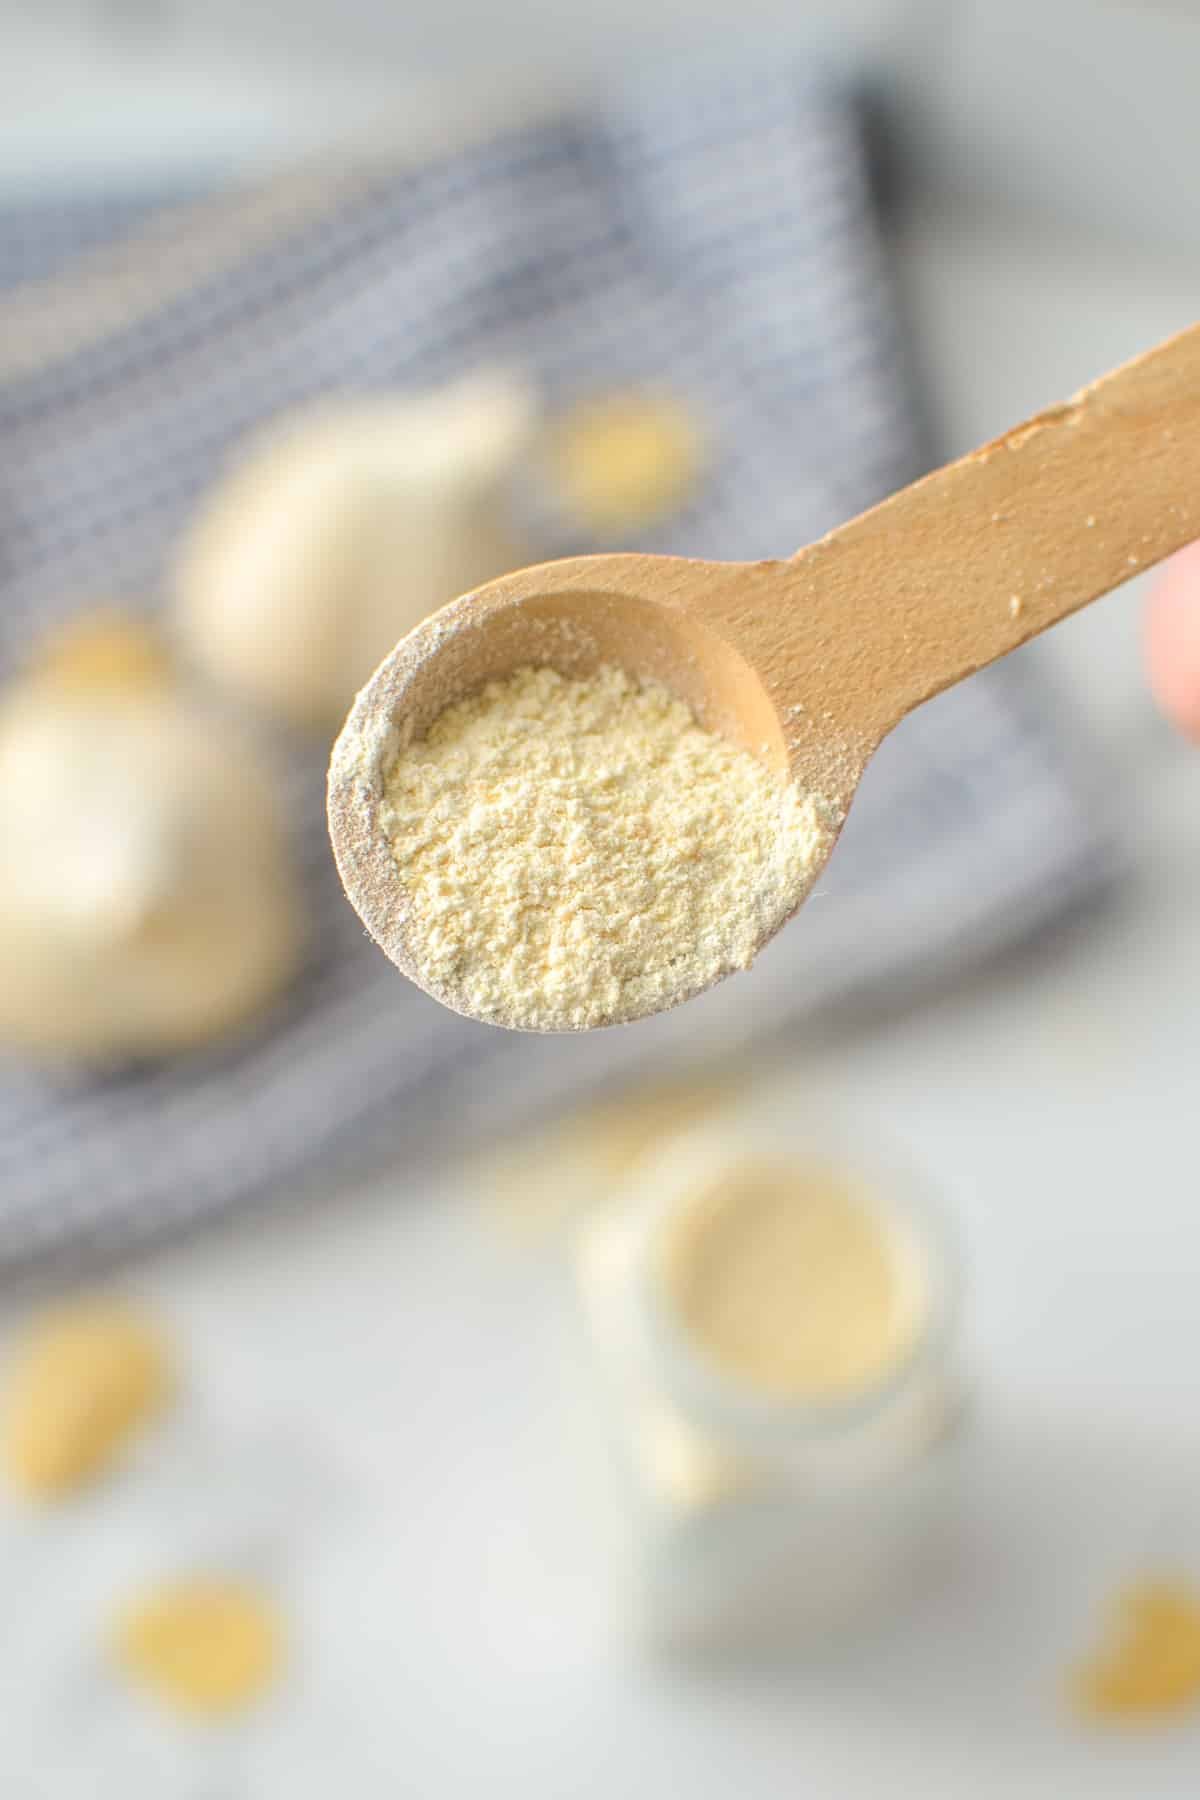
Grind the dry garlic pieces until a fine powder forms, similar to that of store-bought garlic powder.
I find working in small batches prevents clumping, but in some cases (like making kale powder) it seems to work better if you keep adding the garlic continuously. Test it out and see what works for you!
How to Make Garlic Powder without a Dehydrator
If you don't have a dehydrator - no worries! You can still easily make your own garlic powder at home using a low temperature oven. You may need to check your manual to see how you can configure a lower temperature.
- Set your oven on the lowest temperature (about 140-150ºF/60-65ºC).
- Spread the garlic onto parchment-lined baking sheets in a single layer, spacing the pieces evenly and sparsely.
- Dry for 4-8 hours, rotating the sheets several times to ensure even drying.
- Once the pieces are brittle and break easily, remove them from the oven and allow to cool to room temperature.
- Transfer the cooled garlic pieces to a jar for conditioning.
- After 24 hours, if no condensation or fogging has occurred, you're ready for the next step.
- Add the garlic pieces to a clean coffee or spice grinder in small batches.
- Grind into a fine powder.
- Transfer to an airtight container and store for 2-6 months.
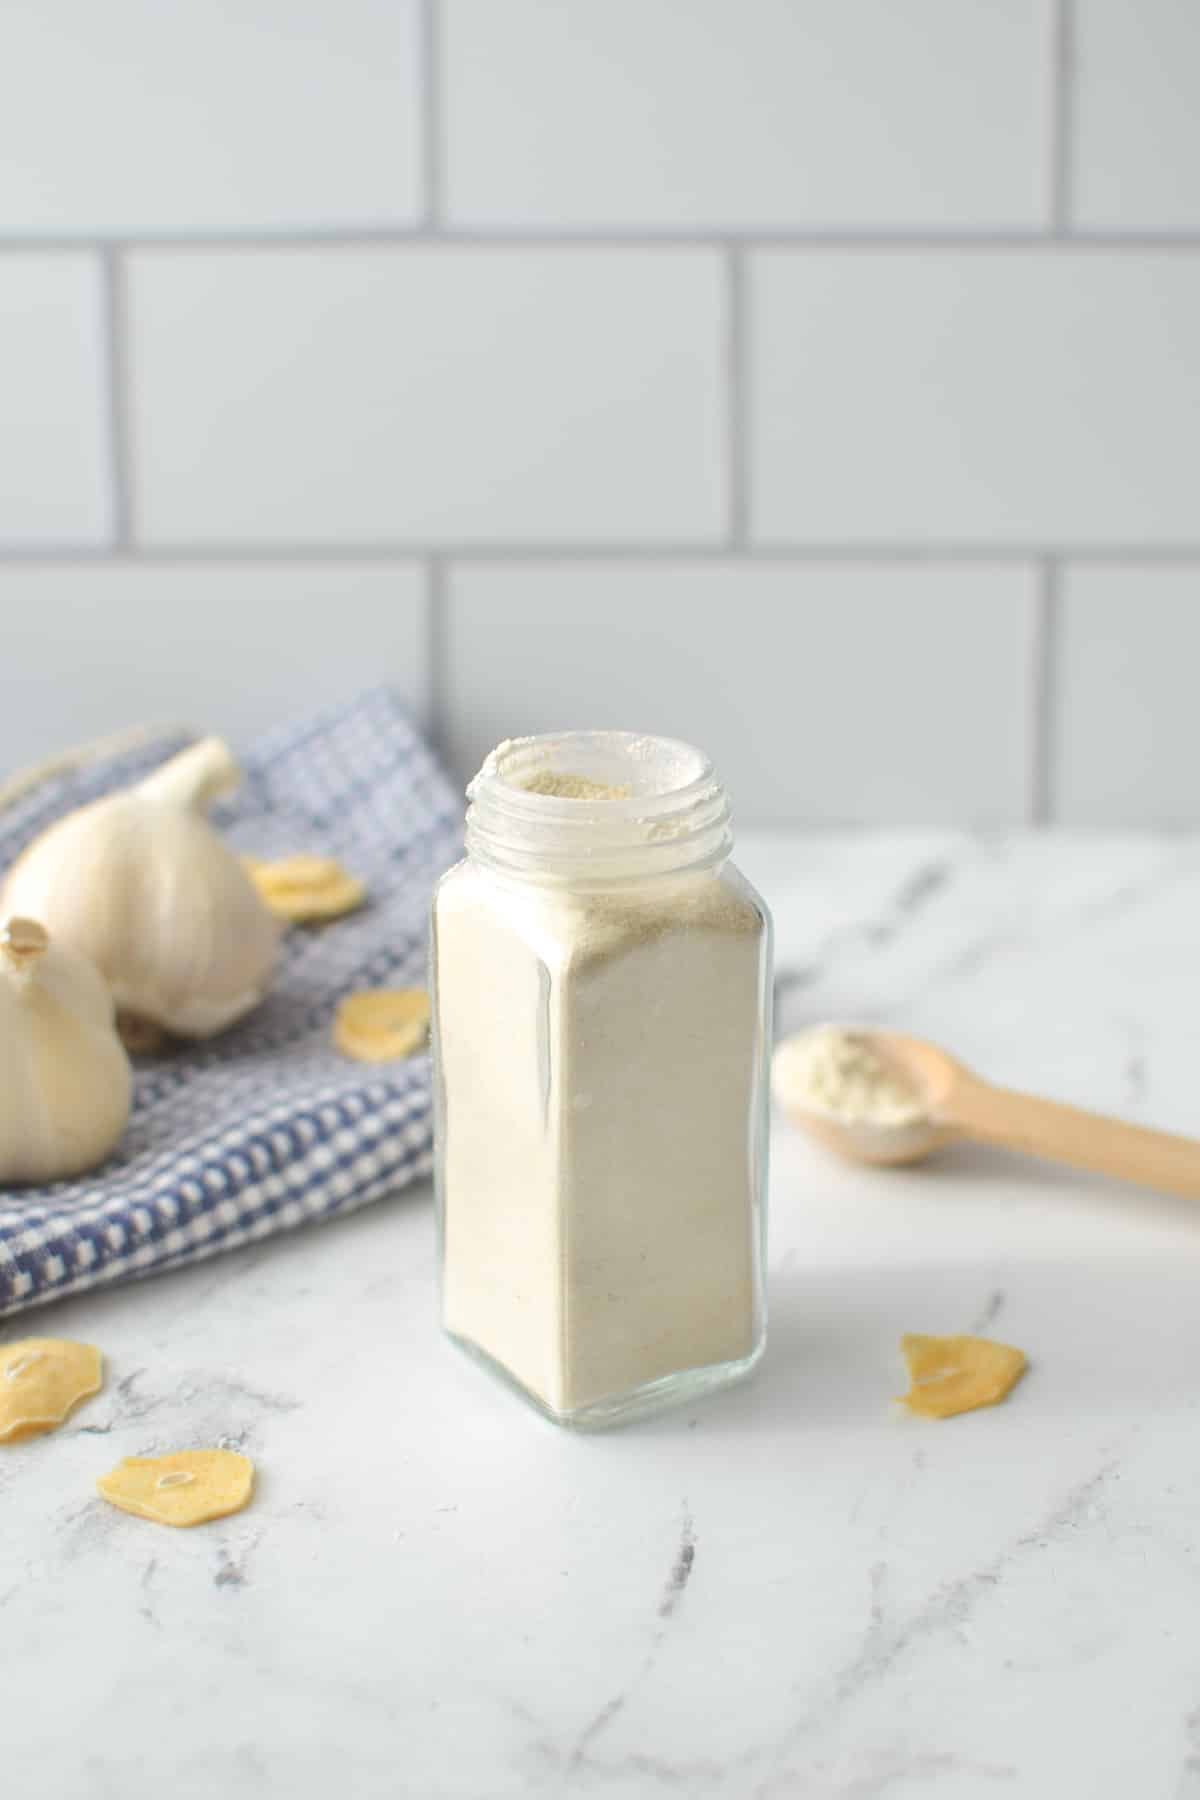
Storing Homemade Garlic Powder
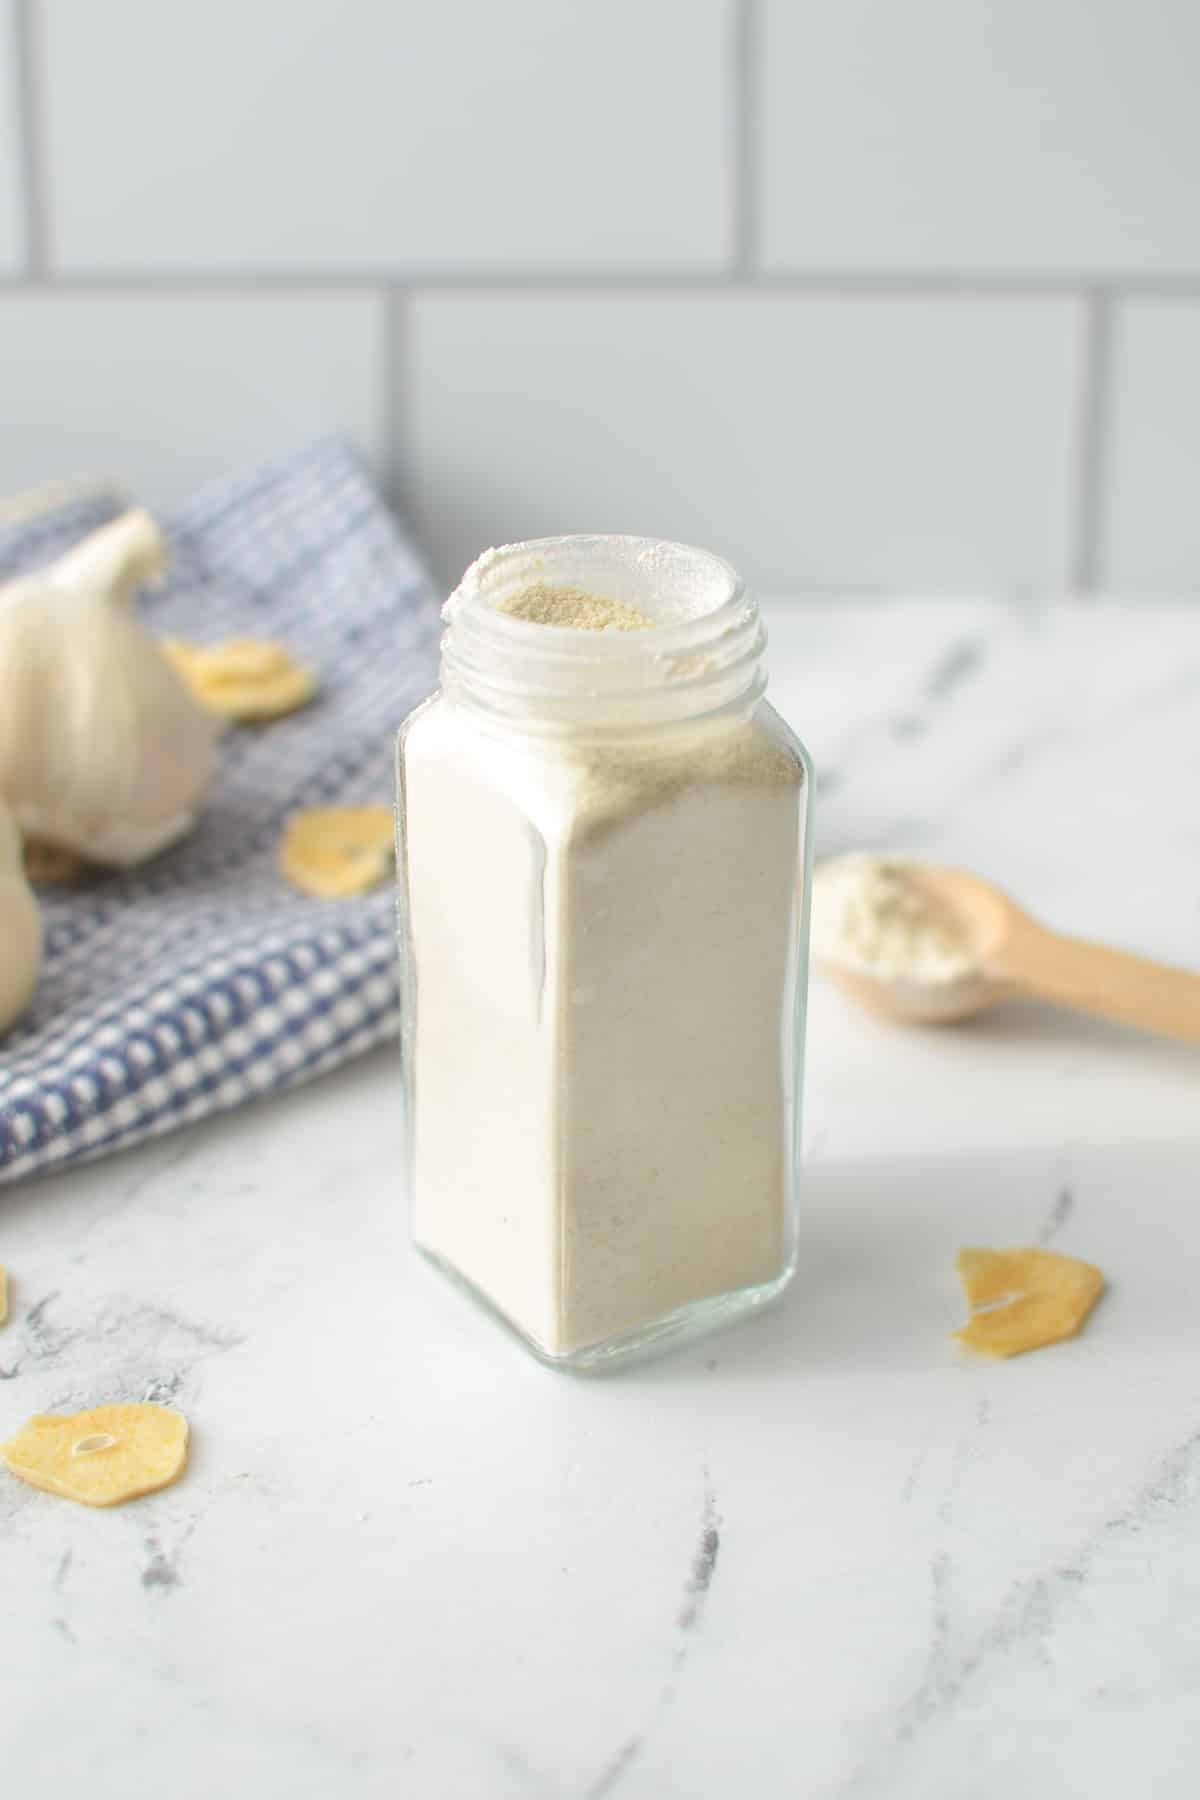
Once your garlic has been ground into homemade garlic powder it will store in an airtight container for about 2-6 months, with the best quality being for the first 2 months. After that it will lose some of its power, but will still likely be fresher tasting than store-bought.
Some clumping is normal and expected with garlic, shallot, and onion powders. Adding a bit of rice at the bottom of the jar seems to help absorb excess moisture, but it's definitely optional.
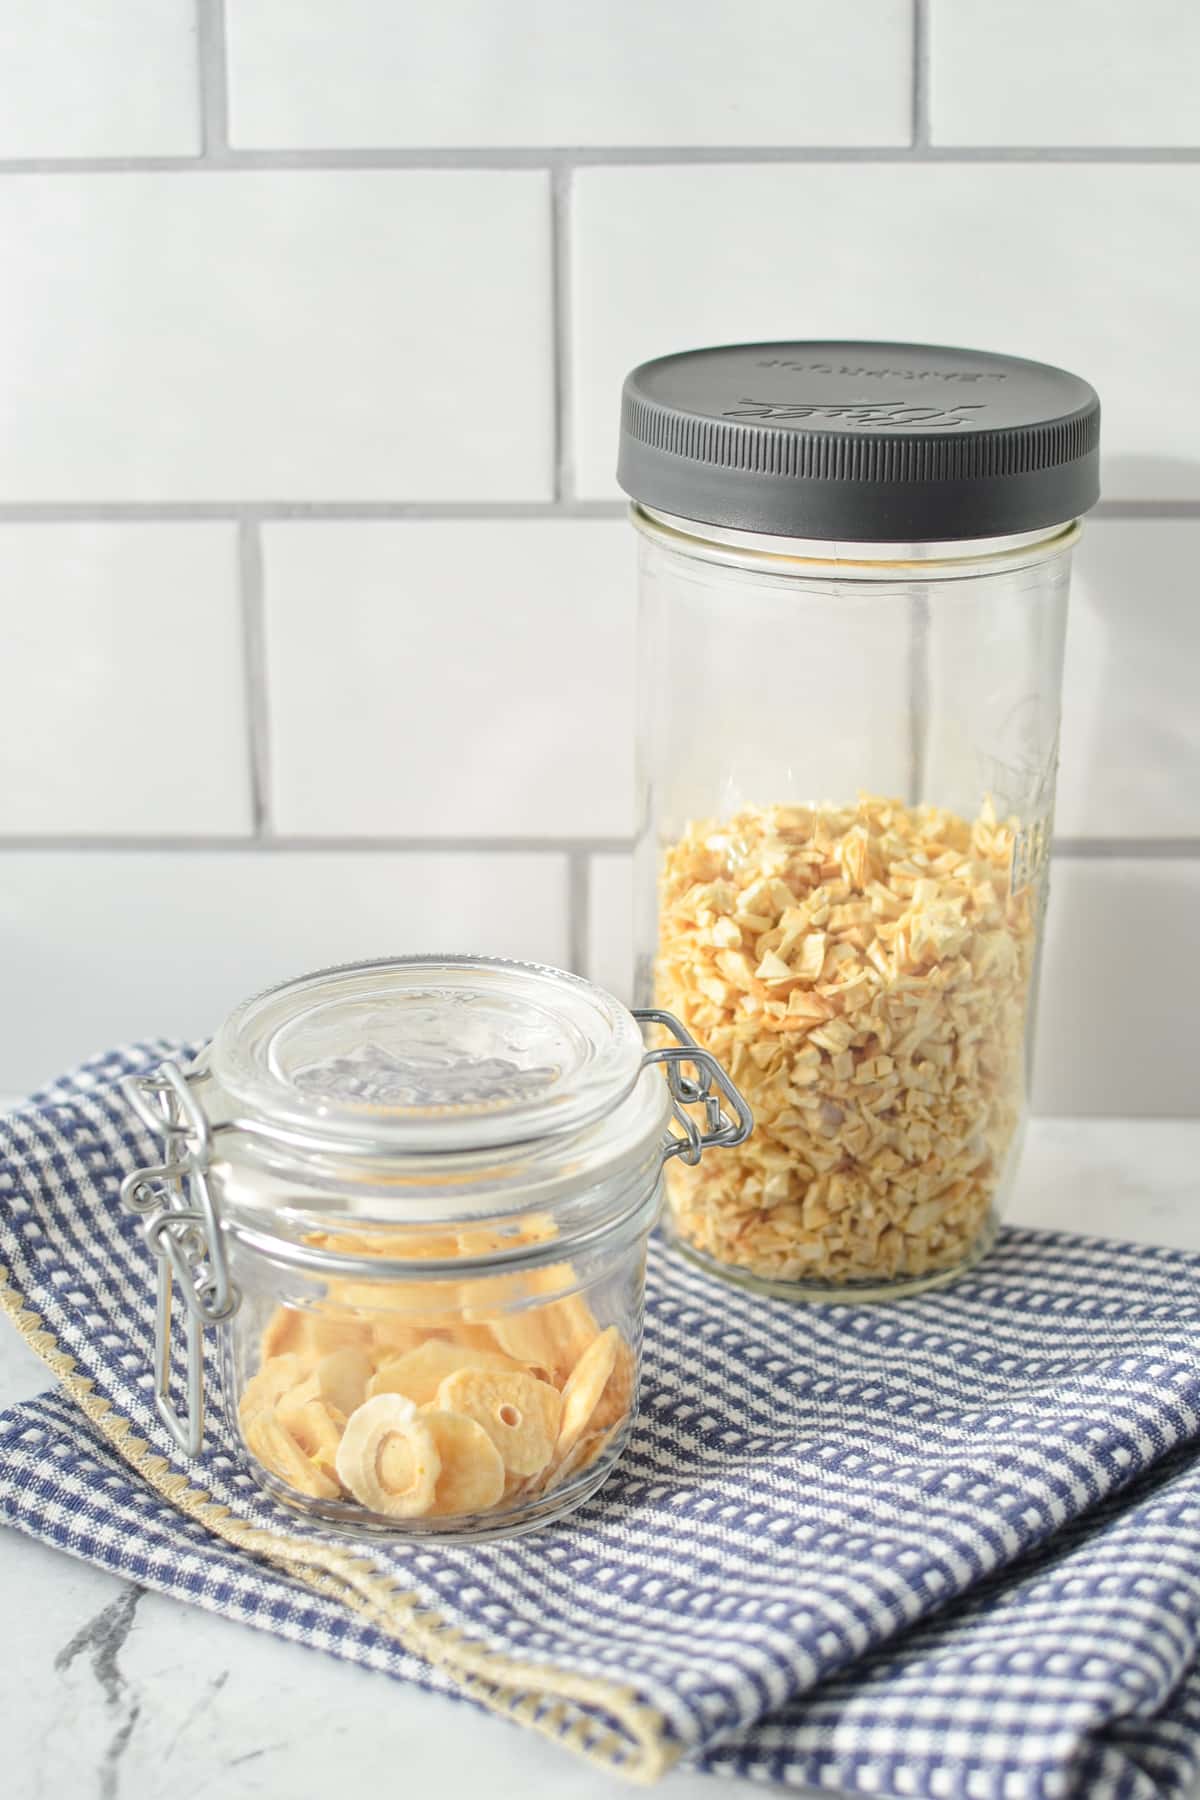
If you want the freshest, best quality garlic powder possible, I recommend grinding enough to use in 1-2 months and leaving the remaining garlic pieces whole. Then grind the remaining whole pieces in batches several times throughout the year.
Dehydrated Garlic and Garlic Powder Conversion
½ teaspoon dried minced garlic = 1 clove fresh garlic
⅛ teaspoon garlic powder = 1 clove fresh garlic
½ teaspoon dried minced garlic = ⅛ teaspoon garlic powder
Frequently Asked Questions
Yes, even store-bought garlic powder is gluten free. Since garlic powder is simply made by grinding dry garlic into a powder, there are rarely gluten-containing ingredients. Look on the ingredient label - if it's just garlic, then it's totally gluten-free.
You will get approximately 1 teaspoon of garlic powder for every 8 cloves of garlic, so if you want to make 1 cup of garlic powder, you will need approximately 384 cloves of garlic (about 30 heads). If using dried garlic, you will need about 4 teaspoons of dried for every 1 teaspoon of garlic powder, meaning you will need to grind approximately 4 cups to yield 1 cup of garlic powder.
Yes, homemade garlic powder is better than store bought. Homemade garlic powder is made from seasonal, fresh garlic, making it way more flavorful. Store-bought garlic powder has often been made with garlic that was less than perfect, and then has sat on a truck or on a shelf for an unknown amount of time. Making your own means you will know it is as fresh as possible.
More Homemade Foods
- How to make onion powder
- Homemade seasoned salt
- Homemade chicken taco seasoning
- Healthy homemade ketchup (with maple syrup)
- Avocado oil mayonnaise
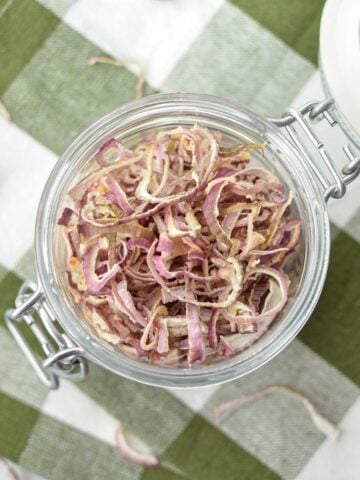
- Dehydrating shallots (and making shallot powder)
📖 Recipe

How to Make Garlic Powder
Ingredients
- Garlic
Equipment
- Coffee or spice grinder
Instructions
Cook Mode- Peel each of your garlic cloves, ensuring all of the papery skin is removed, as well as the tough root end.
- Slice the garlic cloves crosswise into very thin pieces (or you could mince each clove with a sharp knife if preferred).
Dehydrator method:
- If your dehydrator does not have a fine mesh tray line each tray with parchment paper or a silicone dehydrator liner.
- Place the garlic slices in an even, single layer on each dehydrator tray, ensuring that the slices are not touching each other.
- Set the dehydrator to 125ºF and dry for 6-12 hours, or until the pieces are brittle and easily break in half.
- Once the garlic has completely dried turn off the dehydrator and allow the garlic to cool completely to room temperature. You can do this overnight in the dehydrator (turned off and unplugged), or remove the trays to your counter where they will cool quickly.
- Place the completely cooled garlic slices into a glass jar with a lid, placing them in a cool, dry place out of direct sunlight for approximately 24 hours. Shake the jar several times during this period. This is called conditioning.
- If any condensation or fog appears in the jar, transfer the garlic back to the dehydrator and dry again until all pieces are brittle and it passes the conditioning test.
- Once the garlic has passed the conditioning test, transfer it in batches to a clean spice or coffee mill (dedicated to the purpose of grinding spices and powders) and grind until it forms a fine powder.
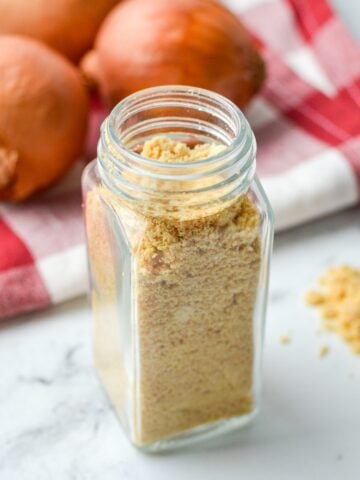
- Transfer the garlic powder to an airtight jar or container and store it for 2-6 months. Discard if there are any signs of spoilage. Clumping is normal with homemade powders, so you may have some after the initial few weeks or months. It’s still fine to use if clumping is the only issue.
Oven method:
- Set your oven to the lowest possible temperature, which should be approximately 140-150ºF (60-65ºC). You may need to check your manual to see how to configure the lower setting.
- Spread the garlic onto parchment-lined baking sheets in a single layer, with no garlic pieces touching.
- Dry for 4-8 hours, rotating the sheets several times to ensure even drying.
Once the pieces are brittle and break easily, remove them from the oven and allow to cool to room temperature before transferring them to a jar for conditioning. - Place the completely cooled garlic slices into a glass jar with a lid, placing them in a cool, dry place out of direct sunlight for approximately 24 hours. Shake the jar several times during this period.
- If any condensation or fog appears in the jar, transfer the garlic back to the dehydrator or oven and dry again until all pieces are brittle and it passes the conditioning test.
- Once the garlic has passed the conditioning test, transfer it in batches to a clean spice or coffee mill (dedicated to the purpose of grinding spices and powders) and grind until it forms a fine powder.
- Transfer the garlic powder to an airtight jar or container and store it for 2-6 months. Discard if there are any signs of spoilage.
Notes
Please note that some of my blog posts here at Little Home in the Making may contain affiliate links. If you make a purchase through these links, I will get a small commission at no additional cost to you. See our disclaimer for more information.
Leave a Reply