If you're looking for a way to preserve an abundant harvest (or purchase!) of fresh basil, why not try learning how to dry basil? Whether you're wanting to dehydrate basil using a dehydrator, or are just getting started with food preservation and want to do it in the oven, I'll show you how to get the best results and longest storage time!
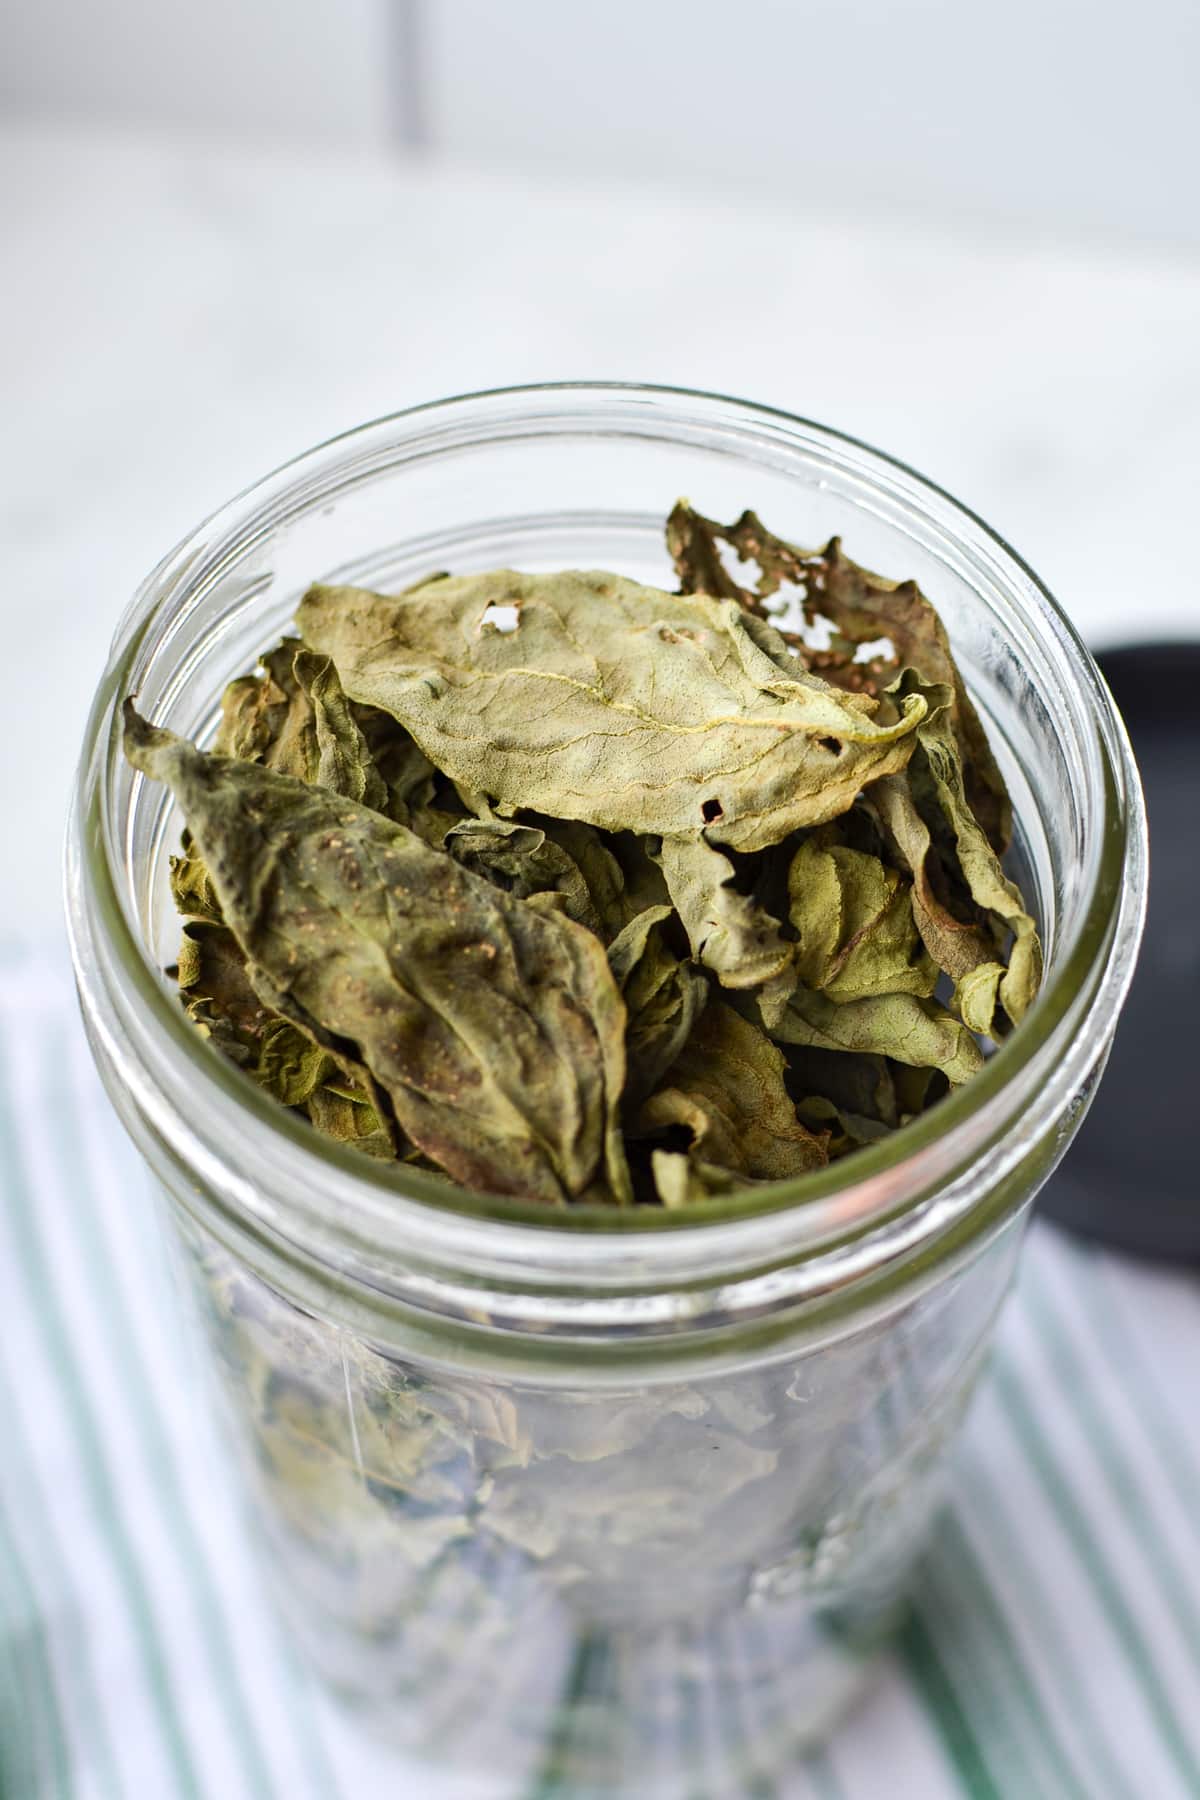
Are you a basil enthusiast? I certainly am! To me, there is nothing quite like the smell and taste of a freshly harvested bunch of basil. It has to be one of my favorite smells of all time, and I just love brushing past my basil plants and breathing in their intoxicating scent.
Using dry basil in cooking had never been my favorite compared to fresh, but that was only until I tried my own homemade dehydrated basil. Drying fresh basil at home is a great way to preserve the flavor, and color. You'll love knowing that you preserved this popular herb at its height of freshness and flavor.
Now that I've tried homemade, I love using dry basil as a substitute in my favorite recipes. Although it's not as flavorful as fresh it certainly is a good stand in. I'll never be buying those little bottles at the store ever again with this in my back pocket. How about you?
Why Dry Basil?
- If you grow basil in your garden, you probably have a TON to use up! This is a great way to preserve the harvest and use it throughout the Fall and Winter months.
- Home dried basil tastes WAY better than the little bottles you purchase in the store.
- If you want the absolute best flavor preservation, you can store your leaves whole and crush them as needed. This is my preferred method!
- If you dry basil and store it, it can be WAY cheaper than the store. Just make sure to purchase it from the Farmer's Market or grow your own during the peak season.
You Will Need:
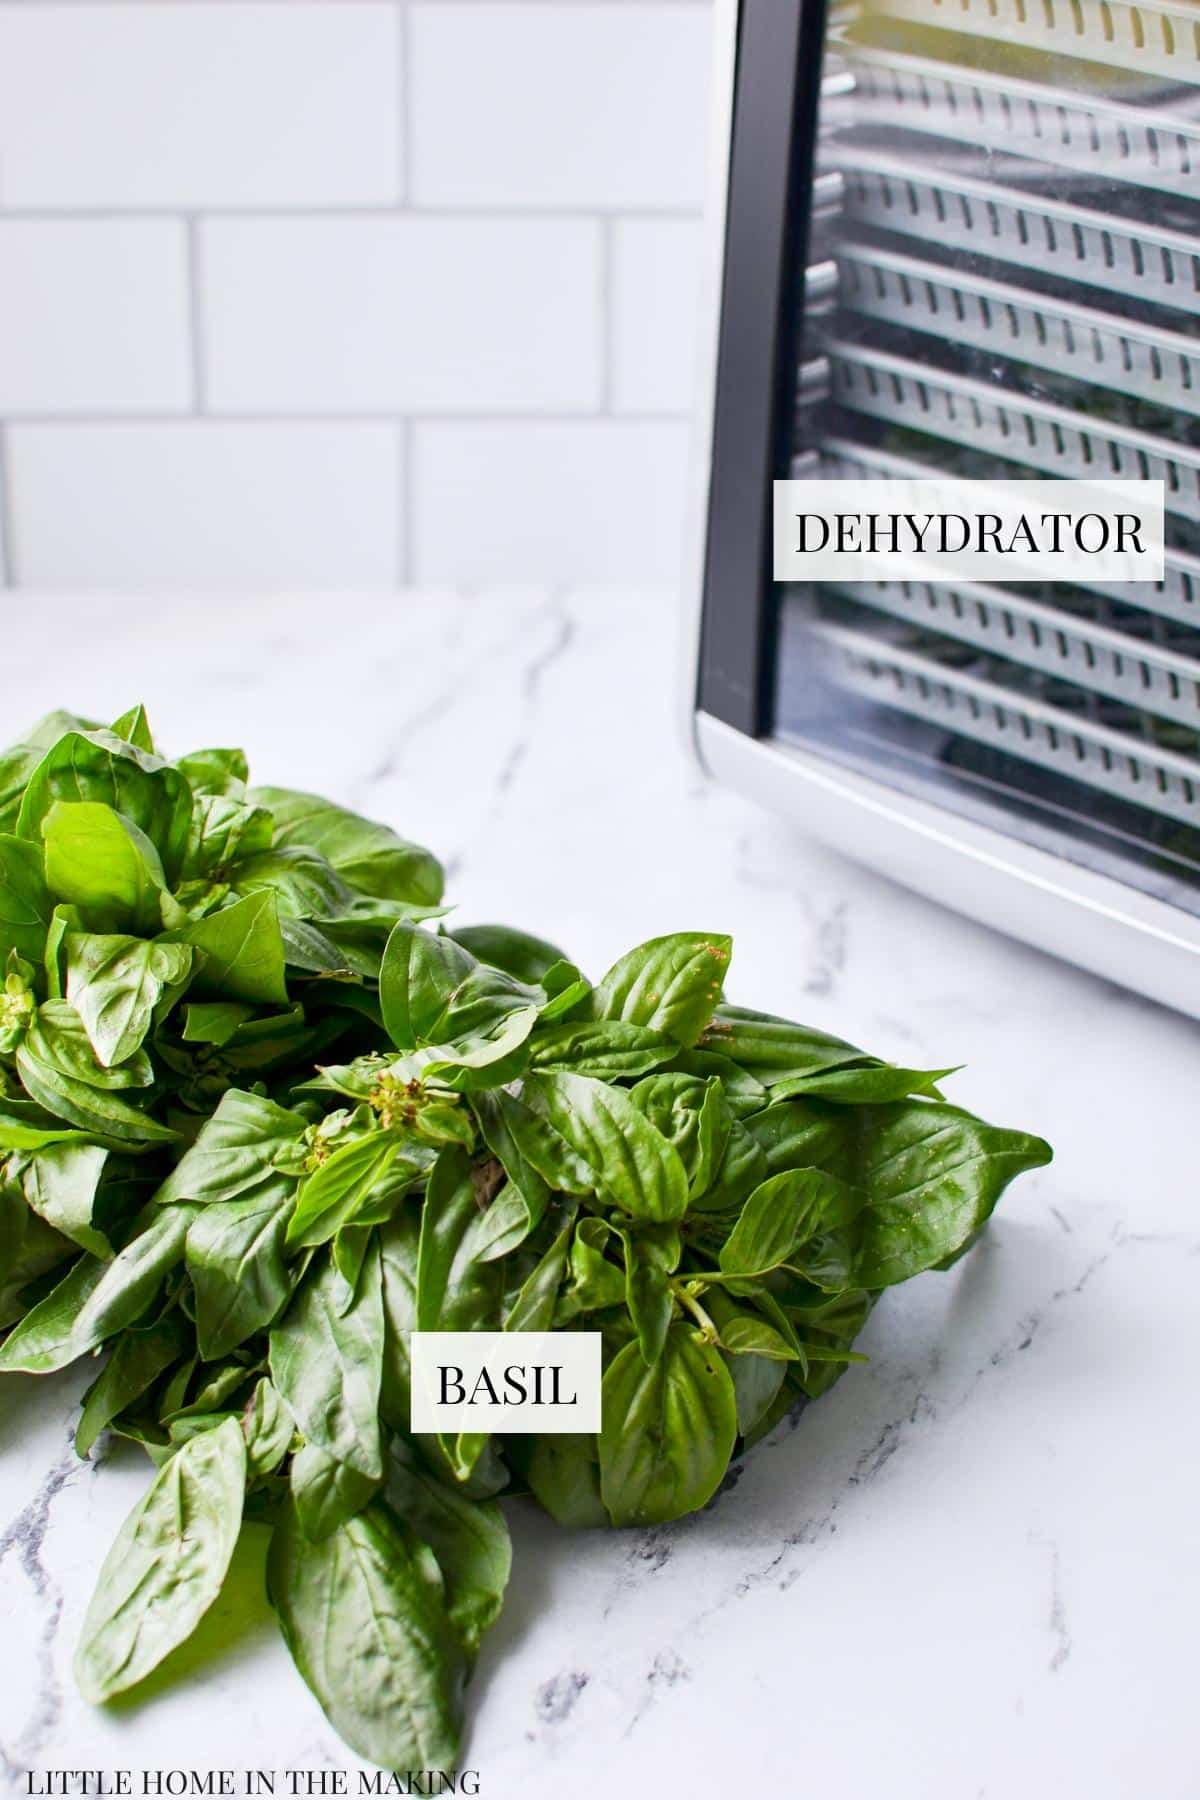
- Basil: You'll need 1-2 bunches of basil, or as much as you can fit in your dehydrator or oven. I recommend either home grown or some sourced from the Farmer's Market since basil starts to degrade quickly.
- Dehydrator OR baking trays: Using a dehydrator is the easiest way and preserves the most flavor (I'm hoping to scale up to a Excalibur dehydrator soon!), but if you don't have one you can use a low temperature oven and some baking sheets.
- Glass Jar: Both for conditioning and storage, storing your dried leaves in a glass jar is the best way to see if they require further drying. It can be an old jam jar, or whatever you have on hand as long as it has a tight fitting lid.
- Paper towels or clean towels: In order to dry off the basil leaves after washing, you'll need some paper towel OR several clean towels.
If you can, I highly recommend that you use a good salad spinner for cleaning your basil leaves. I have this one and it works great for washing lettuce, herbs, and even berries!
Preparing Basil for Drying
Before you get started on the process to dry basil, you need to prepare your leaves for drying. I recommend giving the leaves a good washing (and drying) to make sure the dried basil is free from dirt and debris.
Start off by removing the basil leaves from the stem. You can do this by pinching the part where the leaf meets the stem with a sharp fingernail. You can also use a pair of kitchen or herb scissors to make things a bit easier!
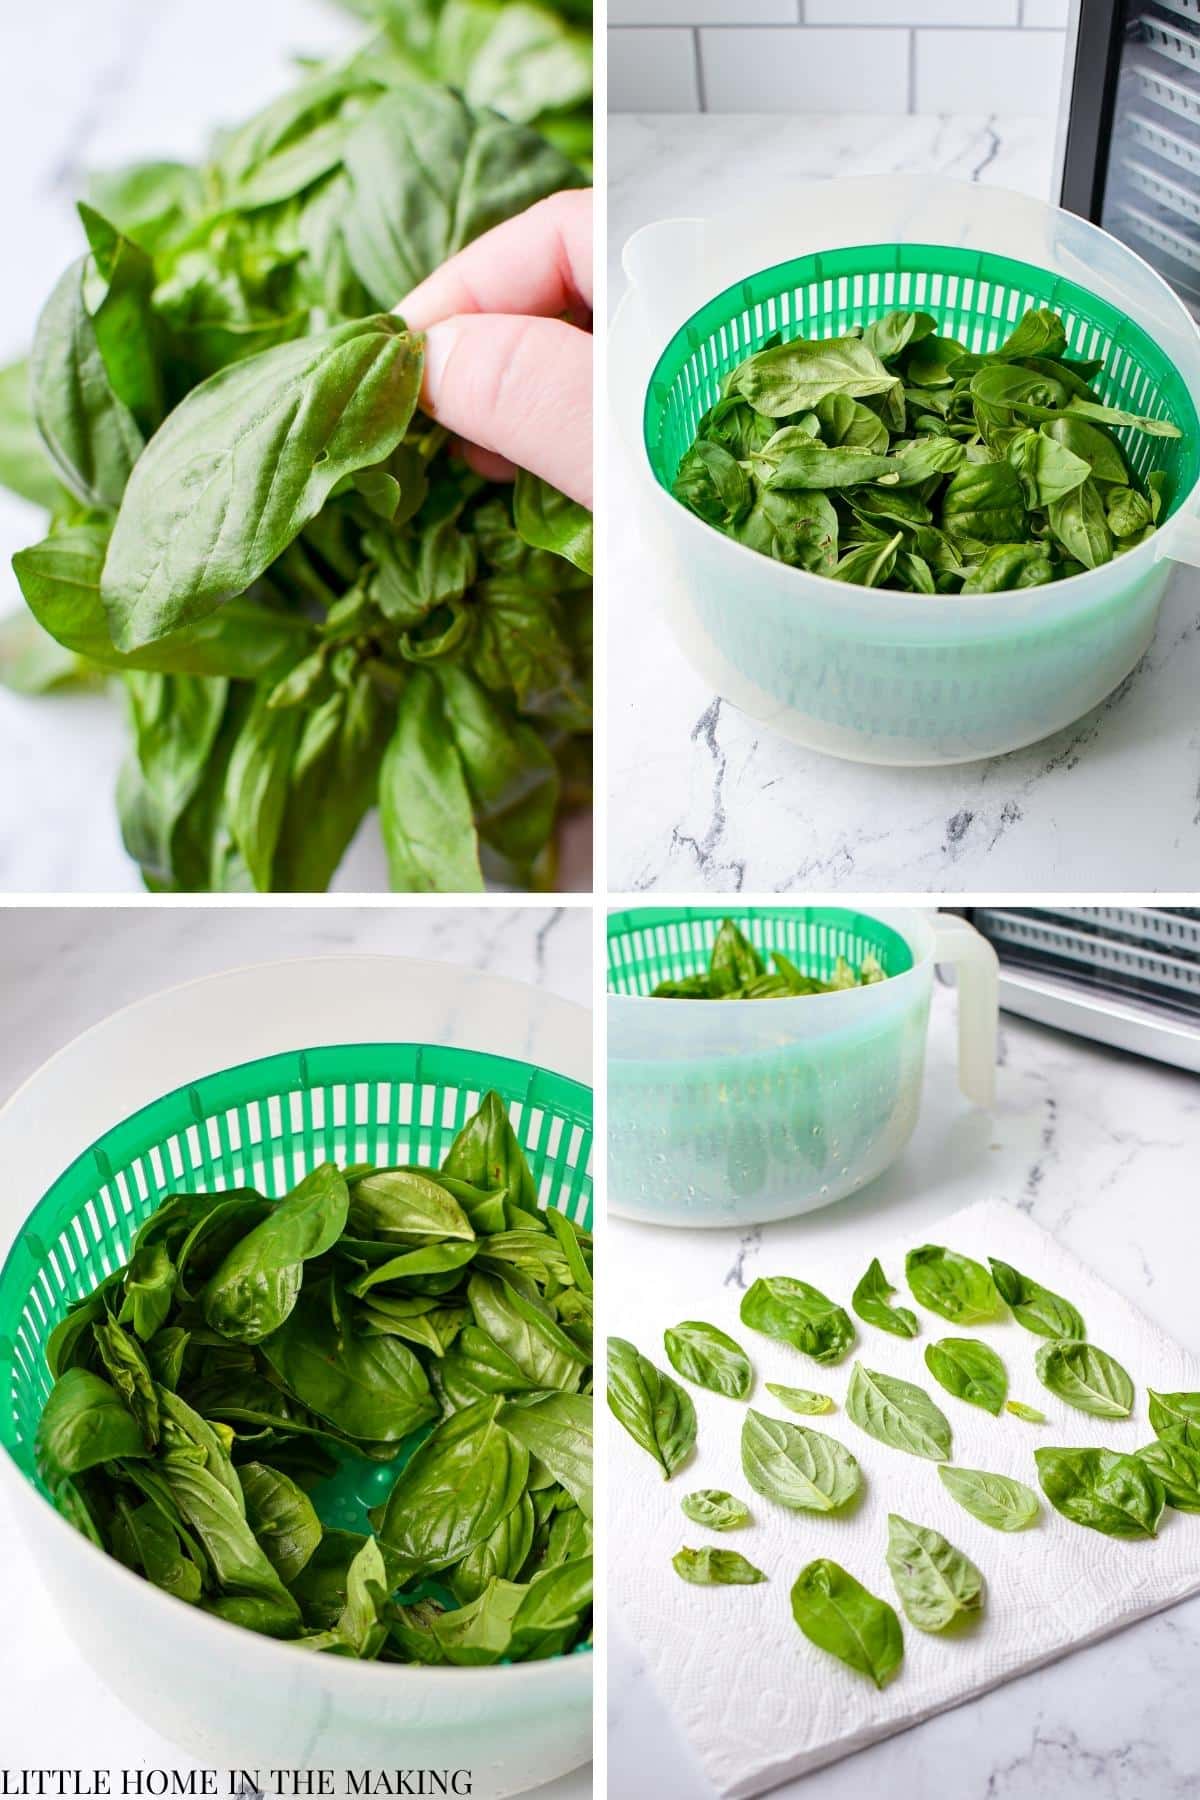
Add your basil leaves to a salad spinner (or colander) and give them a good rinse, massaging them gently with your hand. Shake or spin the leaves dry and pour off any excess water. Feel free to wash the leaves 2-4 times, or until the water runs clear.
Spread out a double layer of paper towel (or clean kitchen towels) and place the basil leaves on top. Press down with additional towels to pat the leaves dry.
How to Dehydrate Basil in a Dehydrator
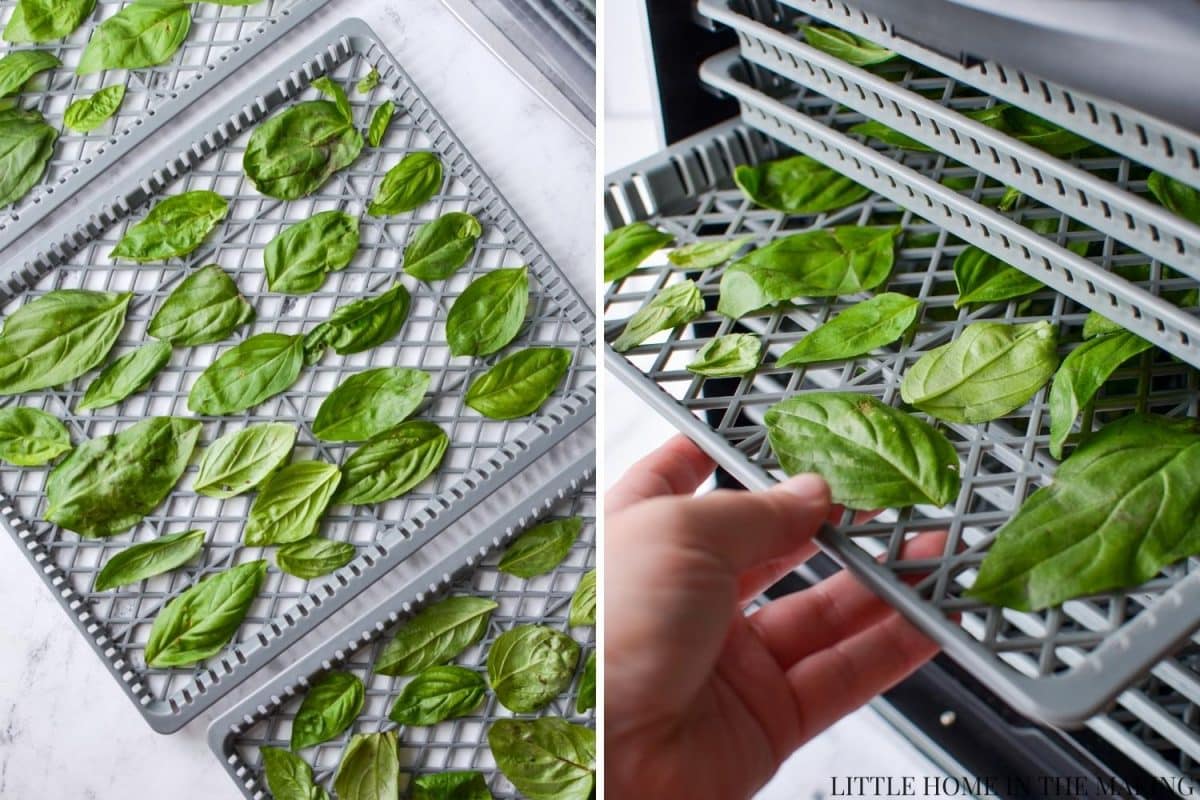
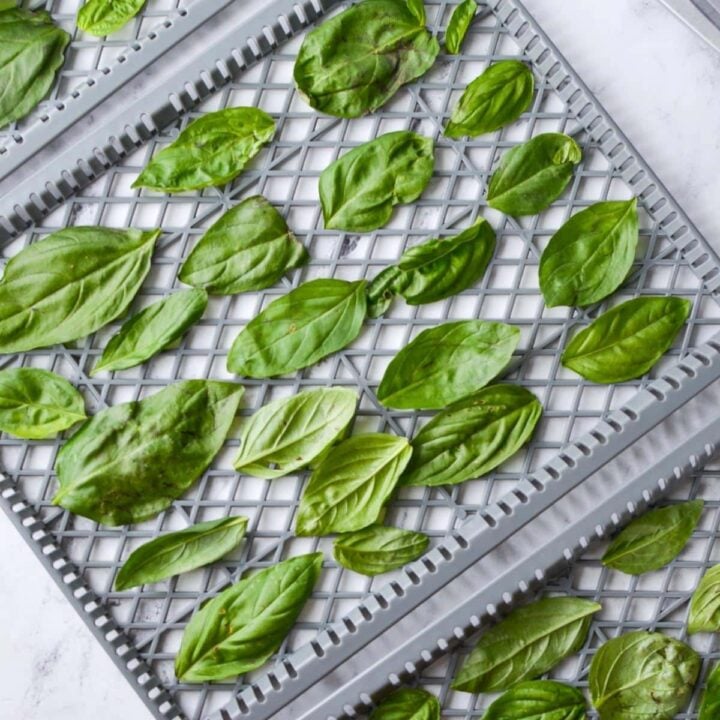
Add the basil leaves to your dehydrator trays (or parchment lined baking sheets) in a single layer, leaving some space between each leaf.
Repeat until all of your leaves have been placed on trays, or until your trays are completely filled.
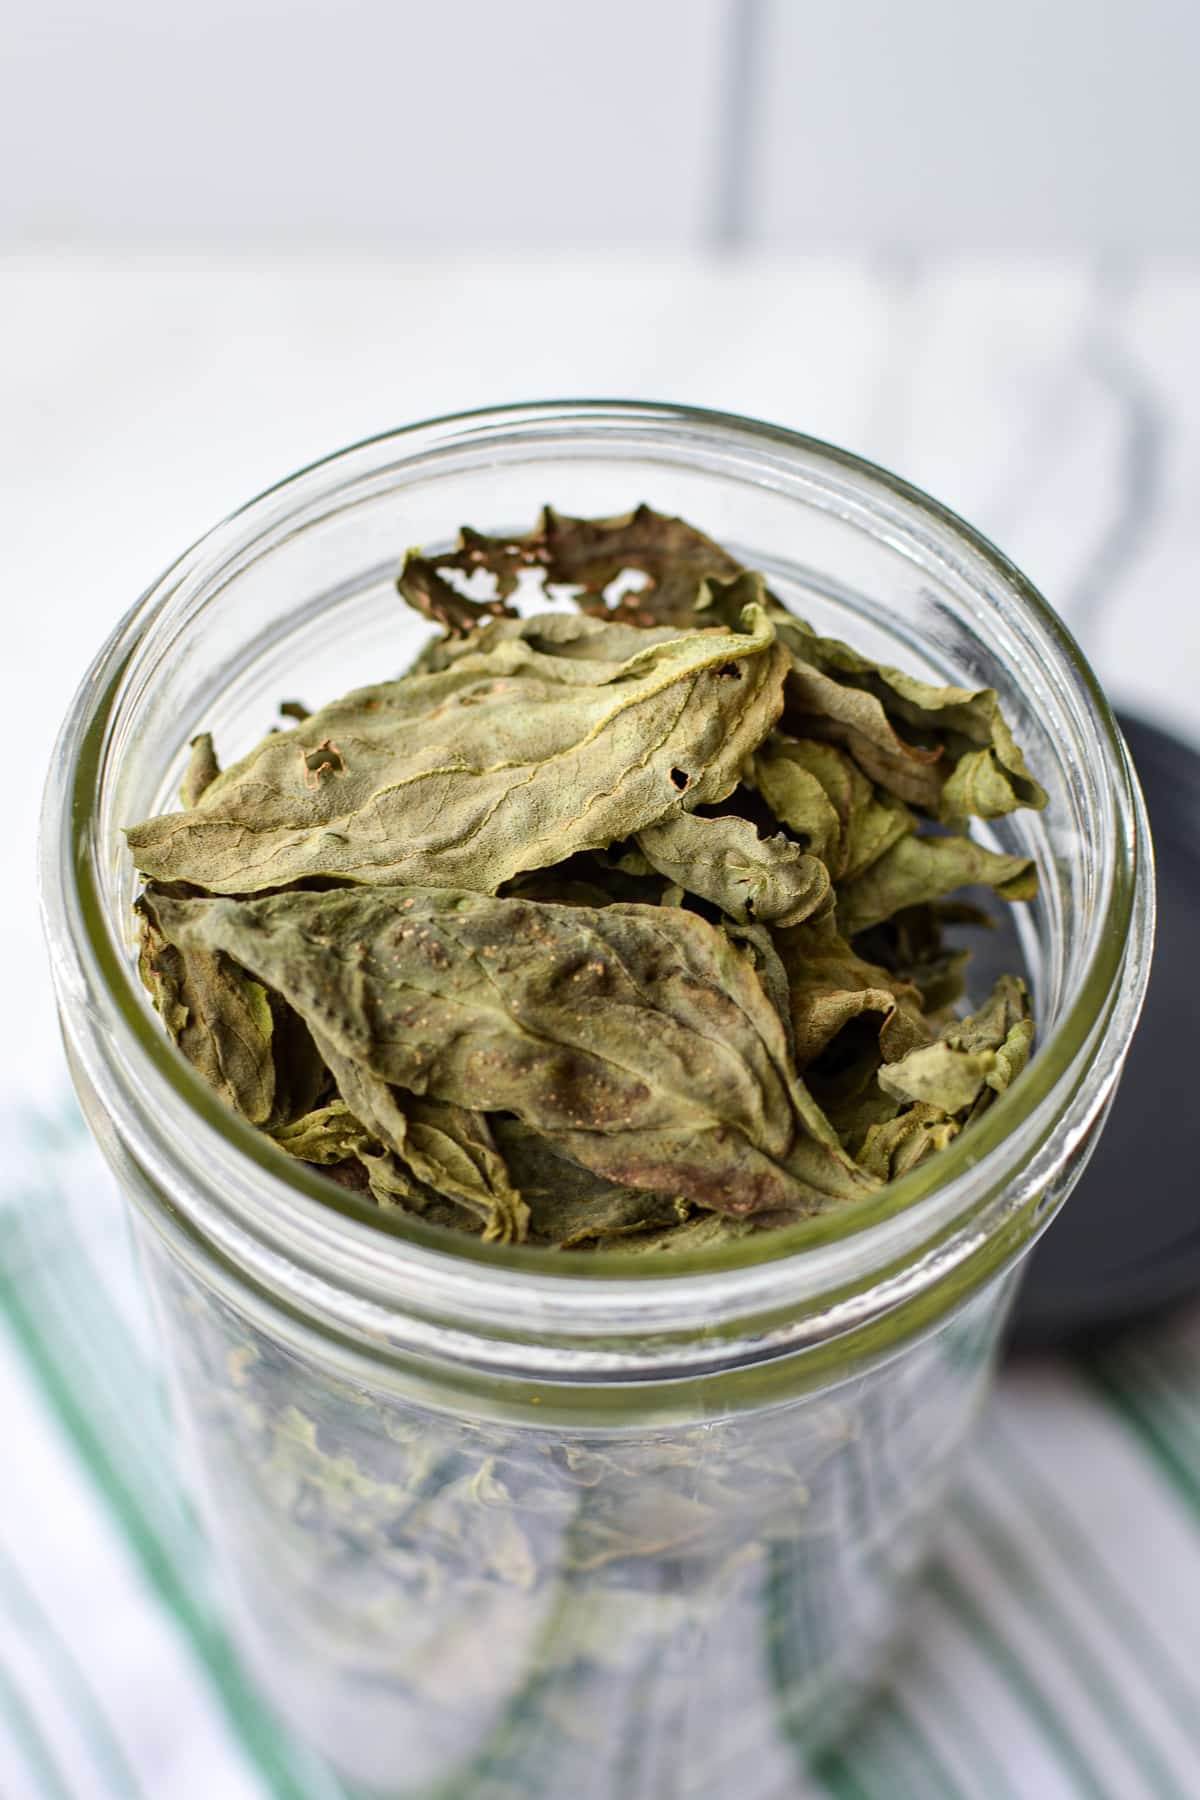
Add the trays to the dehydrator and set the heat to 95-110ºF. A lower temperature will preserve the flavor marginally better, while the higher temperature will dehydrate your basil a little more quickly. Feel free to up the temperature if you're in a time crunch, but the range given will generally deliver the best results for drying herbs like basil.
How to Dry Basil in an Oven (Without a Dehydrator)
If you don't have a dehydrator, you can still dry basil in an oven. Here's how to do it:
- Set your oven to the lowest temperature possible. Some manufacturers include instructions for manually turning the temperature down, so make sure to check your manual to see how low you can go. 150-170º is the lowest range for most models.
- Line multiple baking sheets with parchment paper, and place washed and dried basil leaves in a single layer.
- Place your baking sheets in the oven and cook for 2-4 hours, or until the leaves are crisp and crumble easily in your hand. Make sure to rotate the baking sheets several times throughout the baking time.
- Once the leaves are crisp and brittle, turn the oven off and remove the baking sheets.
- Allow the basil to cool completely to room temperature.
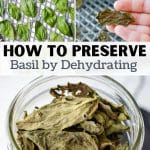
- Once the basil is completely cool, transfer the dehydrated leaves to a glass jar fitted with a lid.
Conditioning
In order to store your dehydrated basil in the long term you must make sure that they are free from any moisture. This is done via a process called conditioning, where dehydrated food is stored in an airtight container in order to assess if it is sufficiently dry for storage.
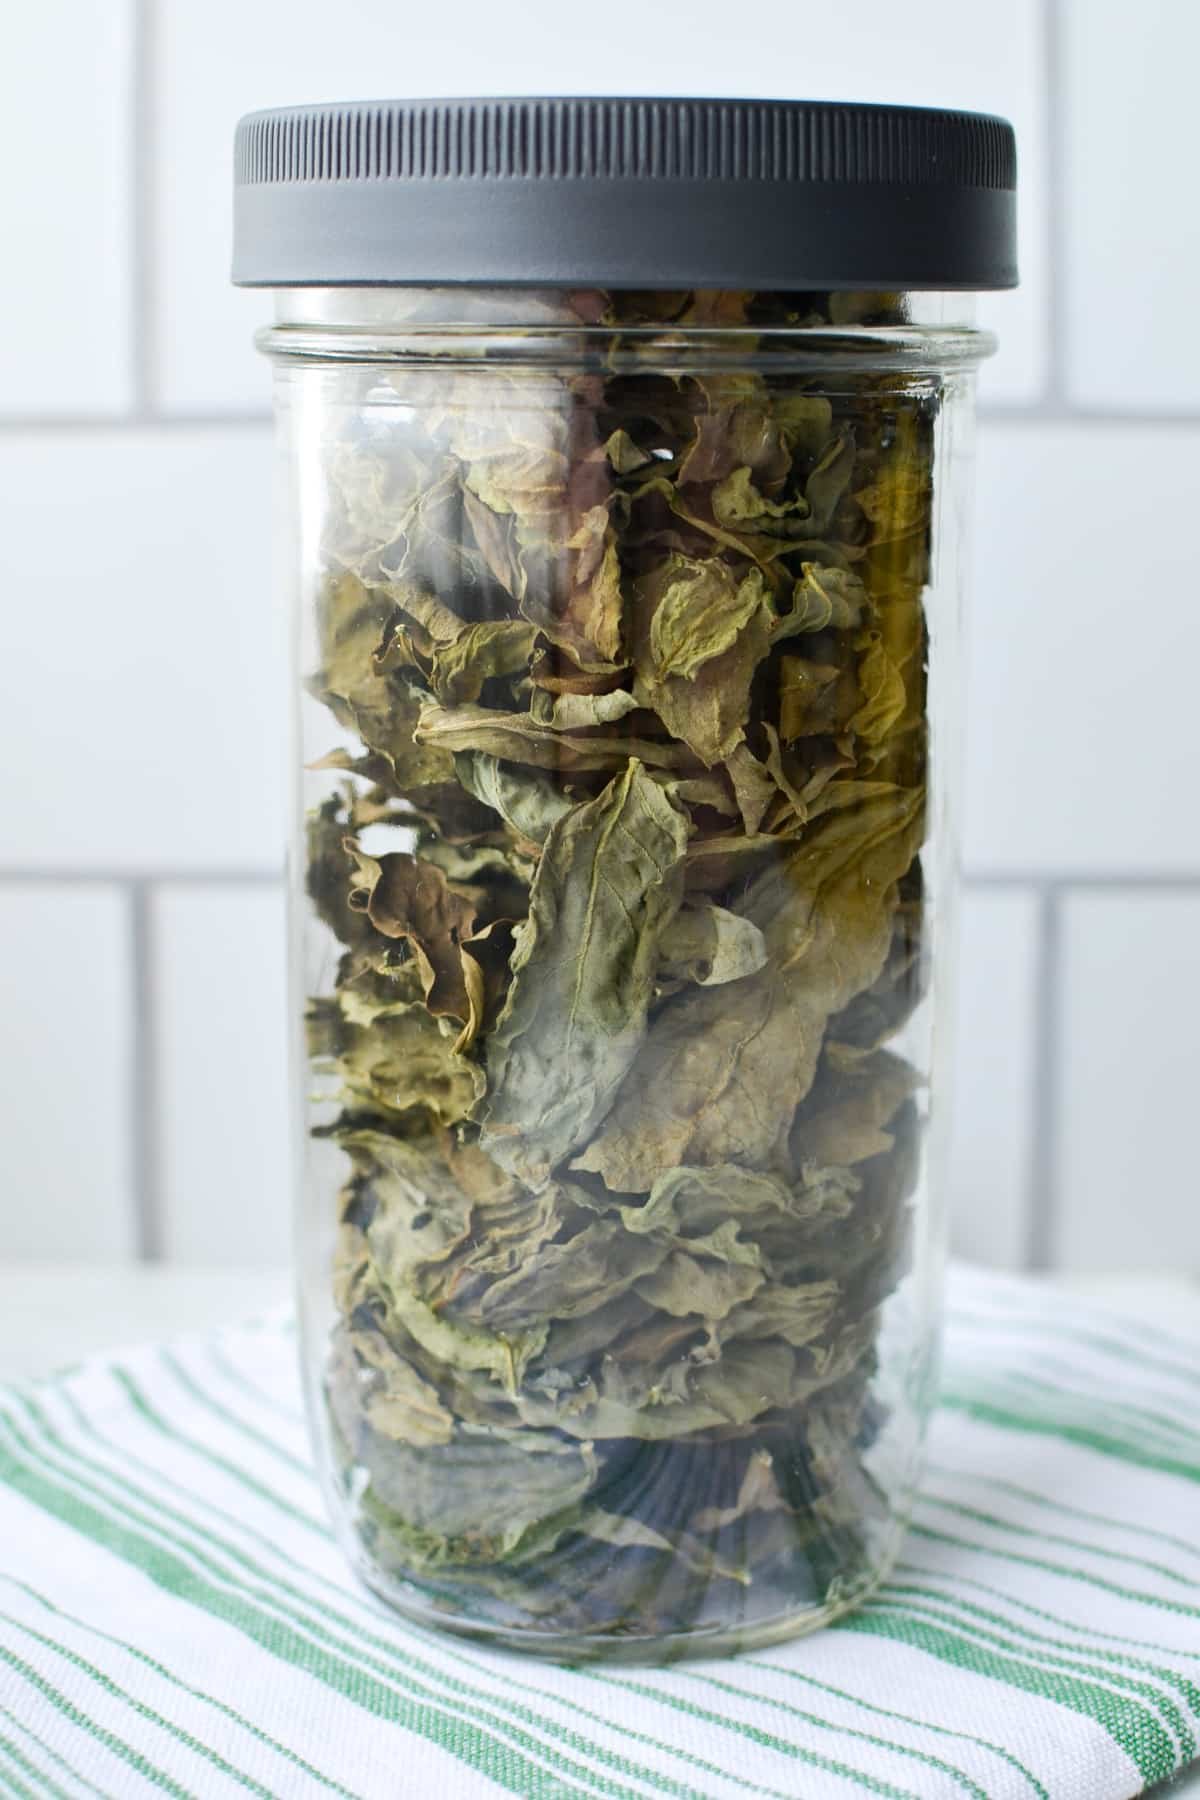
- Allow your dried basil to cool to room temperature before transferring the dried leaves to an airtight glass jar.
- Place the glass jar in a high traffic area for two to three days, shaking the jar a few times a day and checking for any condensation on the inside of the jar.
- If there is no condensation, your basil is completely dry and can be moved into long term storage.
- If there is condensation, transfer the basil back to baking sheets (or a dehydrator tray) and dry at a low temperature until completely dried and the conditioning test is passed.
- Once the leaves are dry, store them whole OR crush using a mortar and pestle or blender. Transfer to an airtight container and label.
Storing Your Dried Basil
Once your dry basil has been conditioned and passed the test, you're ready to store your dehydrated basil leaves for long term storage!
Storing Whole Basil Leaves
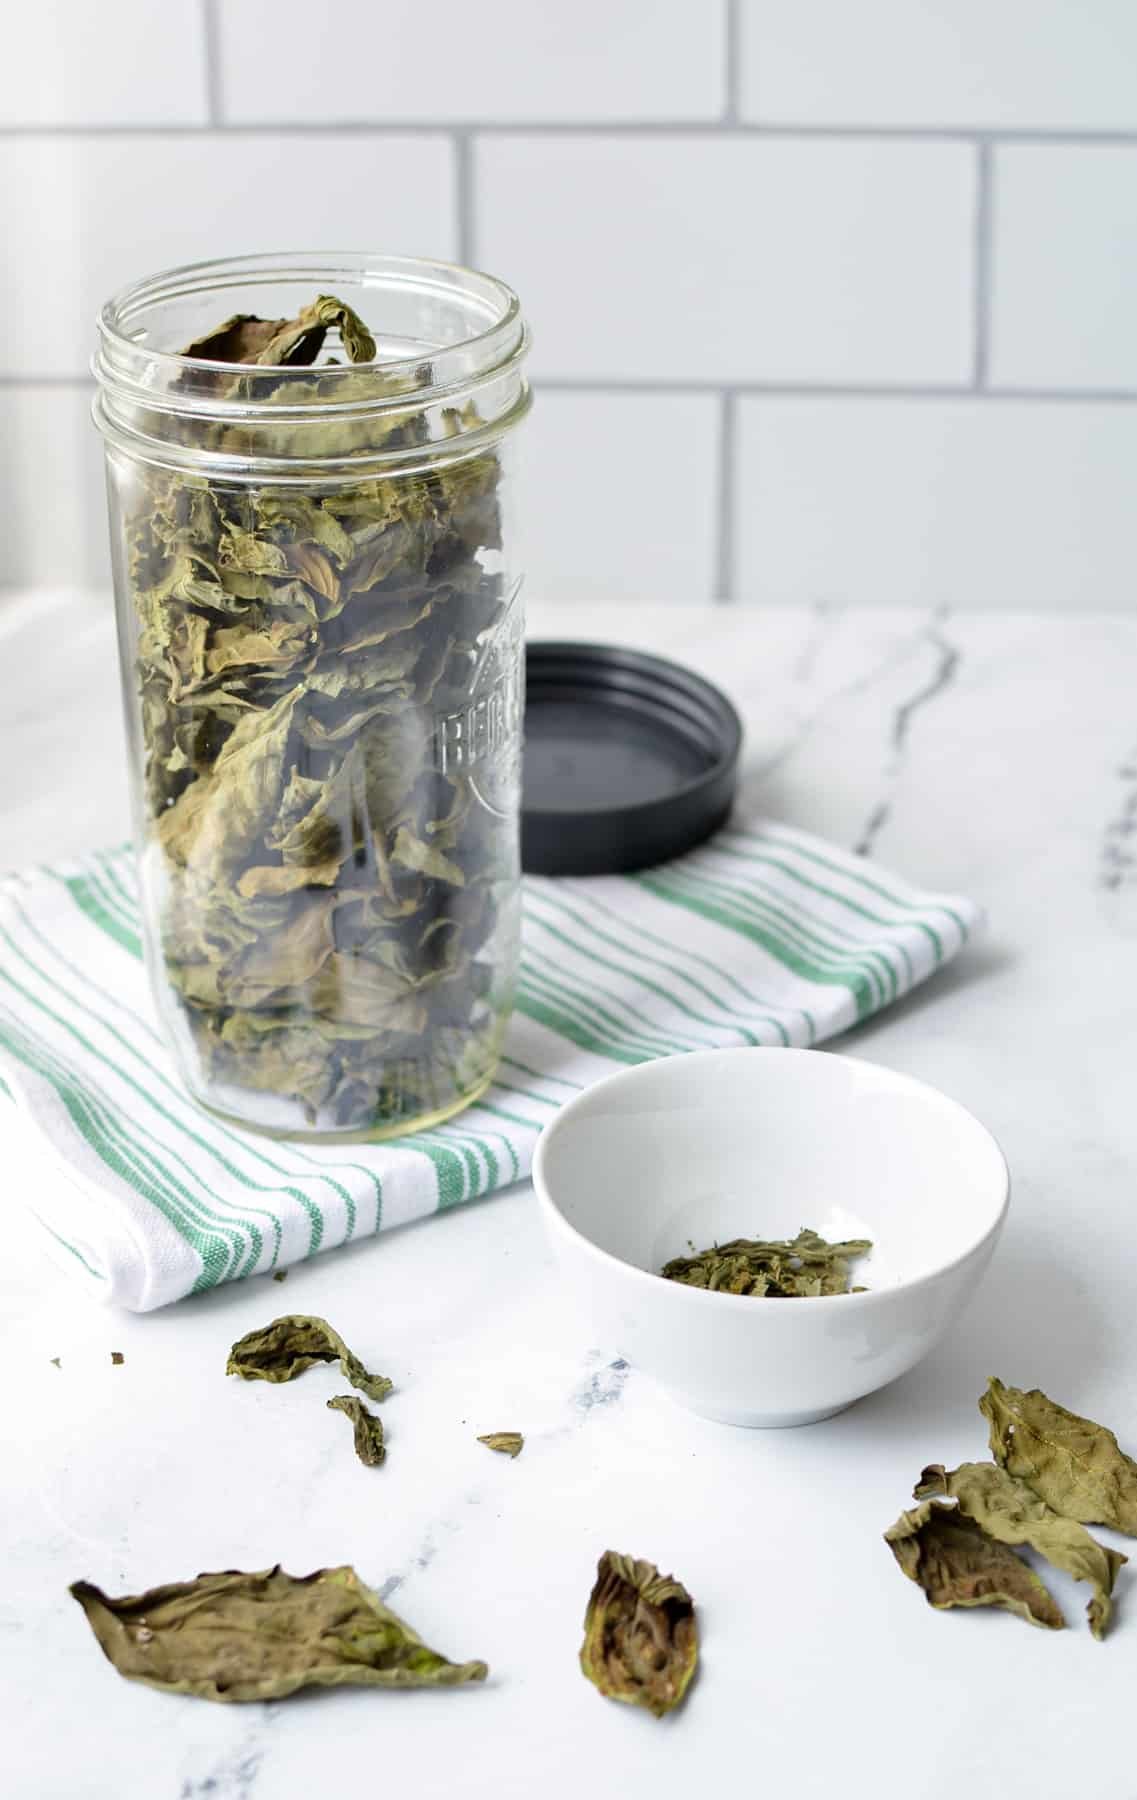
For the best flavor and color retention, I recommend storing your basil leaves whole. Then, when you're ready to add them to your favorite dishes you can simply crush them and add as directed into the recipe.
Alternatively, you can crush or blend a small amount of leaves and store in a spice jar, grinding small amounts as needed to fill the spice jar.
Whole leaves store well for 6-18 months, depending on the storage conditions in your home. They will lose flavor and color over time, but less so than if they were crushed before storage.
Storing Crushed Basil Leaves
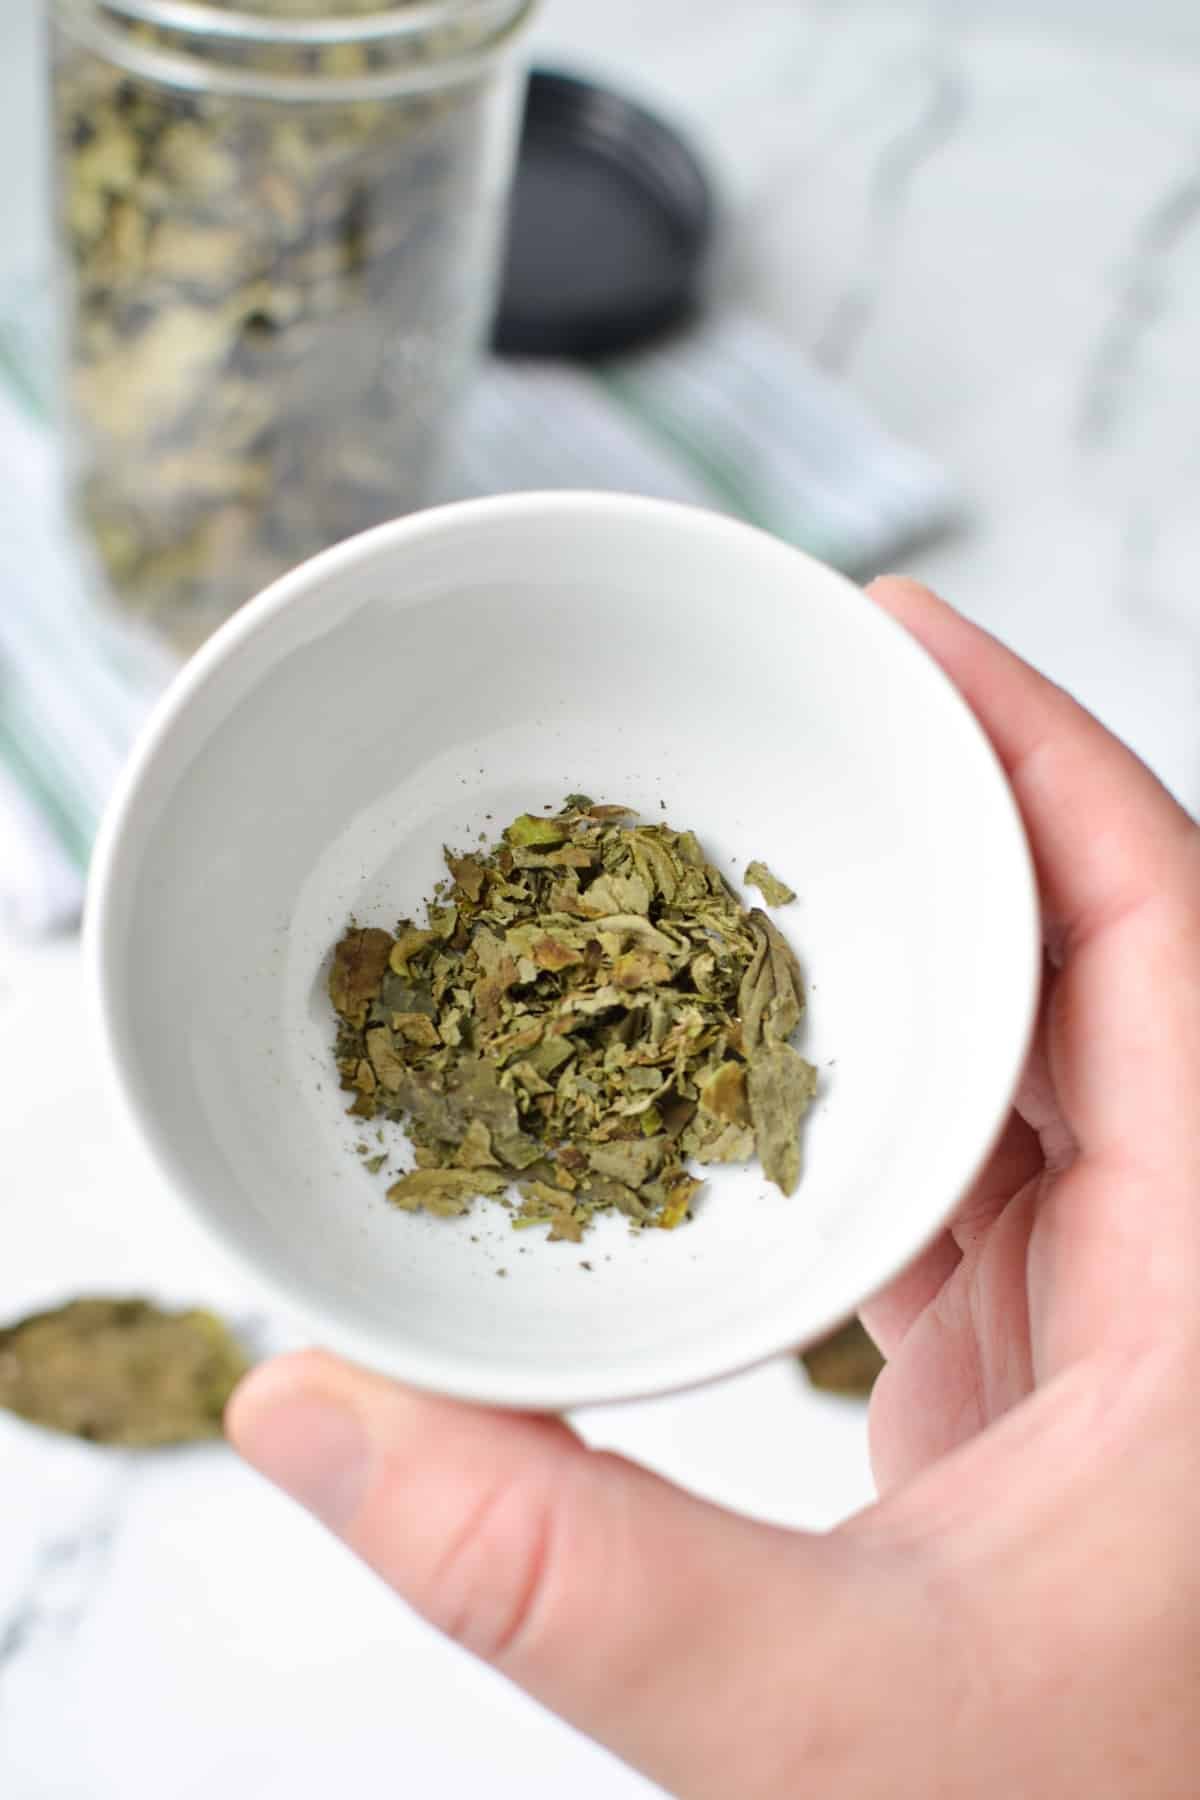
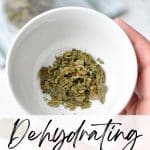
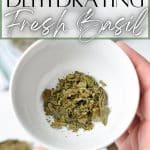
If you like things ready to go, crush your dry basil in a blender or mortar and pestle and transfer to an airtight storage container. While the leaves will degrade in flavor over time, they can be stored like this for 3-6 months!
Substituting Dried Basil for Fresh in Recipes
Fresh basil adds an amazing, bright, and earthy flavor to all of your favorite dishes (like this Baked Feta Gnocchi). Store bought dried basil is a poor substitute, but homemade dry basil is SO much better than store bought! Particularly if you store your leaves whole, home dehydrated basil is a good substitute with much more flavor.
Still, fresh basil is much brighter in flavor than dried, but when unavailable, dried basil is a great way to add a touch of this familiar and favorite herb.
For every 1 tablespoon of fresh basil called for, use 1 teaspoon of crushed dried basil.
Here's a quick reference chart for common measurements:
| Fresh Basil | Dried Basil |
| 1 tablespoon | 1 teaspoon |
| ¼ cup | 4 teaspoons |
| ½ cup | 2 tbsp. + 2 tsp. |
Frequently Asked Questions
Fresh basil has a high moisture and oil content, so unlike many woody herbs, basil cannot be dried at room temperature. Rather than dry, your basil will wilt and spoil. Instead, try using a low temperature oven or dehydrator to dry your basil until crisp and brittle.
Depending on the moisture content of the basil and the power of the dehydrator, it can take anywhere from 6 to 24 hours to dry the basil completely. Your basil is dried sufficiently when it is crisp and crushes easily when gently pressed.
It is recommended to wash basil before drying. This ensures the final product is free from dirt, debris, and pathogens. It's easiest to use a salad spinner, washing and spinning several times until the water runs clear. Pat the leaves dry with clean kitchen towels OR a double layer of paper towels.
Recipes that Use Basil
How to Dehydrate Basil (Dehydrator or Oven)
Ingredients
- 1-2 bunches fresh basil
Equipment
- Dehydrator (optional)
- Glass jar
- Paper towel (or clean towels)
Instructions
- Remove the leaves from the stem of the basil plant to bunch, pinching it off or cutting it right at the point where the leaves attach to the stem.
- Once all of the leaves are removed from the stems, inspect the leaves for any signs of bruising or damage. Discard any leaves that have wet spots, bruising, etc.
- Add your basil leaves to a salad spinner or colander and rinse them well. If using a spinner, I recommend rinsing and spinning them several times. Use your hands to wash all of the basil leaves, and shake or spin them as dry as possible.
- Lay out your leaves on a double layer of paper towels (or clean kitchen towels). Top with more paper towels and press down gently to dry.
- Transfer the leaves to a dehydrator tray OR a parchment-lined cookie sheet if using the oven. You will need multiple cookie sheets if using the oven.
- Repeat until all of the leaves have been washed, pat dry, and placed on a tray.
- Oven instructions: Preheat your oven to the lowest setting you can. Some manufacturers have instructions for setting your oven at a lower temperature, so look into that if using an oven. Mine goes as low as 170ºF but some models go down to 150ºF. Dry for 2-4 hours, rotating the baking sheets several times during the process. The basil is dry and ready when it is crisp and easily crumbles in your hand when you press on it with your fingers.
- Dehydrator instructions: Dry your basil at 95-110ºF for 6-24 hours, or until the basil leaves are very crisp and easily crumble in your hands. You may need to rotate your trays through the process if it seems like some trays are drying before others.
- Once the basil is fully dried, remove the trays from the oven or turn off the dehydrator. Allow them to cool completely for several hours until they are room temperature.
- Once the leaves are room temperature, transfer them to a glass jar with a lid for conditioning.
- Leave the basil leaves in the jar for 1-3 days, shaking the jar occasionally. If no condensation occurs, your leaves are fully dry and can be moved to long term storage or crushed for use in recipes. If there is condensation, they should be dried or dehydrated again until they can pass conditioning.
- Leave your basil leaves whole for long term storage if you can. This will preserve the flavor best, and you can crush or blend in small batches as needed. Alternatively, you can crush or blend the leaves and store that way if you prefer.
- Use 1 teaspoon of crushed dried basil leaves for every 1 tablespoon of fresh basil called for in the recipe.
Notes
Storage: Whole leaves can be stored for 6-18 months, and crushed leaves can be stored for 3-6 months. Discard if there are any signs of degradation or spoilage.
Nutrition Information:
Yield: 32 Serving Size: 1Amount Per Serving: Calories: 1Total Fat: 0gSaturated Fat: 0gTrans Fat: 0gUnsaturated Fat: 0gCholesterol: 0mgSodium: 0mgCarbohydrates: 0gFiber: 0gSugar: 0gProtein: 0g
Nutrition information is an estimate only.
Please note that some of my blog posts here at Little Home in the Making may contain affiliate links. If you make a purchase through these links, I will get a small commission at no additional cost to you. Please see my Disclaimer for more information.




Leave a Reply