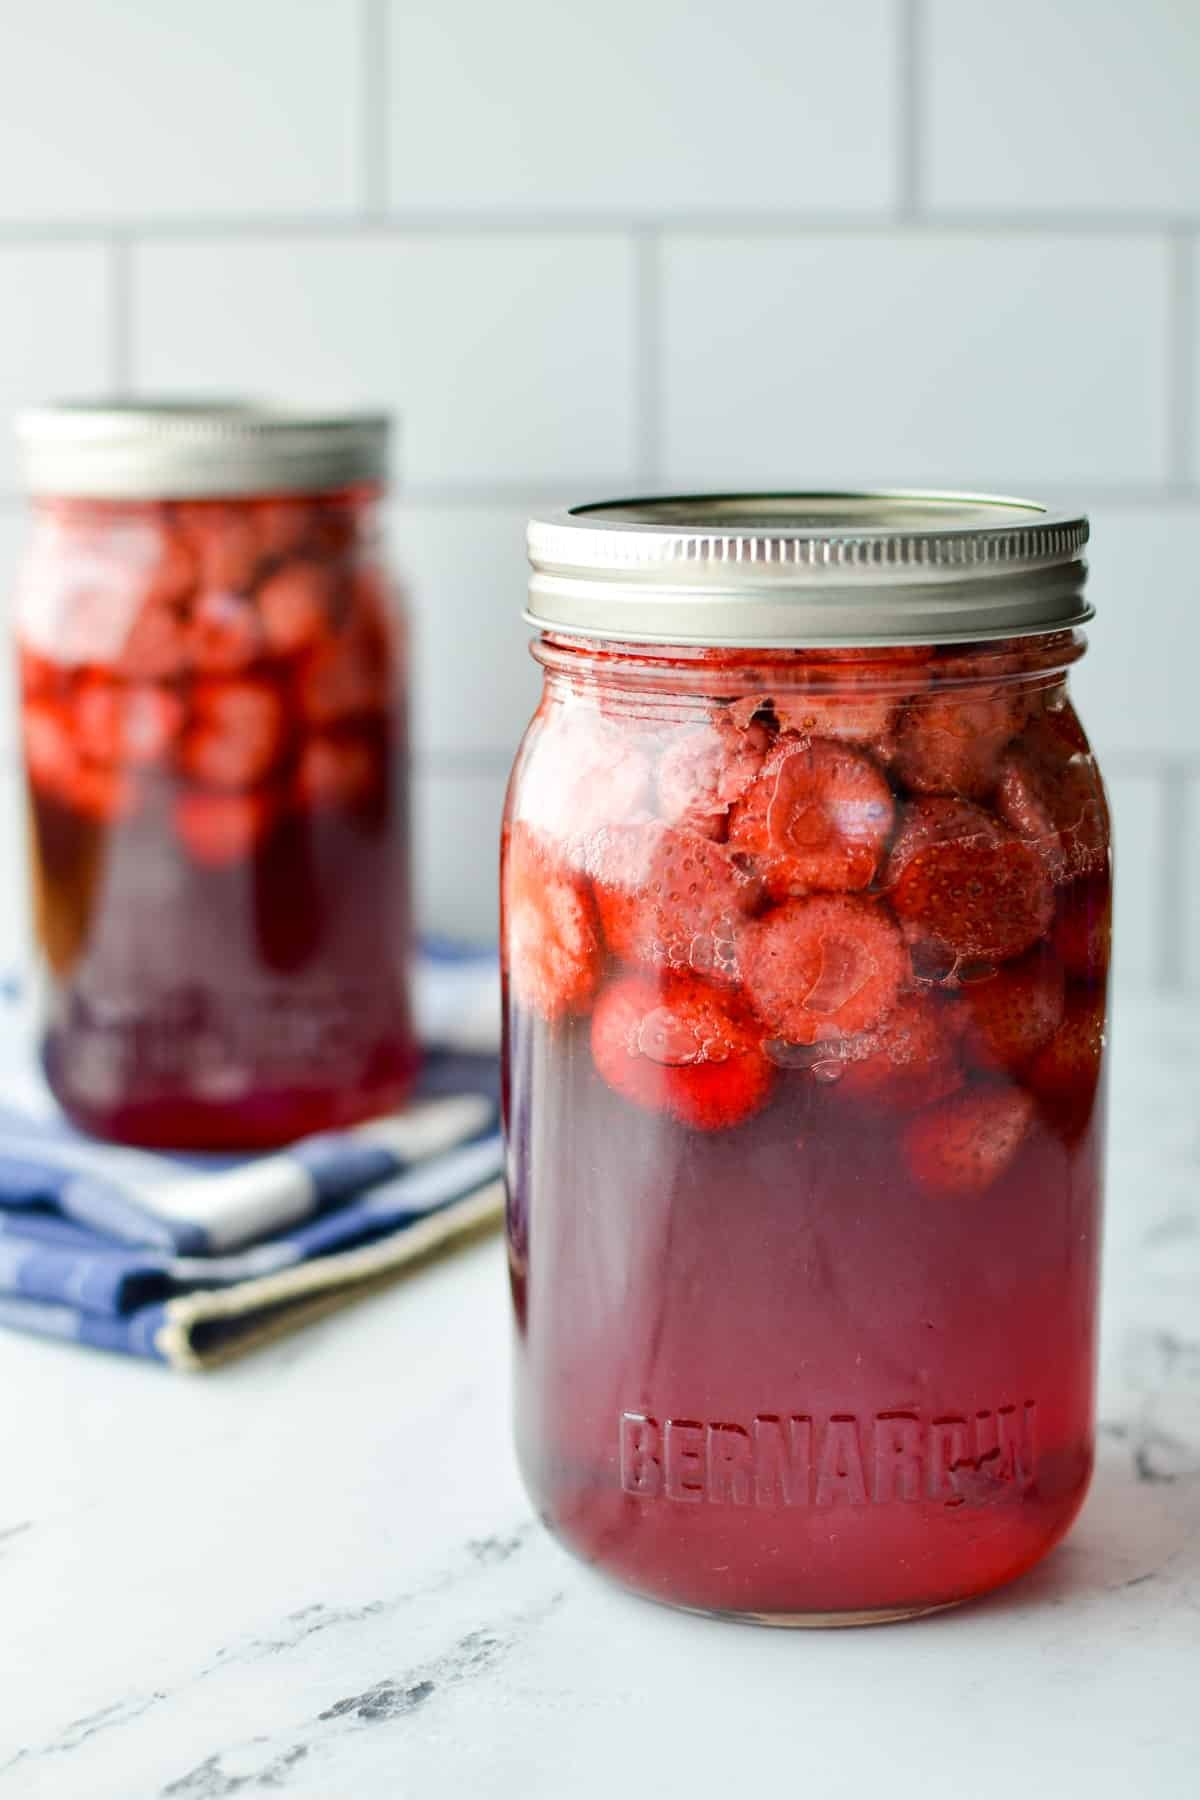
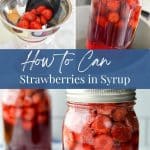
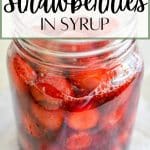
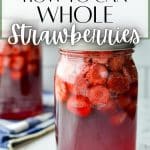
This easy 2 ingredient method for canning strawberries is SO simple! Whether you're new to canning or a seasoned expert, you'll love this easy recipe for canning strawberries in syrup. The perfect way to enjoy fresh Summer berries all Winter long!
I've long been passionate about various forms of food preservation, and have tried pretty much every method out there! Everything from dehydrating, to canning, and my personal favorite: fermenting. I love finding new ways to preserve food in order to enjoy the best the Summer season has to offer, months after the first snowflake has fallen.
I've been canning for about a decade now, and while I started canning low sugar and old fashioned strawberry jams, I now can a variety of foods. Recently I've been canning simple fruits with syrup like this easy recipe for canning strawberries. It's a simple way to put up seasonal fruit for the year and it requires no special ingredients like pectin. All you need is fruit, sugar, and your regular canning supplies.
And while I love frozen strawberries for adding to my favorite recipes all Winter long, I think it's important to have a diverse food supply that includes both frozen and shelf stable foods. Living in the Northeast, it's not totally unheard of to have long blackouts thanks to heavy Winter storms. Knowing that I don't have to rely on a melting freezer worth of food is a comfort to me, and so I love having a variety of home canned foods on hand.
And when it comes to canning strawberries, it doesn't get any easier than this 2 ingredient recipe!
Ingredients and Supplies
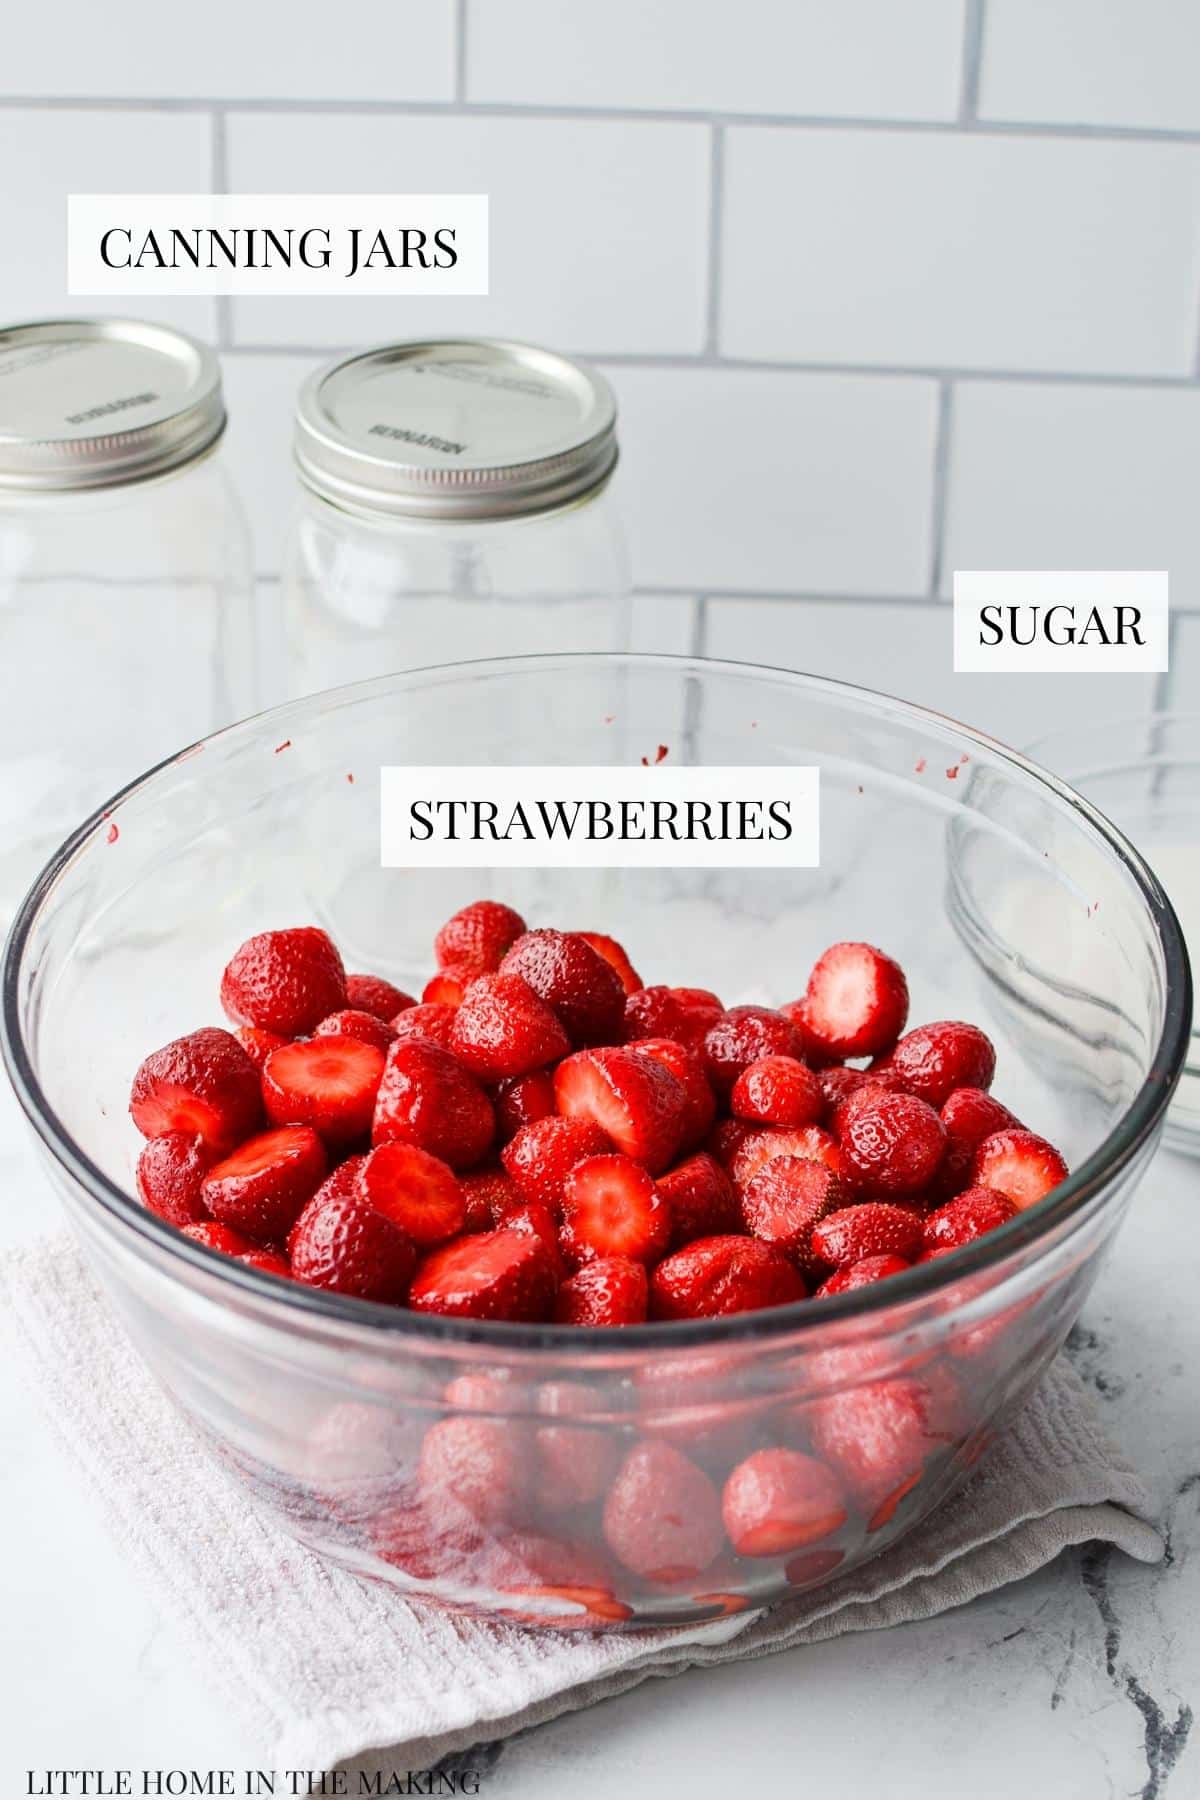
Ingredients
- Strawberries: Seek out fresh, seasonal berries if possible! I used some from our trip to the U-pick, but you can use a good quality store bought strawberry if that is what you have access to.
- Sugar: Either standard or organic granulated cane sugar works best for this recipe. Since sugar is a primary means of preservation, I wouldn't recommend using juice in its place or cut the sugar below the recommended amount. The sugar will help maintain both the color and texture during heat processing.
Equipment and Tools
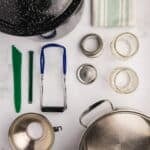
- Canning jars: You'll need either 8 pint jars (500ml/16oz) or 4 quart jars (1L/32oz) to make the recipe. You can cut the recipe in half if you want to make a small batch.
- Canning lids and rings: You can reuse canning rings as long as they are in good shape, but you will need new canning lids. If you purchased your canning jars new, they should come with both lids and rings to use.
- Water bath canner: I like to use my Presto pressure canner as a water bath canner to save space, but you can pick up a standard Graniteware one at your local hardware store or big box store if you're new to canning.
- Jar lifter: This helps lift the jars safely out of the canner. Many kits come with one, but I like the one from Progressive best, which comes on its own OR in a kit with a funnel and magnetic lid lifter.
- Magnetic lid lifter: This allows you to lift your canning lids out of simmering water without touching them. Super handy and easy to use!
How to Can Strawberries in Syrup
To get started, prepare your strawberries by hulling them. I like to use a paring knife and just take the whole top off with the leafy parts. This is much easier than using a huller, and I don't mind the small amount of waste.
Add your prepared strawberries to a very large bowl OR a stainless pot that is not too large to fit in your fridge.
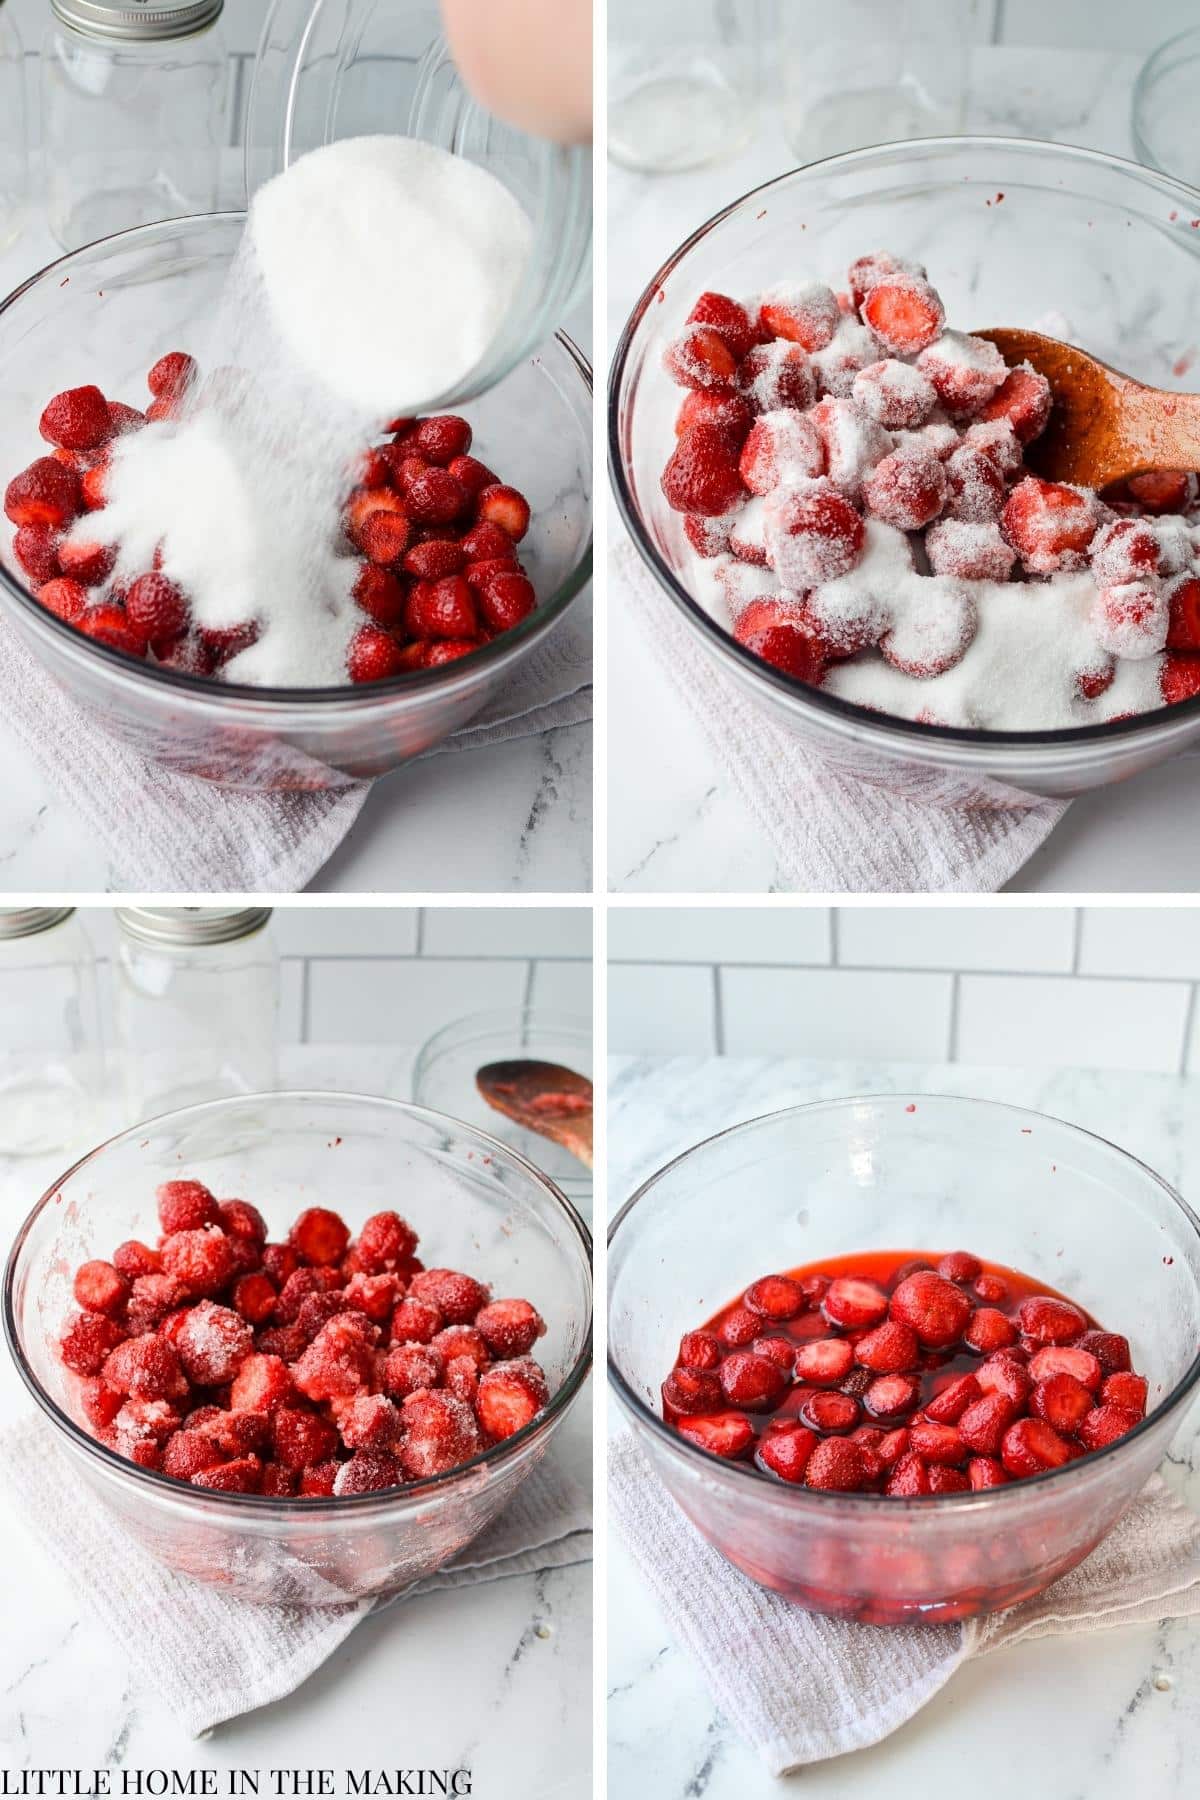
Add in the sugar, and stir until all of the strawberries are well coated with the sugar mixture.
Resting Your Strawberries
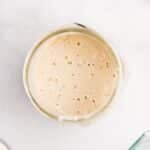
Add a lid or wrap your bowl tightly with plastic wrap. Place in the fridge and chill for at least 5-6 hours. If you need to leave them overnight to can in the morning, that's okay too! Just don't exceed 10 hours, as they will be very mushy after that point.
Preparing the Jars, Lids and Rings:
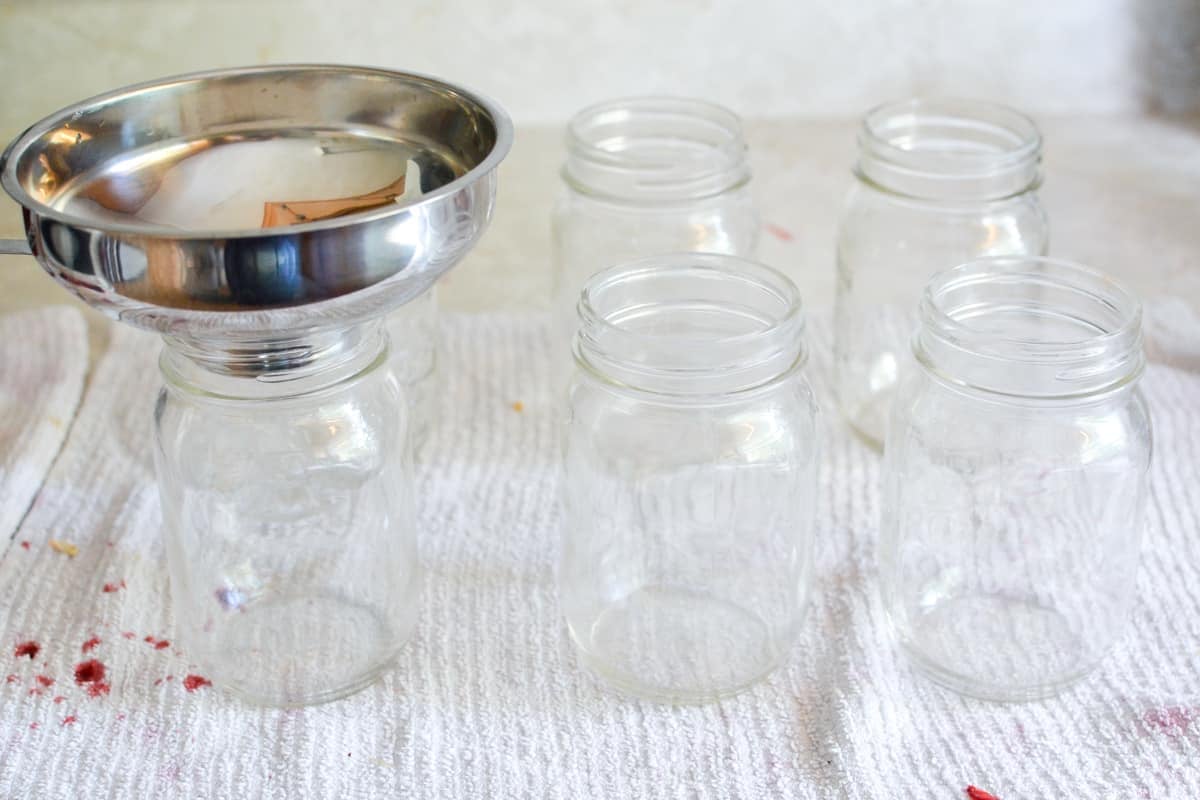
- Prepare your jars, rids, and lids by washing them in hot soapy water.
- Rinse well and dry completely.
- Clean any tools you'll be using like a jar lifter, headspace checker, magnetic lid lifter, etc. Sterilize if needed.
- Fill your canner (with the canning rack in place) with water and bring to a boil.
- Lower the jars into the canning rack, and allow to fill with hot water.
- Place the lid on and boil for 5-10 minutes.
- Turn the canner off, keeping your jars submerged in the warm water.
- Leave them there until you're ready to start filling them with the hot strawberries and syrup.
- Bring a small saucepan of water to a simmer, and add in the canning jar lids that you will be using. Maintain it at a very gentle simmer while you prepare the strawberries.
Preparing the Strawberries for Canning
Transfer the bowl of syrupy strawberries to a large pot. Or, if your strawberries were already in a pot, wipe down the exterior to remove condensation and add to a heating element on your stove.
Heat the strawberries over medium-low heat, stirring occasionally until the sugar is fully dissolved and both the resulting syrup and strawberries are heated through.
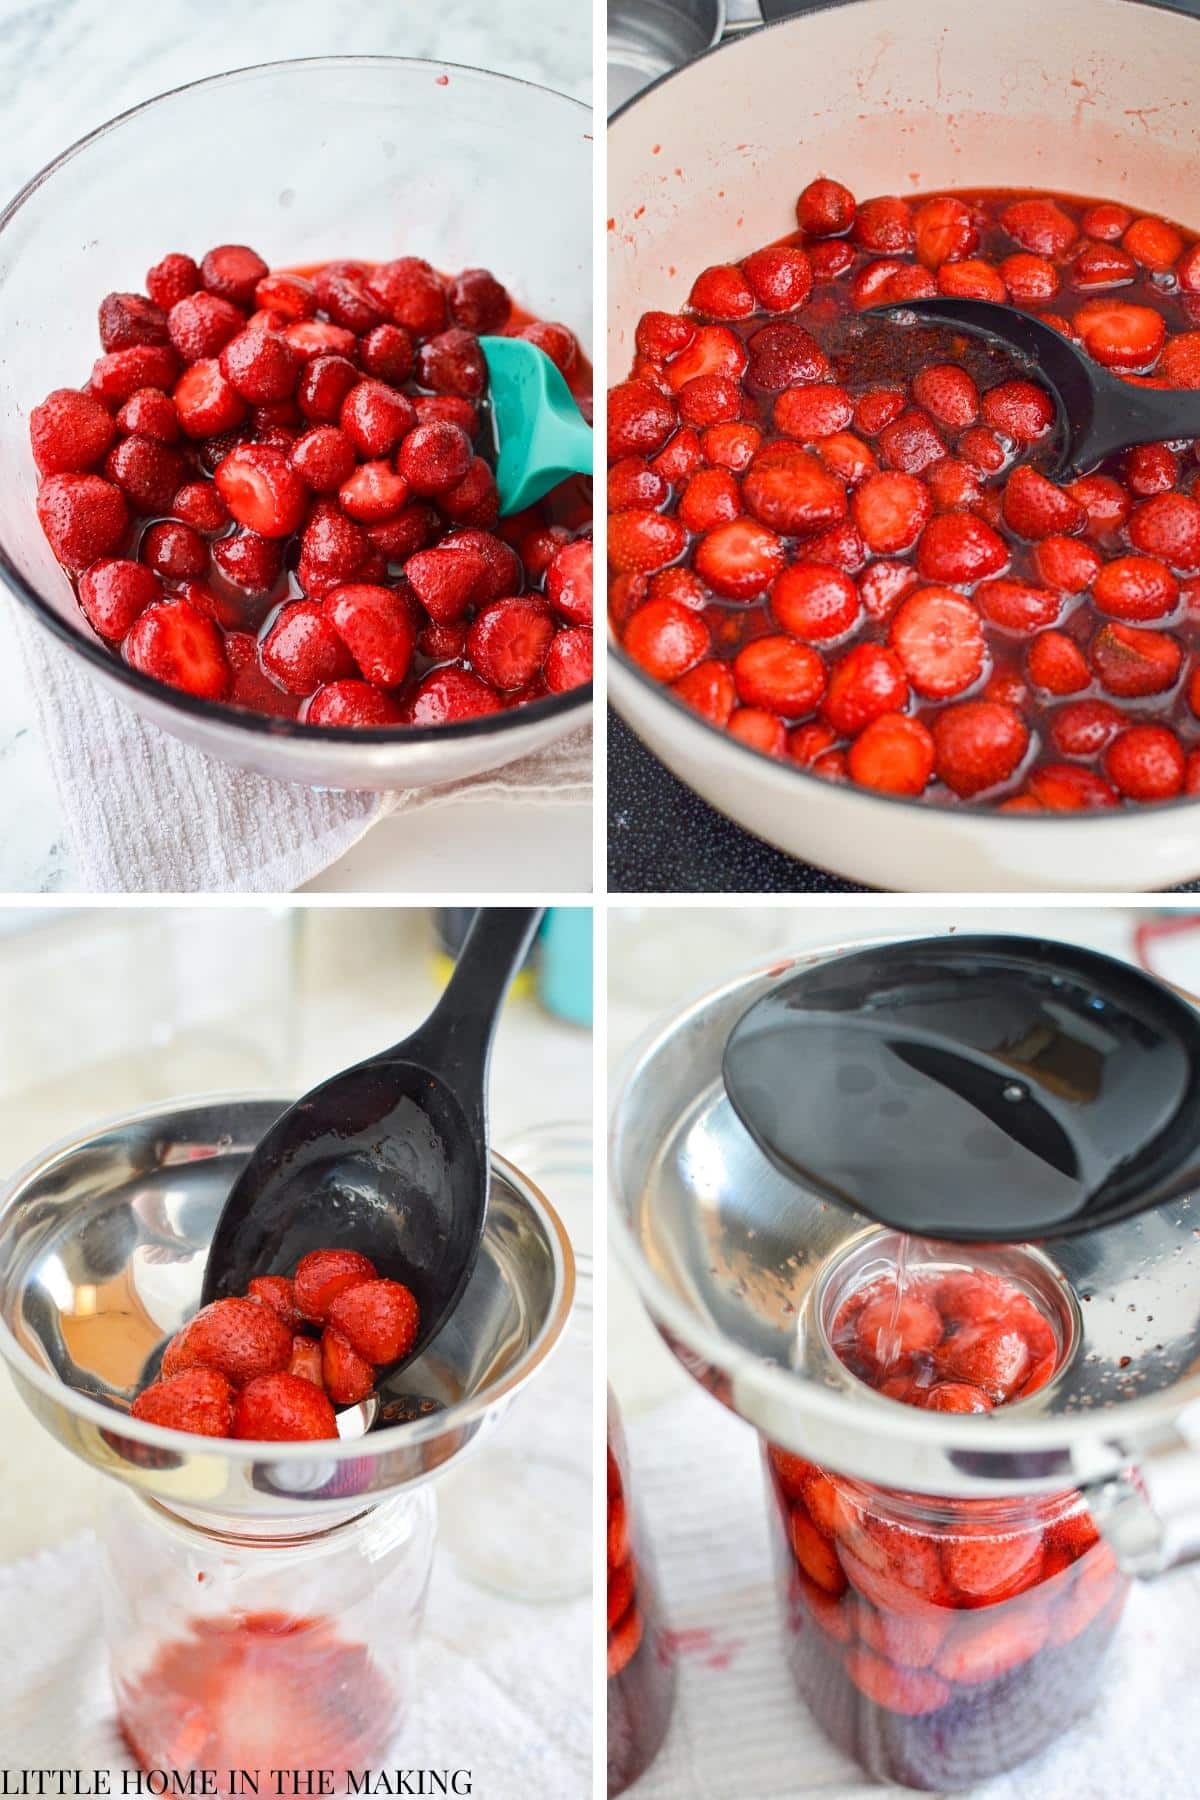
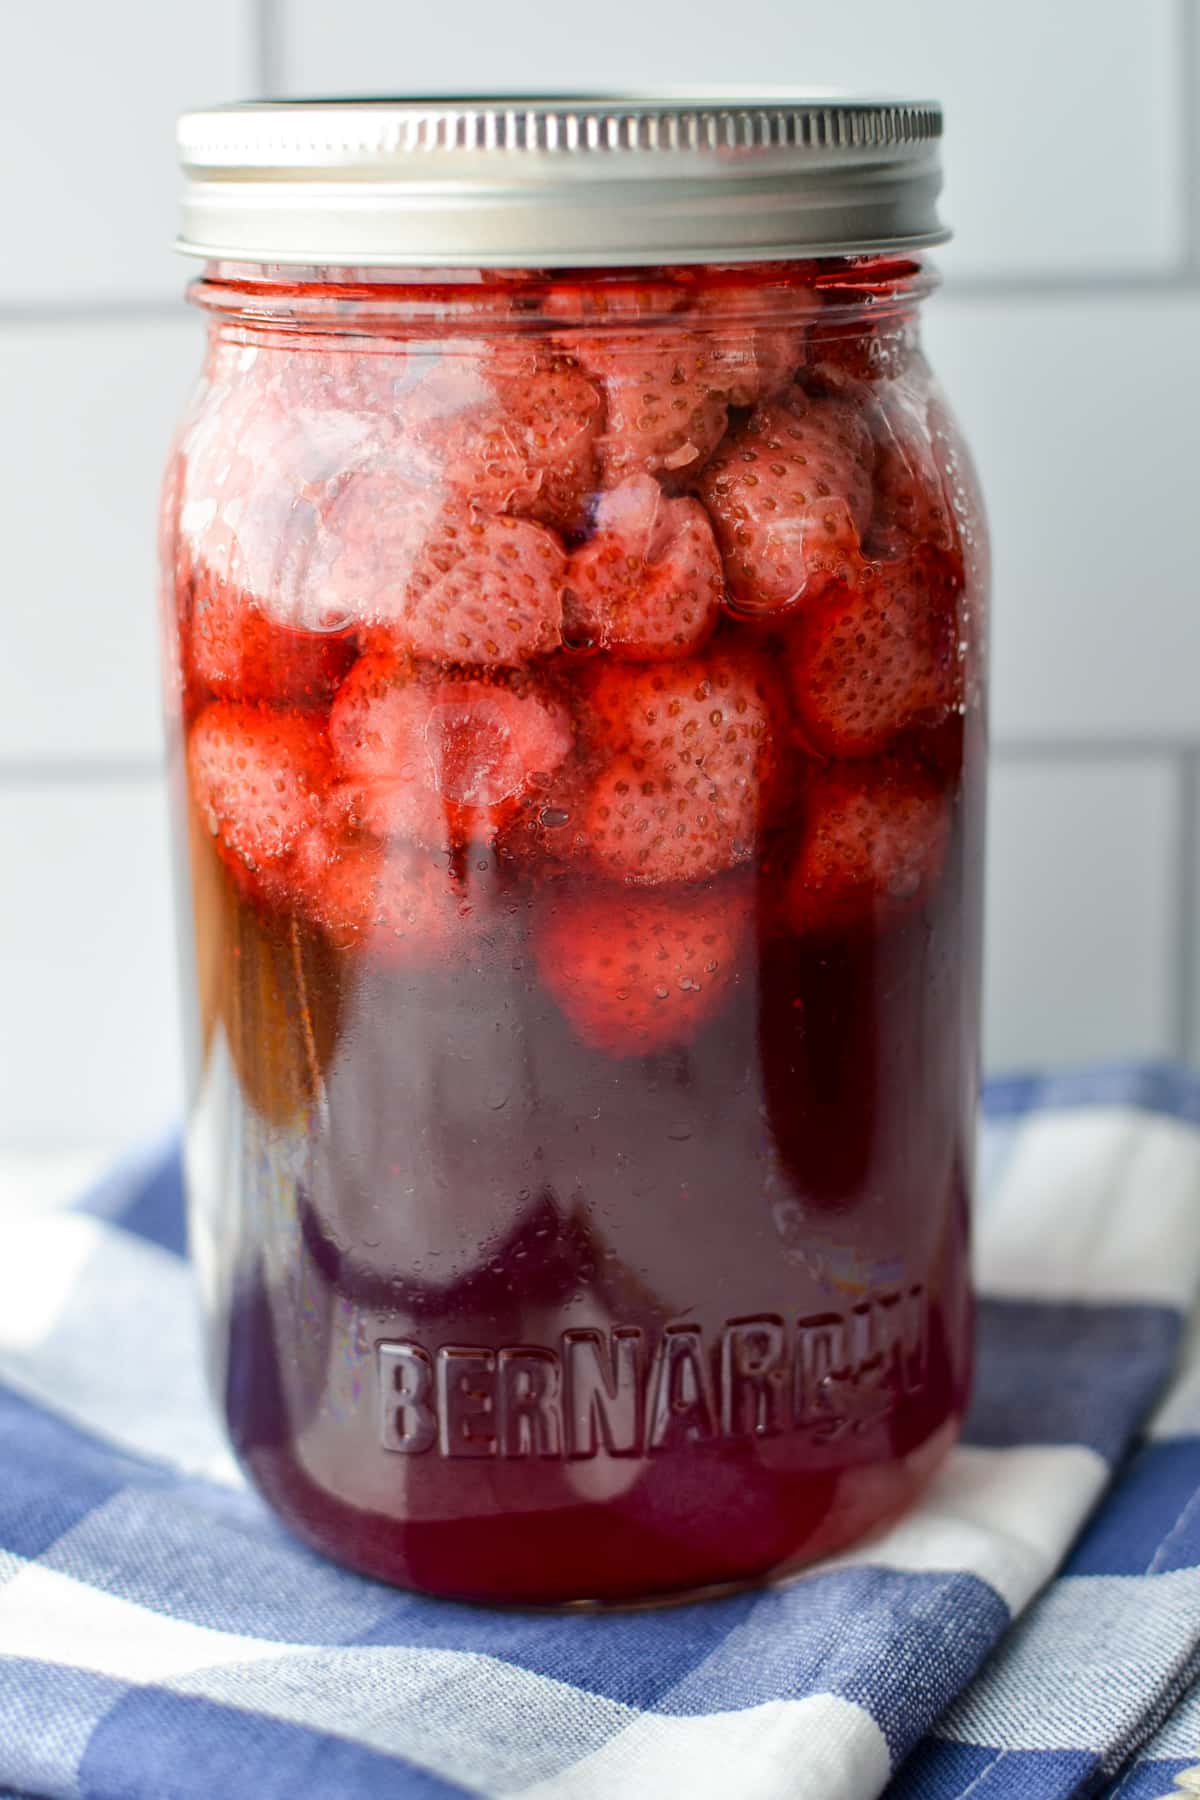
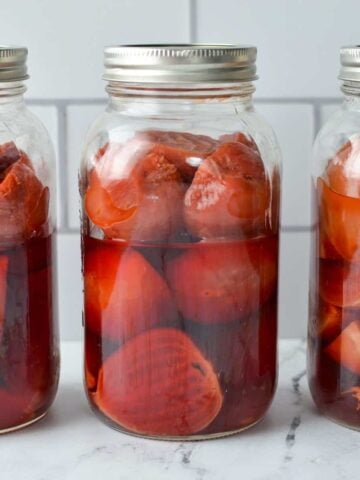
Ladle the hot strawberries and syrup into your jars, leaving ½” of headspace. Make sure to evenly distribute the whole strawberries as much as possible, but there will be much more syrup than strawberries in each jar in most cases.
If you do not have enough liquid to reach a ½” headspace, prepare a medium syrup and pour into the jar until you reach a ½” headspace.
How to Make a Medium Syrup for Topping Off
Ingredients:
- 2 ½ cups water
- 3 ½ cups sugar
Add the sugar and water to a medium sized saucepan and bring to a boil, whisking constantly to dissolve the sugar. Once the liquid is clear with no sugar crystals present, and it is fully heated through, it can be added to the jars to bring the liquid up to the required headspace.
Sealing and Processing the Jars
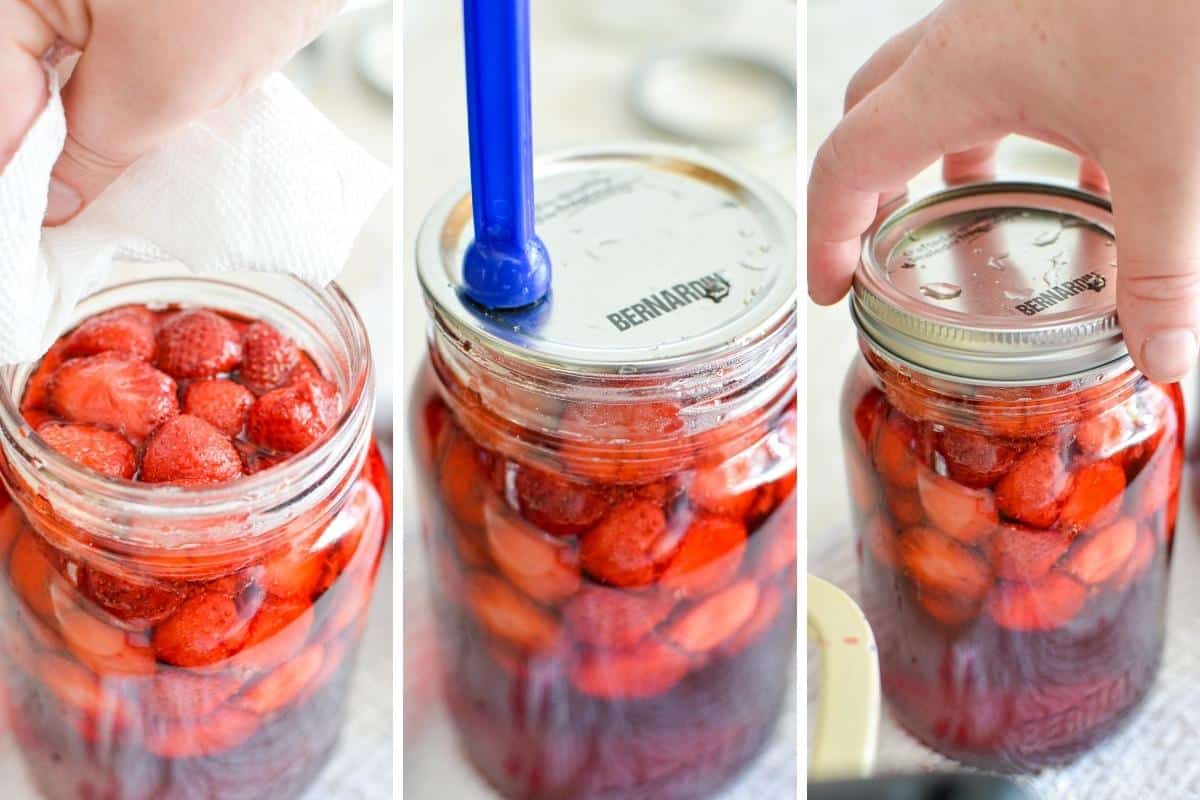
- Wipe the rim of your jars with a clean towel or paper towel.
- Use the magnetic lid lifter to place a lid on each cleaned jar.
- Add a jar ring and tighten just until fingertip tight. If it is too tight, your jars will not be able to let out excess oxygen and they are less likely to seal.
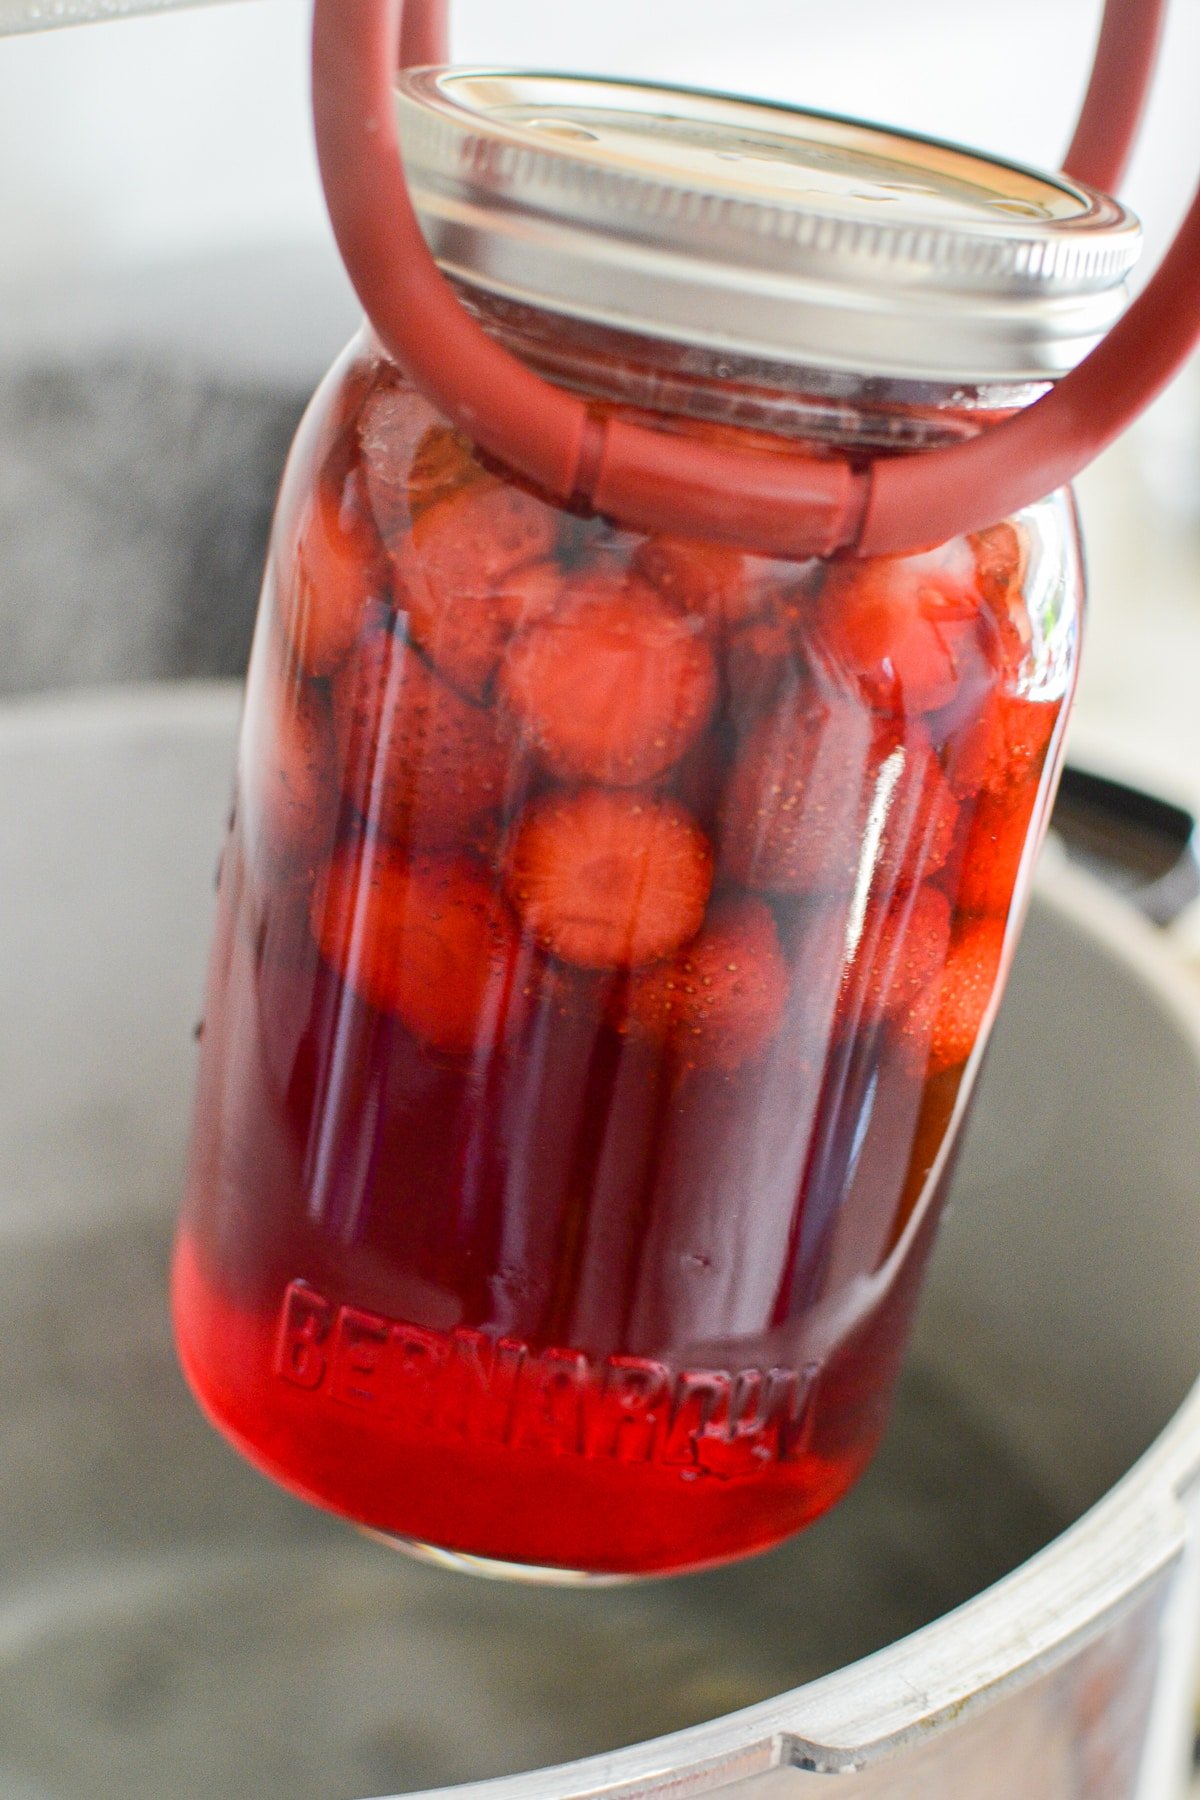
- Transfer the jars to the water bath canner with a jar lifter. The water should cover the jars by 1-2”. If it doesn’t, boil some additional water and add it to the canner until the jars have the required amount of coverage.
Processing Time
Bring the canner to a rolling boil with the lid in place. Once a boil has been reached, start your processing time.
- Process pint jars (500ml/16oz) for 10 minutes, and quart jars (1L/32oz) for 15 minutes.
- Once the processing time is up, turn off the heat and remove the canner from the heat source. Allow to cool for 5 minutes.
- Once your canned has cooled for 5 minutes, remove the lid carefully away from your face, and use the jar lifter to remove the jars.
- Place the jars on a cooling rack or on a double layer of clean towels. Place them somewhere where they can rest undisturbed for 24 hours.
Checking the Seals
- After a few minutes, you may start to hear a loud "pop" coming from your jars. This is the sound of them sealing. Typically, the jars will seal within an hour, but you may have some that take longer.
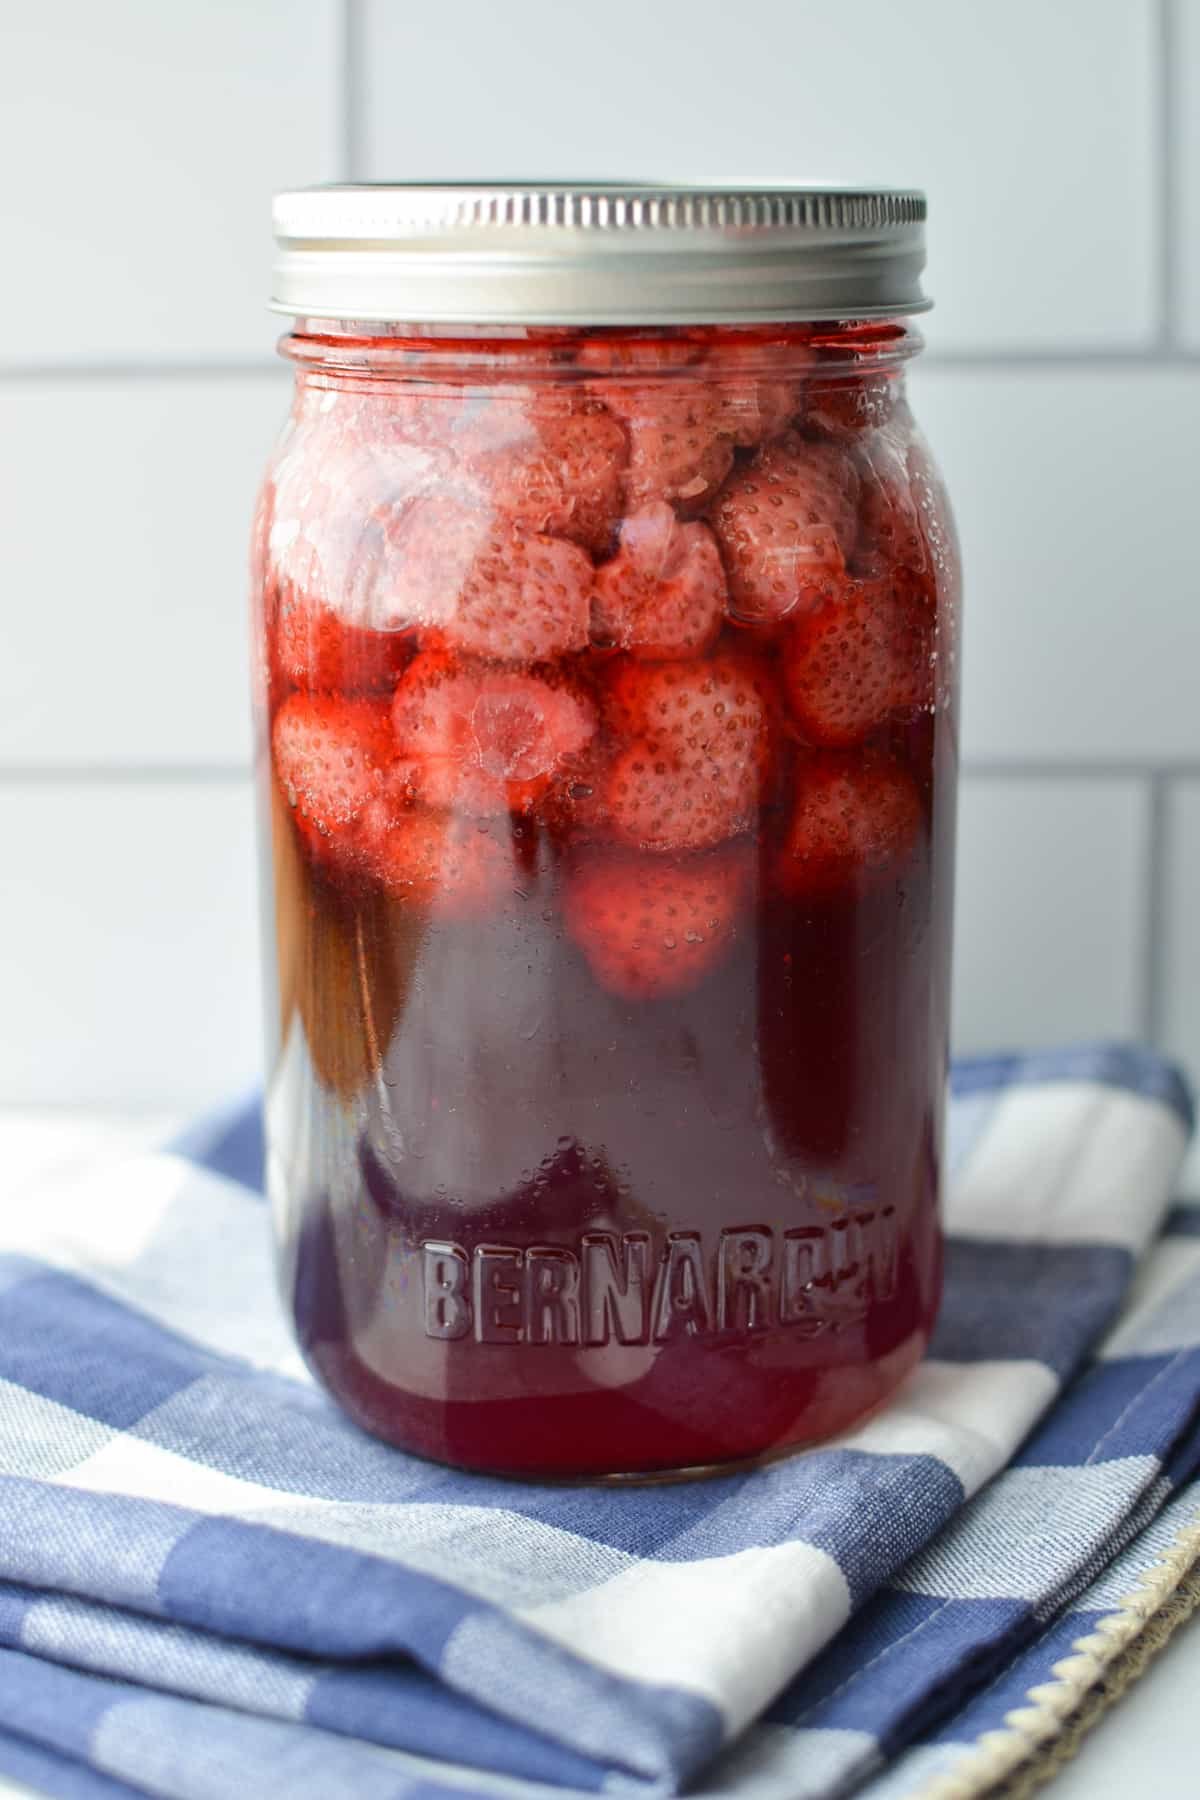
- Leave your jars undisturbed for 24 hours before removing the rings, cleaning them, and adding the sealed jars to storage. Don't forget to label them as “Strawberries in Syrup”, as well as the preservation date.
- Any jars that don’t seal should be added to the fridge and used within 1-2 weeks.
What if my strawberries don't fill the jars all the way?
If your strawberries and residual syrup don't fill the jars up to the required headspace (½"), you may prepare a small batch of medium syrup by combining water and sugar, and heating it through until syrupy and hot. Then, pour in the syrup until each jar reaches the required headspace.
You can find the specific measurements for the medium syrup above in the step-by-step instructions OR in the notes section of the recipe card.
Expert Canning Tips
- Water coverage: Make sure your jars are submerged under at least 1-2″ of water once they are placed in the canner.
- Processing time: Don’t start the processing time until the canner (with the processing jars inside) comes back up to a rolling boil. Then place the lid on and begin the processing time.
- Use a lid: For both bringing the canner to a boil and processing the jars, it is recommended to use a lid. This prevents evaporation of water AND maintains a high heat for processing.
- Allow the canner to cool: For the best chance at your jars sealing, I recommend turning the stove off and removing the canner from the heating element. Allow the jars to rest for 5 minutes before removing them from the canner to a cooling rack.
- Don’t touch for 24 hours: After your jars have been removed from the canner, place them on a towel or cooling rack in an area where they will be undisturbed for 24 hours. Do not turn them upside down or shake them during this time.
- Check the seals: Within the first 10 minutes or so of removing your jars from the canner, you should start to hear a “ping” or “pop” noise. When you gently press on the center of the lid, it should be firm and flat or slightly concave. If it still is convex, your jar has not sealed yet. Any jars that have not sealed after the first 5-6 hours should be moved to the fridge and used within the next 1-2 months. With low risk foods like fruits and pickles, it’s pretty rare to have more than 1 jar not seal.
- Remove the rings: Before you label and store your jars, remember to remove the outer ring. Leaving the outer ring on can cause the jar to appear sealed when it is not. It can also cause rust, so removing the ring is the best practice for safety and quality.
Ways to Use Canned Strawberries
- On ice cream
- To make strawberry lemonade
- Thickened with cornstarch or arrowroot powder to make a topping or syrup.
- With pancakes or waffles
- Served with yogurt
- Strained and used in your favorite dessert recipes
Canning Without Sugar
While it is possible to can fruits without sugar (for example in water or in grape juice), generally sugar provides a better preservation than water or juice alone. That is because sugar acts as a preservation method, helping the fruit to retain more color and hold a firmer texture.
Fruit that has been preserved in water tends to be light in color and mushy in texture when compared to that preserved in sugar. Although I try to avoid excess sugar, I do use granulated cane sugar in my canning for the best quality possible. Opt for organic cane sugar if that is what you prefer. When you prepare the fruit, you can reduce the sugar by discarding the syrup and gently rinsing the fruit under cool filtered water.
FAQ's
Yes, strawberries can be processed via canning! It's very easy to make a strawberry jam and can it via water bath canning, but you can also can whole strawberries in syrup if you're looking for a simple and straight forward way of preserving strawberries. You need just 2 ingredients, and it's a fairly hands off method of preparing and preserving strawberries for enjoying in the Winter months.
There are many ways to preserve strawberries. Canning, freezing, dehydrating, and freeze drying are some common methods. The best method really depends on your goals and what your particular situation is. If you have frequent power outages, freezing may not be a good option for you. Instead, you could try canning strawberries or dehydrating them and storing in bags with oxygen absorbers.
Homemade canned strawberries last for at least 18 months, but can last for a longer period of time. As long the seal is in good condition and the food shows no sign of spoilage, you can keep home canned strawberries for several years. Note that the quality will degrade after one year, but home canned foods are good for several years as long as the seal is maintained.
If you are canning your strawberries whole in syrup, you process pints for 10 minutes in a water bath canner, or 15 minutes for quarts. Don't start the processing time until the canner is at a full rolling boil with the jars inside. Then, cover with a lid and beginning the processing time from there.
More Recipes for Canning Strawberries
- Old Fashioned Strawberry Jam (without Pectin)
- Low Sugar Strawberry Jam
- Strawberry Rhubarb Jam - Simply Canning
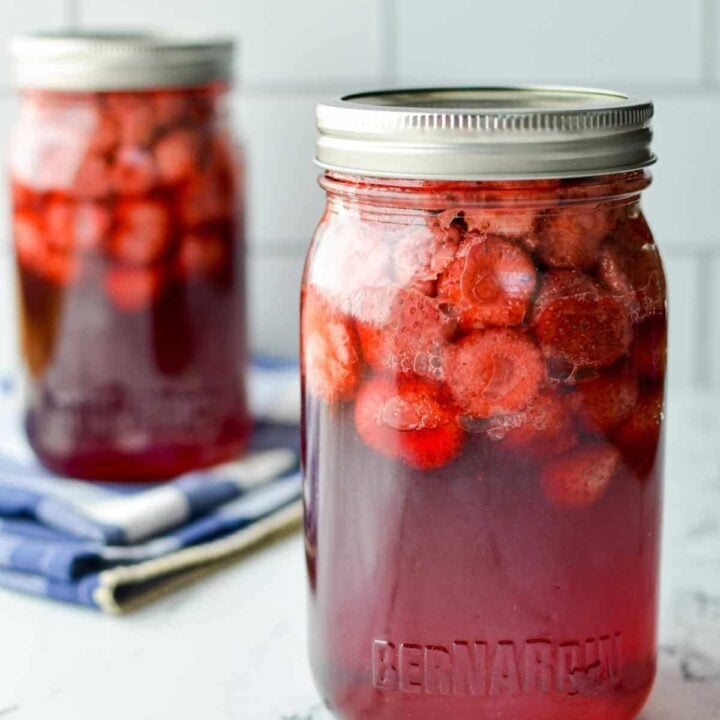
Canning Strawberries (in Syrup)
Ingredients
- 16 cups hulled strawberries, left whole
- 2-3 cups granulated sugar
- Additional medium syrup, if needed (see notes)
Instructions
- Add your hulled strawberries to a large glass bowl, OR a stainless steel saucepan that is not too large to fit in your fridge.
- Add 2-3 cups of sugar, as desired. More sugar will give you a bit more liquid to work with, and will have a sweeter result. You can use just 2 cups of sugar if you prefer to not use as much sugar. I wouldn’t recommend using less than that amount of sugar though, as the sugar is one the main means of preservation.
- Stir the sugar into the strawberries, until much of it has dissolved. Cover your bowl or pot tightly with a lid or plastic wrap and place in your fridge for at 5-6 hours. If you have to, you can leave it as long as overnight and do your canning in the morning.
- After the strawberries and sugar have rested for at least 5 hours, add your strawberries to a large pot OR place the pot on the heating element.
- Prepare your jars, rids, and lids by washing them in hot soapy water. Rinse well and dry completely. Clean any tools you'll be using like a jar lifter, headspace checker, magnetic lid lifter, etc. Sterilize if needed.
- Fill your canner (with the canning rack in place) with water and bring to a boil. Lower the jars into the canning rack, and allow to fill with hot water. Place the lid on and boil for 5-10 minutes. Turn the canner off, keeping your jars submerged in the warm water. Leave them there until you're ready to start filling them with the hot strawberries and syrup.
- Bring a small saucepan of water to a simmer, and add in the canning jar lids that you will be using. Maintain it at a very gentle simmer while you prepare the strawberries.
- Heat the strawberries over medium-low heat, stirring occasionally until the sugar is fully dissolved and both the resulting syrup and strawberries are heated through.
- Ladle the hot strawberries and syrup into your jars, leaving ½” of headspace. Make sure to evenly distribute the whole strawberries as much as possible, but there will be much more syrup than strawberries in each jar in most cases. If you do not have enough liquid to reach a ½” headspace, prepare a medium syrup* (see notes) and pour into the jar until you reach a ½” headspace.
- Wipe the rim of your jars with a clean towel or paper towel, and use the magnetic lid lifter to place a lid on each cleaned jar. Add a jar ring and tighten just until fingertip tight.
- Place the jars into the water bath canner with a jar lifter. The water should cover the jars by 1-2”. If it doesn’t, boil some water and add it to the canner.
- Bring the canner to a rolling boil with the lid in place. Once a boil has been reached, start your processing time.
- Process pint jars (500ml/16oz) for 10 minutes, and quart jars (1L/32oz) for 15 minutes. Make sure to leave the lid on the canner during the processing time.
- Once the processing time is up, turn off the heat and remove the canner from the heat source. Allow to cool for 5 minutes.
- Once your canner has cooled for 5 minutes, remove the lid carefully away from your face, and use the jar lifter to remove the jars.
- Place the jars on a cooling rack or on a double layer of clean towels. Place them somewhere where they can rest undisturbed for 24 hours.
- After a few minutes, you may start to hear a loud "pop" coming from your jars. This is the sound of them sealing. Typically, the jars will seal within an hour, but you may have some that take longer.
- Leave your jars undisturbed for 24 hours before removing the rings, cleaning them, and adding the sealed jars to storage. Don't forget to label them as “Strawberries in Syrup”, as well as the preservation date.
- Any jars that don’t seal should be added to the fridge and used within 1-2 weeks.
Notes
Adapted From: Ball Complete Book of Home Preserving
Medium syrup recipe:
2 ½ cups water
3 ½ cups sugar
Add the sugar and water to a medium sized saucepan and bring to a boil, whisking constantly to dissolve the sugar. Once the liquid is clear with no sugar crystals present, and it is fully heated through, it can be added to the jars to bring the liquid up to the required headspace.
Using canned strawberries: Once you’ve preserved and stored your strawberries, you may be wondering how you can use them. They work very well drained and added to your favorite foods like yogurt, ice cream, and simple dessert preparations. The syrup can be reserved and thickened with cornstarch or arrowroot powder to create a strawberry syrup for pancakes, waffles, ice cream etc.
Nutrition Information:
Yield: 16 Serving Size: 1Amount Per Serving: Calories: 360Total Fat: 1gSaturated Fat: 0gTrans Fat: 0gUnsaturated Fat: 0gCholesterol: 0mgSodium: 6mgCarbohydrates: 92gFiber: 3gSugar: 86gProtein: 1g
Nutrition information is an estimate only.
Please note that some of my blog posts here at Little Home in the Making may contain affiliate links. If you make a purchase through these links, I will get a small commission at no additional cost to you. Please see my Disclaimer for more information.













Leave a Reply