


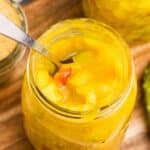


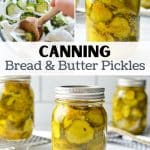


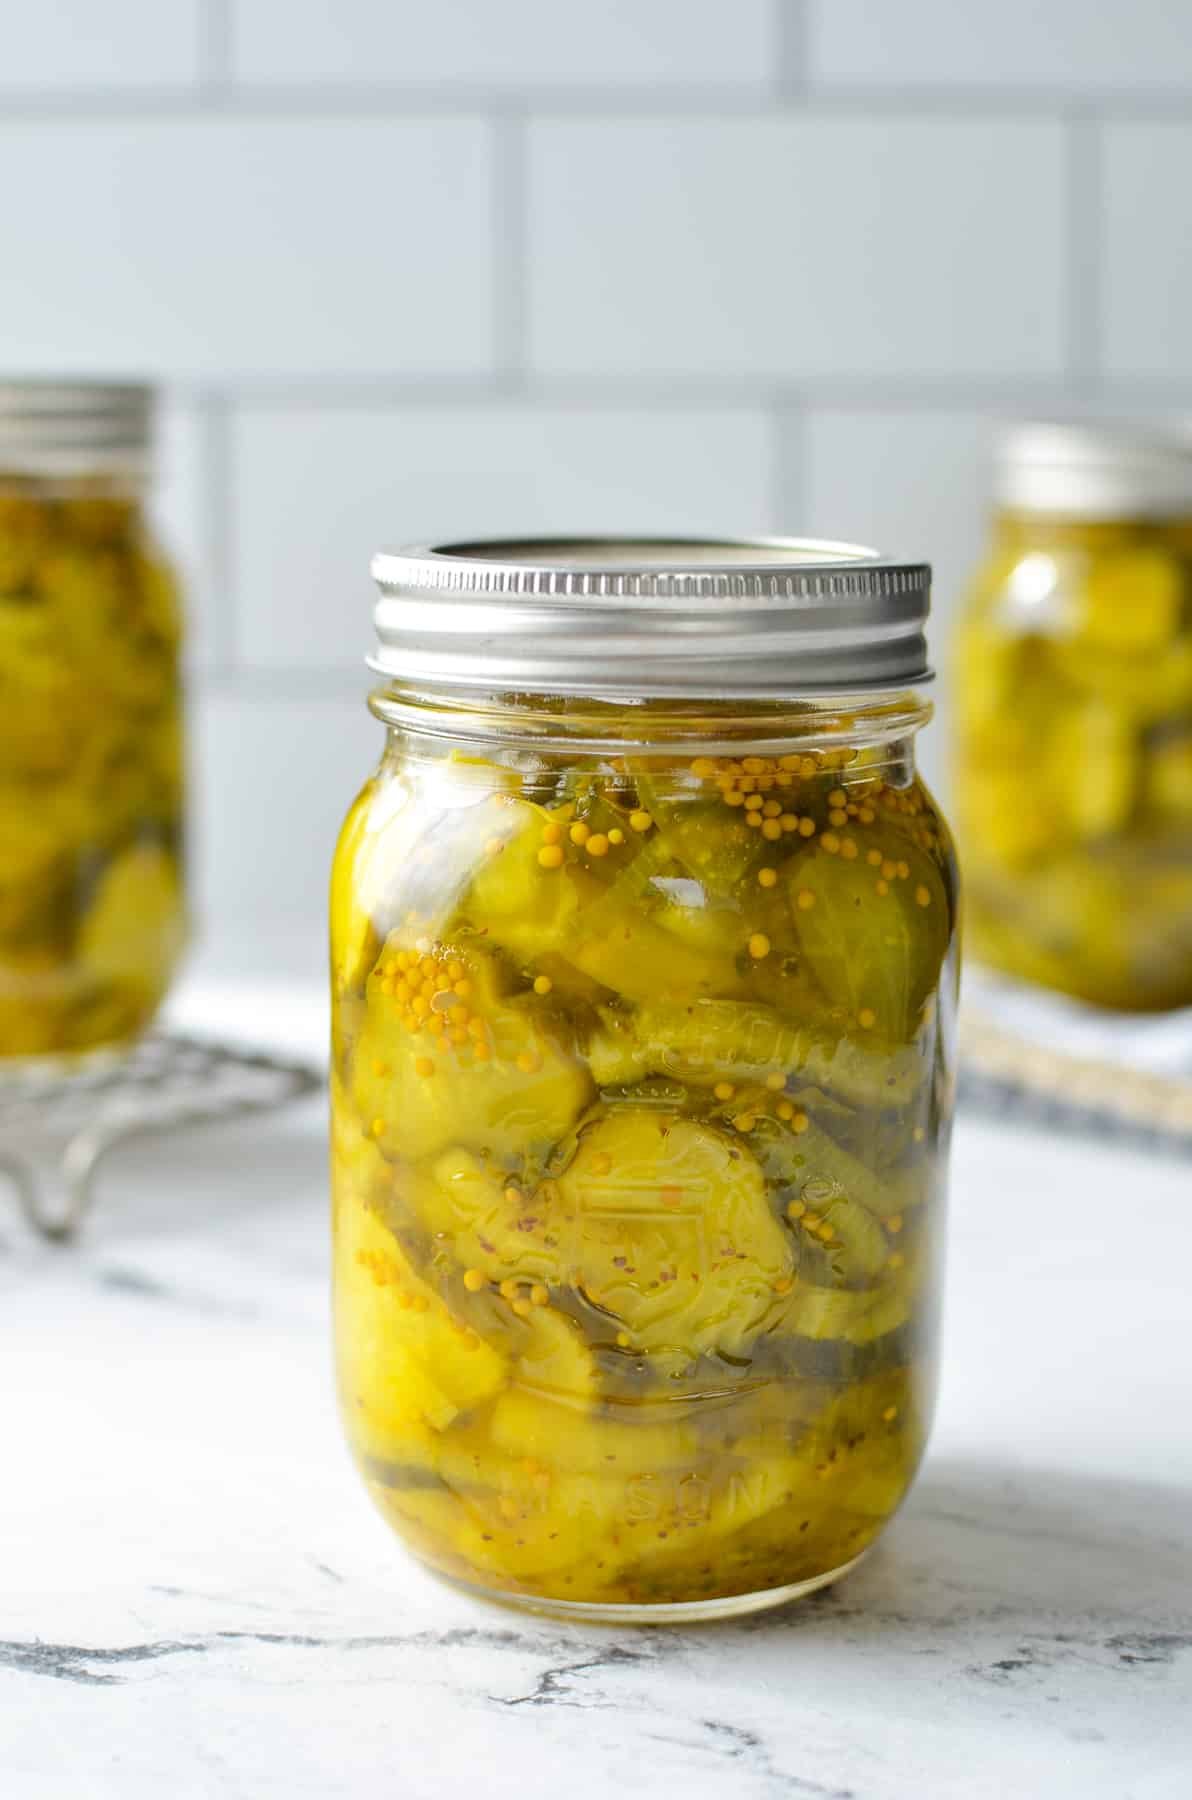
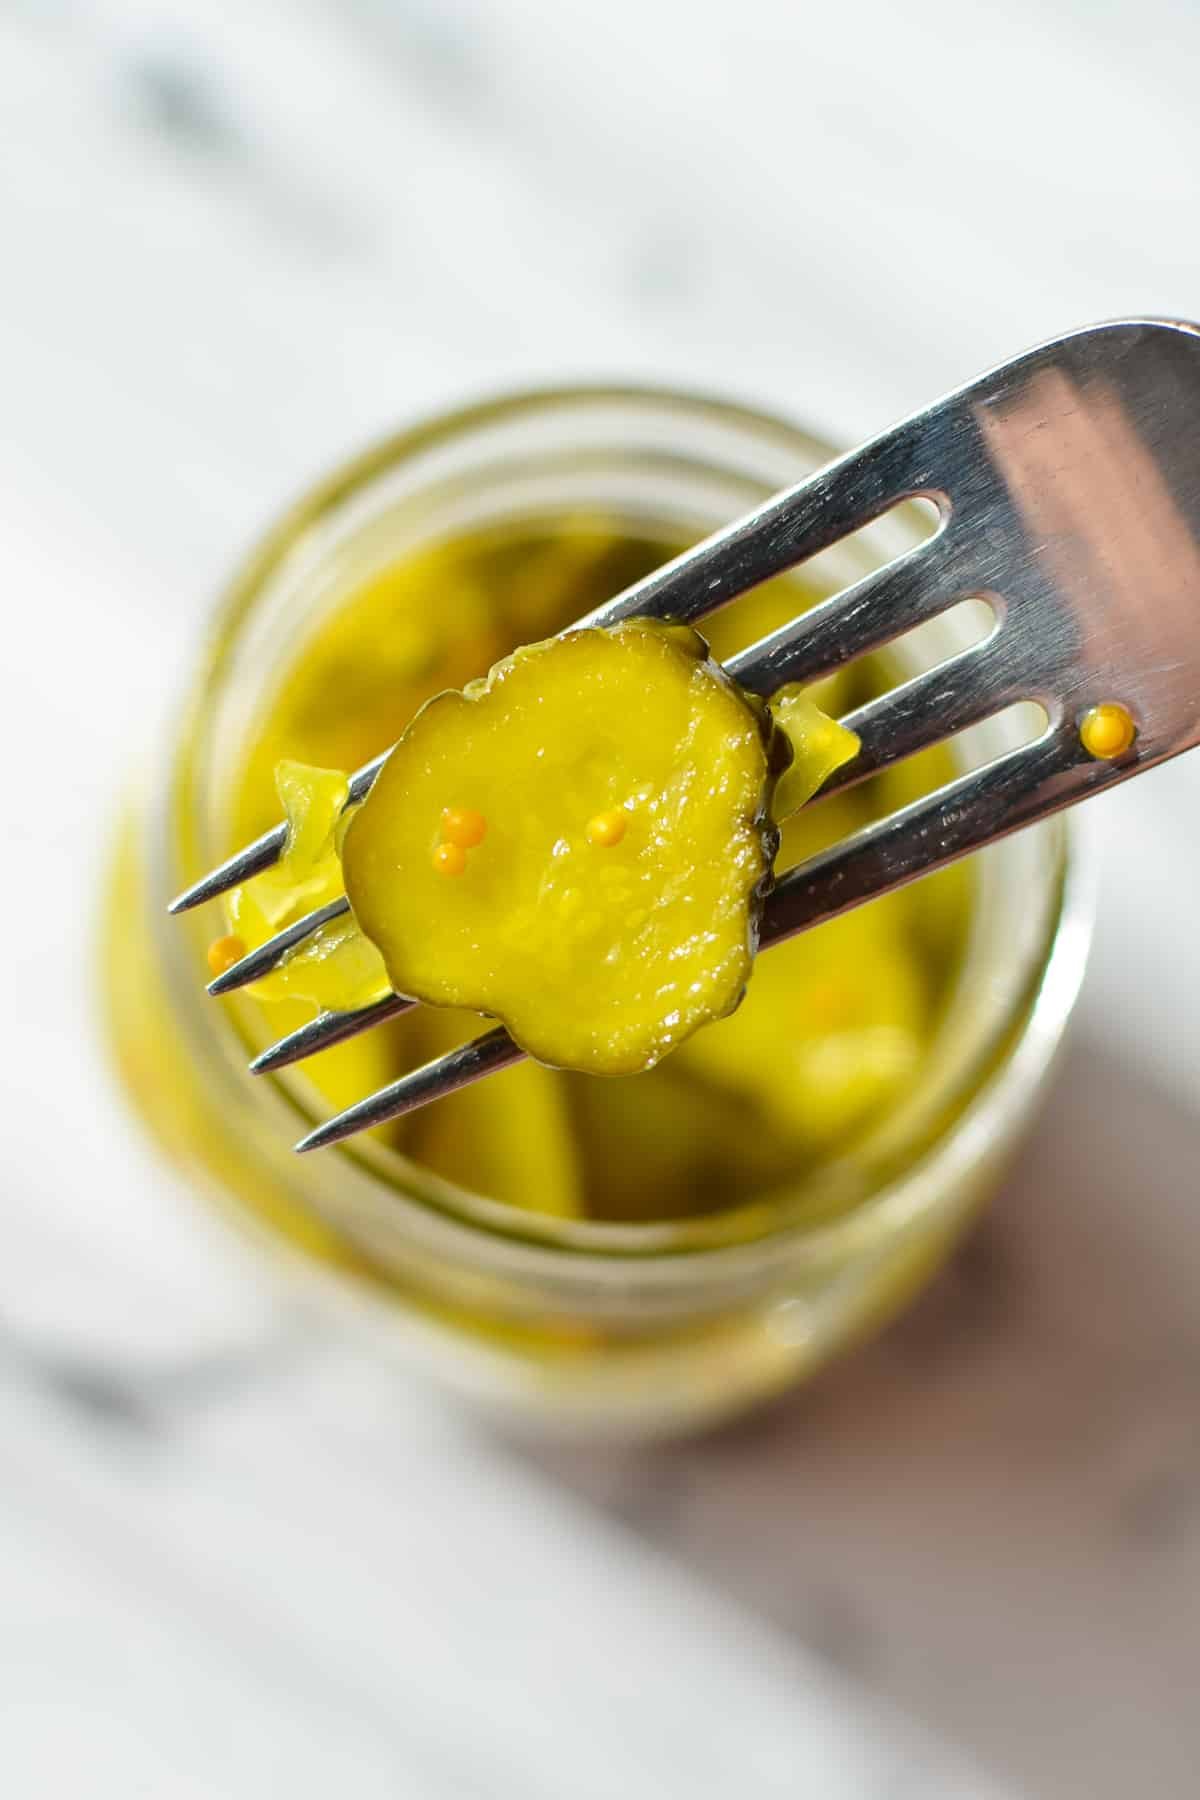
This easy old fashioned recipe for canning bread and butter pickles is perfect for beginners and experts alike. A sweet and sour pickle that can easily be canned for extended storage, or made into a batch of delicious refrigerator pickles. This is one preserve you'll want to make year after year!
I've been canning for over a decade now, and I have a few options that I make almost every single year. I've been making these old fashioned bread and butter pickles for as long as I've been canning, and they are a regular feature during harvest season and when serving meals throughout the Fall and Winter months.
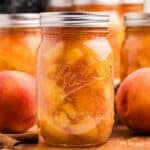
I really fell in love with this recipe after I became a home gardener - that's because this recipe makes the best use of slightly overgrown and yellowed pickling cucumbers that were left on the vine. Not only do they taste great, they also help avoid waste all while adding to your food storage supply. What's not to love!?
This is my personal recipe that I've adapted over the years, all while staying within USDA recommendations (I've essentially increased the brine volume) to ensure it's safe to can. After canning for many years, I find it helpful to scale up the brine to adjust for any margin that can occur during the vegetable preparation.
Why You'll Love Canning Bread and Butter Pickles
- It's a great way to use large or overgrown pickling cucumbers - the long soak in salt reduces bitterness and the sweet brine offers the perfect balance of flavor.
- It tastes great with a variety of foods, making for the perfect dinner table pickle.
- It's easy to make with simple, everyday ingredients - no special purchases required.
- They keep for years in storage, making them a great part of your food preservation plan.
Ingredients
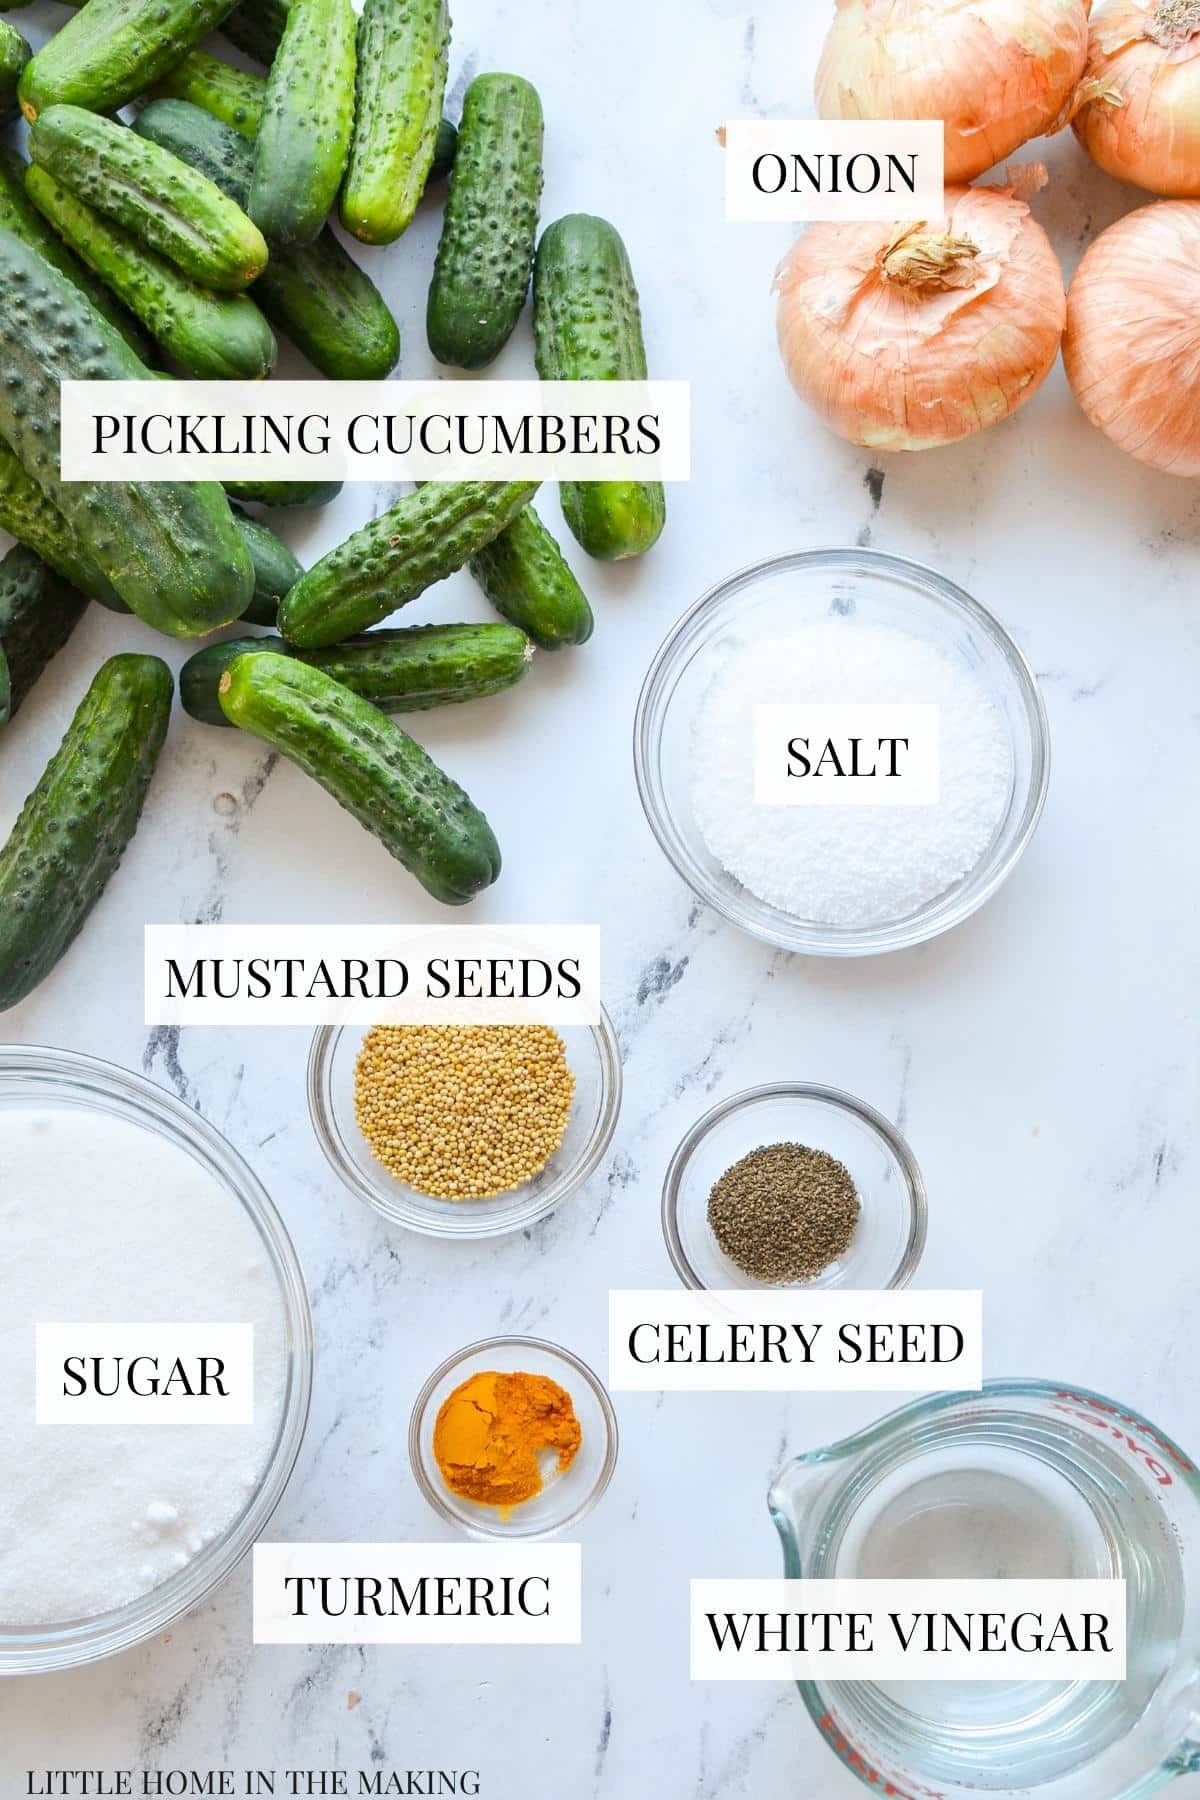
- Pickling cucumbers: These can be fresh from your garden, or you can pick them up at a local Farmer's Market. Also known as Kirby cucumbers, these are fairly easy to find during the mid-late Summer months.
- Onions: I used sweet Vidalia onions for this recipe because I had some to use up, but most of the time I use regular yellow cooking onions with great success.
- Vinegar: You'll need some white vinegar for this recipe, with at least 5% acidity but not exceeding 8%. This will be labeled as your typical "white vinegar" so no wild goose chase needed!
- Sugar: This is a sweet pickle, and so sugar is a staple ingredient. You can use organic cane sugar if preferred.
- Salt: Canning salt is preferred for this recipe to reduce the clouding. It is highly recommended, but you could use a kosher style salt instead in a pinch.
- Spices: You'll need whole mustard seed, celery seed, and turmeric for this easy canning recipe.
Equipment and Tools:
- Water bath canner: Including a rack to keep the jars off of the bottom. I use my Presto Pressure Canner as a water bath canner to save space in my kitchen.
- Wide mouth funnel: This makes adding larger slices of cucumber to a canning jar simple. I have a stainless one that I love because it is easy to sterilize.
- Canning tools: like a jar lifter, magnetic lid lifter, and headspace checker. These are optional, but make the canning process so much easier.
How to Make Bread and Butter Pickles
To get started you'll need to prep your cucumbers and onions. For the cucumbers you'll want to cut them into ¼" thick slices. If you are using overgrown cucumbers you may consider peeling them and scooping the center seeds out, but that depends on whether they have yellowed or not.
If using market purchased pickling cucumbers (like Kirby) or small garden pickling cucumbers, no worries about peeling - just go ahead and slice them after a quick washing.
Peel and slice your onion, also about ¼" thick, but the size isn't terribly important as long as they are thinly sliced.
Preparing the Cucumbers and Onions
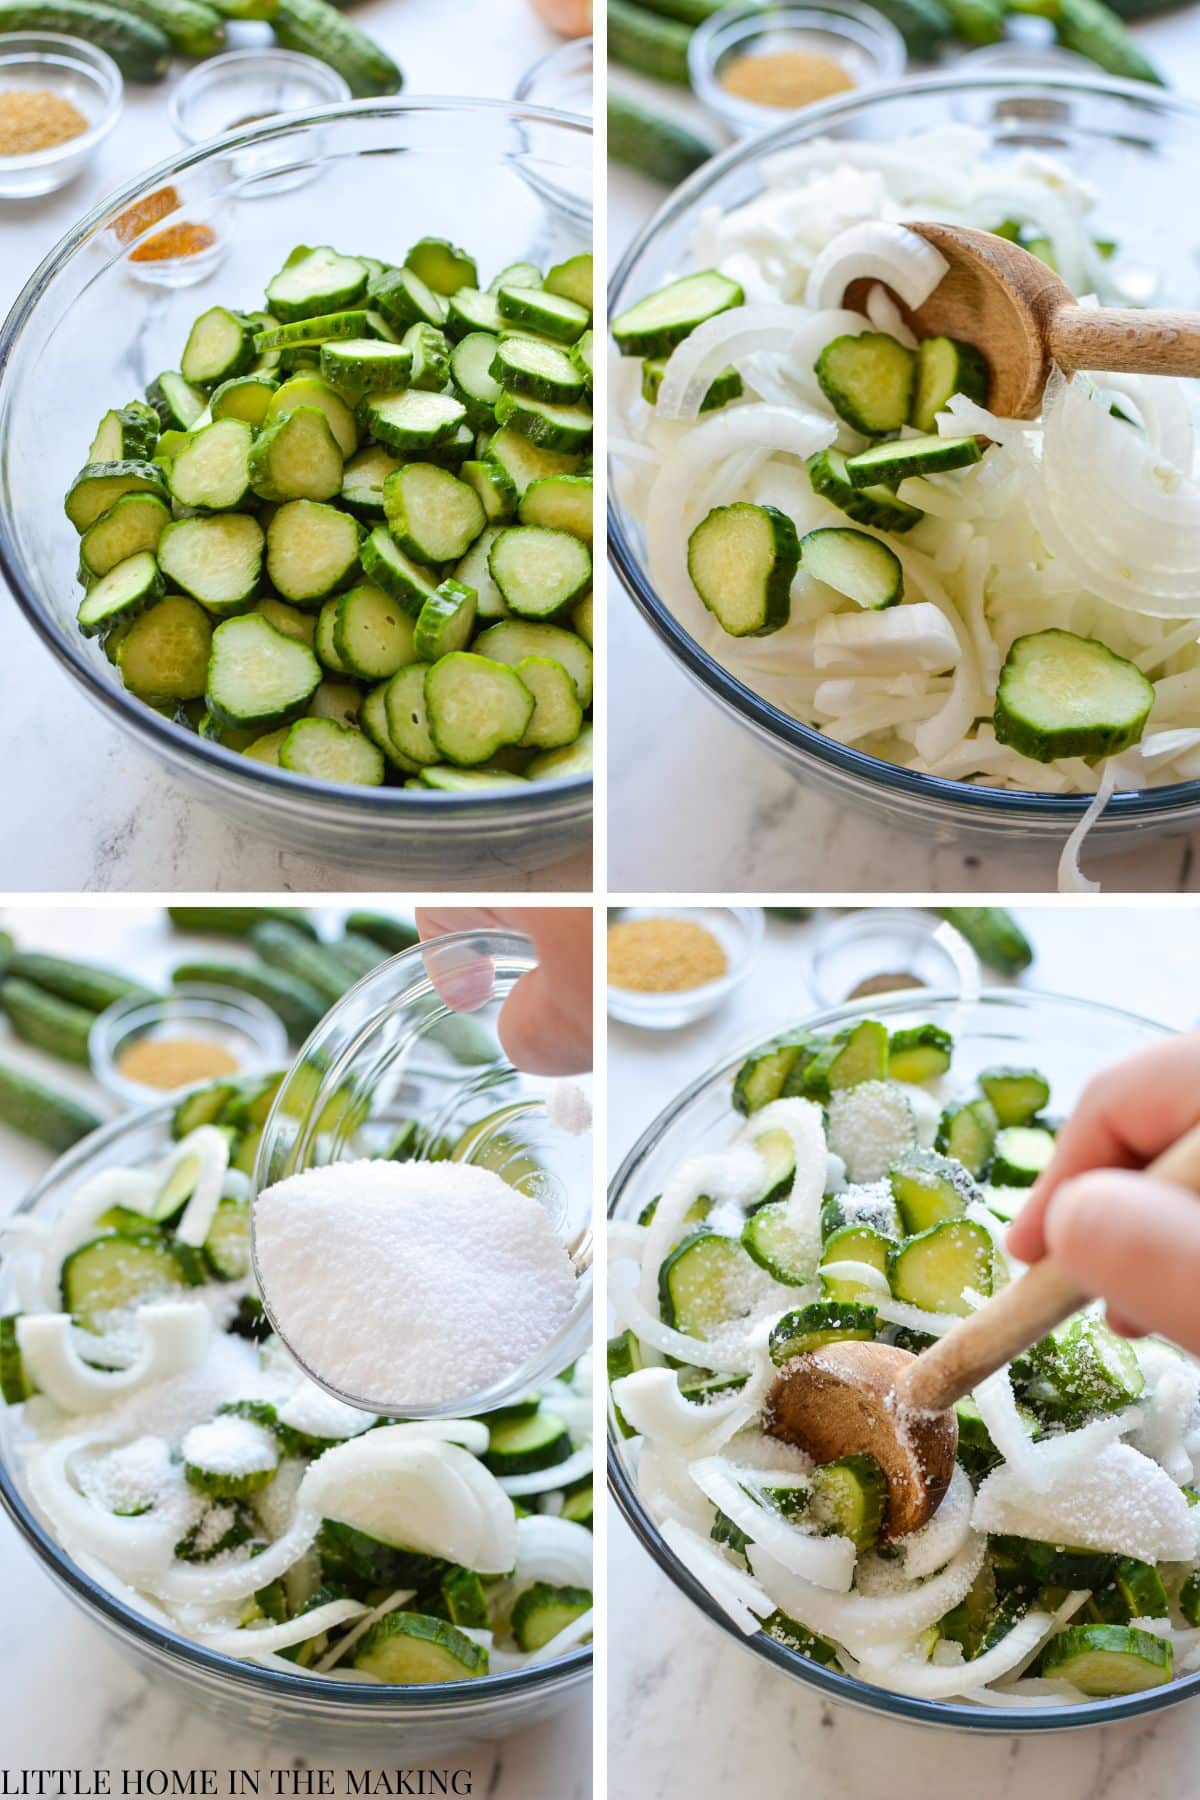
Add the sliced cucumbers and onions to a large bowl and stir them together until well combined.
Then, top the sliced vegetables with ½ cup of pickling or canning salt, and stir well to combine. Cover the bowl tightly and allow to rest at room temperature for 2 hours.
This salt soak helps remove any excess liquid from the cucumbers and reduces any bitterness that comes with overgrown cucumbers.
Preparing the Jars and Equipment for Canning
With about 45 minutes left before the time is up, you can start preparing your jars, lids, and canner for canning.
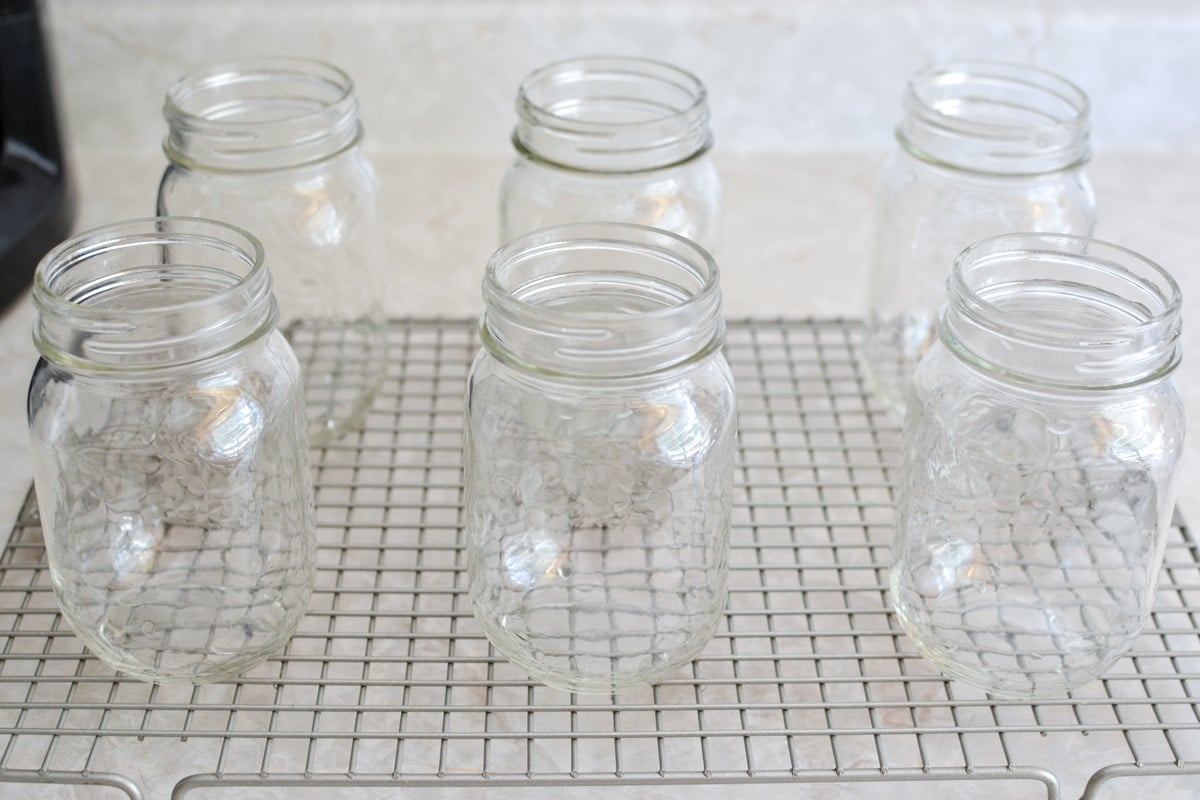
- Wash all of your equipment (jars, rings, jar lifters, funnels, etc) and your canner (if needed).
- Fill your canner with water and bring it to a boil, placing your jars inside carefully.
- Bring the canner up to a boil with the lid in place, and maintain a boil for 5-10 minutes.
- Remove the canner from the heat and set it aside until it is time to process the jars.
- Add the canning lids to a small saucepan filled with water and bring to a low simmer.
- Keep the lids warm until they are needed for processing the jars.
Preparing the Brine
Add the vinegar, sugar, mustard seeds, celery seeds, and turmeric to a large stainless or nonreactive saucepan that holds at least 4 quarts (16 cups).
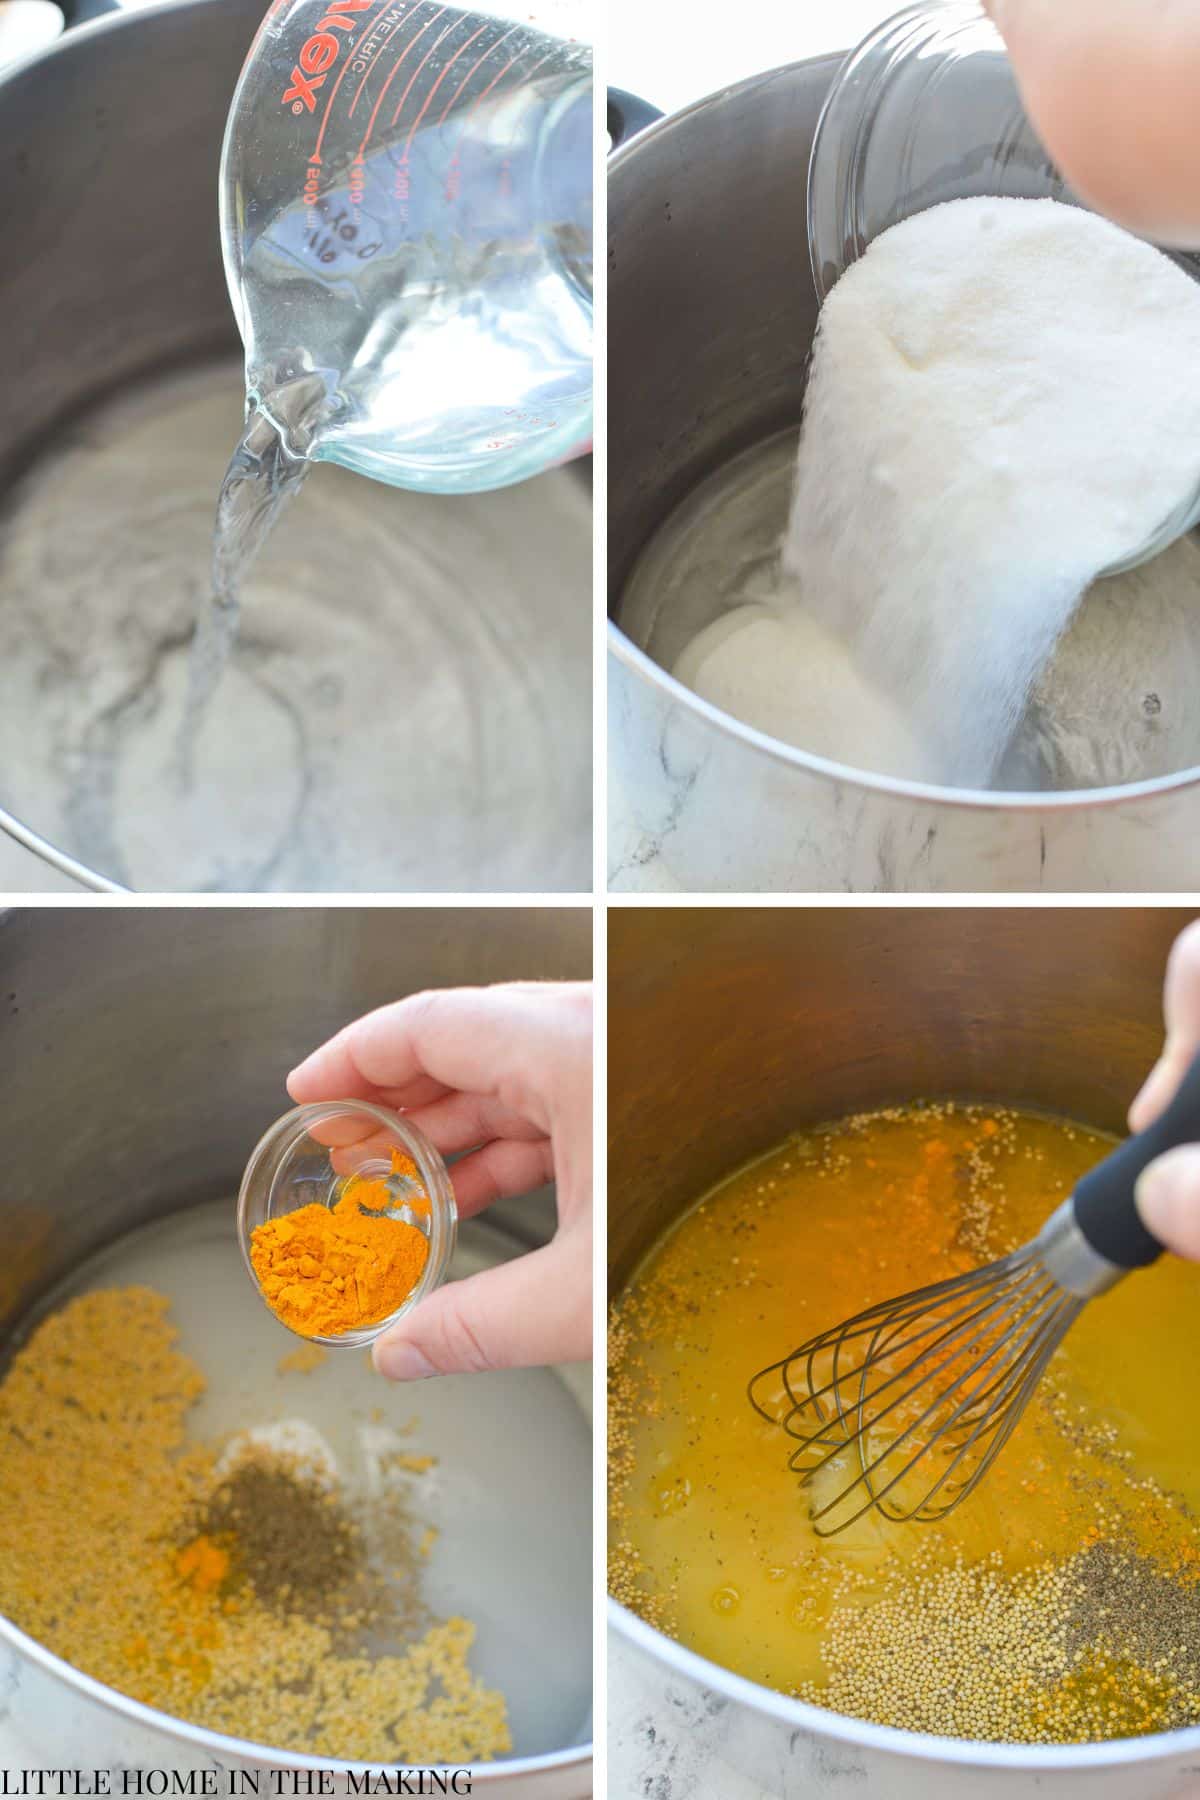
Whisk the brine ingredients together and bring to a boil over medium-high heat, stirring often to dissolve the sugar.
Once a boil is reached, you can add the drained cucumbers and onions.
Adding in the Cucumbers and Onions
One your cucumbers have rested for 2 hours, they are ready to be drained and rinsed.
Place the cucumbers in a colander in an empty sink and rinse with cool running water, aiming to rinse off the majority of the salt from the vegetables.
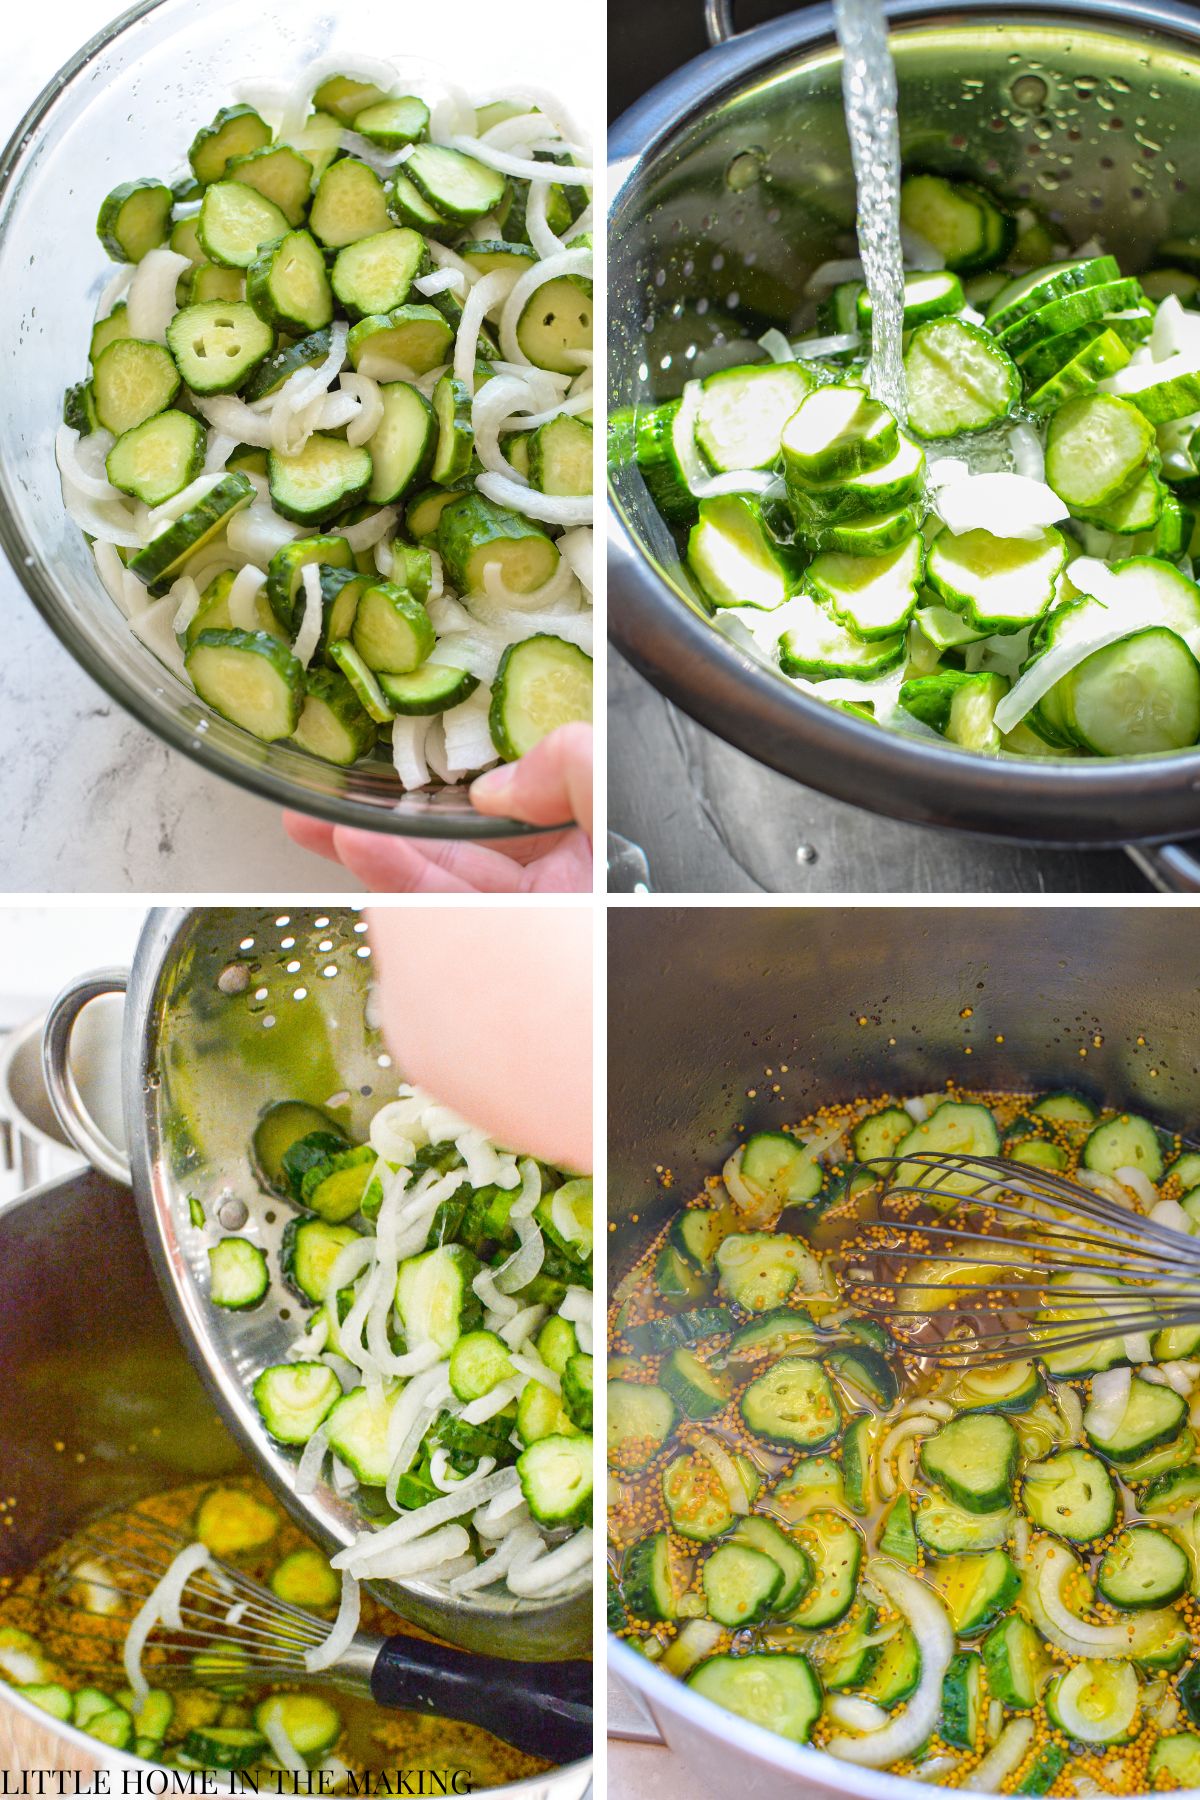
Add the drained and rinsed cucumbers and onion to the boiling brine, and stir well to coat them in the brine.
Return the mixture to a boil over medium-high heat. Once the brine and vegetables have returned to a boil you're ready to start the canning process.
Canning Bread and Butter Pickles
Remove the jars from the hot water of the canner, draining any water still left inside. Place the warm jars on a wire rack or a layer of thick kitchen towels on the counter.
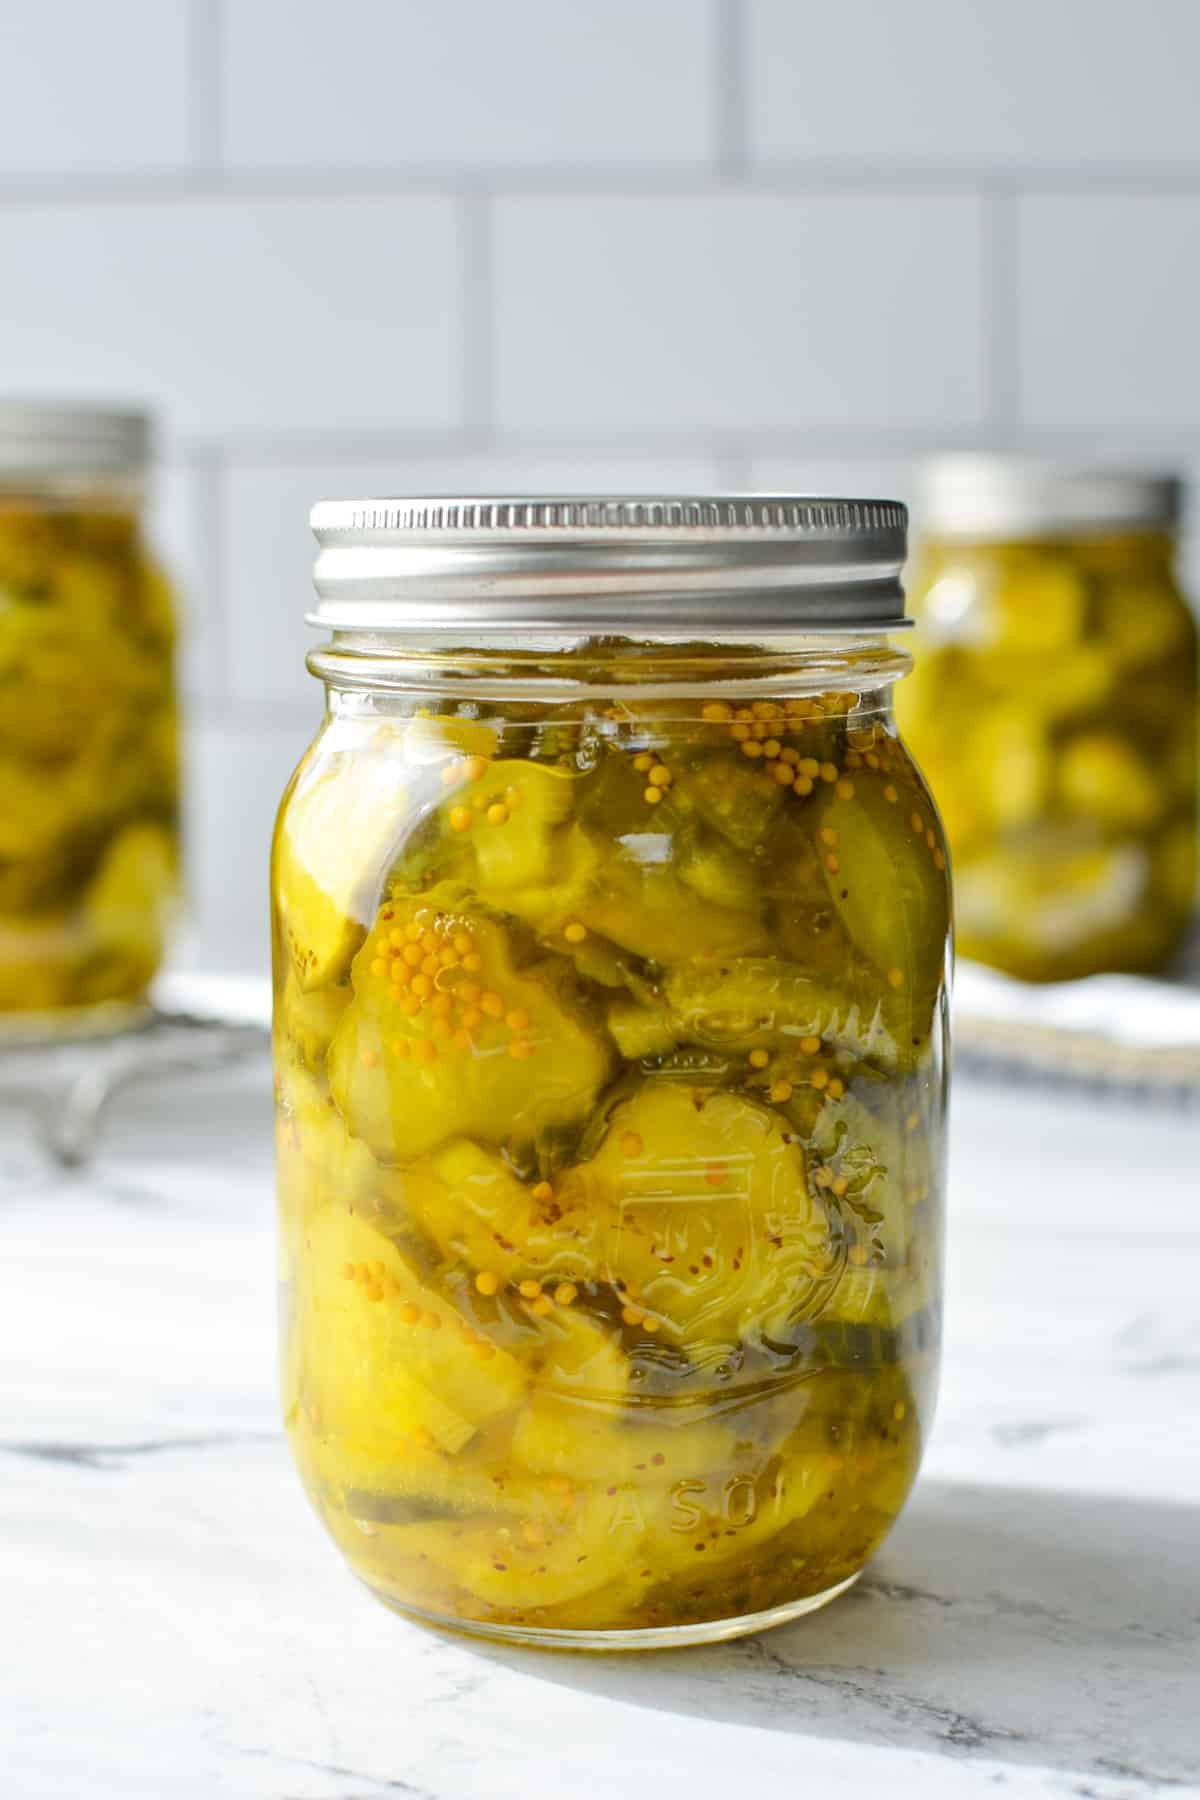
Fit the first jar with a wide mouth canning funnel, and ladle in the hot pickles and brine, leaving a generous ½" headspace.
Use a butter knife or debubbling tool to remove any large air bubbles and lightly pack the pickles. Top off with additional brine to achieve a headspace of ½".
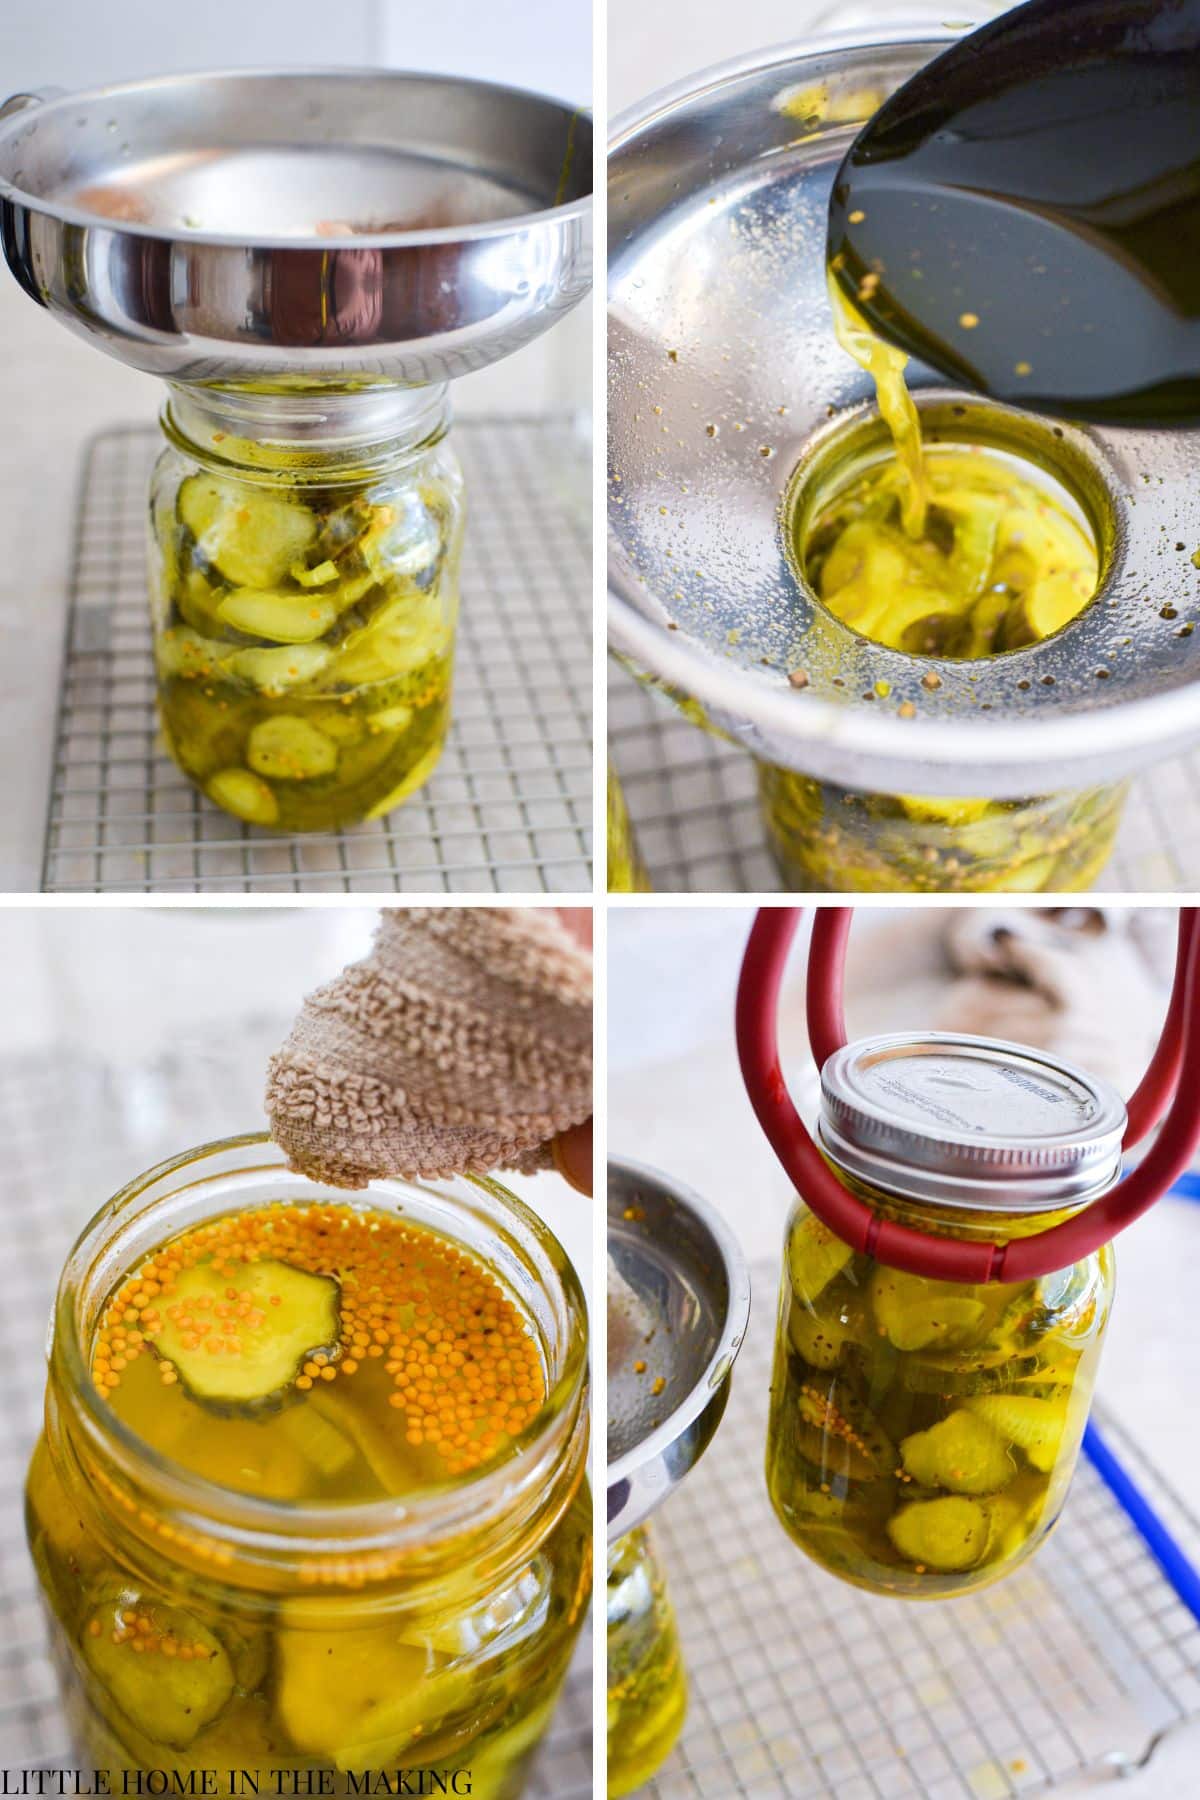
Wipe the rim of the jar with paper towel or a damp, clean kitchen towel. Then center on a warm canning lid and a jar ring just until it is fingertip tight.
Use a jar lifter to safely lift the jar into your water bath canner, and then repeat with the remaining jars until all of the jars are filled or all of the pickles are jarred.*
*NOTE: You may have a half sized jar depending on your cucumbers and how much they shrink, if so, just go ahead and top it with a lid and place in the fridge to eat within the next month or so.
Processing your Bread and Butter Pickles
Once all of the jars are inside of the canner, ensure they are covered by at least 2" of water. If you need to add water, just heat some up in a kettle OR use hot tap water.
Once the water level is at least 2" above the jars, place the lid on the canner and bring to a boil over high heat. As soon as a rolling boil is reached, you're ready to start the processing time.
With the lid in place and the canner boiling, set the timer for 10 minutes. Once the 10 minutes are up, turn off the heat and remove the canner from the heating element. Remove the lid and allow the canner to rest for 5 minutes.
Once the 5 minutes are up, carefully remove the jars with a lid lifter, placing them on a wire rack or several layers of thick kitchen towels in a place where they can go undisturbed for 24 hours.
Sealing
As the jars seal, you should hear a “pop” from each jar. Allow up to 24 hours for each jar to seal, but in my experience, if they are going to seal, it’s going to be within the first few hours.
After 24 hours, check the seals and remove the canning rings. The center of the lid should be pulled down or flat. I like to test the seals by lifting the jars up by their lids with my fingertips.
Storing
Wipe down the jars and label them. Any jars that have not been sealed should be moved to the fridge to be eaten right away.
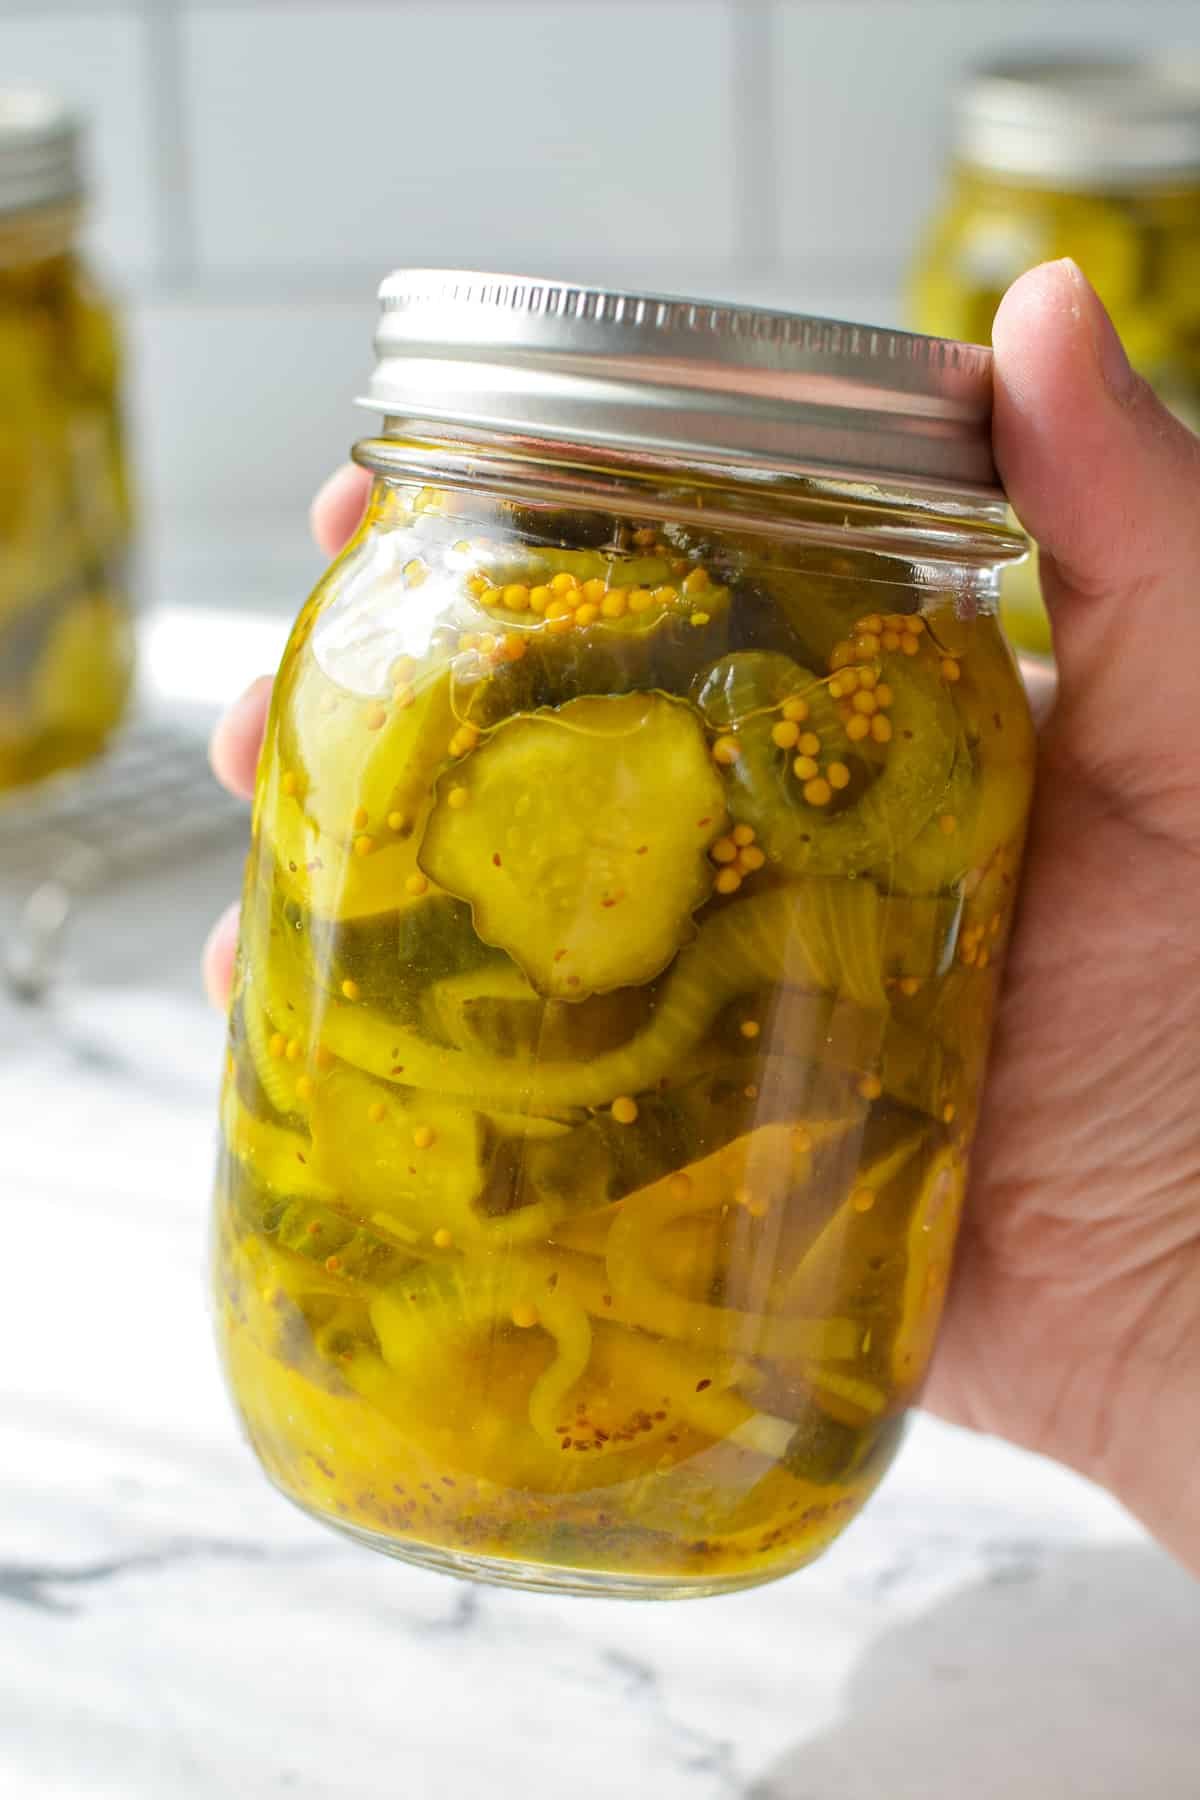
I recommend waiting for 1-3 weeks before opening and enjoying your pickles, as they are so much better when the flavors have had the opportunity to mingle.
How to Make Bread and Butter Pickles Without Canning
If you want to make bread and butter pickles without canning, you can absolutely do that! If you won't eat approximately a half gallon of pickles within the next month or so, you may want to start off by halving the quantities for a smaller batch.
- Prepare the cucumbers and onions by tossing with salt and allowing to rest for 2 hours.
- Drain and rinse the cucumbers.
- Prepare the brine and bring it to a boil.
- Add the drained and rinsed cucumbers and onions to the brine, and then return to a boil.
- Once the brine and vegetables have come to a boil, remove them from the heat.
- Fit a jar with a wide mouth funnel and transfer your pickles (in batches) to the jar. Ensure the vegetables are covered in brine.
- Top with a lid and allow to cool, and then transfer to the refrigerator.
- Chill for 1-3 days before consuming.
- Eat within 2-5 weeks, discarding if there are any signs of spoilage.
Expert Canning Tips
- Use good quality, fresh cucumbers - While bread and butter pickles can make excellent use of less-than-perfect cucumbers, they do still have to be a good quality for the best pickles possible. That means avoid any cucumbers that have pitting, wrinkling, bruising or wet spots.
- Canning salt is sold at hardware stores and grocery stores (during the canning season). It does not cloud like typical salt, so it's recommended (but not mandatory) for all canning projects.
- Store your jars without their rings in place - this prevents rust and corrosion. It also ensures that any jars that lose their seal are easily spotted.
- For the best results, keep your bread and butter pickles in a cool and dark location such as a basement or bottom cupboard.
Frequently Asked Questions
Bread and butter pickles get their name thanks to the fact that the original creators of the sweet pickles started off by trading jars for staples like bread and butter at their local grocer. Eventually they went on to produce them commercially and they became an instant success thanks to their balance of sweet and sour flavors.
Bread and butter pickles are different than typical dill pickles mostly due to their sweet flavor, but also thanks to their large, tender slices of cucumber. Dill pickles require young, firm cucumbers and are often crisp in texture, while bread and butter pickles make use of overgrown cucumbers and are on the softer side.
Bread and butter pickles will last for 3-5 weeks once they are opened. If stored in a sealed state, they should last for at least a year, but oftentimes much longer than that. Commercial bread and butter pickles will last for 4-8 weeks in the refrigerator and as long as their expiration dates allow if stored unopened.
More Canning and Pickling Recipes
- Amish Refrigerator Pickles
- Refrigerator Pickled Beets
- Canning Pickled Beets
- Canning Beets (Plain)
- Low Sugar Strawberry Jam
- Old Fashioned Strawberry Jam (without pectin)
- Canning Strawberries (whole in syrup)
📖 Recipe

Bread and Butter Pickles
Ingredients
- 10 cups sliced cucumbers Approx. 3 ¼ lbs or 1.48 kg. (¼” slices)
- 4 medium onions thinly sliced
- ½ cup pickling salt
- 3 ½ cups white vinegar minimum 5% acidity
- 2 cups granulated sugar
- 2 tablespoons whole mustard seeds
- 1 teaspoon celery seeds
- 1 teaspoon ground turmeric
Instructions
- Add the sliced cucumbers to a very large non-reactive bowl (glass, ceramic, stainless steel). Add in the onions, and sprinkle with the canning salt. Stir well to combine and coat the cucumbers and onions with salt.
- Cover the bowl with a damp towel or plastic wrap and allow it to rest at room temperature for 2 hours.
- With about 45 minutes left before the time is up, you can start preparing your jars, lids, and canner for canning. This includes washing all of your equipment (jars, rings, jar lifters, funnels, etc) and your canner if needed.
- Fill your canner with water and bring it to a boil, placing your jars inside carefully (5-6 pint jars). Bring the canner up to a boil with the lid in place, and maintain a boil for 5-10 minutes. Then remove the canner from the heat and set it aside until it is time to process the jars.
- Add the canning lids to a small saucepan filled with water and bring to a low simmer. Keep the lids warm until they are needed for processing the jars.
- Once the time is up for the cucumbers and the onions, transfer the mixture to a colander placed over the sink to drain off any excess liquid. Rinse with cool running water, aiming to rinse off much of the salt from the vegetables.
- Once the cucumbers and onions are thoroughly rinsed and drained, set them aside.
- Add the vinegar, sugar, mustard seeds, celery seeds, and turmeric to a large stainless or nonreactive saucepan. It should have a volume of at least 16 cups (4 quarts) to give you adequate space for your brine and cucumbers.
- Whisk the brine ingredients together and bring to a boil over medium-high heat, stirring often to dissolve the sugar.
- Once the brine has come to a boil, stir in the drained cucumbers and onions and return to a boil.
- Remove the jars from the hot water of the canner, and empty them of any water. Pack the vegetables into the hot jars, leaving a generous ½ headspace at the top of the jar. Then, ladle in the liquid brine to cover the vegetables. Use a butter knife or de-bubbler to remove any air bubbles and add liquid if needed to maintain a ½” headspace at the top of the jar.
- Wipe the rims with a clean towel or paper towel, and place a lid on each jar. Then, secure each jar with a canning ring and secure until fingertip tight (tighten with your fingertips, stopping when you get resistance).
- Place each jar back into the canner, ensuring that they are covered by 2 inches of water. If the water level is not high enough, add enough hot water to cover the jars (I like to keep a kettle handy). Add the lid to the canner and bring it to a boil.
- Once the canner has returned to a rapid boil, the processing time begins. Keep the lid in place and allow the jars to process for 10 minutes.
- Once the processing time is up, turn the heat off and remove the canner from the heat source. Remove the lid and allow the canners to rest in the canner for 5 minutes.
- Once the 5 minutes are up, remove the jars and place them in a location where they can go undisturbed for at least 24 hours.
- As the jars seal, you should hear a “pop” from each jar. Allow up to 24 hours for each jar to seal, but in my experience, if they are going to seal, it’s going to be within the first few hours.
- After 24 hours, check the seals and remove the canning rings. Wipe down the jars and label them. Any jars that have not been sealed should be moved to the fridge to be eaten right away.
- I recommend waiting for 1-3 weeks before opening and enjoying your pickles, as they are so much better when the flavors have had the opportunity to mingle.
Notes
Variations
British Bread and Butter Pickles: Substitute the white vinegar for cider vinegar, the white sugar for brown sugar, and add 1 teaspoon of ground ginger. Zesty Bread and Butter Pickles: Omit the celery seeds and turmeric. Use 2 tablespoons of prepared horseradish and 2 tablespoons of grated fresh ginger in the brine. Garlic Bread and Butter Pickles: Add 1 clove of peeled garlic to each jar before adding the pickles and brine. Adapted From: The Ball Complete Book of Home Preserving Note on USDA Safety: I can according to the USDA safety standards. This recipe was adapted from a USDA approved source (Ball Complete Book of Home Preserving) and follows their safe canning recommendations.Nutrition
Please note that some of my blog posts here at Little Home in the Making may contain affiliate links. If you make a purchase through these links, I will get a small commission at no additional cost to you. Please see my Disclaimer for more information.

Jessica
I love this recipe and so does everyone else who has tried it!! Have you ever done a spicy variation with red pepper flakes? Just curious how much I would add to the existing recipe.
Dolly | Little Home in the Making
I think spices are okay to add to tested canning recipes within reason, so I think that could probably work! From what I can tell it's about 1-2 teaspoons of seasoning per batch that can be added, but I would check out the NCHFP to make sure.
Alicia
I am so excited to make these! Quick question. Have you ever added hot pepppers- jalapenos, habaneros, chiles, etc? I have read that adding peppers to recipes can change the ph and I want to be safe. Any recommendations?
Dolly | Little Home in the Making
Hi Alicia! I'm not aware of any tested recipes for Bread and Butter Pickles with hot peppers added, and I did a quick search on the approved sites and checked my cookbooks and can't find one. So if you wanted to add them it would be in "rebel canning" territory most likely.
Sheila
Alicia I have use hot peppers in with my sweet pickles and they were delicious. I only cut up 1 or 2 to a quart but you can do depending how spicy you want.
Blaire
I’d love to try this recipe but I’ve had my cukes in the fridge because I was waiting until I had enough from the garden to can. I read this sits at room temp for a couple hours, can I use my cucumbers that have been refrigerated for this recipe? Thank you!
Dolly | Little Home in the Making
Oh yes absolutely! The resting at room temperature is with salt and is for pulling the excess liquid out of the cucumbers.
Becky
I have a question about the vinegar. Can I safely use a mixture of Apple Cider and reg vinegar? As long as I use 3 1/2 total?
Dolly | Little Home in the Making
Hi Becky! Yes, as long as both are at least 5% acidity that's totally fine. The flavor will be a little different, but most folks find it to be pleasant if they like apple cider vinegar.
Ann Bartholomew
I have trouble with these pickle recipes every time. I always run out of brine when I'm filling the jars. This morning I made extra brine 3 times.
What am I doing wrong??
Dolly | Little Home in the Making
Hi Ann! I too used to run out of brine a lot, which is why I developed this particular recipe (adapted from a tested canning recipe). All I can think of is that maybe you are boiling your brine and it is evaporating quickly? The mixture should not hold at a boil. Once the brine has boiled, you add the cucumbers and onions (drained) and then return to a boil. You're ready to start the canning process right at that point. You can reduce the heat to keep it warm but not boil it.
Another option is the pan you are using is very wide. If I use a very wide pot or pan to make a sauce, broth, etc, I find that more of it evaporates because there is more surface area.
Yet another thing to consider is the size of your measuring cups. I've found some variations in mine before!
Gina
My pickles were very soft. Any idea as to why?
Dolly | Little Home in the Making
Pickles can be soft if the blossom end is left on (I use a sharp knife to cut them off), or if they sat for a little while before canning. If you have consistent issues with soft pickles you can try adding a little pickle crisp (sold by canning companies) to each jar.
Kathy
How many pint or half pint bottles does this make? I have scanned for the number but I do not find anything
Dolly | Little Home in the Making
Hi Kathy,
The recipe makes 5 pints. The yield is listed in the "servings" section of the recipe card, but I've updated it to include in the notes and once in the recipe as well so it's a bit easier to find.