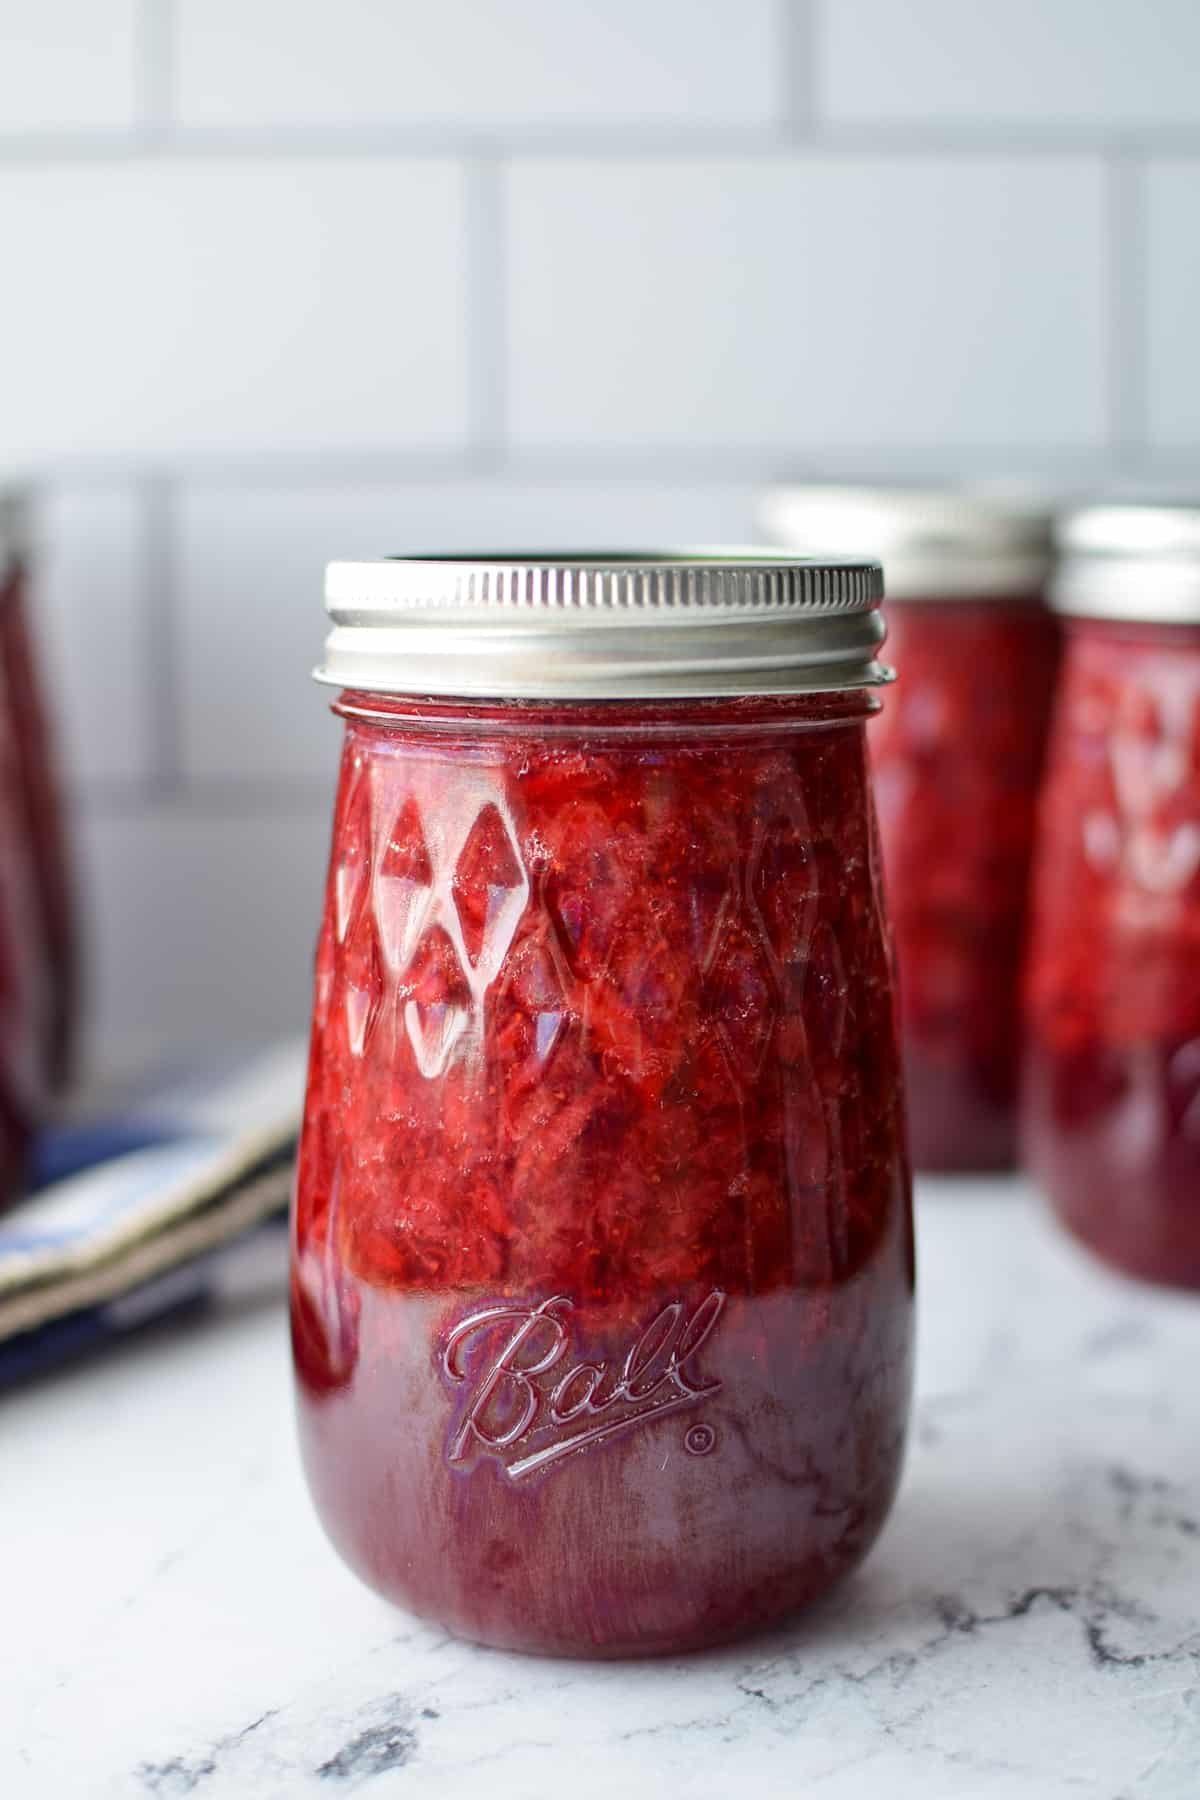
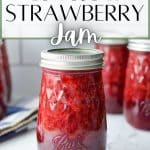
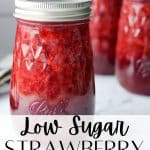
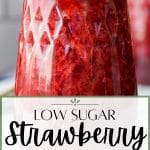
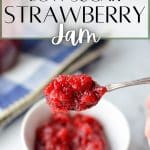
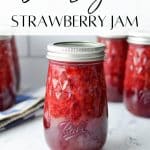
This low sugar strawberry jam is the perfect way to preserve ripe, juicy summer berries! This low sugar recipe is perfect for canning, and includes detailed instructions for both canning and preserving as a freezer jam. Why buy from the store when you can make it even better at home?
We have been living that country life for about 5 years now, and I've had all kinds of opportunities to do things I only dreamed of back when I lived in a small apartment in the city. Now we have chickens, gardens, and in the Spring: hopefully a milk cow too.
But I started out over 10 years ago in a 600 square foot apartment, determined to learn more self sufficiency skills. I even tried planting green beans on my tiny deck! And we did harvest a whopping 5 beans if you believe it. One of the first skills I learned was canning. I started out with strawberry jam and pickles, but over the years have progressed and have canned just about everything you can think of!
This low sugar strawberry jam recipe is one of the first things I started making on a regular basis, and I've been making it for the better part of a decade. I wanted to make something that tasted great, with intense fruit flavor, but was low in sugar. I found just the thing, and I haven't deviated since. Today I'm sharing with you my absolute favorite recipe for strawberry jam - which just so happens to be a low sugar recipe!
Why You'll Love This Homemade Strawberry Jam
- This homemade strawberry jam is low in sugar, and uses a natural pectin that is free from preservatives and artificial colors,
- A great way to preserve those delicious strawberries from the U-pick!
- Better quality than anything you can find in stores! You can use the best quality ingredients and customize according to your dietary needs.
- If you're new to canning, never fear! With step-by-step instructions and photos, you've got this!
- Includes a variation to make low sugar strawberry freezer jam if you prefer.
Ingredients and Tools
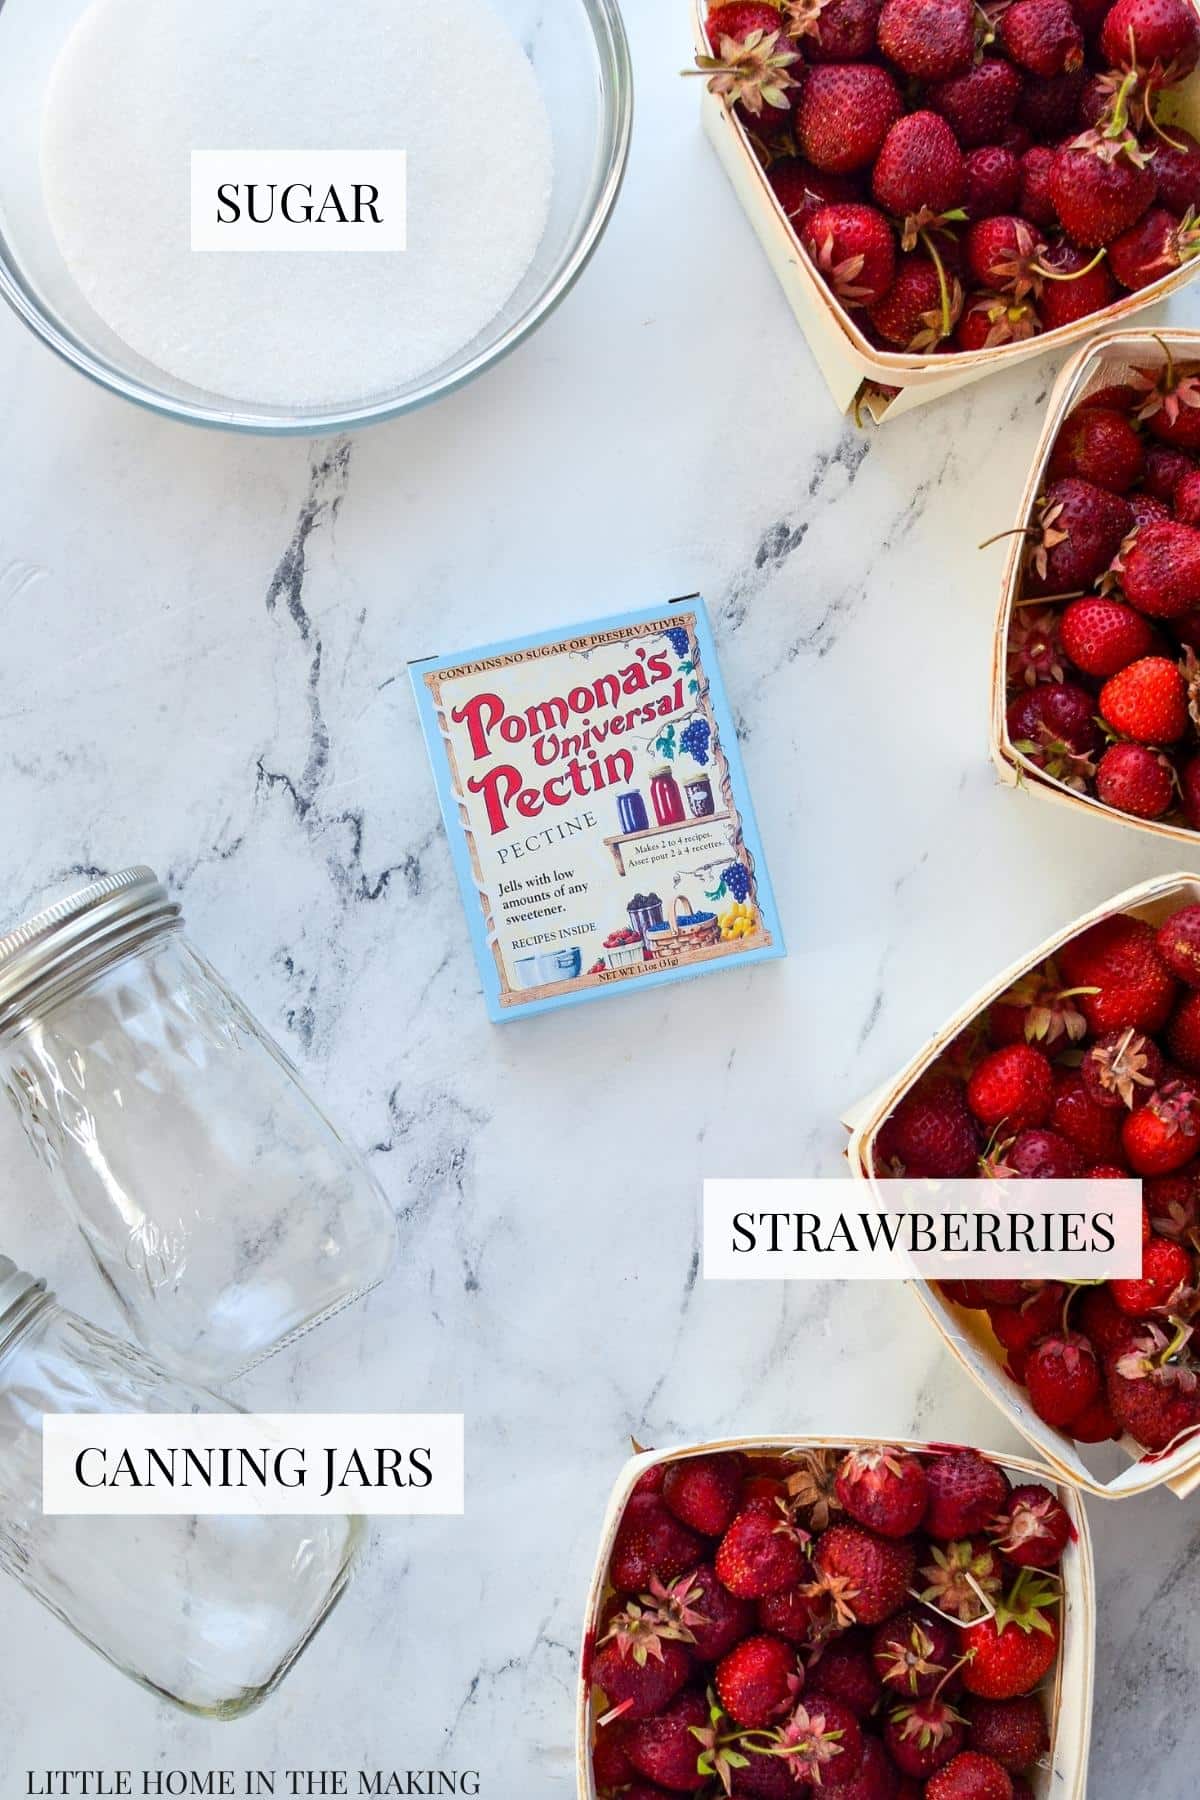
- Strawberries: Fresh picked are the best. I like to make my strawberry jam during the local season so I can take my family to the U-pick and get the freshest, tastiest berries possible. This really makes a difference with the jam, but you can use good quality store bought strawberries if you prefer.
- Sugar: Granulated sugar adds the perfect balance of neutral flavored sweetness. If you don't mind the flavor, you can substitute it for honey. Organic cane sugar is a great option too.
- Pomona's Pectin: This is the brand that I have been using since I started canning, and though I've tried other low sugar pectins, this one works and tastes the best. The great thing is that it is free from artificial colors or preservatives. I use it in ALL of my low sugar jams and jellies. You can find it on their website, Amazon, or at health food stores.
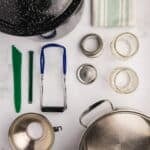
Tools and Equipment
- Canning jars: I use pint jars because that is the size we work through within about 2-4 weeks. If you don't eat as much jam, you can absolutely do half pint jars. You'll just need to work in batches since they won't all fit in the canner at once.
- Canning lids and rings: If you're buying your canning jars new, they should come fitted with lids and rings. Otherwise, you can reuse the rings but you will need new lids.
- Water bath canner: To save space I use my Presto pressure canner as a water bath canner, but if you're new to canning, you can purchase a water bath canner for a good price at your local big box store or hardware store.
- Canning tools: You will need a magnetic lid lifter, a jar lifter, and a funnel. It's very easy to find a kit of canning tools. Most of them have jar lifters that just don't work very well, but this one from Progressive has the jar lifter that I use, as well as a funnel and a lid lifter. I like to use a stainless wide mouth funnel, but a plastic one will do if that's what you have.
- Clean towels: I like to add a double layer of towels to the counter for when I'm filling my jars, as well as for when I'm transferring them out of the canner. You'll also need clean towels for wiping the rim of the jars, although you can use a bit of paper towel if you prefer.
Why Pomona's Pectin?
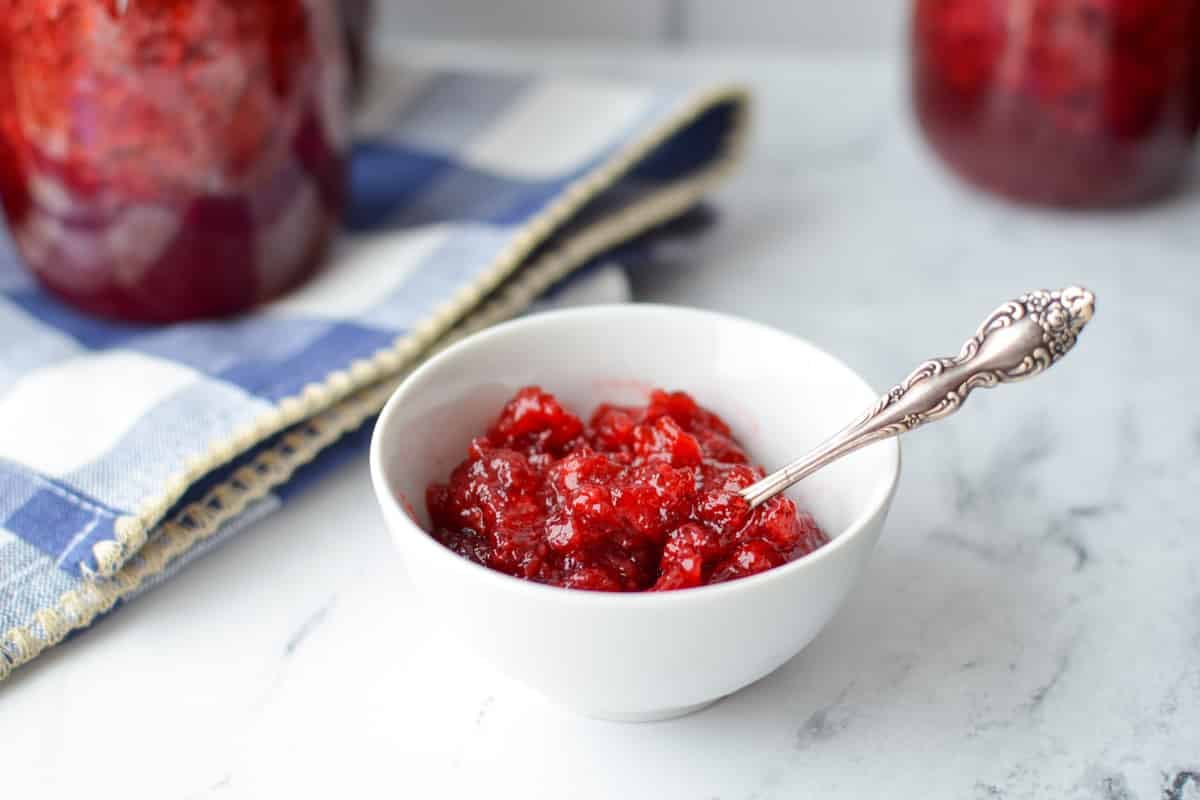
Pomona's pectin is different than the typical pectins you can purchase in the grocery store. First of all, it's a low sugar jelling pectin, meaning you can use much smaller amounts of sugar than typical jams made with pectin can. You are also able to use natural sweeteners like honey, maple syrup, or fruit juices if desired.
It also contains no sugar, preservatives, or artificial color and uses a natural citrus pectin. Meaning that you can feel really good about the quality of jam you're producing.
I've made this particular low sugar strawberry jam for many years, and this ratio of sugar is perfect. It's actually our favorite jam, and it's filled with intense fruit flavor with just the right amount of sweetness. You can cut the sugar by as much as 25% and have good results, but your yields will be much lower, and it may not be sweet enough. I think this amount is the perfect compromise.
P.S. I am NOT sponsored by Pomona's but have been using their pectin to can my yearly batches of strawberry jam for the better part of a decade! You can find it on their website, Amazon, and health food stores.
How to Make Low Sugar Strawberry Jam
Prepare the Jars, Lids and Rings
In order to can safely, it's important to work with clean tools and sterilized jars. Once you get into the routine, you'll find it very simple to prepare for canning your favorite jams, jellies, pickles and more!
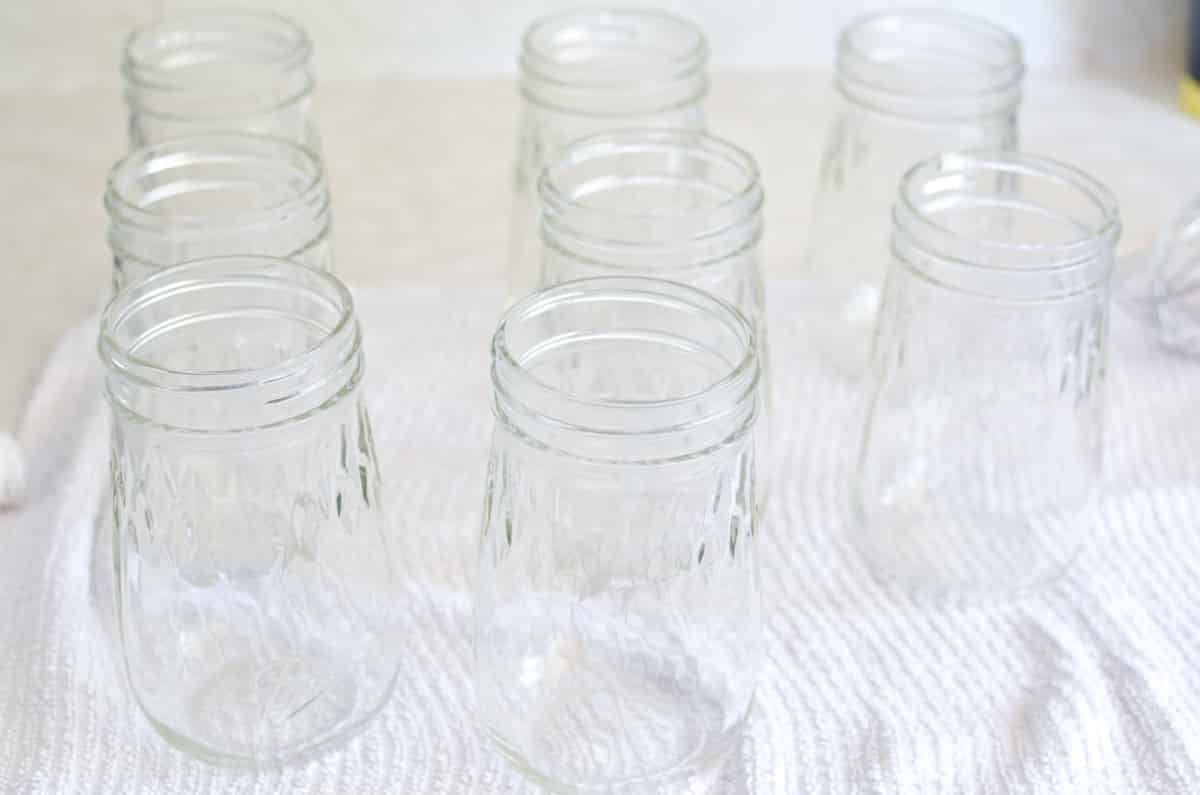
- Wash the jars, rings, and fresh lids with hot soapy water. Rinse well and dry completely.
- Clean any tools you'll be using like a jar lifter, headspace checker, magnetic lid lifter, etc. Sterilize if needed.
- Just before you prepare your jam, fill your canner with water and bring to a boil. Lower the jars into the hot water and boil for 5-10 minutes. Turn the canner off, keeping your jars submerged in the warm water. Leave them there until you're ready to start filling them with hot jam.
- Bring a small saucepan of water to a low simmer and add the canning jar lids. Allow to simmer while you prepare your jam, and keep them in the warm water until you're ready to bottle your low sugar strawberry jam.
Preparing the Fruit
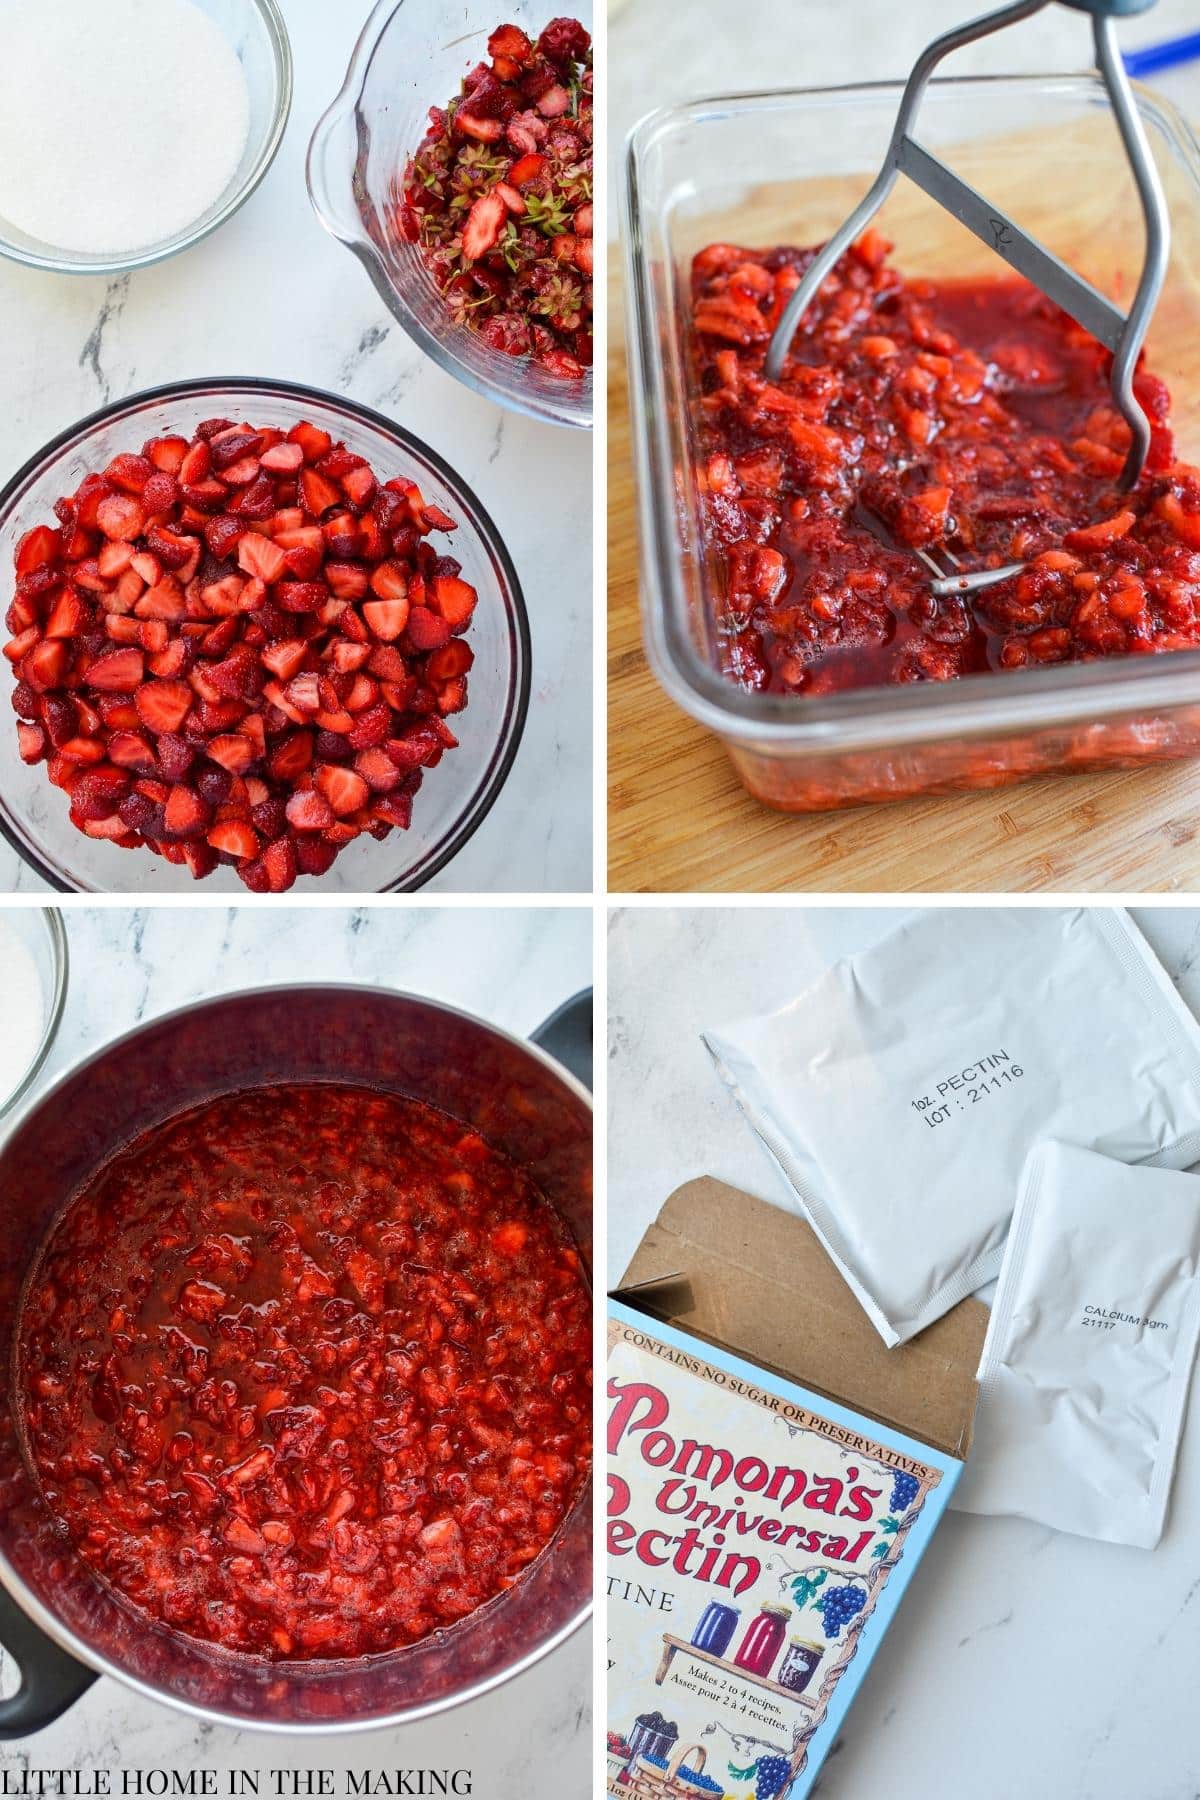
The most time consuming aspect of preparing this low sugar jam is actually preparing the fruit! You'll have to hull and chop the strawberries, then mash them. Once they've been mashed, they can be measured and added to a large pot.
- Step one: Hull and chop the strawberries. I tend to just cut the top off of each one with a paring knife, and then quarter them. I find this a lot easier than using a huller and I don't mind the small amount of waste.
- Step two: Transfer 2-3 cups of chopped strawberries to a large container and mash them with a potato masher until broken down.
- Step three: Repeat with the mashing until you've reached a total volume of 16 cups of mashed fruit (for a canner load of 9 pints). Alternatively, you can cut the recipe in half for 4-5 pints, using just 8 cups of fruit.
- Step four: Prepare your pectin.
Preparing the Pectin
First, prepare the calcium water. Add ½ teaspoon of calcium powder (a labeled packet inside of the box of pectin) to a small bowl.
Then, add ½ cup of clean filtered water to the bowl. Stir to dissolve.
Add 2 tablespoons + 2 teaspoons of the calcium water to the pot with your prepared mashed strawberries. Stir well to combine.
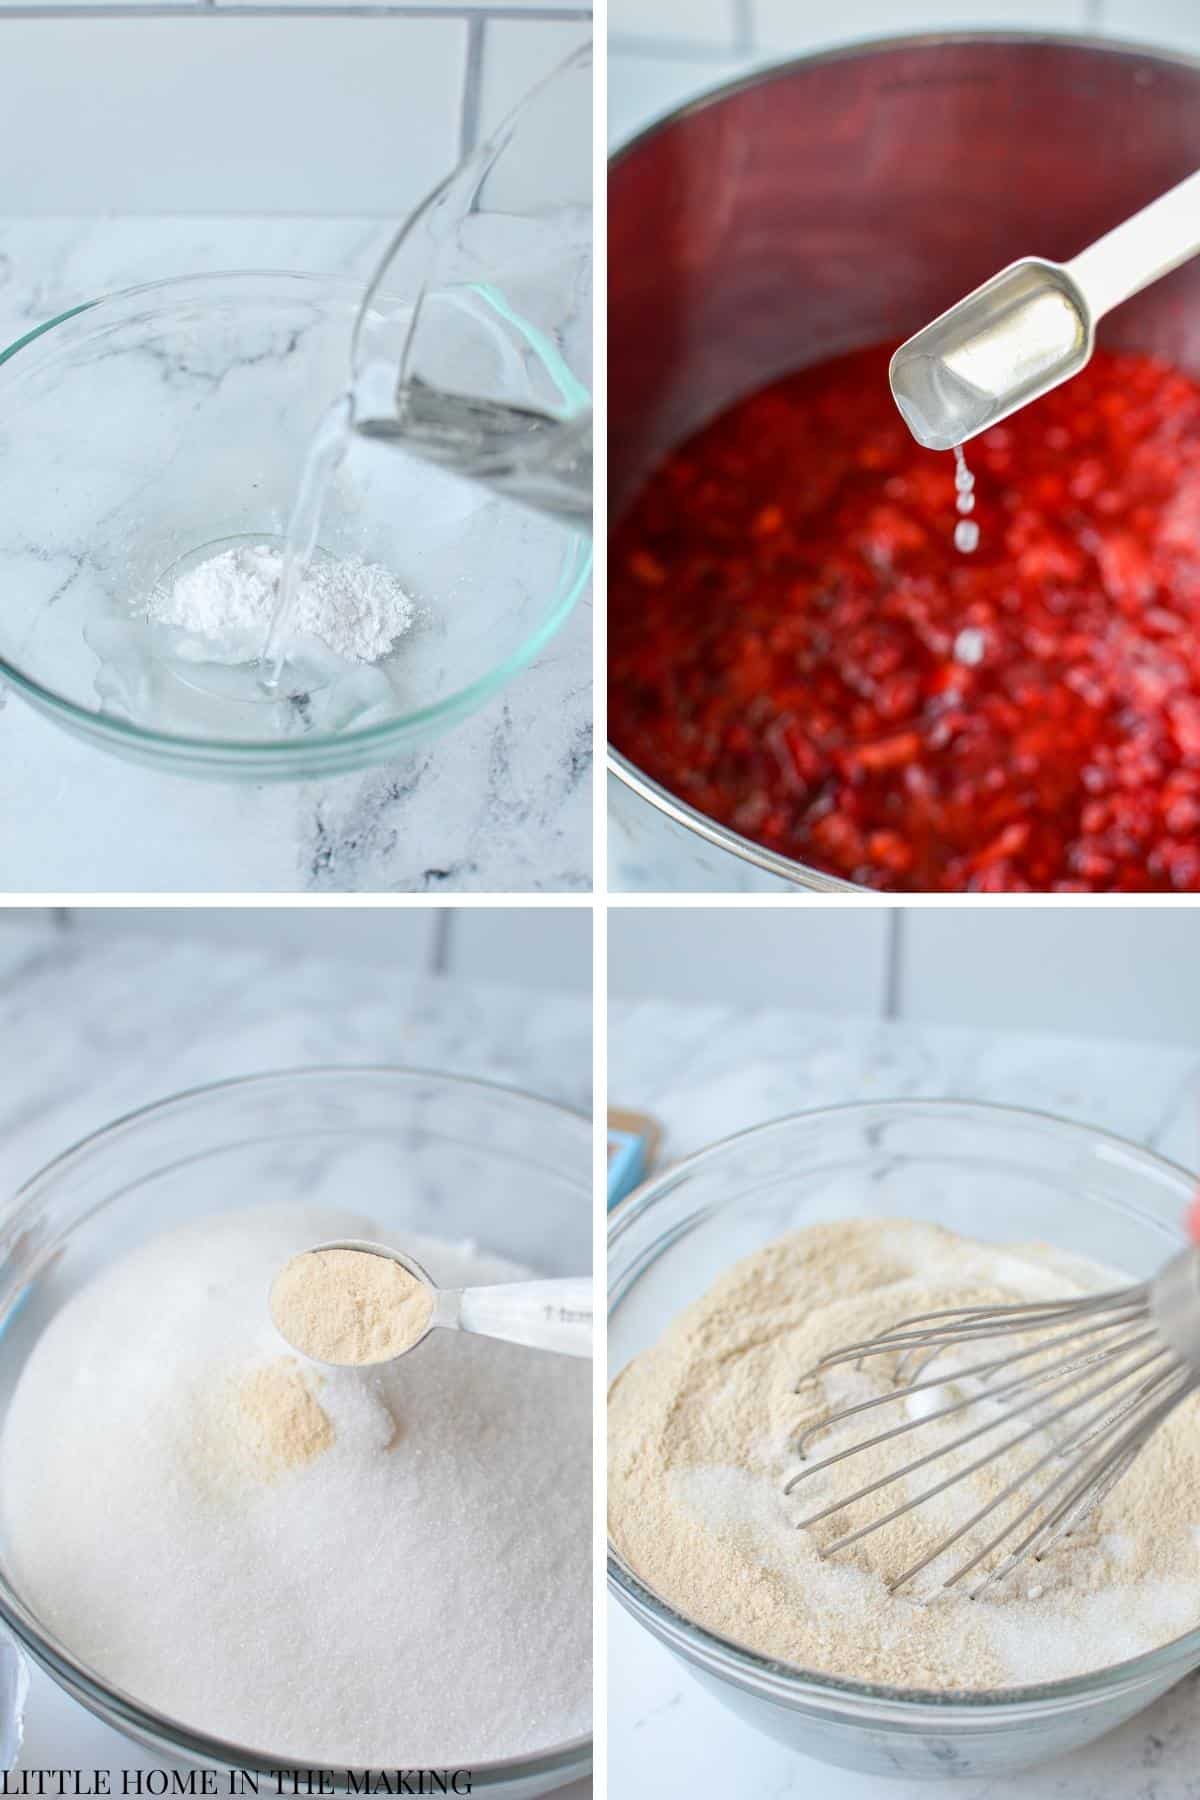
Next, prepare the pectin powder. This is done by adding it to the amount of sugar that will be used in the recipe.
Measure our your sugar into a large bowl, then add 2 tablespoons + 2 teaspoons (or one packet) of the labeled pectin powder to the bowl. Whisk well to combine and set aside.
Preparing the Strawberry Jam
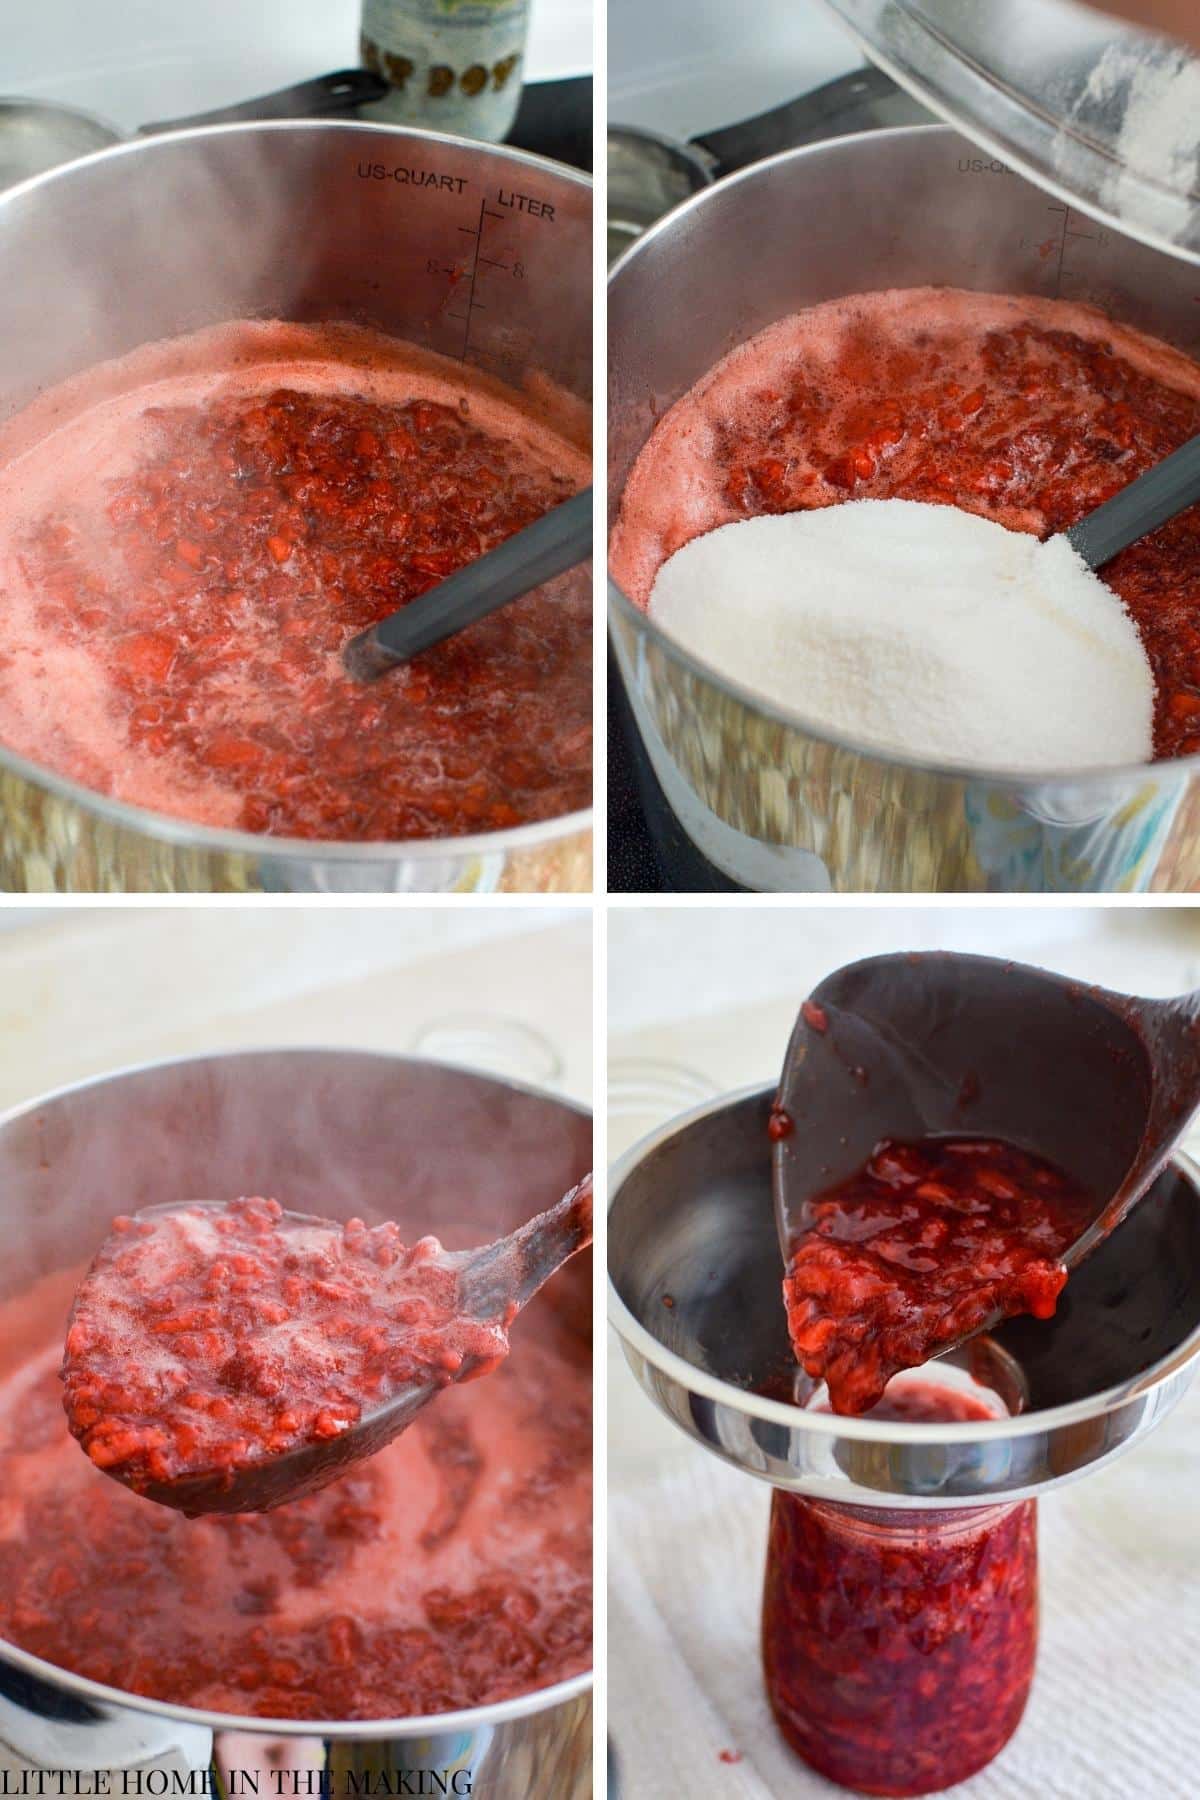
Add the pot with the strawberries and calcium water to the stovetop and bring the mixture to a full boil over medium-high heat, stirring frequently to prevent burning.
Once the strawberries have reached a boil, add in the pectin and sugar combination. Stir well to combine.
Stir often, and bring the sweetened strawberries up to a boil once again. Once a full boil is reached, remove from the heat and skim any excess foam off the top of the berries.
Adding the Jam to Jars
Place a clean wide mouth funnel over the warm jars, and fill each jar to within ¼ of the top. This is referred to as headspace, and ensures the jars seal properly. It's okay to have a little more room that ¼", but not less room. If you overfill the jars they are far less likely to seal or stay sealed in storage.
If there are large air bubbles, remove them with a clean butter knife. This is done by sliding it down to the bubble and "popping" it so it floats to the surface.
The Canning Process
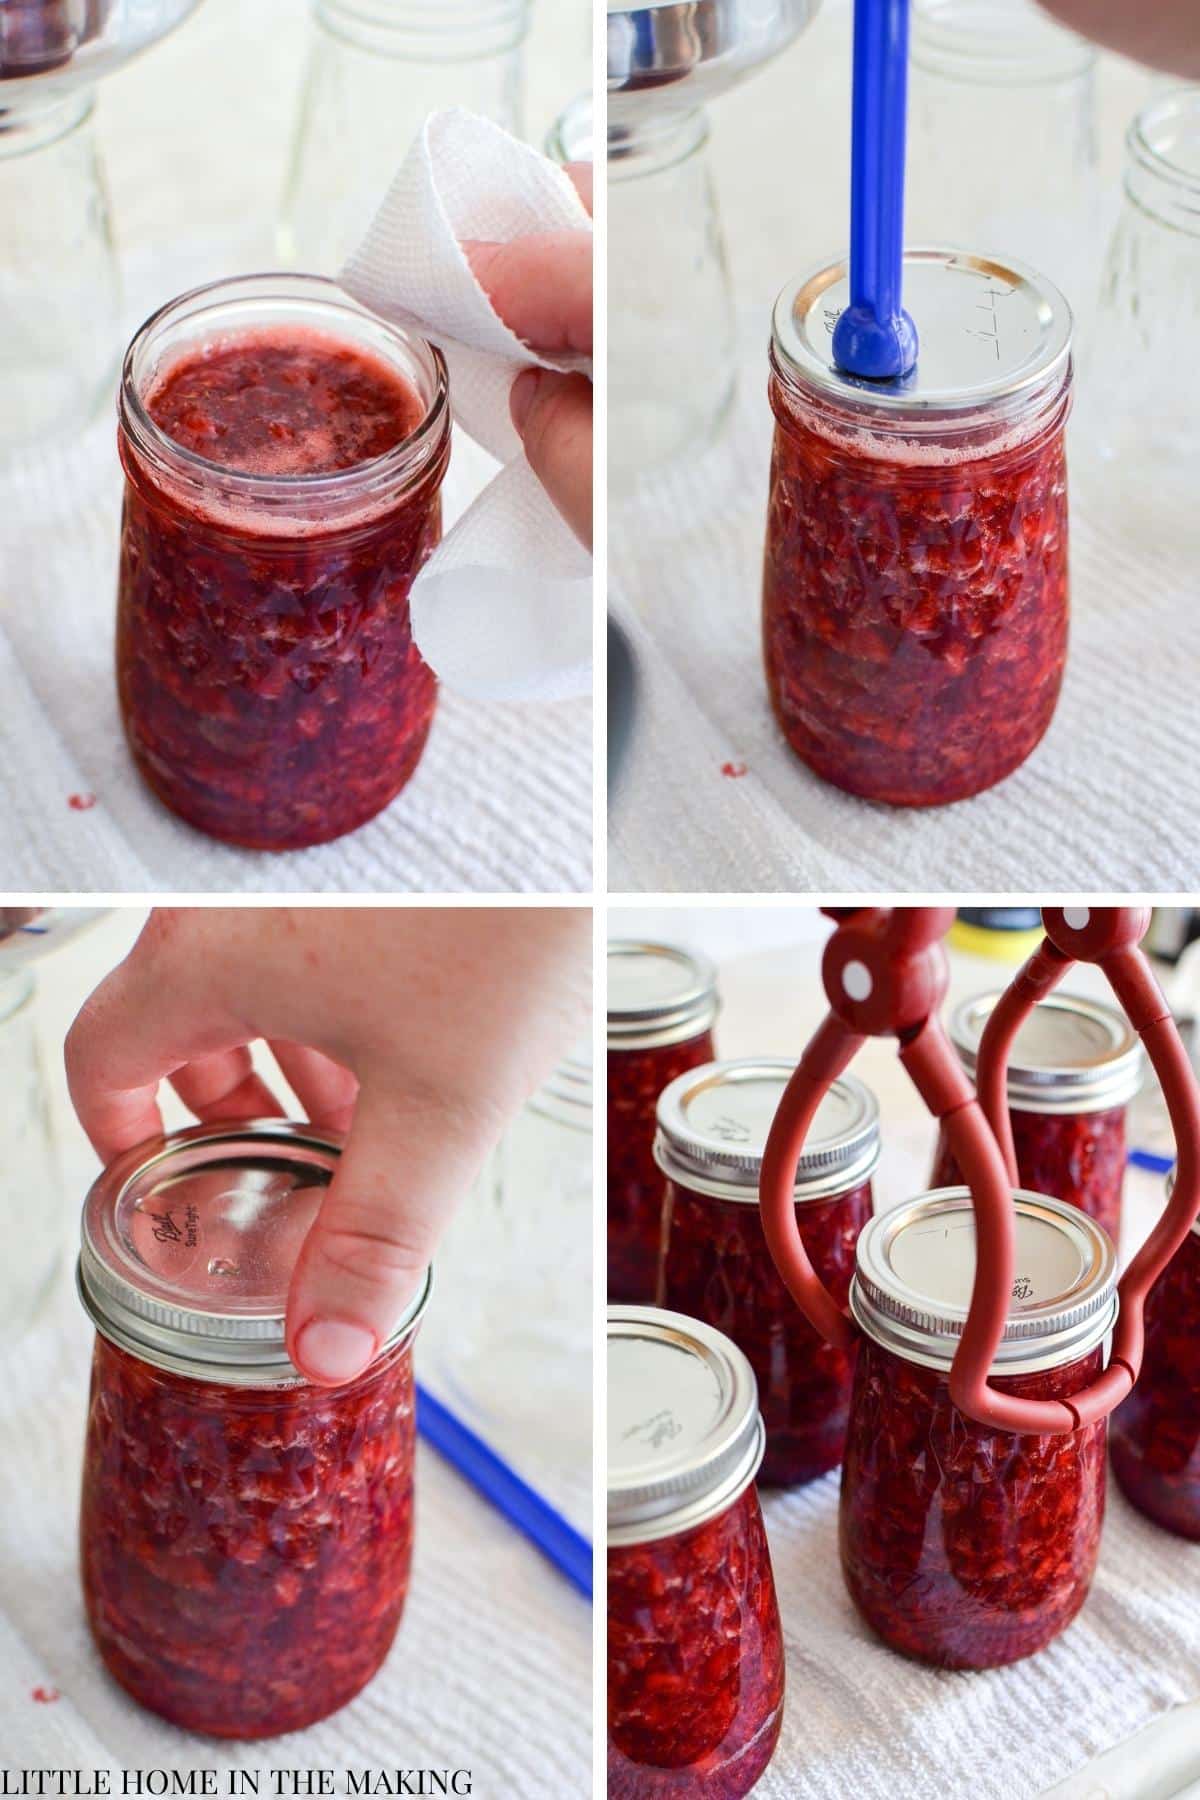
Wipe the rim of each jar with a clean towel or paper towel, ensuring there is no jam around the threads or rim, as this may impact sealing.
Use a magnetic lid lifter to place a clean, warm lid on each of the jars. Then, fit them with a canning ring until fingertip tight. You don't want them to be very tight, as there will be no way for the air to escape.
Bring your water bath canner to a boil with enough water to cover the jars by at least 1-2".
Once the water comes to a boil, place the jars inside of the canner rack. They should not touch the bottom of the canner at any point. Pressure and water bath combos have a plate that sits at the bottom, and water bath canners often have a wire rack that lifts in and out.
Once all of the jars are placed inside of the canner (they should have some room and not be tightly packed), put the lid on and bring the water to a full boil. Once the water boils, the processing time begins.
Process your jars for 10 minutes, whether using pints or half pints. Once the time is up, turn off the heat and move the canner off of the hot element. Allow to cool for 5 minutes. Then, remove the jars to a cooling rack or double layered towel on the counter.
Sealing and Storing
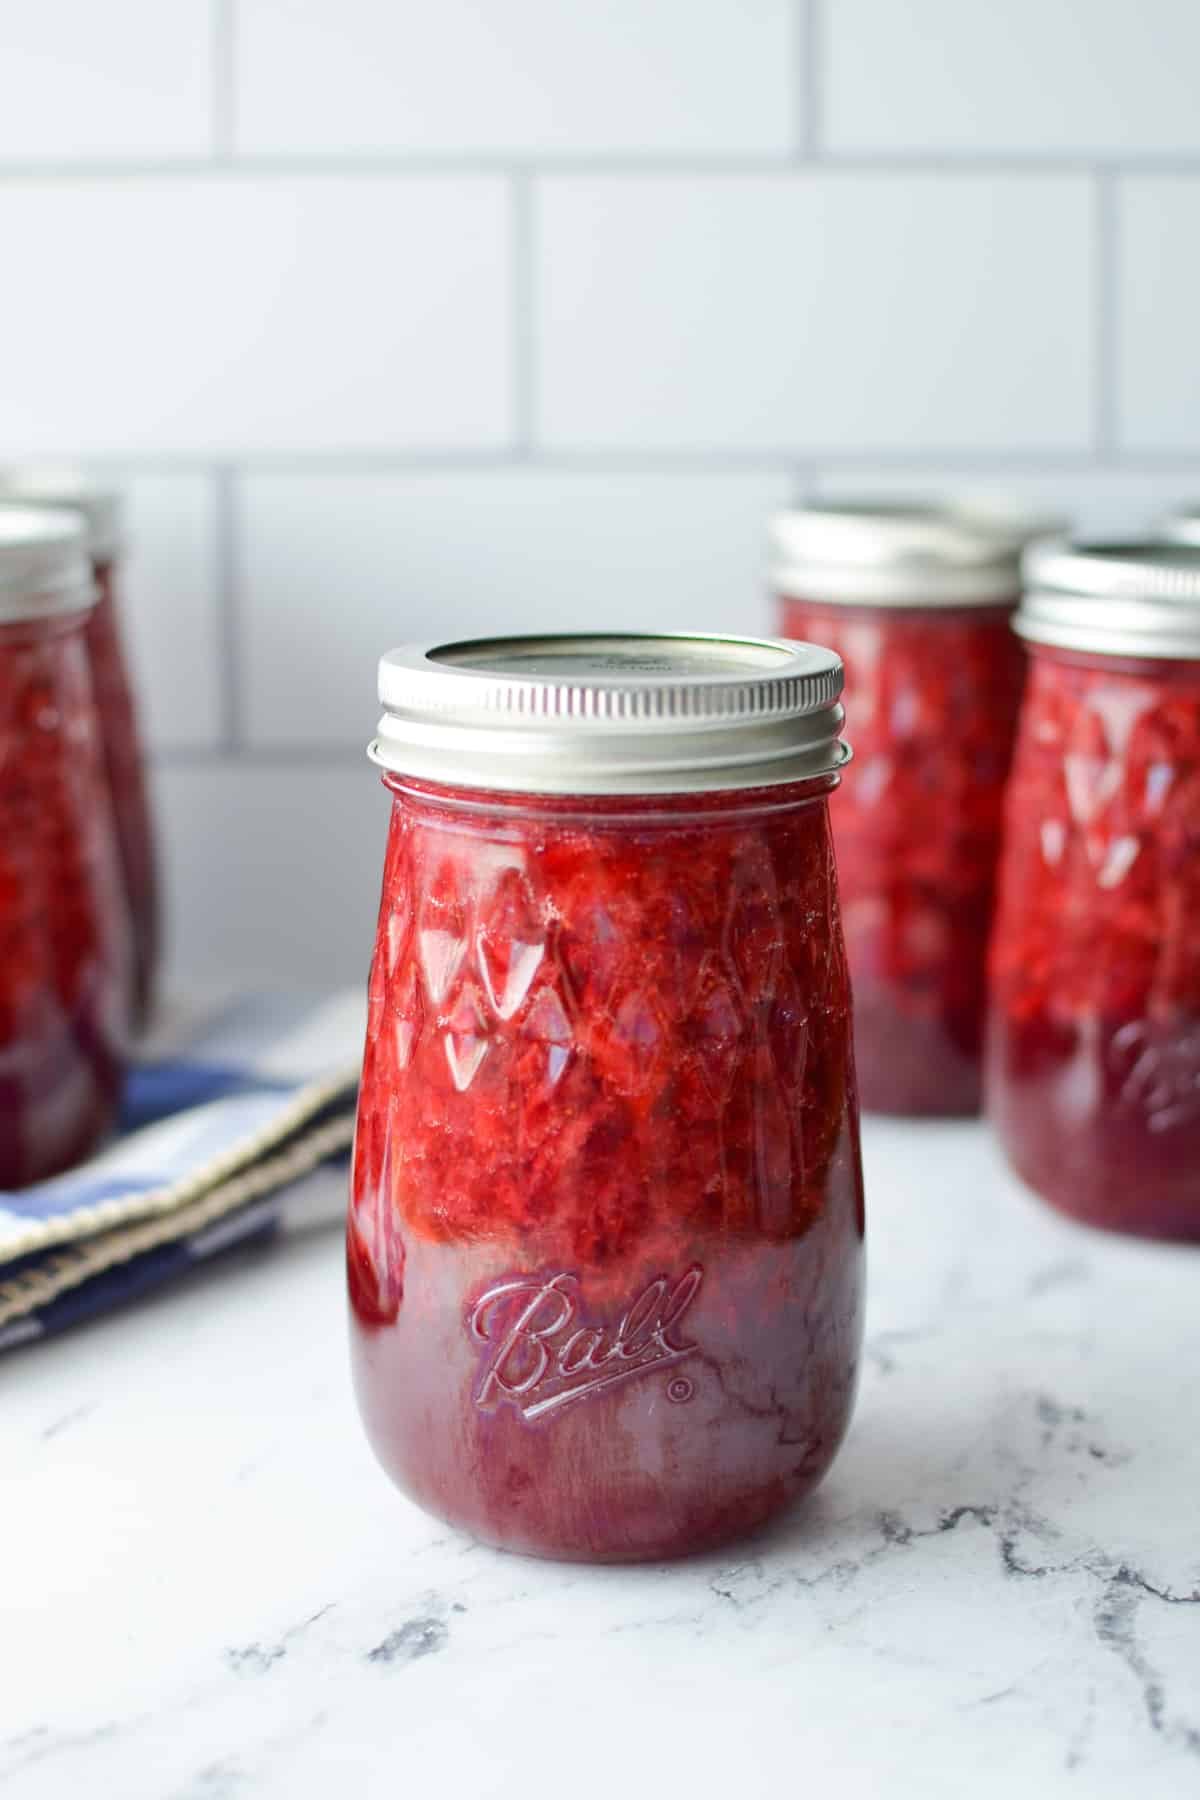
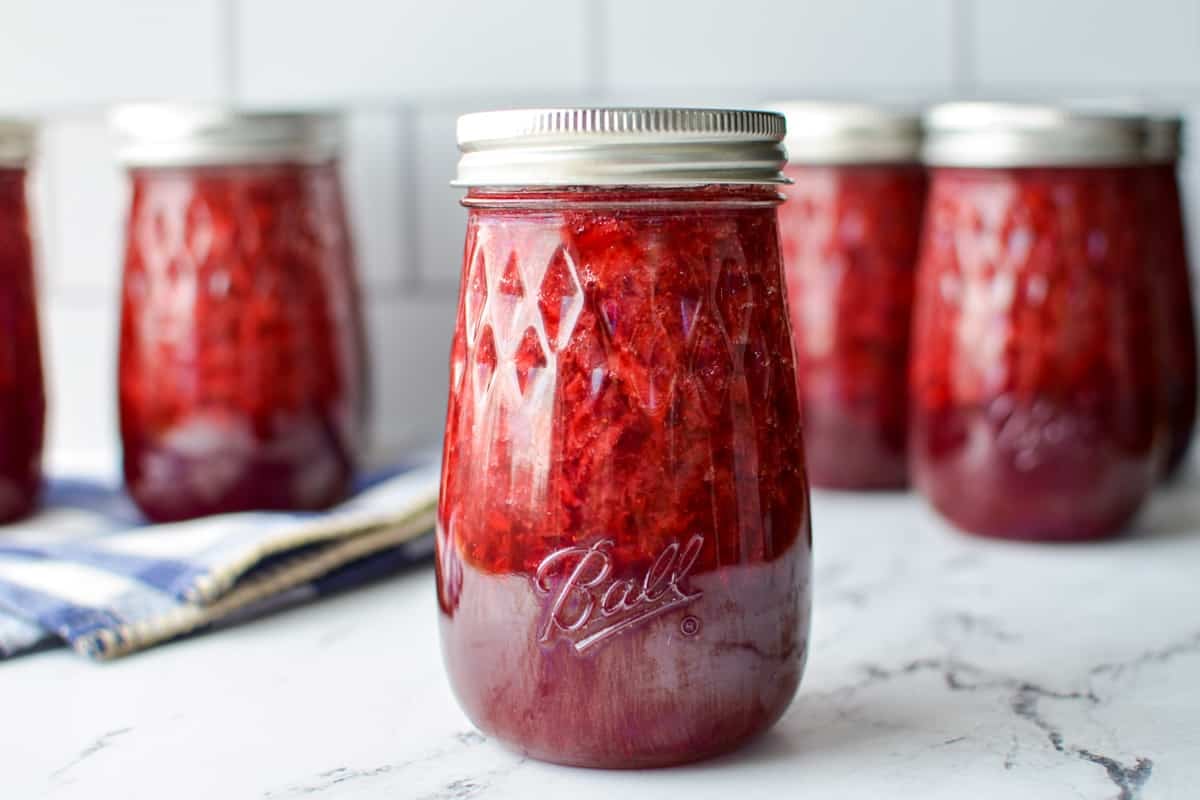
After a few minutes, you may start to hear a loud "pop" coming from your jars. This is the sound of them sealing. Typically, the jars will seal within an hour, but you may have some that take longer. Leave your jars undisturbed for 24 hours before removing the rings, cleaning them, and adding the sealed jars to storage. Don't forget to label them with the type of jam, as well as the preservation date.
Important Tips for Canning
- Water coverage: Make sure your jars are submerged under at least 1-2" of water once they are placed in the canner.
- Processing time: Don't start the processing time until the canner (with the jars of jam inside) comes back up to a rolling boil. Then place the lid on and begin the processing time.
- Use a lid: For both bringing the canner to a boil and processing the jam jars, it is recommended to use a lid. This prevents evaporation of water AND maintains a high heat for processing.
- Allow the canner to cool: For the best chance at your jars sealing, I recommend turning the stove off and removing the canner from the heating element. Allow the jars to rest for 5 minutes before removing them from the canner to a cooling rack.
- Don't touch for 24 hours: After your jars have been removed from the canner, place them on a towel or cooling rack in an area where they will be undisturbed for 24 hours. Do not turn them upside down or shake them during this time.
- Check the seals: Within the first 10 minutes or so of removing your jars from the canner, you should start to hear a "ping" or "pop" noise. When you gently press on the center of the lid, it should be firm and flat or slightly concave. If it still is convex, your jar has not sealed yet. Any jars that have not sealed after the first 5-6 hours should be moved to the fridge and used within the next 1-2 months. With jams and jellies, it's pretty rare to have more than 1 jar not seal.
- Remove the rings: Before you label and store your jars, remember to remove the outer ring. Leaving the outer ring on can cause the jar to appear sealed when it is not. It can also cause rust, so removing the ring is the best practice for safety and quality.
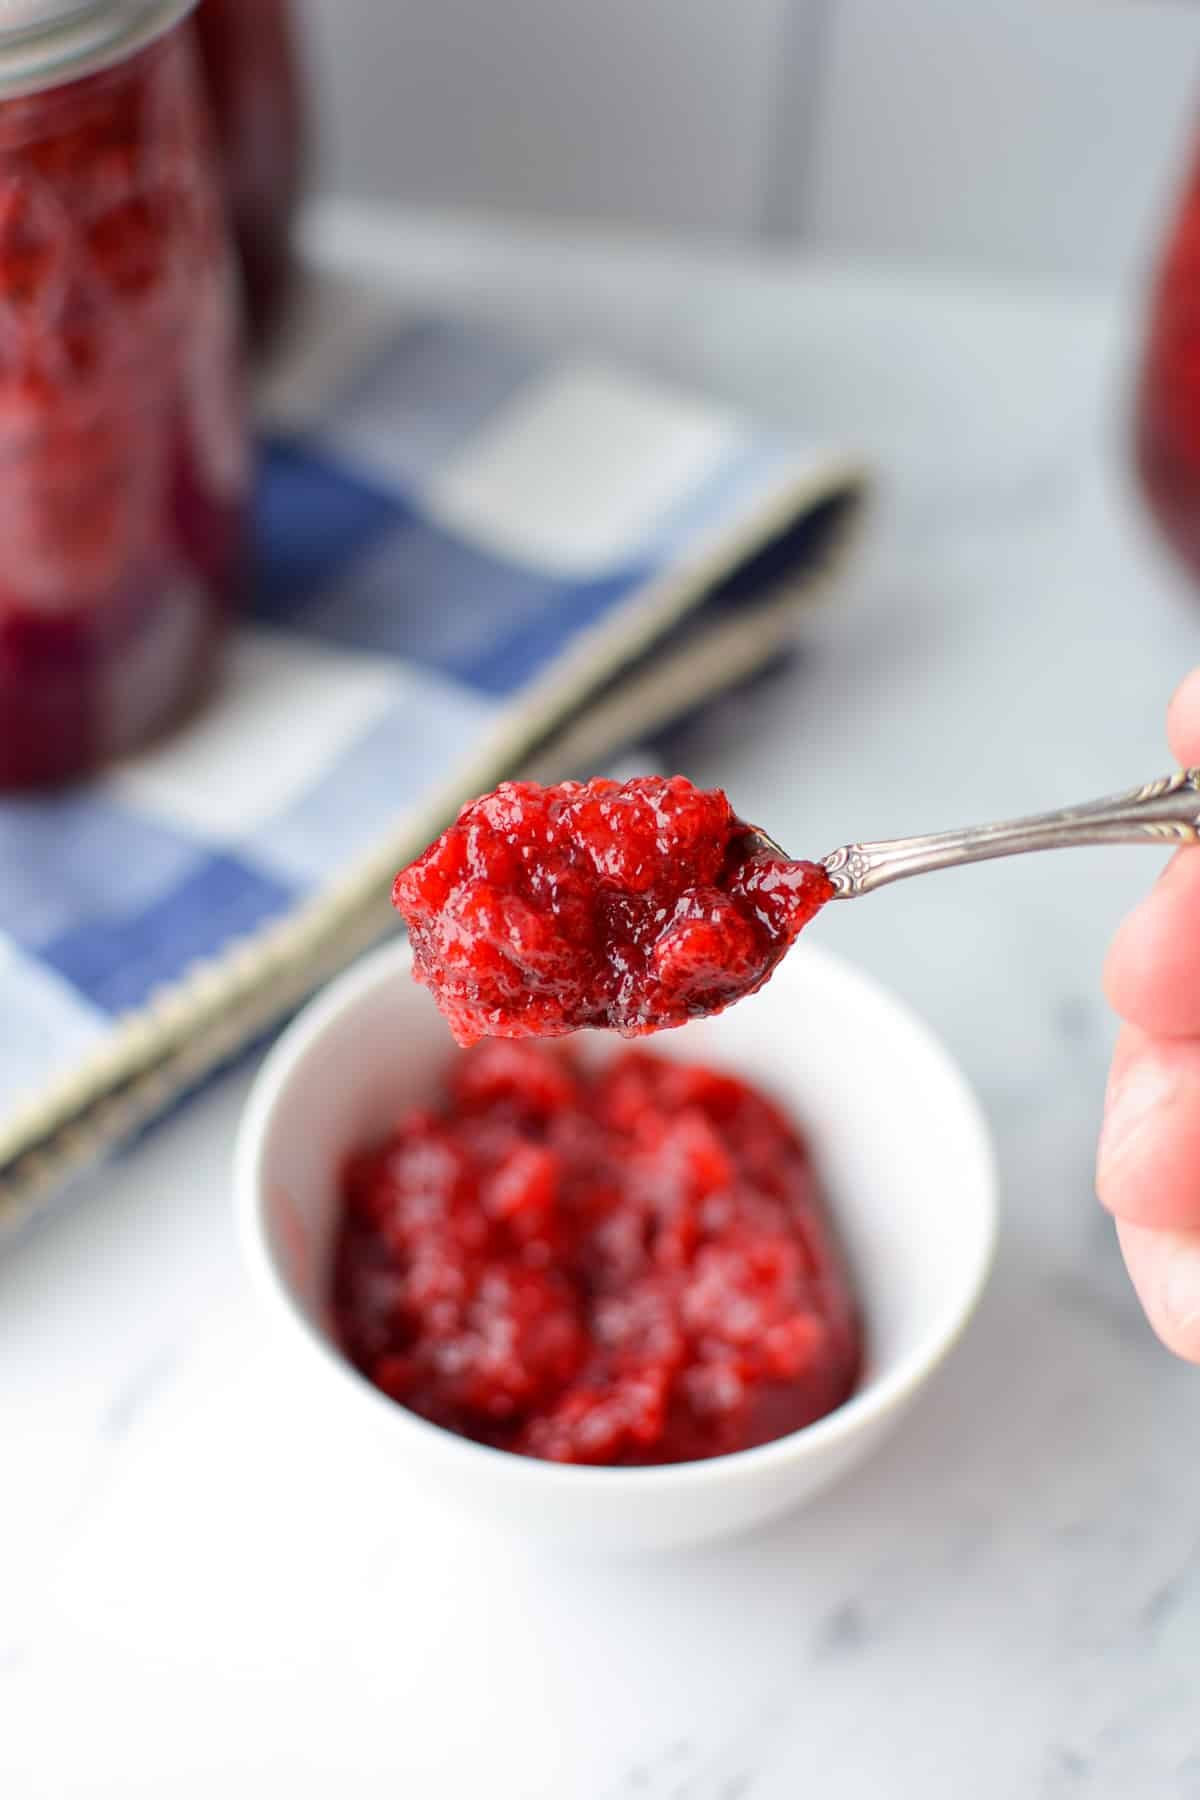
Can I Make Low Sugar Strawberry Freezer Jam?
If you would prefer to skip the canning process and instead make a low sugar strawberry freezer jam, that is absolutely fine! Just follow this process:
- Make the jam as directed in the canning recipe.
- Prepare your freezer jam jars by cleaning and sterilizing if you are using glass jars.
- Keep your jars warm, then add in the prepared jam, leaving at least 1 ½" headspace to allow for expansion.
- Allow your jars to cool without the lid on (drape a clean cloth over them to keep bugs and dust out). Then, place the lid on and transfer them to the freezer.
- Freeze for up to 12 months, thawing each jar as needed.
If Freezing in Glass Jars
- To prevent glass jars from cracking, leaving at least 1 ½" of headspace and place the jar in the freezer without a lid on.
- Once it is mostly frozen, add the lid and label.
- Cold glass jars are very susceptible to breaking, so keep them in an area in the freezer where they would go undisturbed. I recommend plastic freezer jam jars if you can find them.
Variations and Substitutions
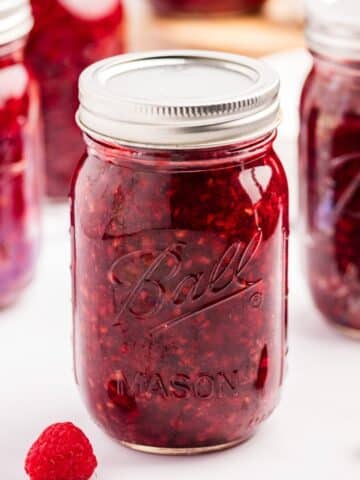
If you would like to make jam with another fruit, you can use the exact same recipe with the same mashed fruit proportions for a variety of fruits. You can also do a blend if you prefer. Those include:
- Strawberry
- Raspberry
- Gooseberry
- Sour cherry
- Sour plum
- Sour blackberry
- Gooseberry
- Kiwi
- Pineapple
Some fruits can be made the same way, but they need an additional 1 cup of lemon juice per full sized batch. These include:
- Blueberries
- Blackberries
- Mulberries
- Elderberries
- Quince
- Apple
Using Honey:
If you would like you, you can make your low sugar strawberry jam with honey instead. Simply substitute the 4 cups of sugar for 3 cups of honey. Keep in mind that the flavor of honey will be present in your finished jam, and the jars will lose color with storage time.
More Strawberry Canning Recipes
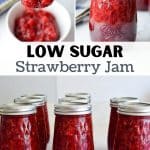
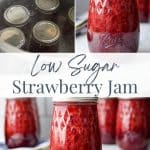
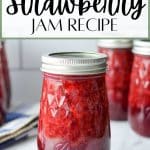
Low Sugar Strawberry Jam
If you're looking for a healthy and low sugar way to make homemade jam, you have to try this simple and delicious recipe. Perfect for canning, but includes freezer jam instructions too!
Ingredients
- 16 cups mashed strawberries (approximately 20-23 cups sliced)
- 4 cups granulated sugar
- 1 package Pomona's Universal Pectin
Instructions
- Prepare your jars, rids, and lids by washing them in hot soapy water. Rinse well and dry completely. Clean any tools you'll be using like a jar lifter, headspace checker, magnetic lid lifter, etc. Sterilize if needed.
- Hull and chop your strawberries. I prefer to use a paring knife and remove the top, but you can hull it if you prefer. You will need a total of 20-23 cups of chopped strawberries to yield 16 cups of mashed fruit.
- Mash your strawberries in small batches, repeating the process until you reach 16 cups of mashed fruit. Add to a large pot that can hold at least 6 quarts, but larger is better.
- Fill your canner (with the canning rack in place) with water and bring to a boil. Lower the jars into the canning rack, and allow to fill with hot water.
- Place the lid on and boil for 5-10 minutes. Turn the canner off, keeping your jars submerged in the warm water. Leave them there until you're ready to start filling them with hot jam.
- Bring a small saucepan of water to a low simmer and add the canning jar lids. Allow to simmer while you prepare your jam, and keep them in the warm water until you're ready to bottle your jam.
- Prepare the calcium water by adding ½ teaspoon of calcium powder to a small bowl. Pour in ½ cup of clean filtered water and stir to dissolve.
- Measure out 2 tablespoons + 2 teaspoons of calcium water and add to the pot along with the mashed strawberries.
- Measure your sugar into a large bowl, and then add 2 tablespoons + 2 teaspoons of the pectin powder (approximately the entire pouch). Whisk to combine and set aside.
- Place your pot of mashed strawberries on a heating element and bring to a boil over medium-high heat, stirring often to prevent burning.
- Once the strawberries have reached a boil, add in the pectin and sugar combination. Stir well to combine.
- Stir often, and bring the sweetened strawberries up to a boil once again. Once a full boil is reached, remove from the heat and skim any excess foam off the top of the berries.
- Place a clean wide mouth funnel over the warm jars, and fill each jar to within ¼ of the top, also known as ¼” headspace.
- If there are large air bubbles, remove them with a clean butter knife. This is done by sliding it down to the bubble and "popping" it so it floats to the surface.
- Wipe the rim of each jar with a clean towel or paper towel, ensuring there is no jam around the threads or rim.
- Use a magnetic lid lifter to place a clean, warm lid on each of the jars. Then, fit them with a canning ring until fingertip tight.
- Fill your canner with enough water to cover the jars by 1-2” and place a lid on it. Bring to a boil over high heat.
- Once the water comes to a boil, place the jars inside of the canner rack. They should not touch the bottom of the canner at any point. Pressure and water bath combos have a plate that sits at the bottom, and water bath canners often have a wire rack that lifts in and out.
- Once all of the jars are placed inside of the canner (they should have some room and not be tightly packed), put the lid on and bring the water to a full boil. Once the water boils, the processing time begins.
- Process your jars for 10 minutes, whether using pints or half pints.
- Once the time is up, turn off the heat and move the canner off of the hot element. Allow to cool for 5 minutes.
- After the cooling time is up, remove the jars to a cooling rack or double layered towel on the counter.
- After a few minutes, you may start to hear a loud "pop" coming from your jars. This is the sound of them sealing. Typically, the jars will seal within an hour, but you may have some that take longer.
- Leave your jars undisturbed for 24 hours before removing the rings, cleaning them, and adding the sealed jars to storage. Don't forget to label them with the type of jam, as well as the preservation date.
- Any jars that don’t seal should be added to the fridge and used within 1 month.
Notes
Extra jam: You may have some leftover jam that cannot fill another pint jar. Just transfer it to a clean jar or container and allow to cool. Fit with a lid and store in the fridge. Use within one month.
Batch size: This produces up to 9 pints of low sugar strawberry jam and uses one package of Pomona's pectin. If you would like to make a smaller batch, you can cut the recipe in half (and use half of a box of pectin), or even into ¼ of the size if you would like a very small batch.
Using half pints: Pack the jam into 18 half pint jars, processing in batches as they will not all fit in the canner. Alternatively, you can cut the recipe in half. Process for 10 minutes just as you do with the standard recipe.
Freezer jam: pack the jam into glass or plastic freezer jam jars. Allow to cool and place a lid on the jam loosely, Label and freeze for up to 12 months. Thaw as needed.
To prevent glass jars from cracking, leaving at least 1 ½" of headspace and place the jar in the freezer without a lid on. Once it is mostly frozen, add the lid and label. Cold glass jars are very susceptible to breaking, so keep them in an area in the freeze where they would go undisturbed. I recommend plastic freezer jam jars if you can find them.
Nutrition Information:
Yield: 144 Serving Size: 2 tablespoonsAmount Per Serving: Calories: 29Total Fat: 0gSaturated Fat: 0gTrans Fat: 0gUnsaturated Fat: 0gCholesterol: 0mgSodium: 1mgCarbohydrates: 7gFiber: 0gSugar: 6gProtein: 0g
Nutrition information is an estimate only.
Please note that some of my blog posts here at Little Home in the Making may contain affiliate links. If you make a purchase through these links, I will get a small commission at no additional cost to you. Please see my Disclaimer for more information.










Beth Rainey
what is calcium powder, and where is it found? Is it really needed in the low-sugar strawberry jam recipe?
Dolly | Little Home in the Making
For this recipe I use Pomona's pectin, which is a type of pectin that is used for making low and no sugar jams. It comes with a packet to make the calcium water. I use Pomona's because I've tried mainstream brands for low sugar pectin and they generally require more sugar and don't taste as good.
If you want to make one with a low sugar pectin from the grocery store there is often a recipe included in the insert for you to try.