


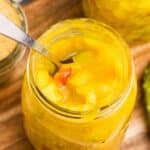


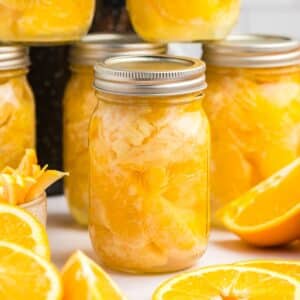
Learn all about Canning Oranges! This is an easy way to preserve a large amount, and is perfect for adding to fruit salad, cottage cheese, or ice cream.
Since oranges (and other small citrus fruits like clementines, tangerines, and mandarins) are high-acid, they can safely be canned in a water bath canner using a simple light-syrup, fruit juice, or water.
Jump to:
Whether you've picked up on a good deal on oranges at the grocery store, or have your very own citrus trees, this easy recipe for canning oranges is the perfect way to preserve citrus fruit so it's shelf stable.
Whether you're an expert, or a beginner who has maybe made some strawberry jam or bread and butter pickles, this guide to canning oranges is detailed (yet simple) enough to set you up for success.
I'm an experienced canner who has been using both the water bath method and pressure canning method for well over a decade, but I haven't forgotten the steep learning curve in the beginning. That's why I strive to give you as much information as possible (without it being overwhelming). You CAN do this!
You Will Need:
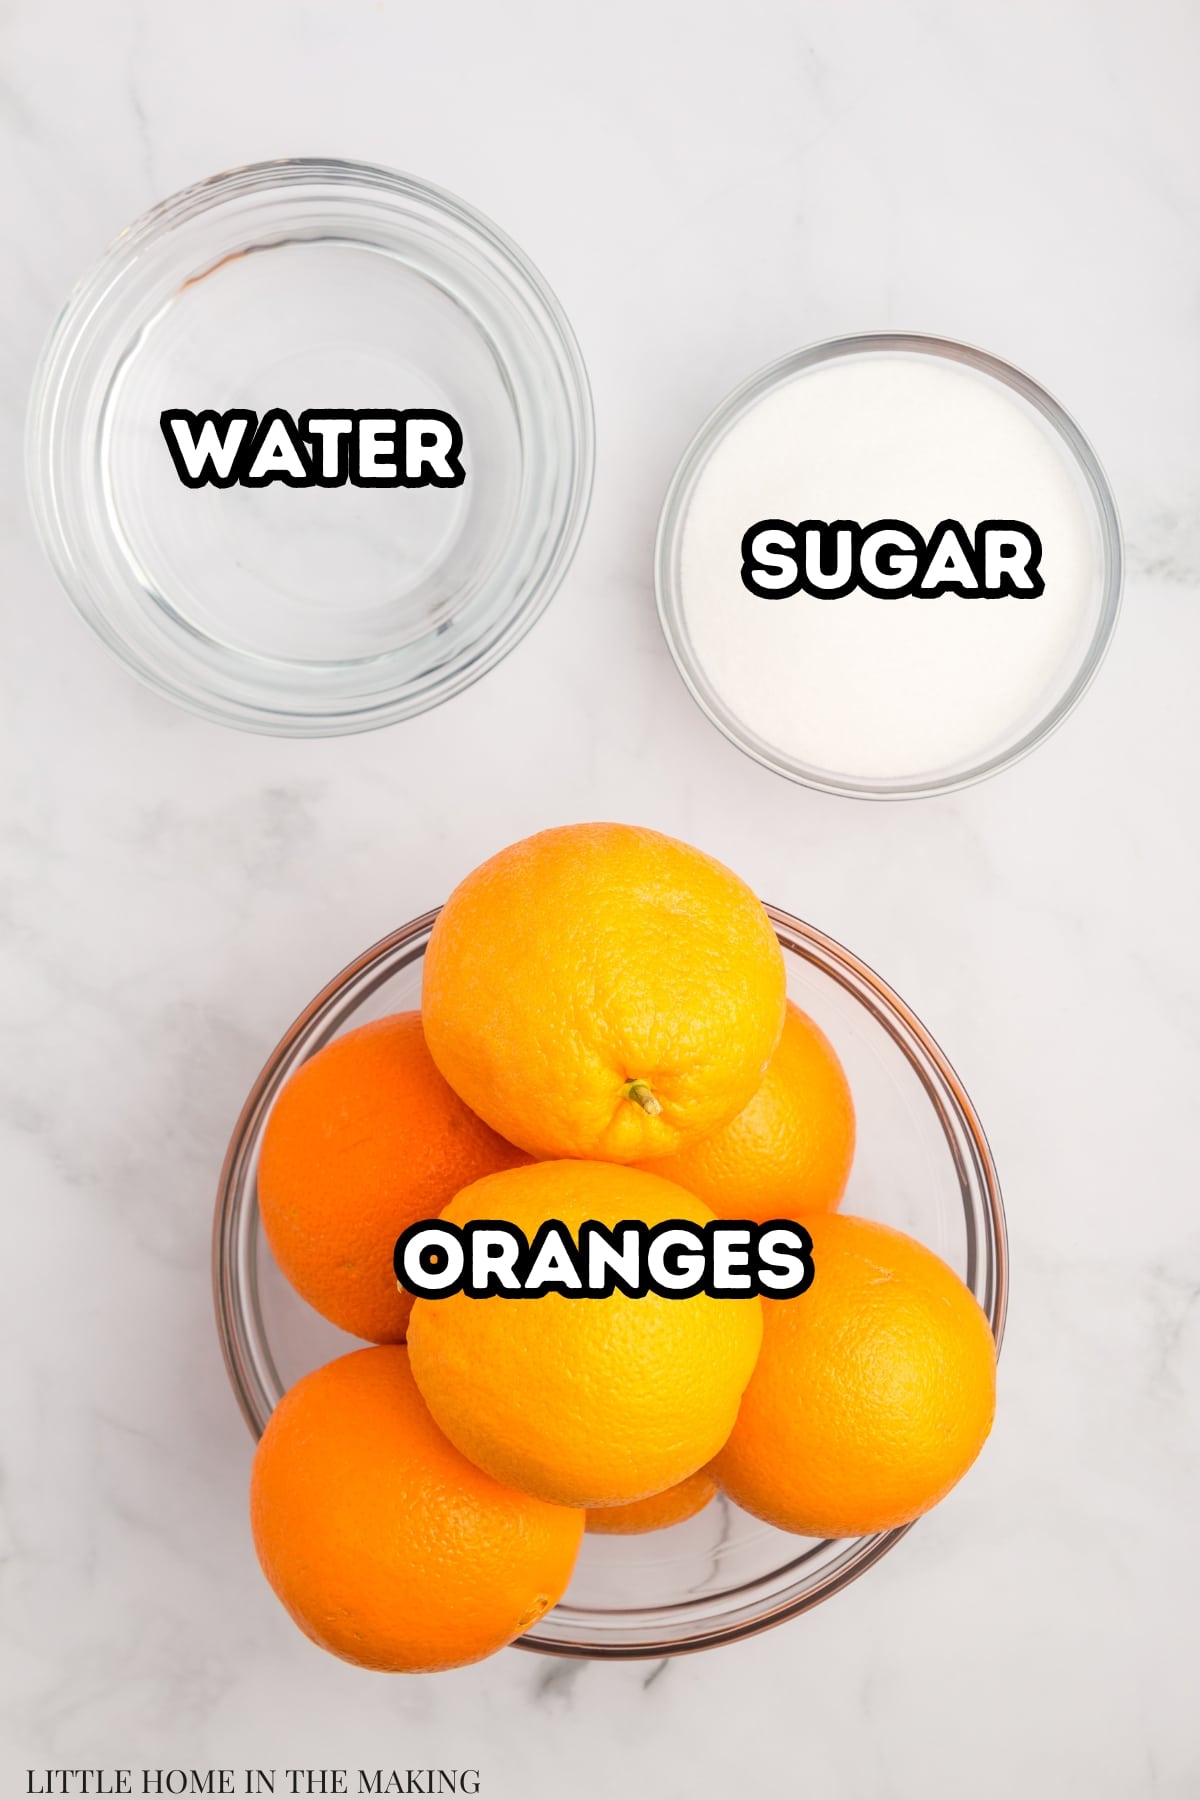
- Oranges: You can use whatever types of oranges you have available to you (navel oranges, blood oranges, etc). I've also made this recipe with small citrus fruits like clementines and tangerines, which is okay because they are all high acid fruits and can be safely canned in a water bath (when the proper canning process is followed).
- Sugar (or juice): I recommend using an extra-light simple syrup for canning, which is made with 1 ¼ cups of white sugar. If you prefer, you can use unsweetened juice (or water) to preserve your oranges without sugar.
- Water: This is for making the syrup, but you'll also need ample water for the canning process (tap water is fine).
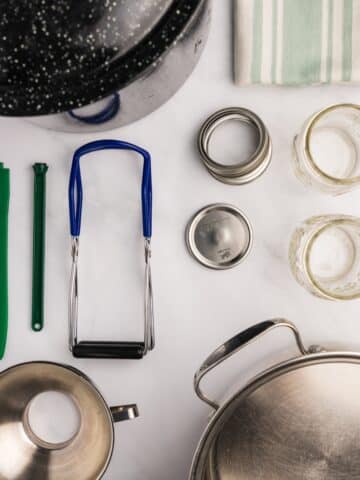
Canning Equipment
Note: There are a lot of easy swaps for these items (like using a butter knife instead of a de-bubbler), but if you've been canning for a while these are pretty basic items you likely have on hand.
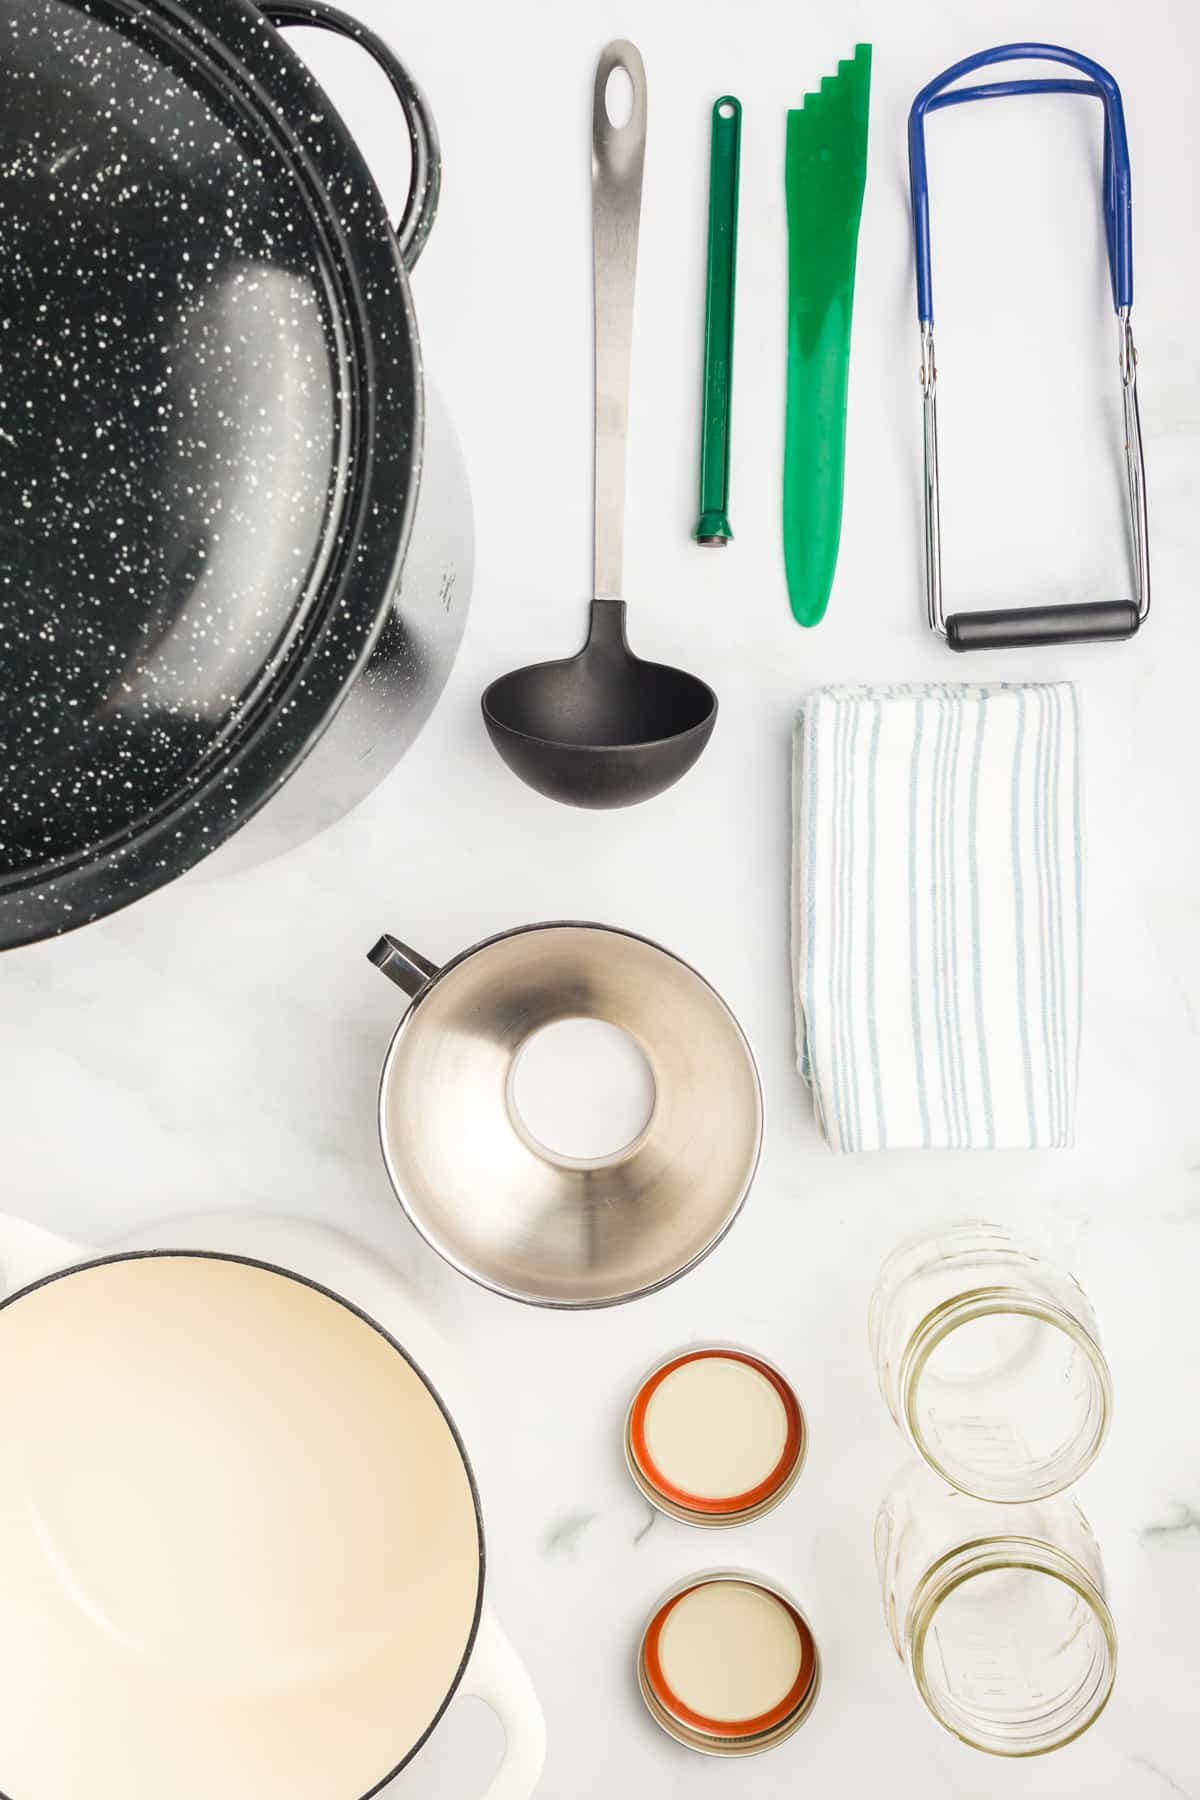
- Canning jars (and lids)
- Canning pot (AKA water bath canner)
- Wide mouth funnel
- Magnetic lid lifter
- De-bubbler
- Jar lifter
- Ladle
- Large pot (I like to use a Dutch oven)
- Clean kitchen towel
Before You Get Started: Canning Prep
- Wash all the jars, lids, rings, and canning equipment with hot, soapy water. Rinse well.
- Fill the water bath canner with water and bring to a boil.
- Add the canning jars to the boiling water and sterilize for at least 5 minutes.
- Turn the heat to low and allow the jars to rest in the hot water until you're ready to use them.
- Sterilize the rings (optional) in boiling water for 5. Then lower the heat and allow to rest in hot water until needed.
- Warm the canning lids in hot water (not boiling) until needed. I recommend adding them to the pot you used to sterilize the rings, only after the boiling time is up.
How to Can Oranges
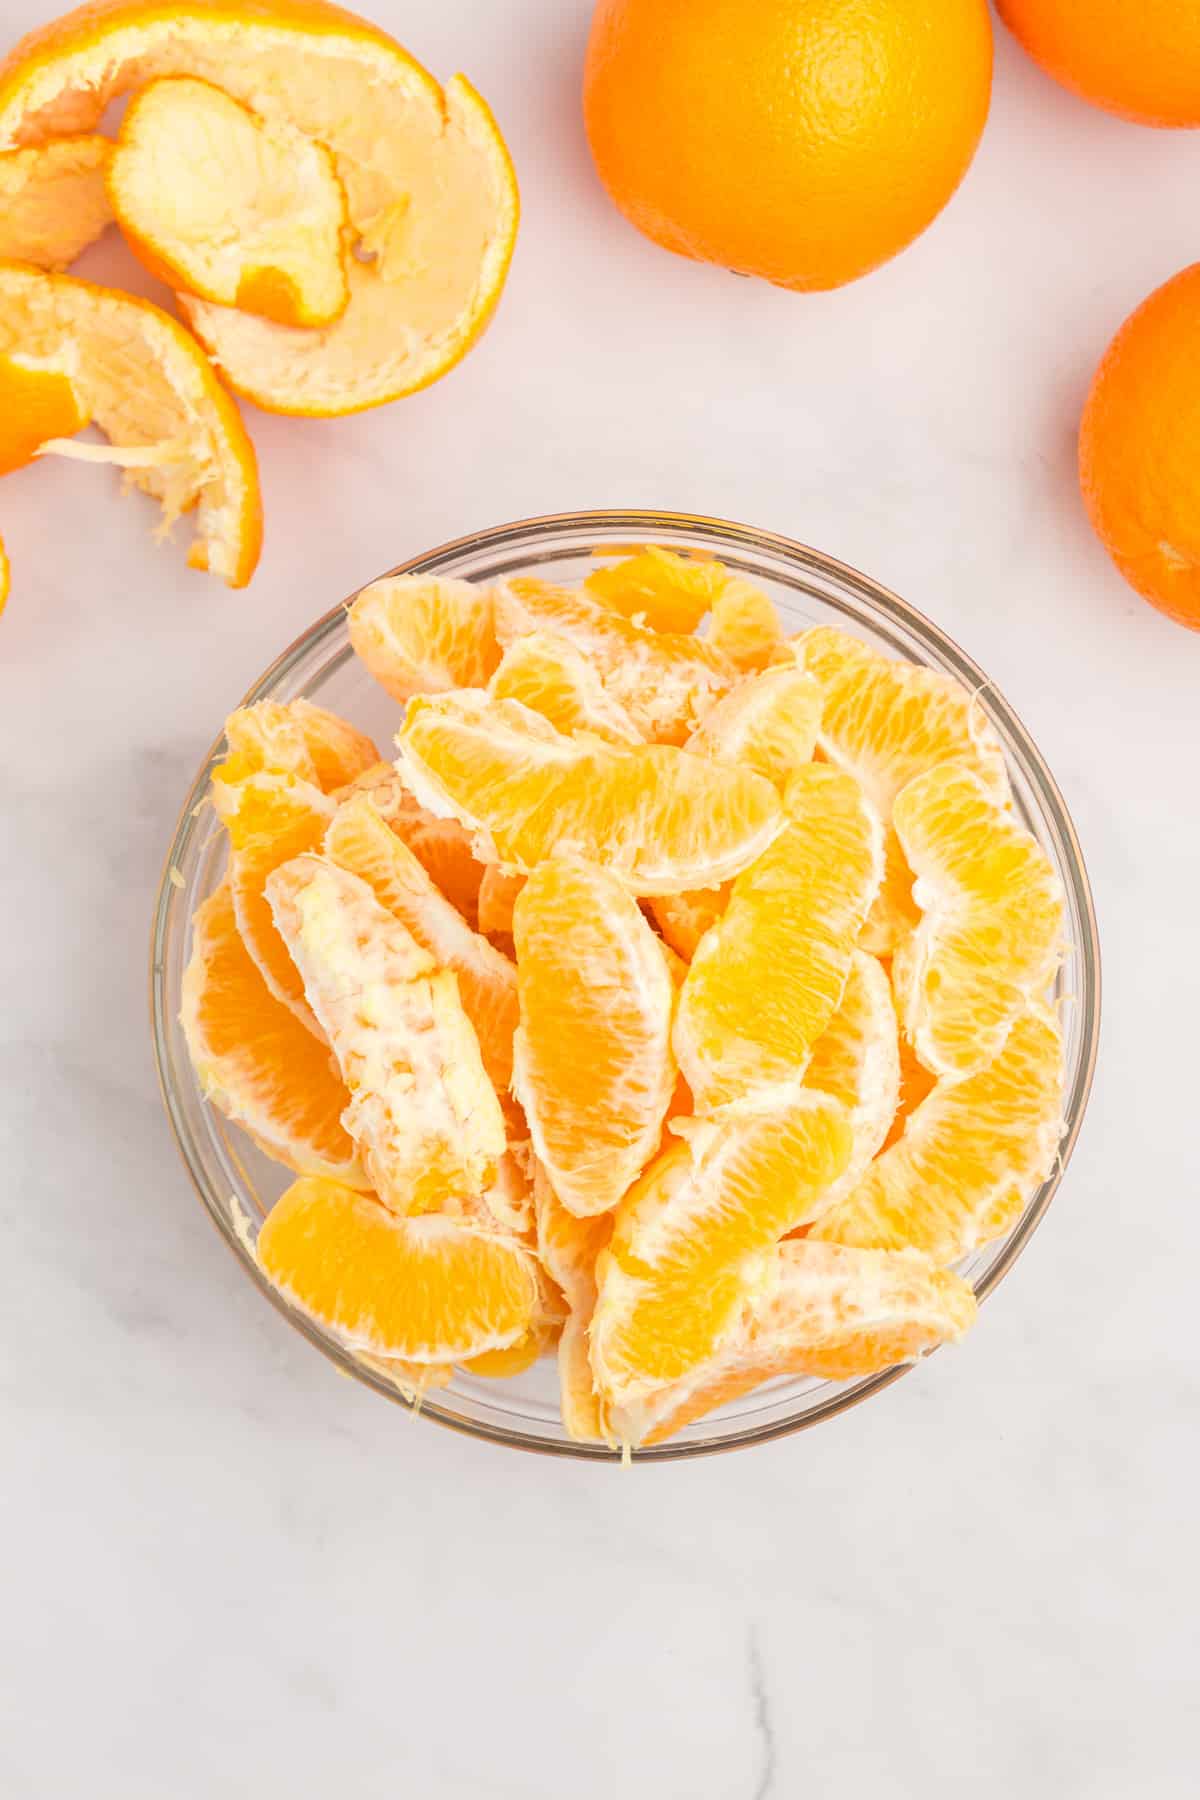
Step one: Peel your oranges and separate them into segments.
Tip: To avoid any bitter taste, you can carefully remove the white pith with a paring knife.
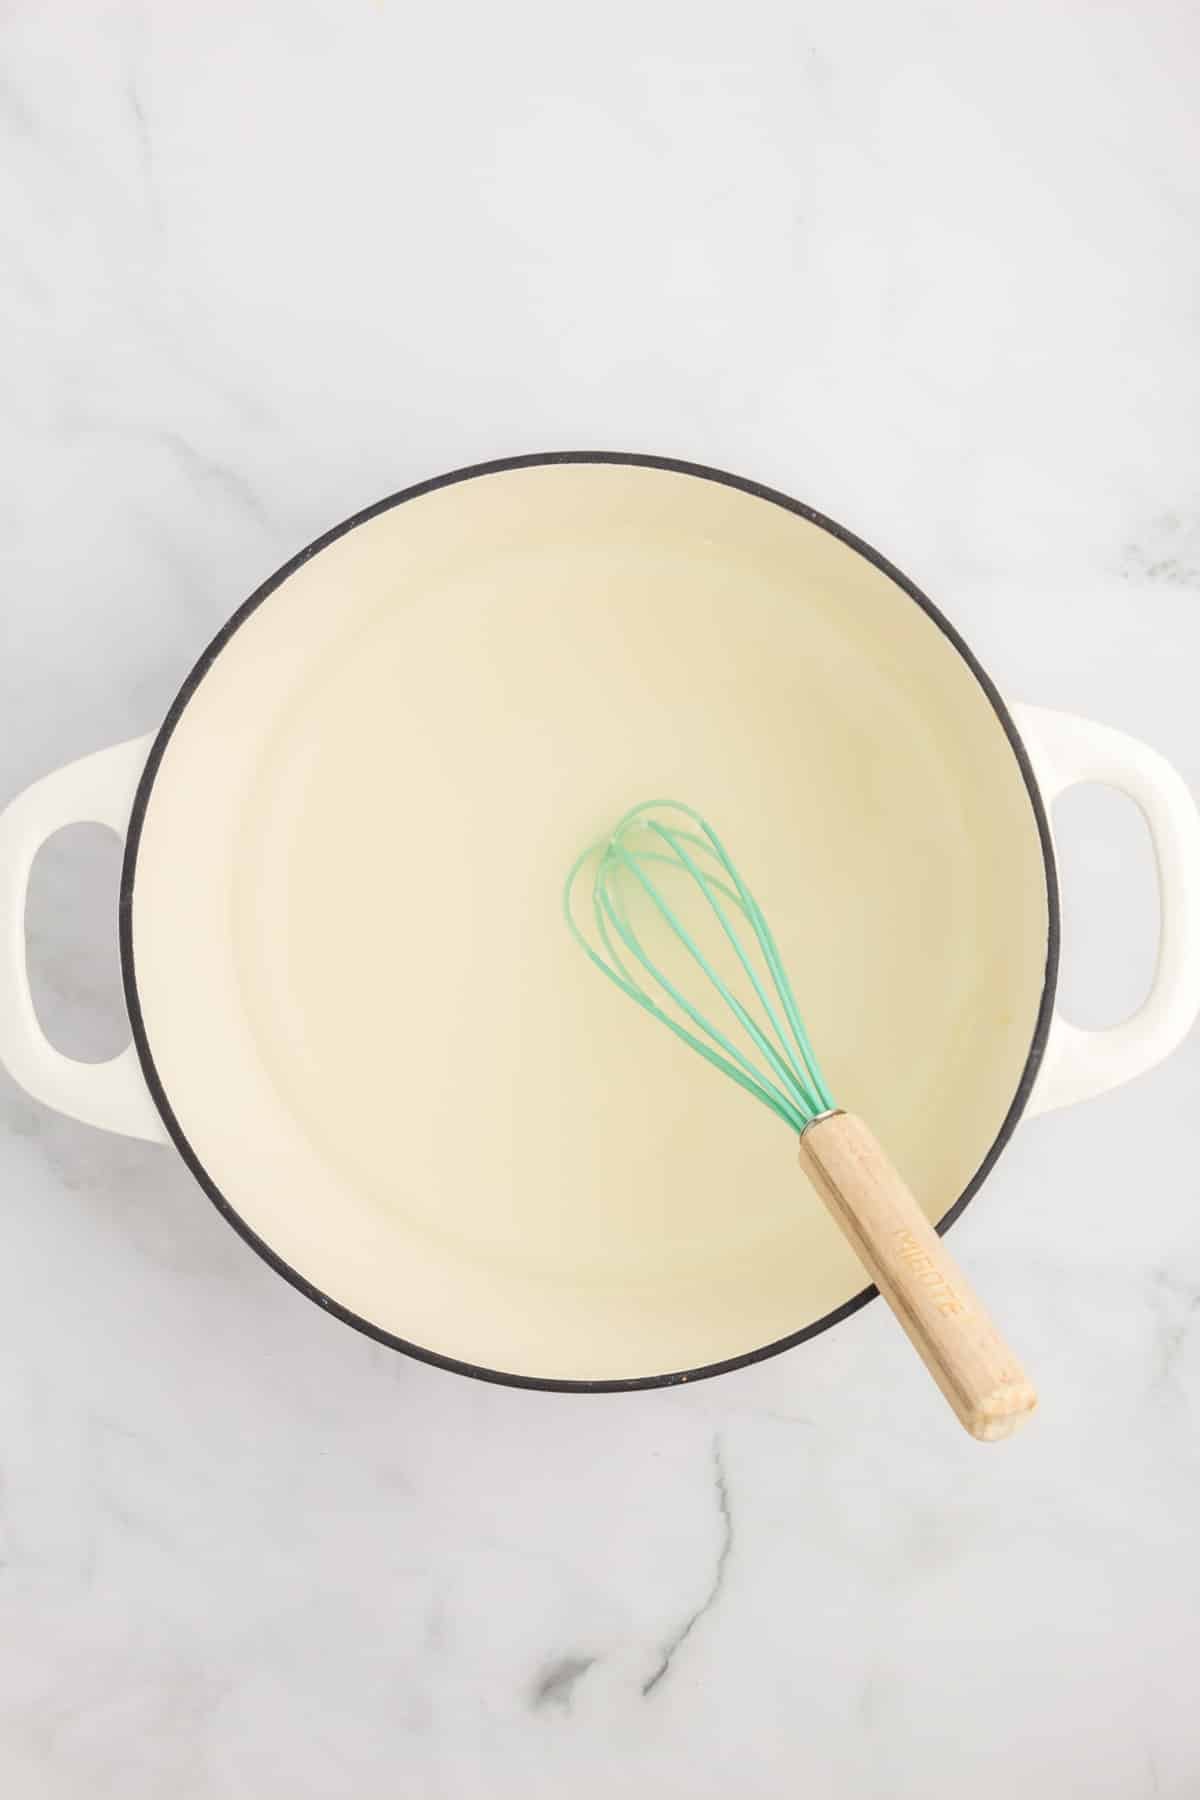
Step two: Add 5 ½ cups water to a large pot, along with 1 ¼ cups sugar and bring to a boil.
Whisk until the sugar is dissolved.
Canning without Sugar
You are able to can oranges without using a light syrup. Instead you may use either fruit juice or water. See the section labeled "Substitutions" or the recipe card for detailed information.
Filling the Jars
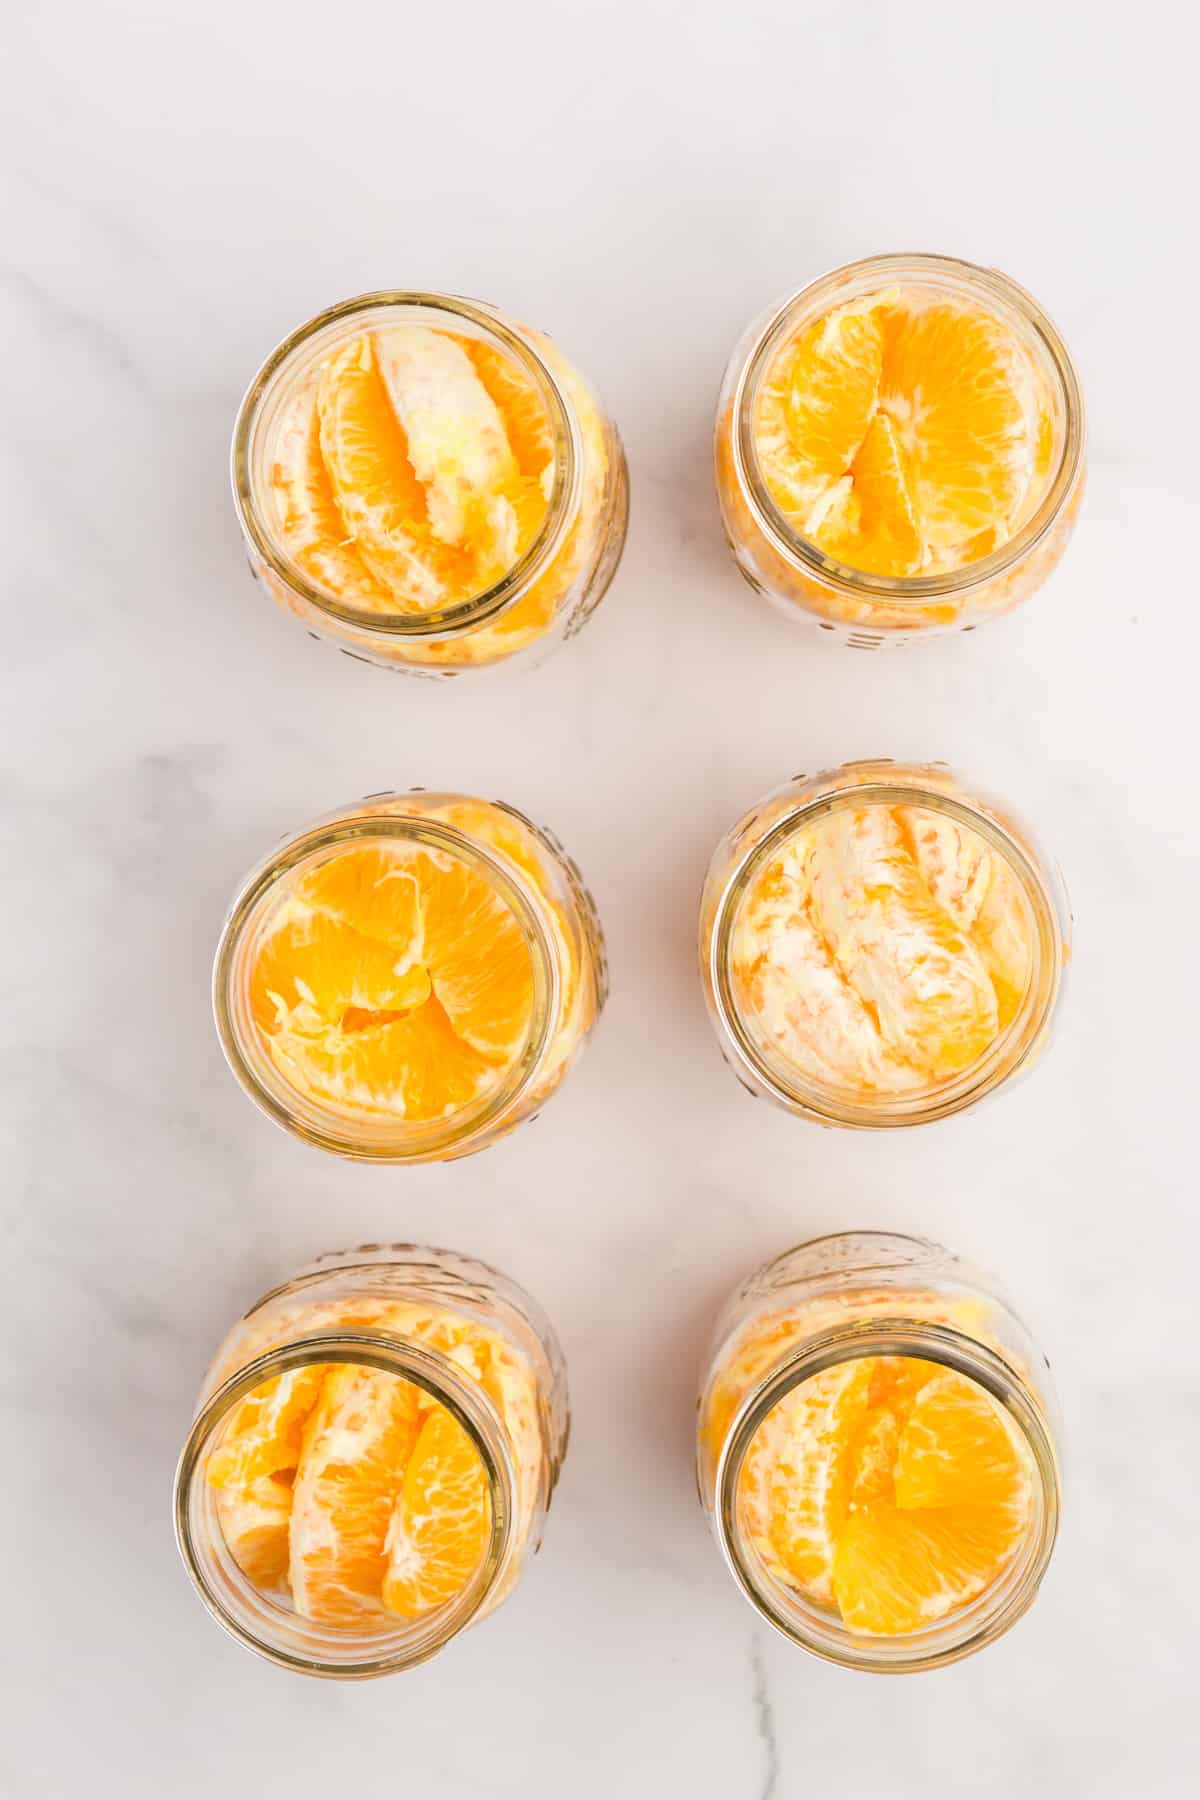
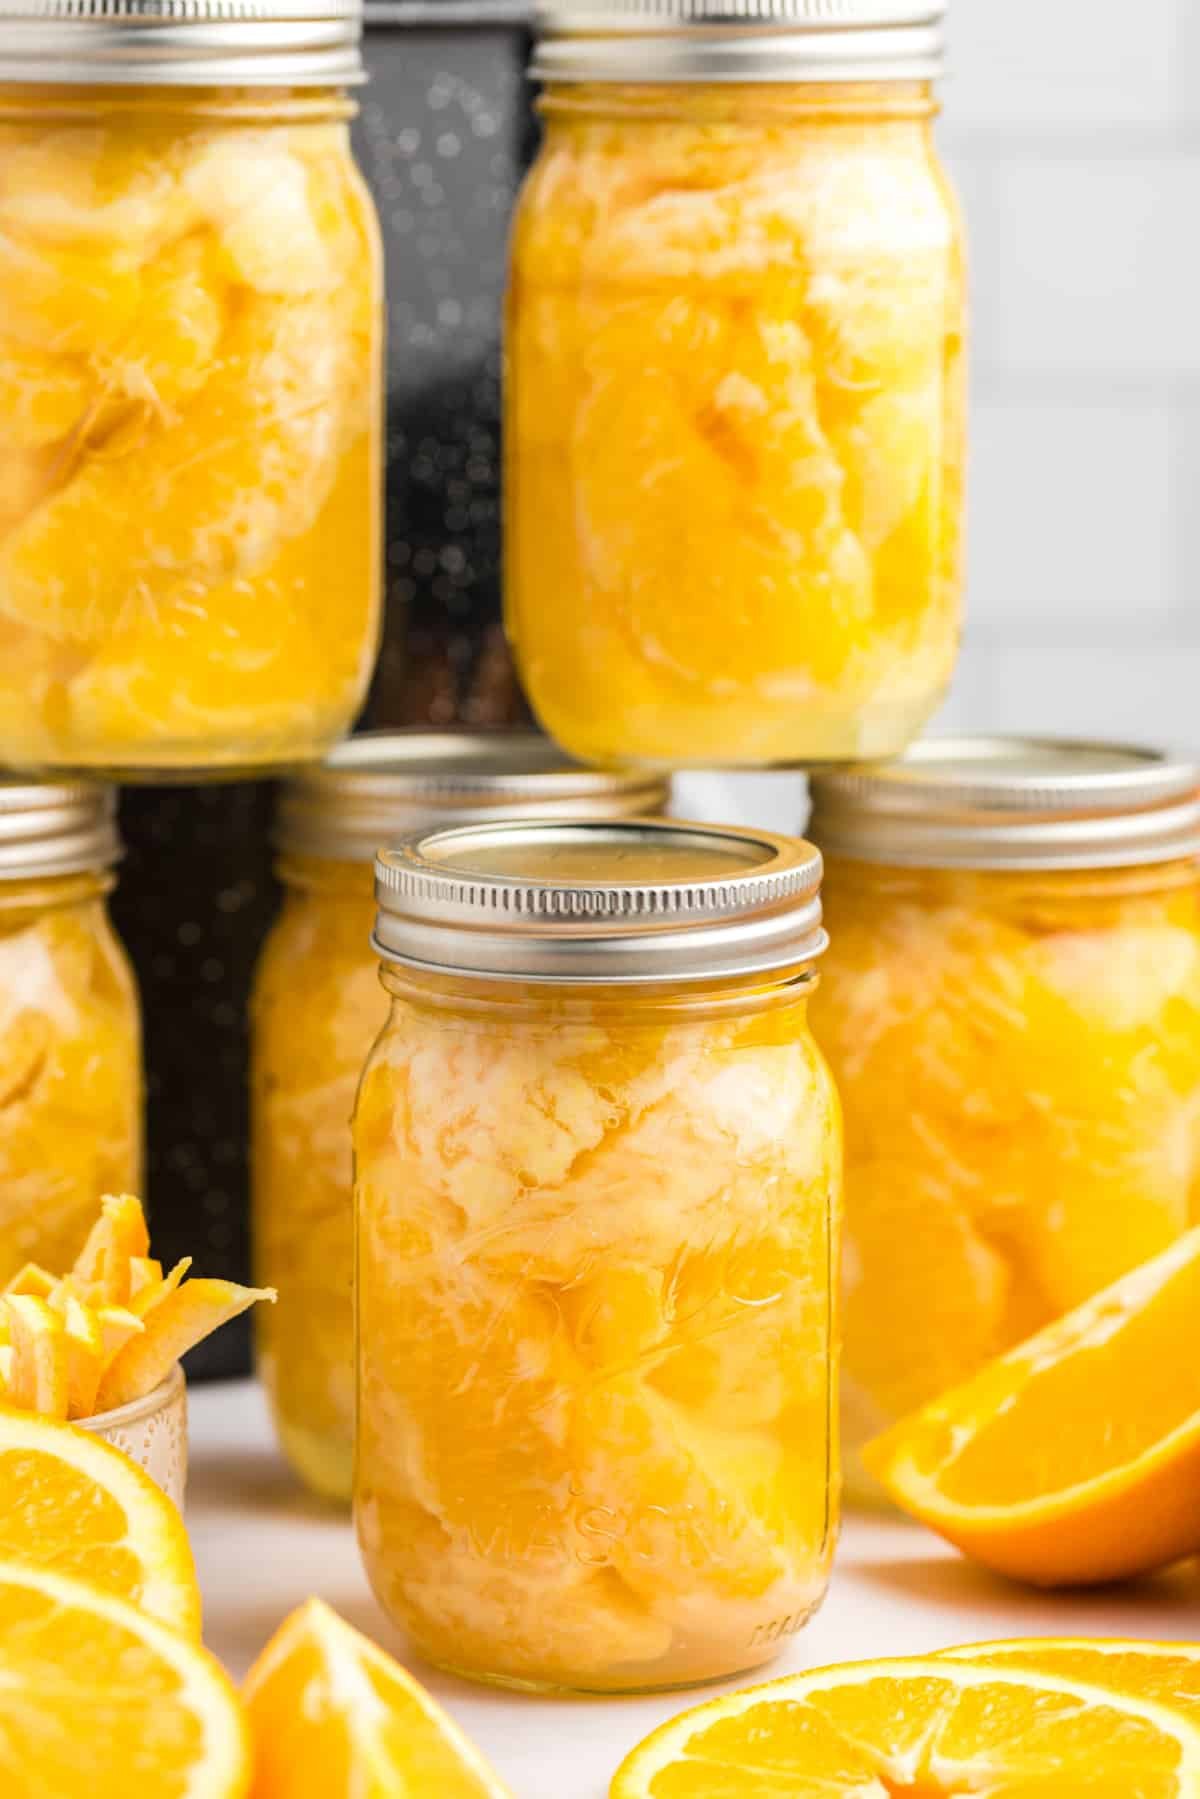
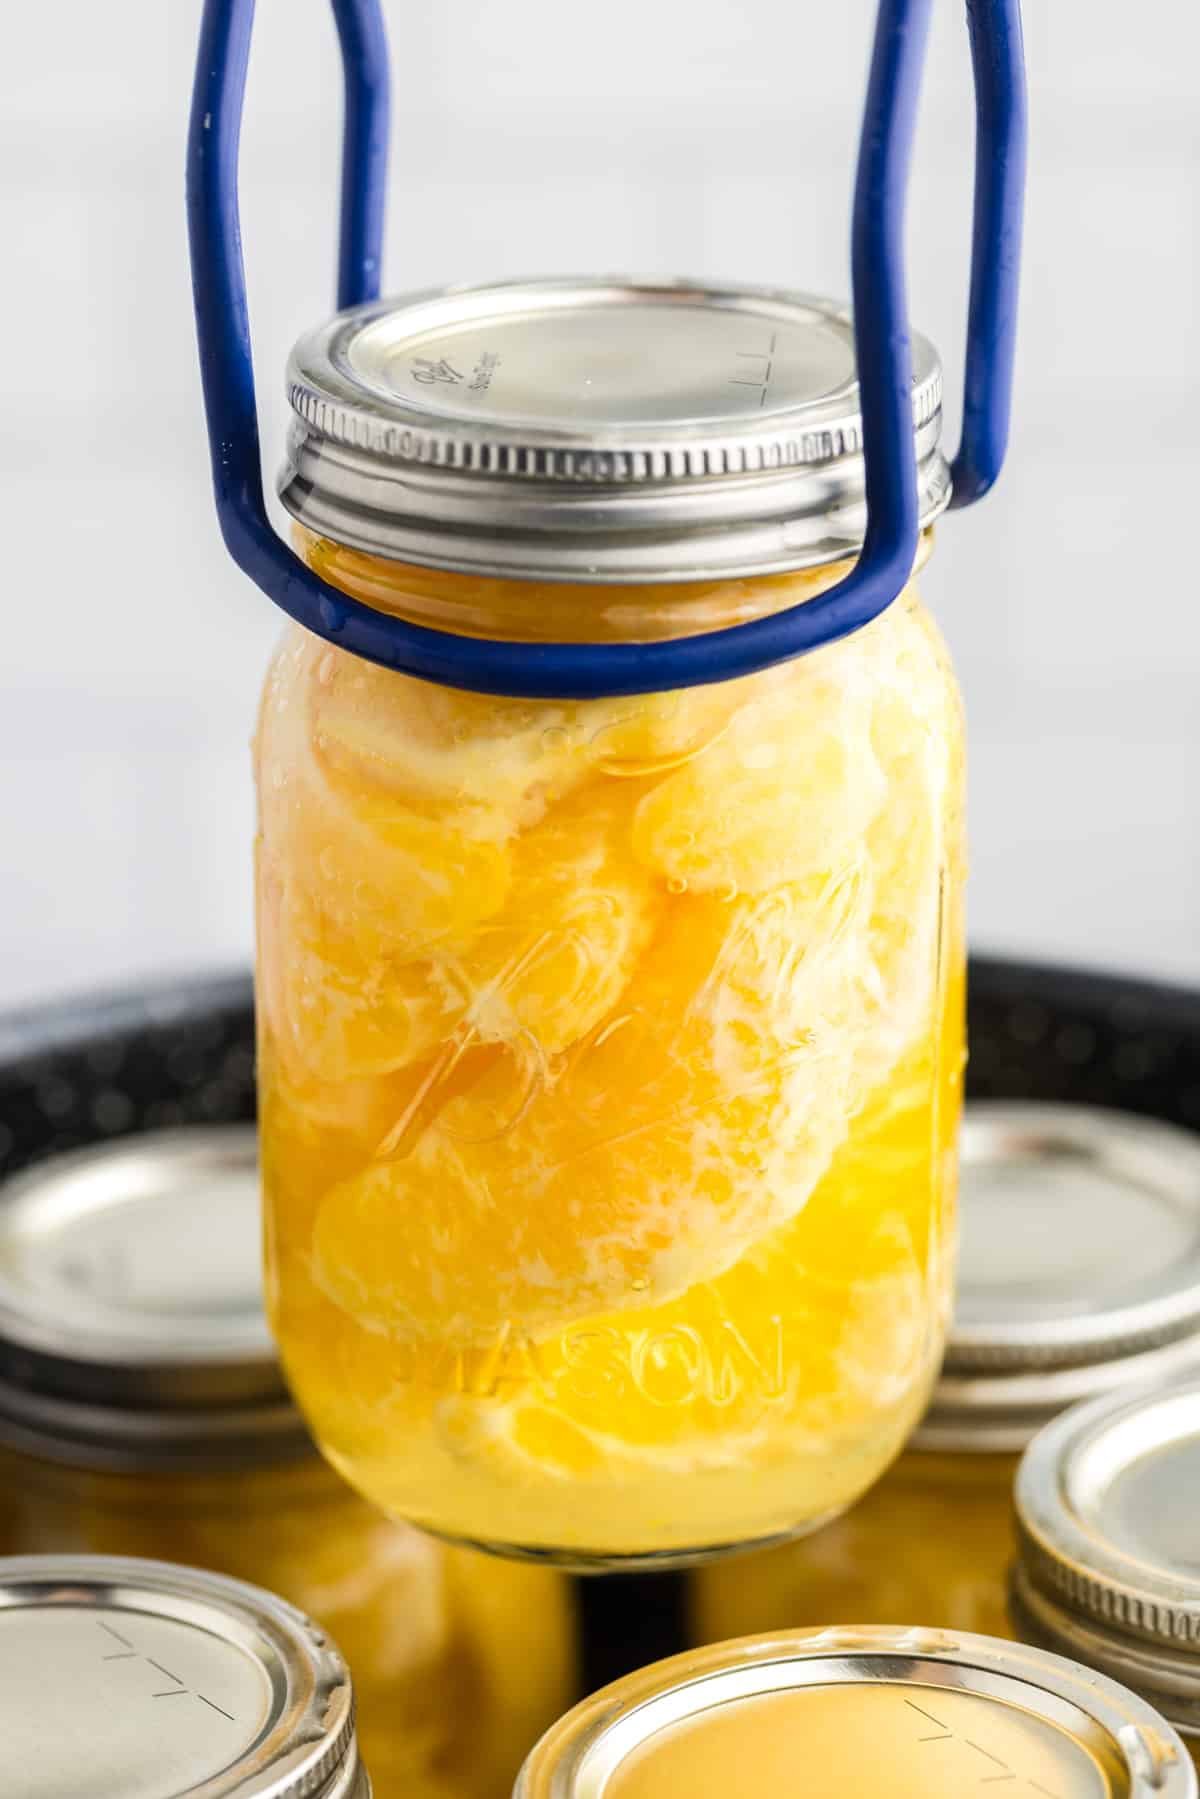
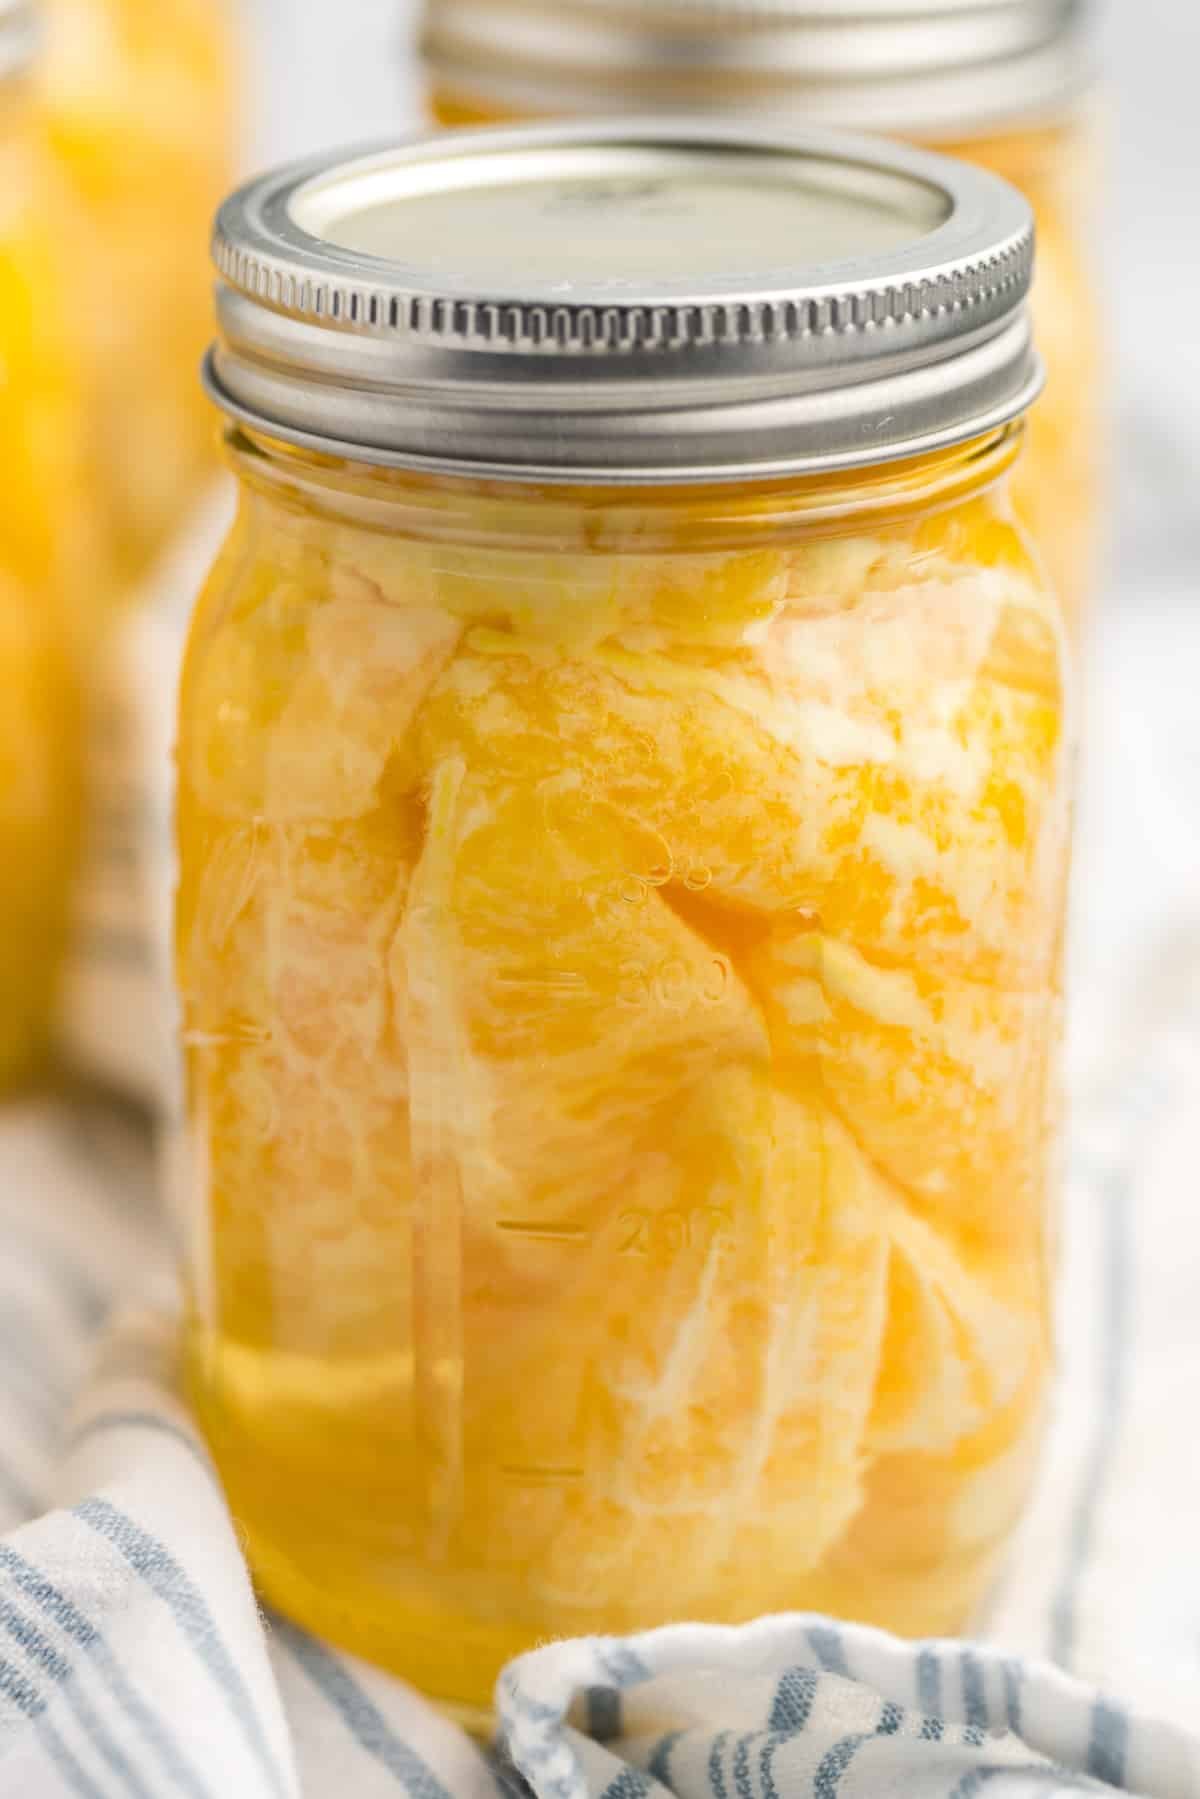
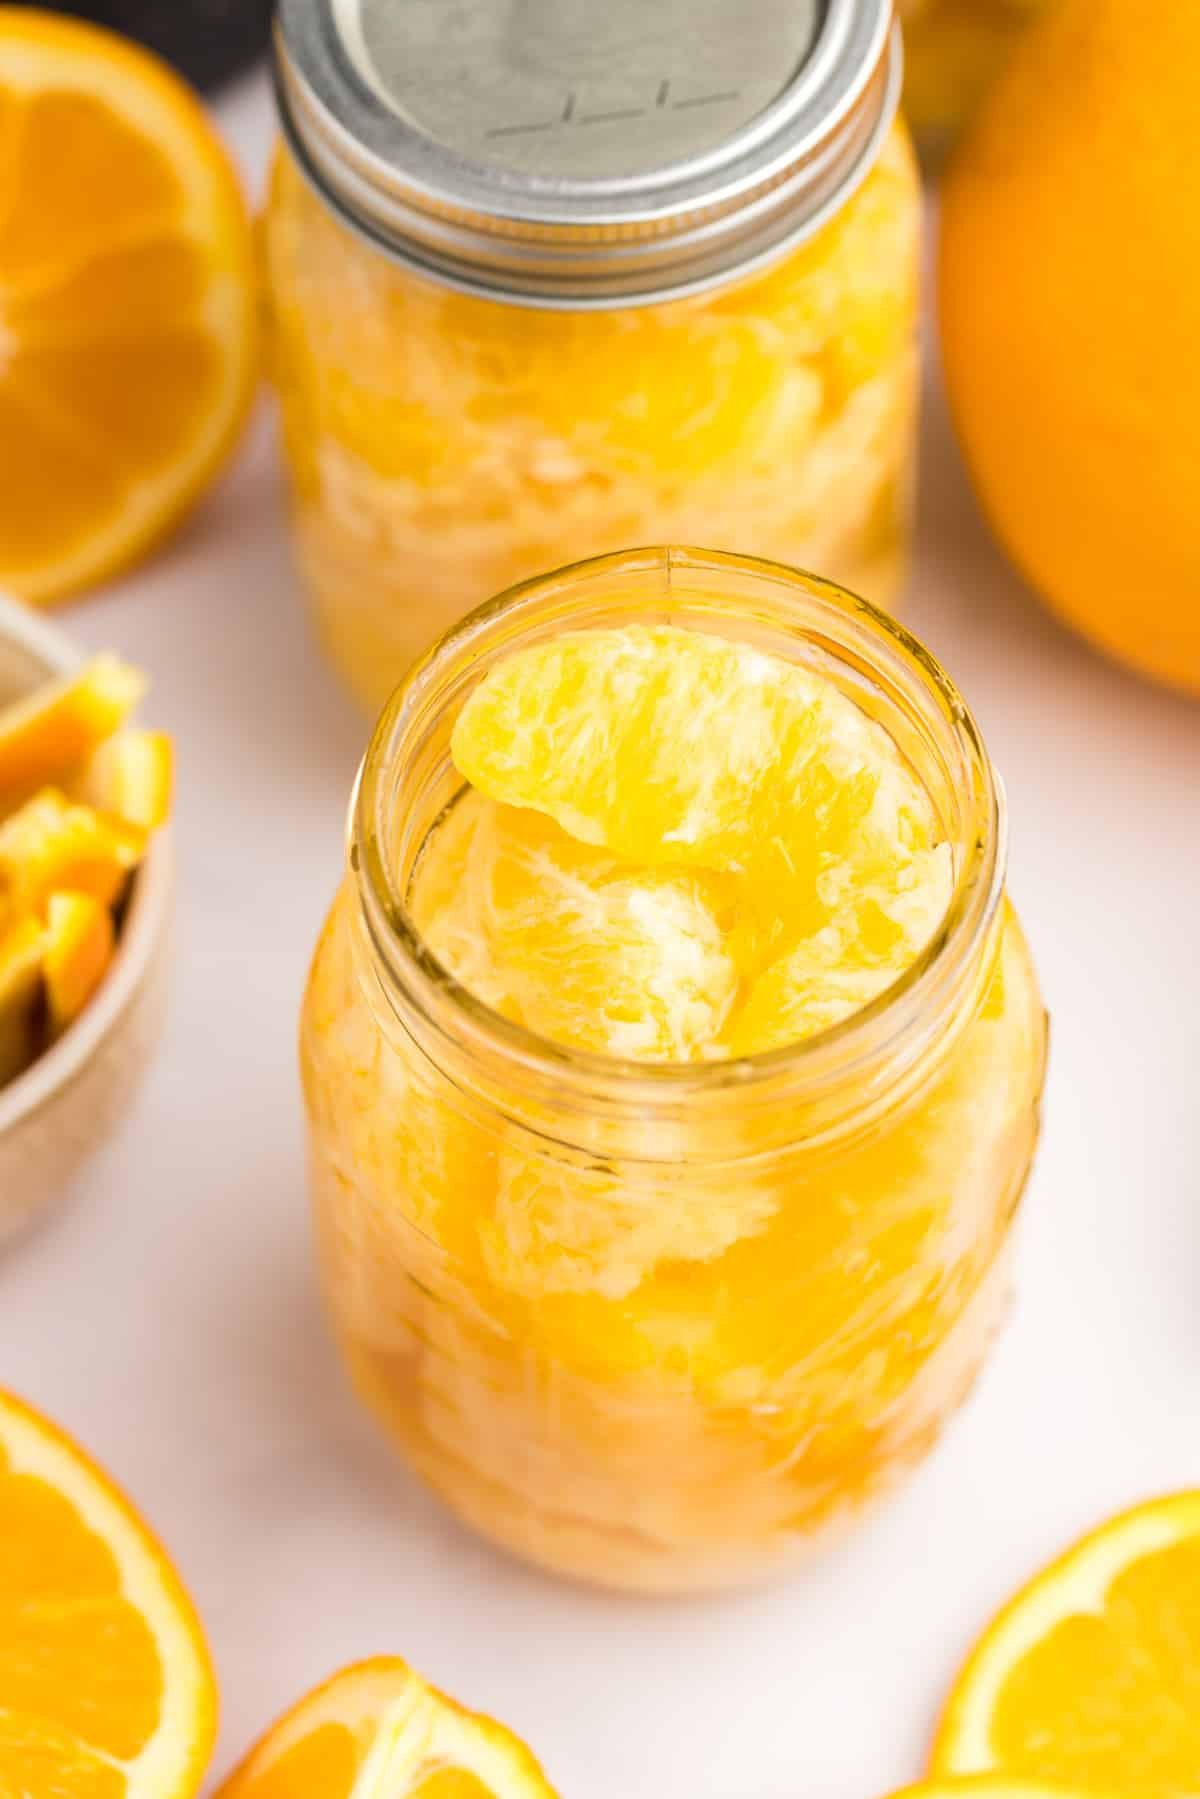
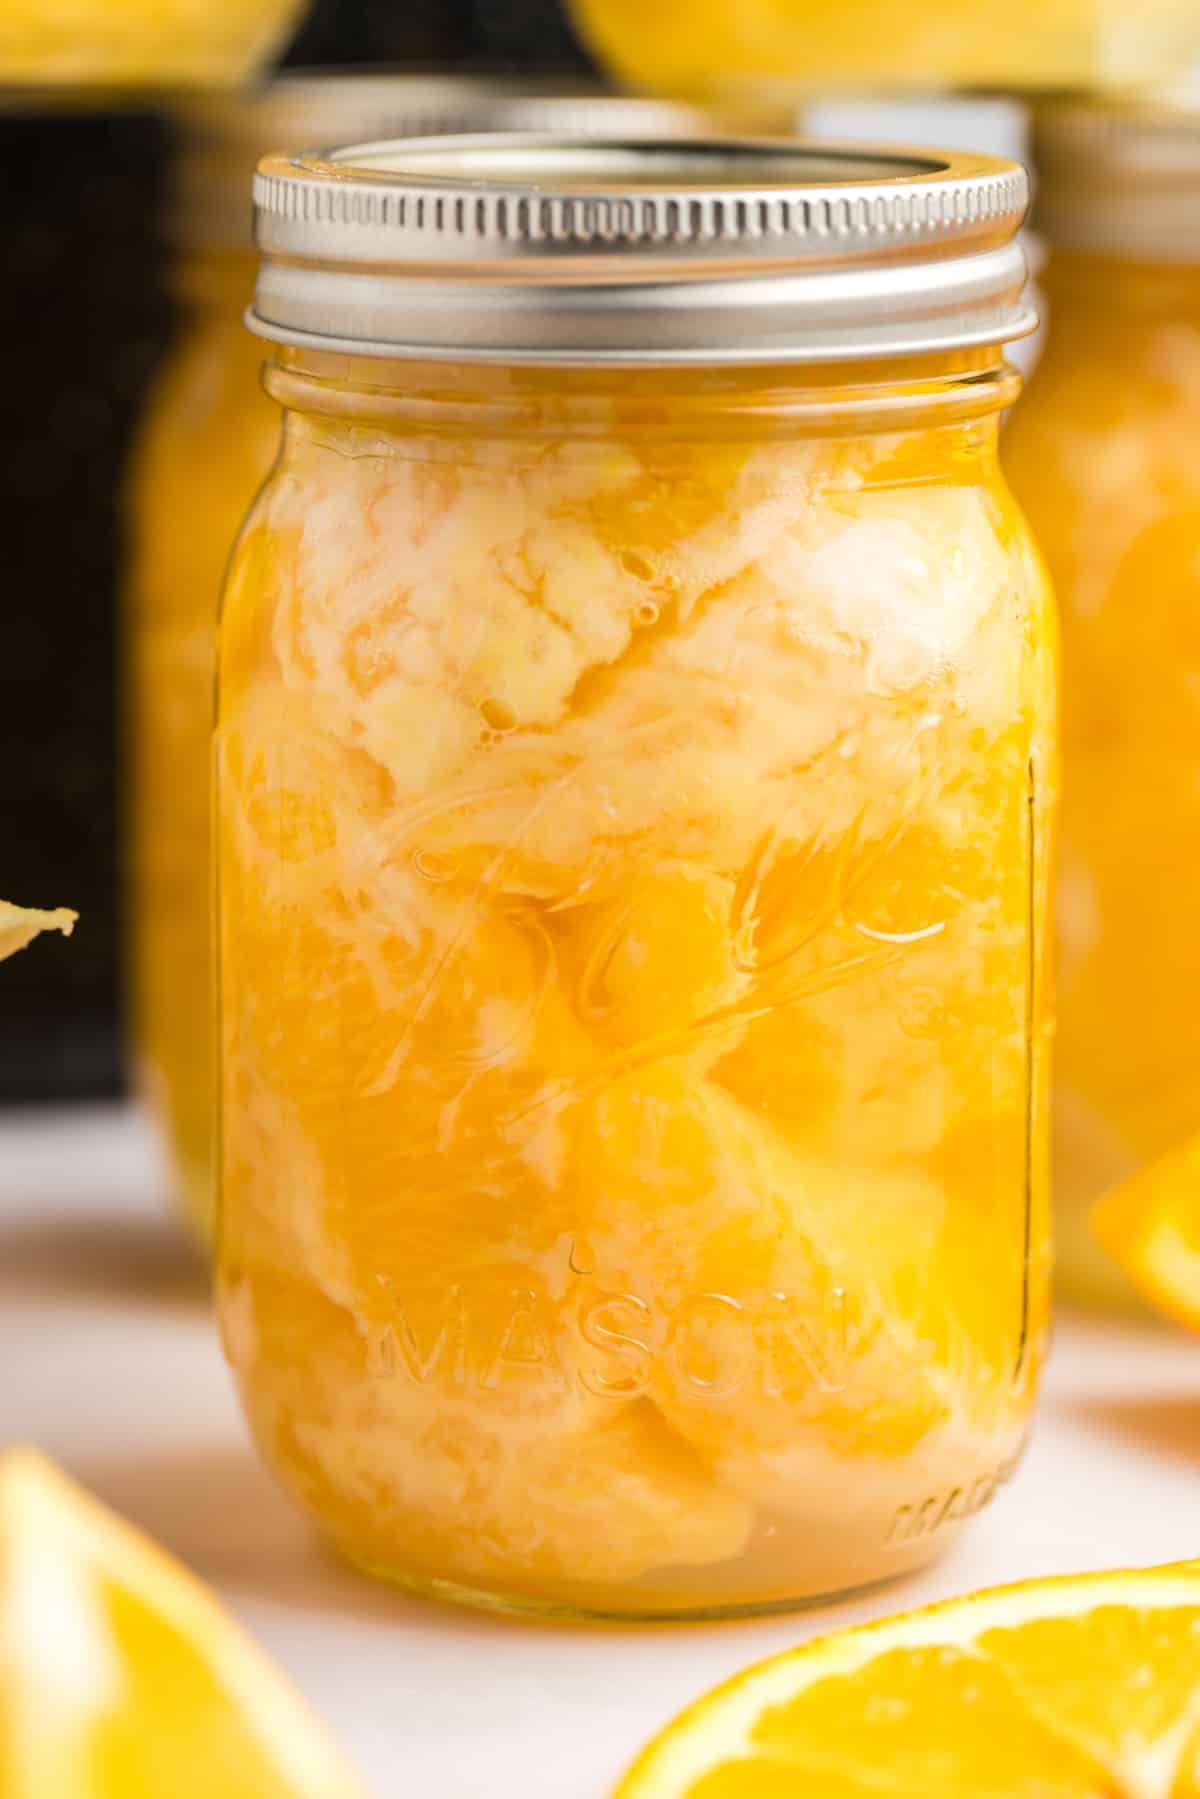
Step three: Pack the orange sections into the hot jars, just until they reach the neck of the jar.
This is called a "raw pack", since the fruit is not heated first.
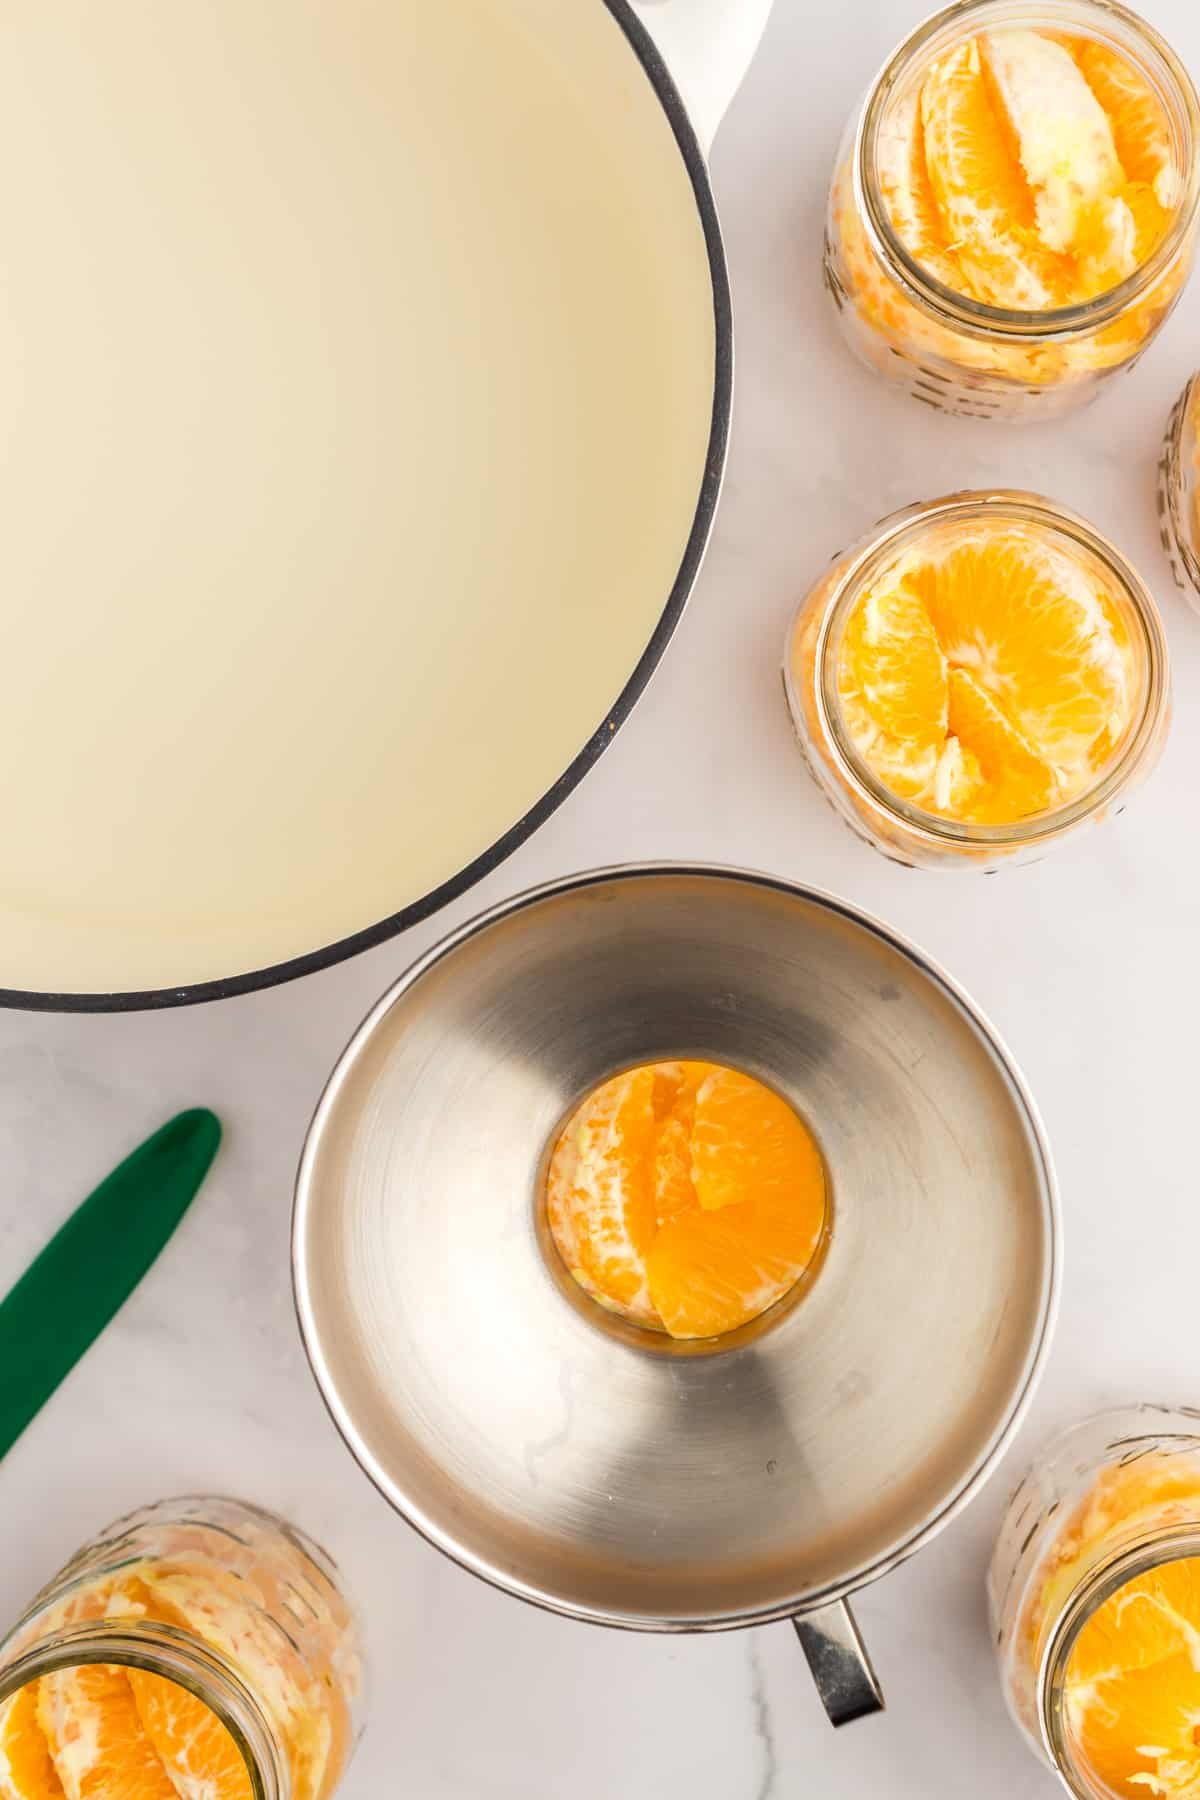
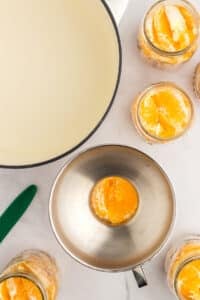
Step four: Fit the pint jar with a funnel and ladle in the hot syrup, leaving a ½" headspace.

Step five: Use a de-bubbler (or clean butter knife) to remove any air bubbles remaining in the syrup. Add a little extra syrup to maintain the ½" headspace (if needed).

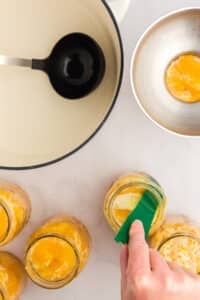
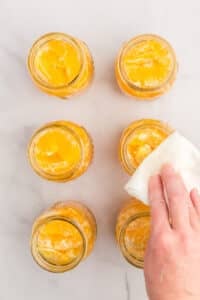
Step six: Wipe the rim of the jar with a damp paper towel or clean kitchen towel. This will remove any extra syrup or debris from the rim, which can prevent the jar from sealing.
Top tip: Many people like to wipe the rims of their canning jars with a vinegar-soaked cloth. I do this as a best practice for pressure canning, but it's not necessary for water bath canning (although it certainly doesn't hurt!).
Processing

Step seven: Use a magnetic lid want to place a warm canning lid on each jar. Then, place a ring on and secure it just until it is fingertip tight (not all the way - just until it starts to resist).
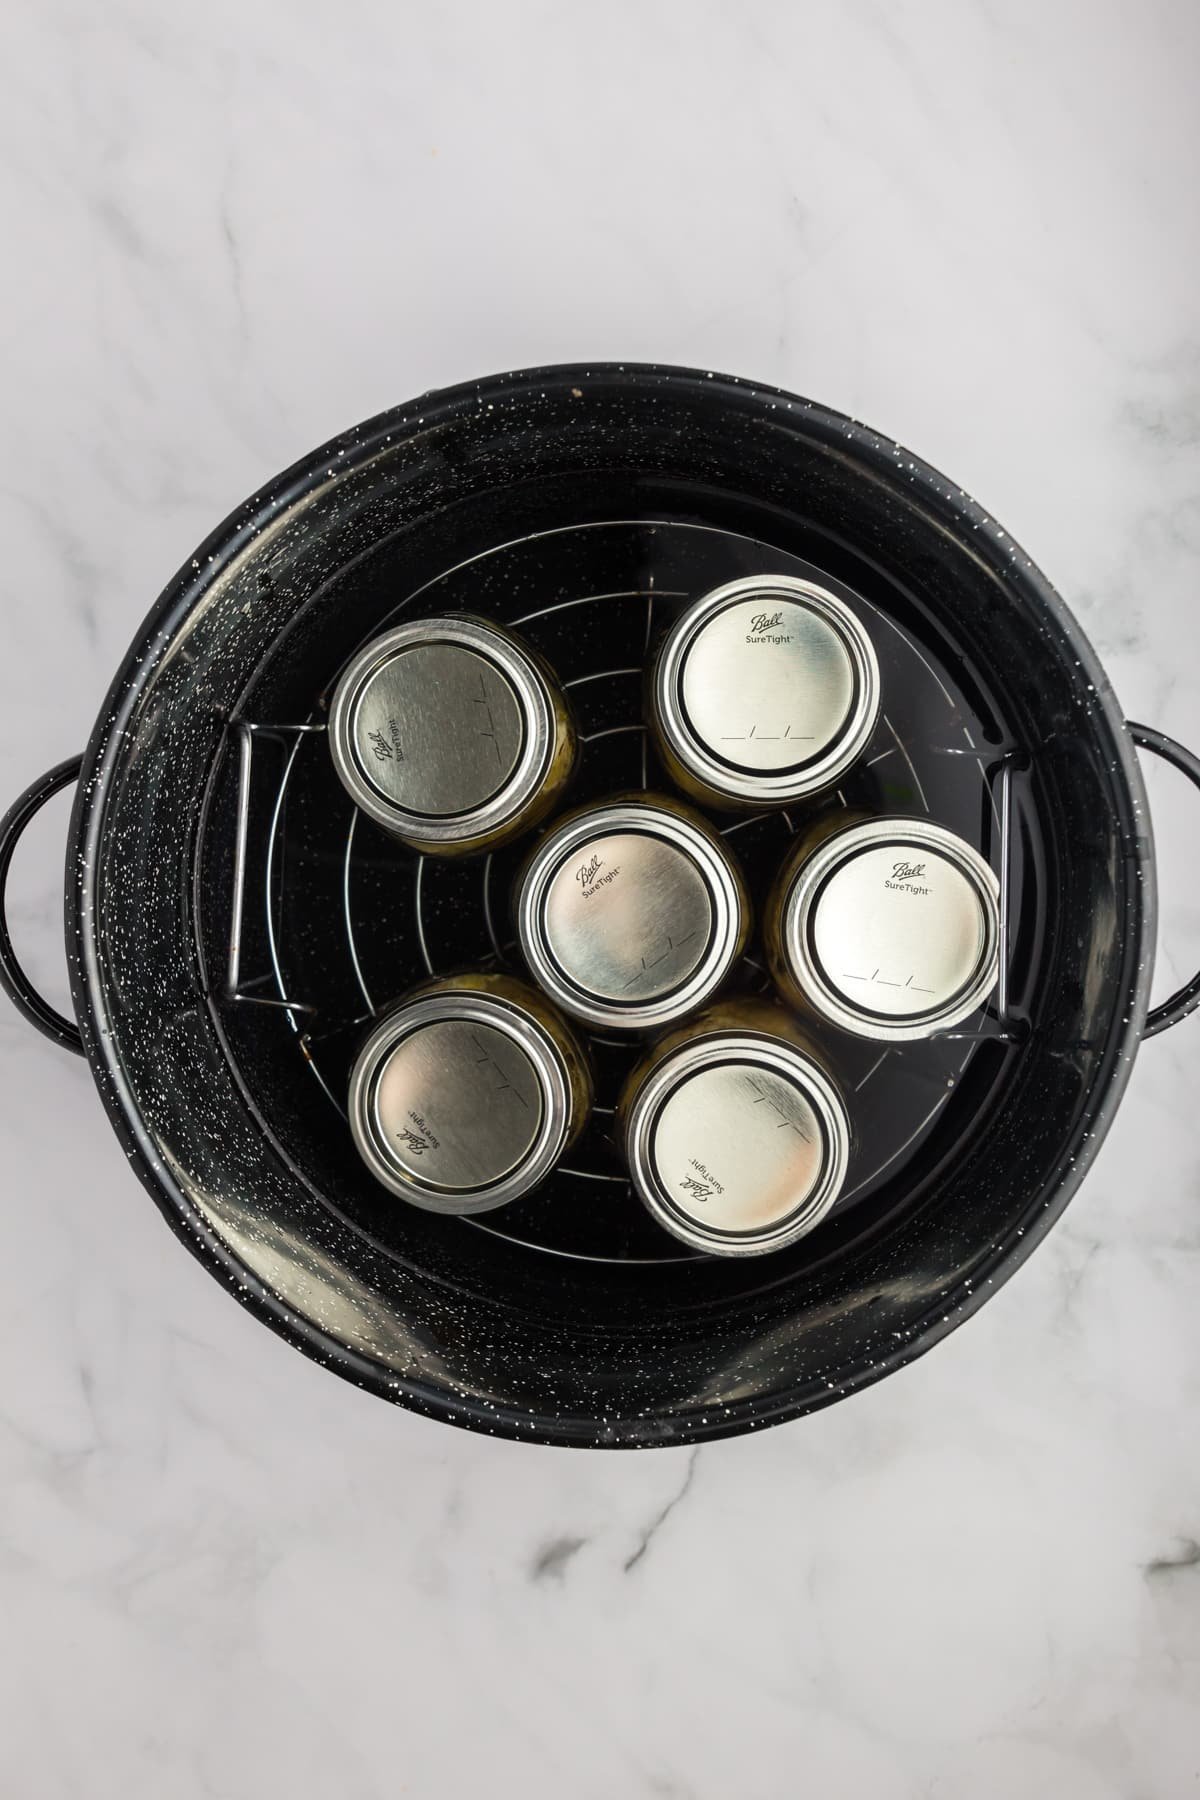
Step eight: Place the jars into the boiling water of your canner and add the lid.
Once the jars are added, the water will stop boiling. Start the processing time once the water has returned to a boil.
How Long Does it Take to Can Oranges?
Orange segments can be canned in either pint jars OR half-pint jars. They should not be canned in anything smaller OR larger (such as quart jars).
- Pints: 10 minutes
- Half-pints: 10 minutes
- High elevation
- 1001-3000 ft: 15 minutes
- 3001-6000 ft: 20 minutes
- 6001-8000 ft: 25 minutes
- 8001+ ft: 30 minutes
Removing and Cooling the Jars
Step nine: Once the processing time is up, turn off the heat and move the canner off of the element. Remove the lid and allow the jars to rest in the water for 5 minutes.
Remove the jars using a jar lifter and place them on a thick kitchen towel (or cooling rack).
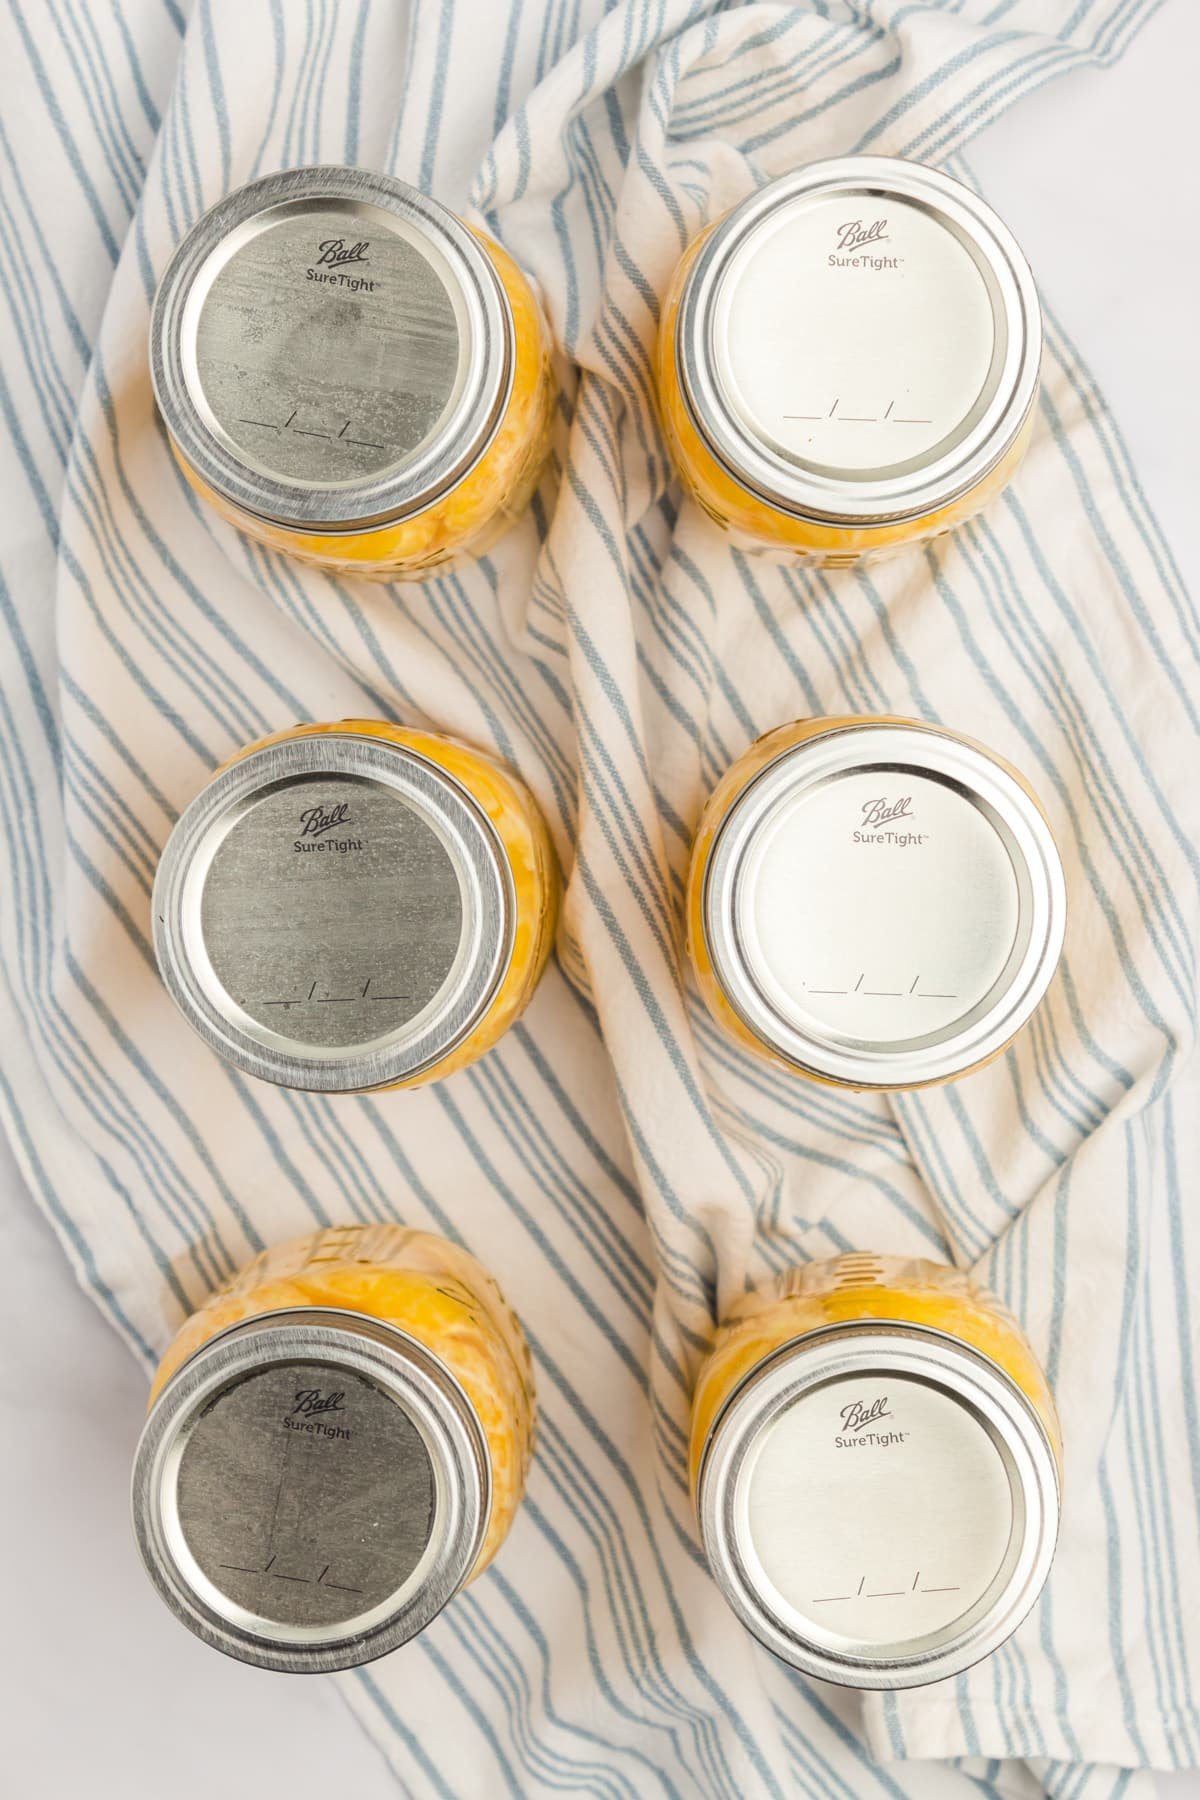
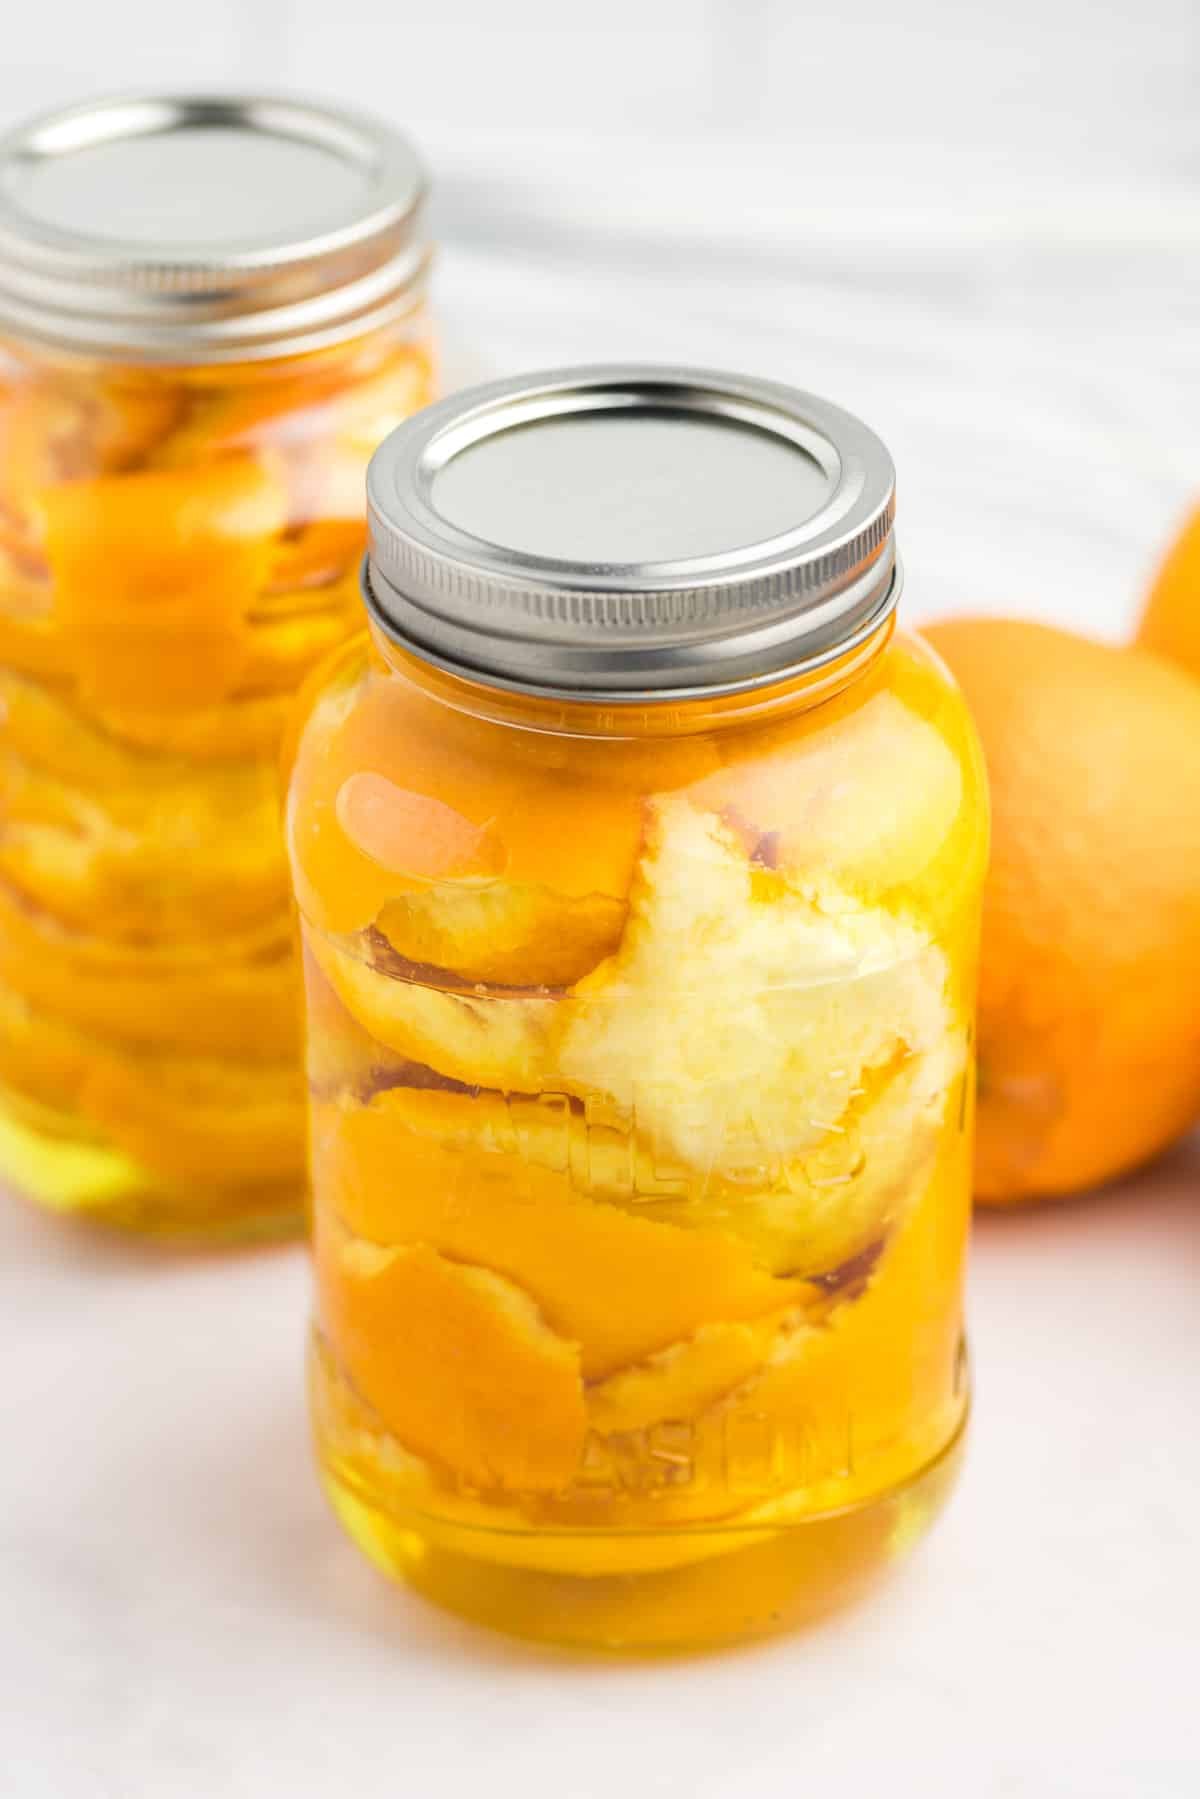
Step ten: Leave the jars in an undisturbed location for 24 hours.
As the jars seal you will hear a loud POP and the center will indent slightly. Most of the jars will seal in the first 1-2 hours, but some may take longer.
What if the Jars don't seal?
- If any of your jars fail to seal, it may be for a variety of reasons (inadequate headspace, imperfections around the rim of the glass jar, imperfections in the lid seal, etc).
- It's very common to have a failed seal occasionally, so as long as the vast majority of your jars sealed you can be fairly sure you did everything correctly.
- Jars that did not seal do not need to go to waste. Transfer them to the fridge, where they can be stored for up to a week.
Storing Canned Food
- The USDA states that home-canned food (with a true seal) is good for at least 1 year, while most jar manufacturers say the seal is good for at least 18 months.
- Many experienced canners maintain that canned foods are good for many years, but the quality will begin to degrade after 1 year.
- Keep in a cool, dark place (like a basement) for the best results.
- Never store your home-canned goods with the outer ring in place, and discard if the seal is compromised or there is any off smell or growth in the jar.
- ALWAYS inspect your canned foods for signs of spoilage and for a secure seal before consuming. Lift the jar up by the lid; if the lid falls off - discard immediately as the seal has been compromised.
Substitutions
Canning oranges without sugar: Most fruits can easily be canned without a sugar-based syrup, although a light syrup will tend to enhance the flavor and preserve much of the color and texture. Fruit canned without sugar *must* be hot packed. Here are some options for canning orange segments without sugar:
- With fruit juice: Swap out the syrup for 6 cups of unsweetened apple juice or white grape juice. Bring it to a boil, then add the fruit and boil until heated throughout. Ladle the oranges into hot jars and adjust the juice level to meet the headspace requirements (½").
- With water: Substitute 6 cups of filtered plain water for the sugar-based syrup. Bring it to a boil, then add the fruit and boil until heated throughout. Ladle the oranges into hot jars and adjust the water level to meet the headspace requirements (½").
- Honey syrup: The type of honey syrup that is safe for canning is quite sweet, and still requires sugar. It is made by combining 1 cup of sugar, 1 cup of honey, and 4 cups of sugar. I don't recommend it for this recipe.
Canning Mandarins, clementines, or tangerines: Simply swap out the oranges for the same measurement of the mandarins, clementines, or tangerines of your choice. I like to use smaller jars (half-pint) for these smaller fruits.
Grapefruit: Swap out the oranges for grapefruit, or do a mix of orange and grapefruit, which is actually a nice balance of flavors.
What Can I Do with Leftover Orange Peels?
There are so many things you can do with leftover citrus peels! Here are a few ideas:
- Orange peel vinegar (my favorite because it uses the whole peel - no separating the zest and pith)
- Candied orange peel
- Citrus salt
- Use them in your garden to repel pests
- Homemade orange extract (steep with vodka for 3-9 months)
- Orangecello (like limoncello, but made with oranges instead)
If you loved this recipe for canning oranges, let me know by leaving a 5-star review in the recipe card or comment below! You can also tag me on Instagram @littlehomeinthemaking.
📖 Recipe
Canning Oranges
Equipment
- Canning jars (pints)
Ingredients
- 13-15 large oranges peeled and sectioned (about 4-5 pounds)
Extra-light syrup (optional*)
- 5 ½ cups water
- 1 ¼ cups sugar
Instructions
Cook Mode- Wash all canning jars, lids, and equipment thoroughly with hot soapy water.
- Sterilize jars and rings in boiling water (I use the water bath canning for the jars, and a small pot for the rings). Keep them in the hot water until needed.
- Add the lids to a saucepan of simmering water to keep warm.
- Peel all of the oranges, and separate them into sections. To reduce any bitter flavor, it’s recommended that you remove excess pith (the white stuff) with a sharp paring knife.

- Prepare the extra-light syrup by combining the water and sugar in a medium saucepan, whisking well. Bring to a boil over medium-high heat, then reduce to low-medium to keep warm while you pack the jars.
- Pack the orange segments into the pint jars, just up to the neck of the jar.
- Ladle in the hot syrup, leaving ½” of headspace.
- Use a de-bubbler or clean butter knife to remove any excess air bubbles from the jar, then add more hot syrup (if needed) to maintain the ½” of headspace.
- Repeat until all of the oranges are packed or all of the jars have been used up.
- Wipe the jar rims with a clean towel or a vinegar-dampened clean cloth.
- Add a warm lid to each jar, then add a lid ring until fingertip tight.
- Transfer the prepared jars to the canner and add a lid. Bring to a boil over high heat.
- Once the water has returned to a rapid boil, start the time.
- Process for 10 minutes in the boiling water bath canner.
- Once the time is up, turn off the heat, remove the lid, and remove the canner from the heating element. Allow the jars to rest for 5 minutes in the water.
- Once the 5 minutes are up, remove the jars and place them in a location where they can go undisturbed for at least 24 hours.
- After 24 hours, check the seals and remove the canning rings. Wipe down the jars and label them. Any jars that have not been sealed should be moved to the fridge to be eaten right away.


Notes
- 1,001-3,000 feet: 15 minutes
- 3,001-6,000 feet: 20 minutes
- 6,001-8,000 feet: 25 minutes
- 8,001+ feet: 30 minutes
Nutrition
Please note that some of my blog posts here at Little Home in the Making may contain affiliate links. If you make a purchase through these links, I will get a small commission at no additional cost to you. See our disclaimer for more information.
Sources
- How long will home canned food last? - USDA
- USDA Complete Guide to Home Canning
- Ball Complete Book of Home Preserving
- Canning Grapefruit and Orange Segments - National Center for Home Food Preservation

Maureen says
I canned some oranges last January, it's now November and they have started to ferment. Any idea what I may have done wrong?
Dolly | Little Home in the Making says
It sounds like the seal has broken. I would discard them! If you store your canning jars with the canning ring it can appear that the seal is intact when it is not.