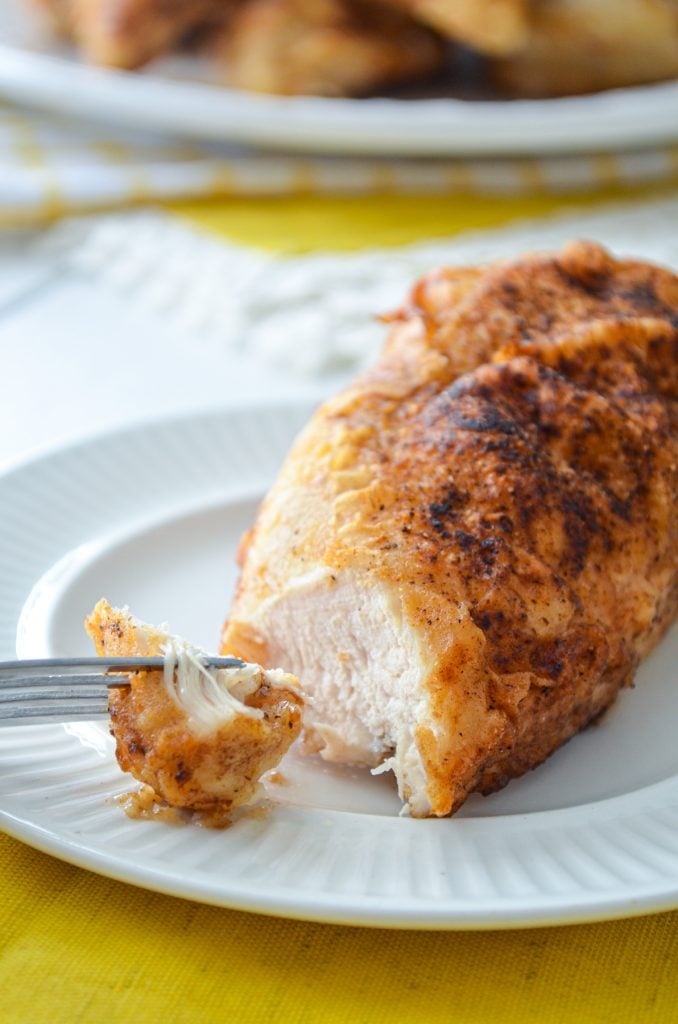
Yes, you can have baked chicken breasts that are actually juicy and delicious...without the added mess of preparing a brine! This simple two-step method makes for chicken breast that is lightly crisp on the outside, and delightfully moist on the inside. Our favorite way to prepare chicken for casseroles, salads, and more!
Please note that some of my blog posts here at Little Home in the Making may contain affiliate links. If you make a purchase through these links, I will get a small commission at no additional cost to you. Please see my Disclaimer for more information.
While boneless, skinless chicken breasts remain a staple in North American homes, there is a problem. Many of us have trouble with cooking a chicken breast so that it remains moist, juicy, and delicious. Chicken breast (boneless, skinless in particular) has a reputation for being quite dry, and we must employ different cooking techniques to help us preserve the moisture, while ensuring the meat is completely cooked through. This proves to be a daunting task at times.
A $10 investment changes everything
Once I invested in a meat thermometer, I had a sudden burst of confidence. No longer was I cutting into meat (and letting the juices out in the process) to check for doneness. I was able to insert my thermometer and get an instant reading, knowing for certain whether the protein I was preparing was at a safe temperature.
And so I can't recommend highly enough purchasing a meat thermometer for the absolute best results for cooking these baked chicken breasts (or any meat, really!). This one from Amazon is less than $10 and has lots of great reviews.
Cooking without a Meat Thermometer
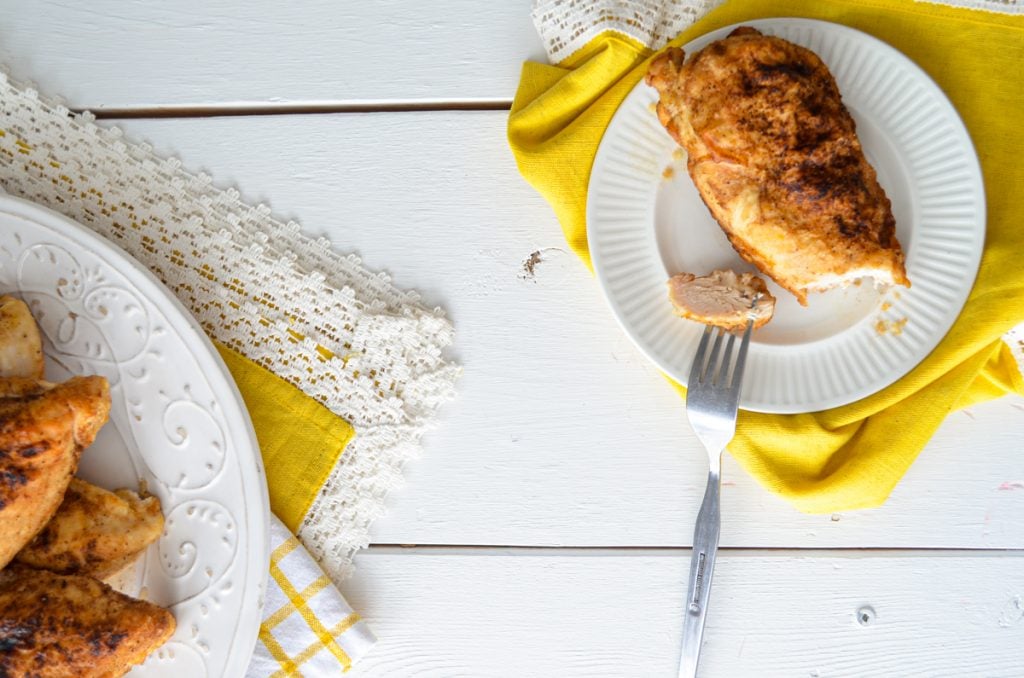
You can still have perfectly cooked chicken without a meat thermometer. Just ensure that you purchase chicken breasts that are an average size, rather than very large and thick. If you do have thicker chicken breasts, you can pound them to ensure they are a little more spread out. Follow the cooking instructions for every recipe, and make a small cut in one of the chicken breasts to ensure it is cooked through before serving.
While you will get the absolute best results with a meat thermometer, if you don't have one, that's okay. You can still have juicy baked chicken breasts without brine, and without a meat thermometer.
How to Make Juicy Baked Chicken Breasts Without Brine
In this two step method, we coat the chicken lightly with flour and seasonings, before searing gently in some melted butter. This makes for a delightfully crispy coating, and helps lock in all the flavors and juiciness of your boneless, skinless chicken breasts. Very little of the flour mixture stays on the chicken breast, so you need not worry that you're consuming lots of flour by using this recipe! Just a few tablespoons (at the most) will adhere to each chicken breast.
Coating the chicken
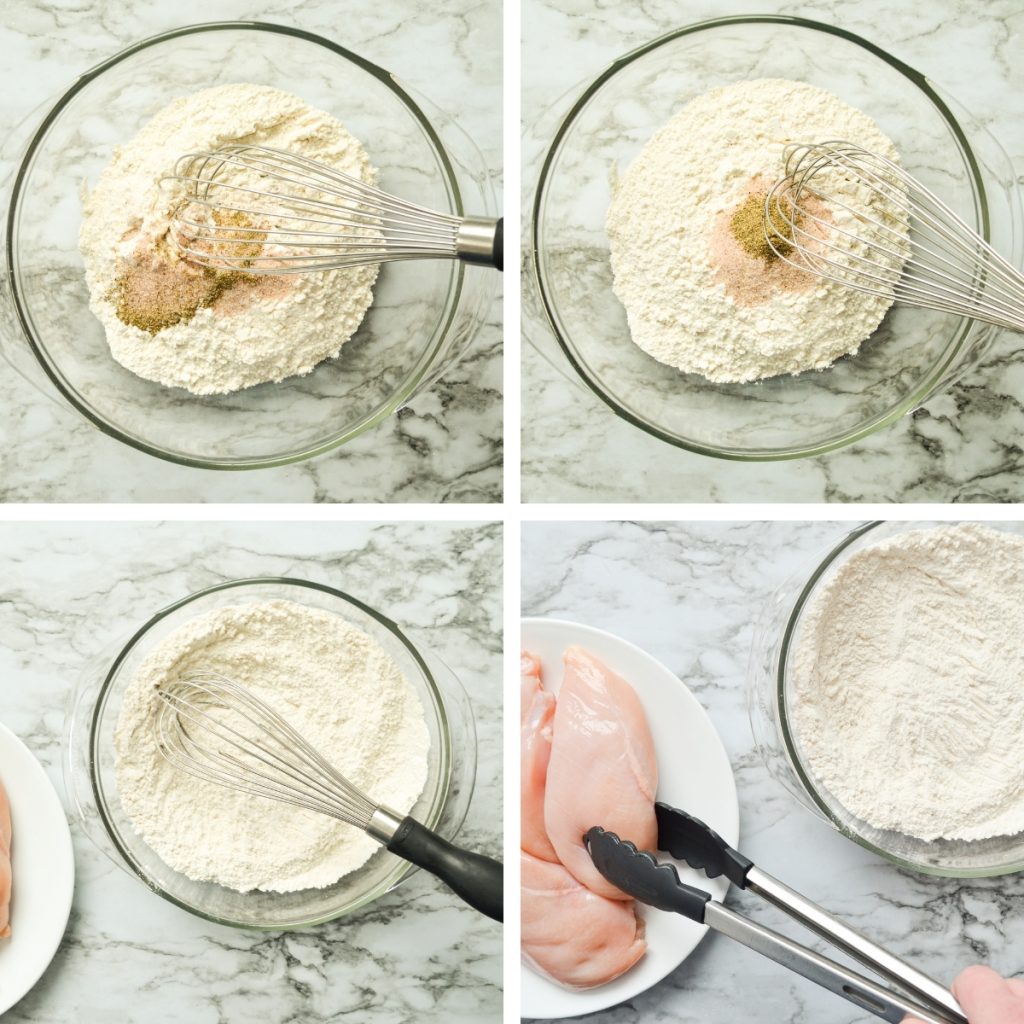
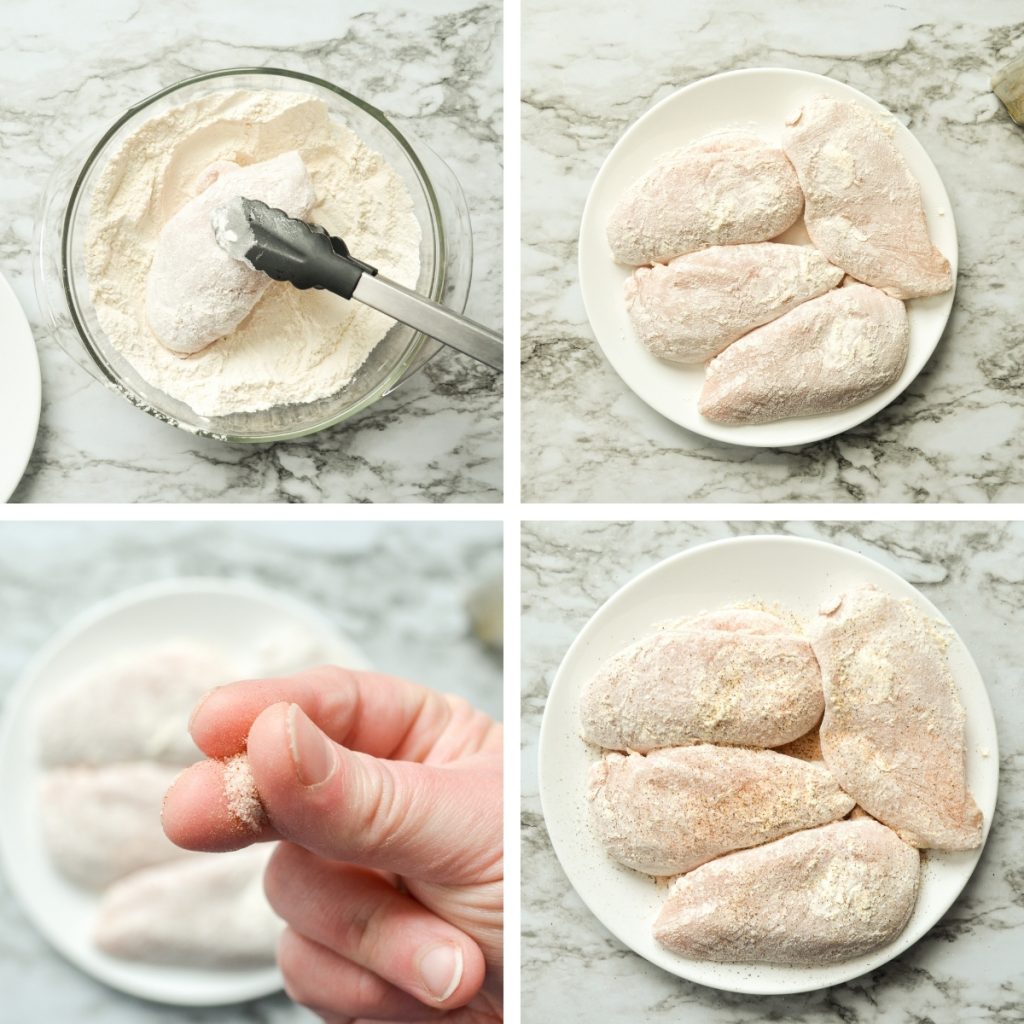
We begin by adding the flour, seasoned salt (I used my Homemade Seasoned Salt), and pepper. Whisk together well and prepare your chicken breasts by placing them on a clean plate and grabbing a pair of tongs.
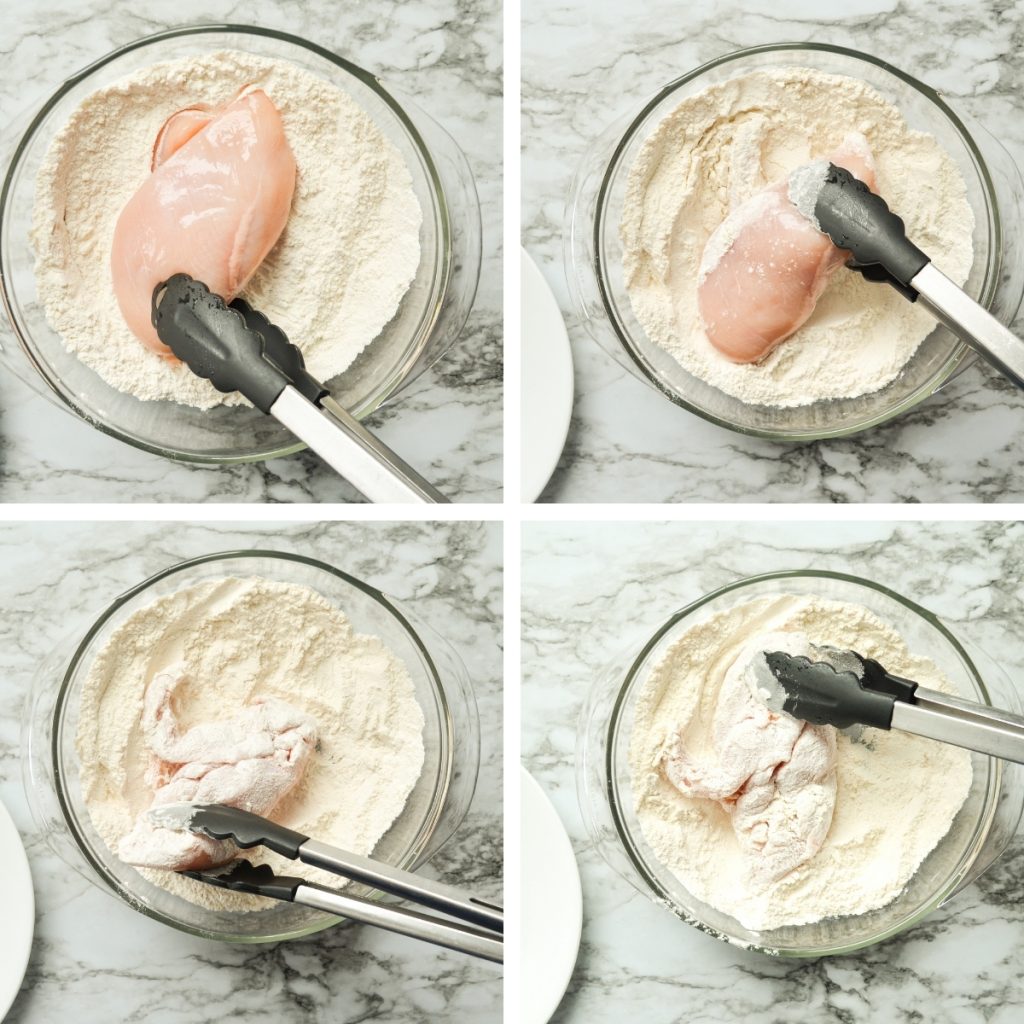
Then we coat each side of each chicken breast with the flour mixture. Be sure to work the flour into the nooks and crannies of the chicken for an even application.
Seasoning
Remove each coated chicken breast to a clean plate and sprinkle with additional seasoned salt and pepper.
Sear and bake
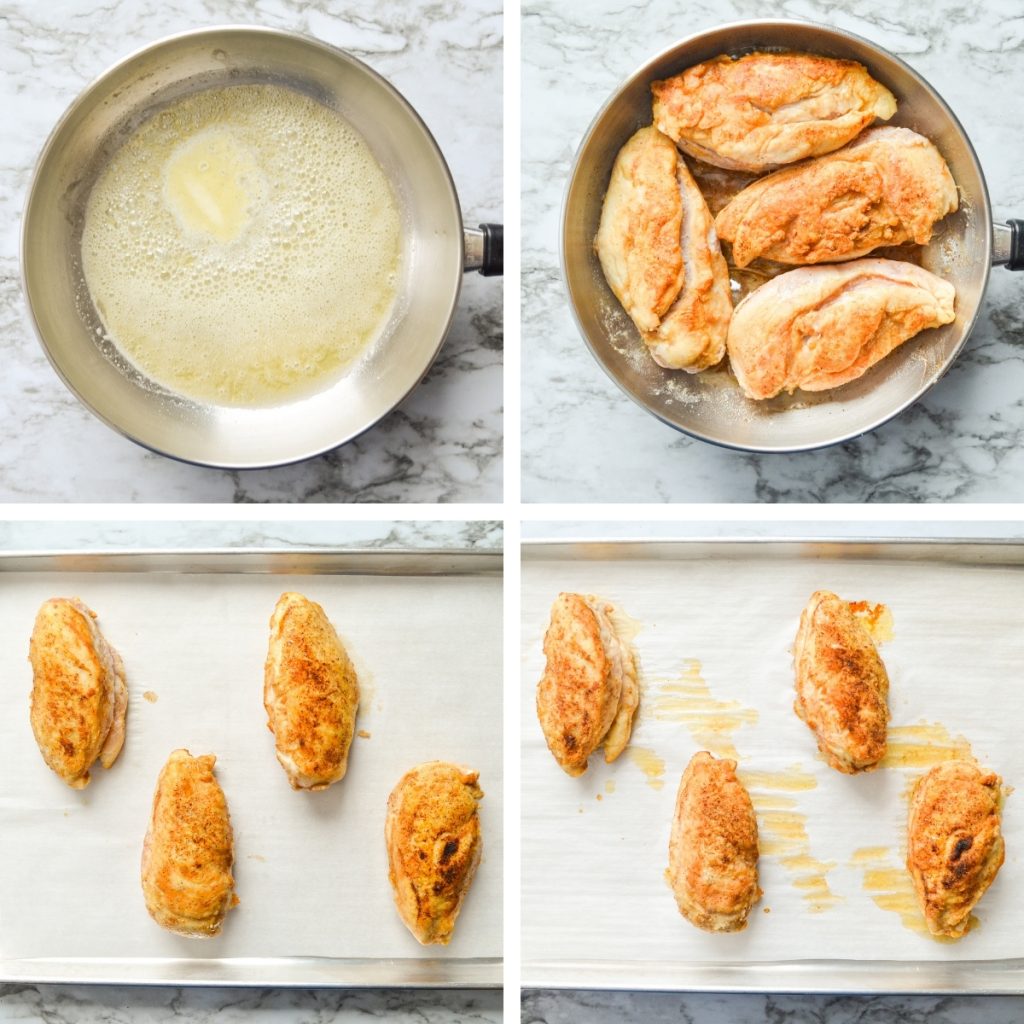
Heat a medium skillet over medium heat. Add the olive oil, and once shimmering, add the butter. Stir well until melted.
Then, add the chicken breasts and cook for 2-3 minutes per side.
Place the chicken breasts on a lined baking sheet and bake for 18-20 minutes, or until they reach an internal temperature of 165F.
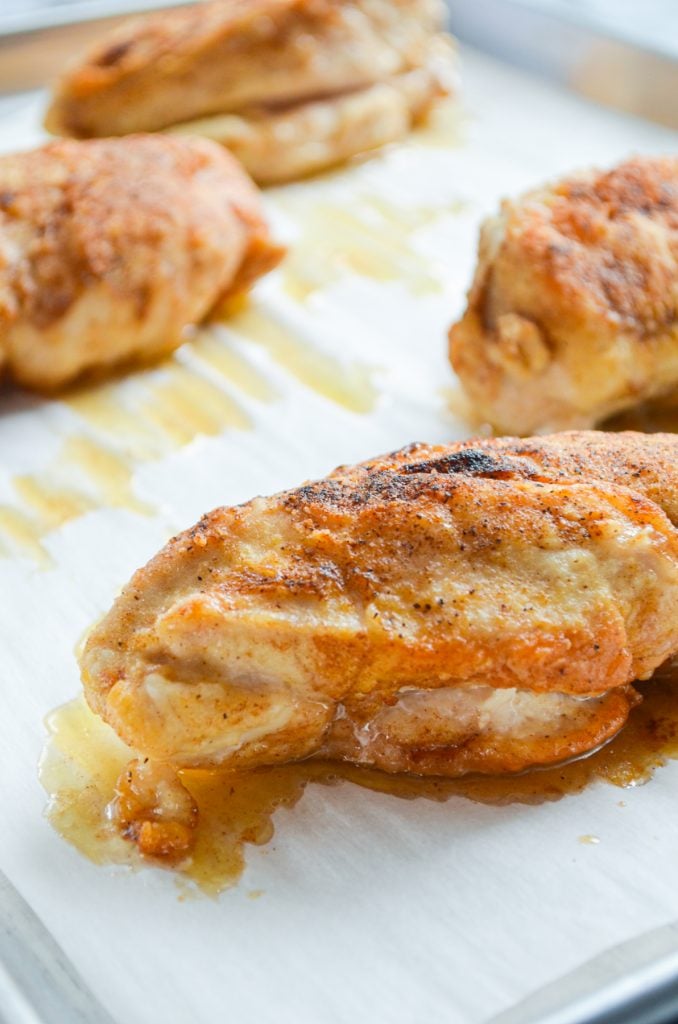
Remove the chicken breasts from the oven and allow to cool for 5-10 minutes before serving. This locks in the moisture, preventing your chicken breasts from drying out.
Questions and Answers
Long, slow baking of chicken breasts can result in a dry texture. The two best methods for cooking chicken breasts without drying them out is to brine them, or to sear them before baking. Searing the chicken helps seal in the moisture and allows for a quicker baking time.
If you've seared your chicken, you can normally bake it for 18-20 minutes and it will be perfectly cooked on the inside. Be sure to use a meat thermometer, as internal temperature is the best indicator that your chicken is cooked through and safe to eat.
While not a necessary step, it can be beneficial to sear your chicken before baking. Searing provides a nice, golden color and crispy exterior. Searing after the chicken has been lightly floured makes for a wonderful flavor and texture, and can be used sliced on a salad, in a casserole, ladled with sauce, or served just as is!
The most common reason for dry chicken is overcooking. The best way to keep chicken breast moist is to use a meat thermometer to check for doneness. Once the thickest part of your chicken breast reaches 165F, it is cooked through and can be removed to a plate. Cool for 5-10 minutes (this ensures the juiciness stays inside!) and serve as desired.
While I've used unbleached all purpose, I haven't tested this recipe with alternative flours. I hope to in the future! I think that almond flour would work very well as a gluten-free and low carb alterative. I also think this recipe would work find with whole wheat or sprouted flour if desired.
Yes! By coating your chicken in flour and seasonings, and searing in a pan of olive oil and butter, you can proceed with baking and get a very juicy and yummy chicken breast!
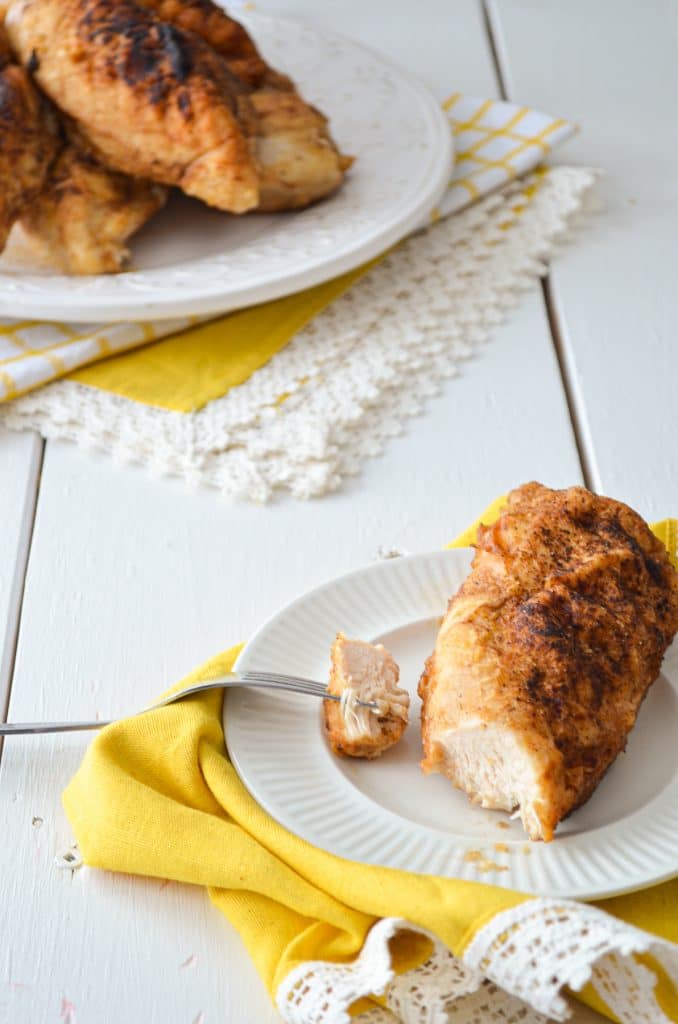
Ways to Use Baked Chicken Breasts
- Sliced, tossed with pasta (like my Chicken Broccoli Alfredo)
- Sliced on top of salads
- In casseroles
- With creamy sauces
- As a quick start to a skillet meal
- Alone, with yummy side dishes like salads, rice, steamed veggies, or any one of these side dishes for chicken from Insanely Good Recipes.
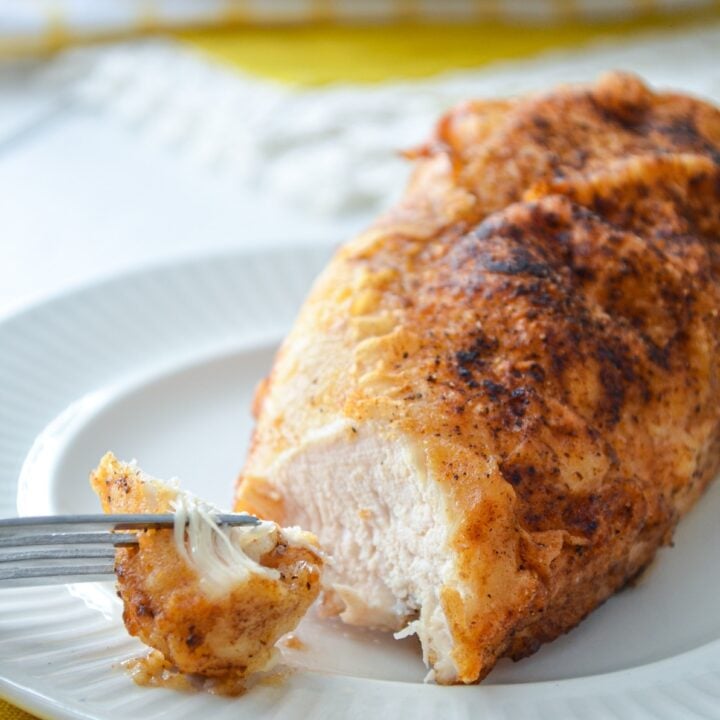
Juicy Baked Chicken Breasts Without Brine
You can have delicious, juicy chicken breasts without the added step and mess of using a brine. This method is in two parts, and results in a crispy outside, and a juicy and flavorful inside.
Ingredients
- 4 large boneless, skinless chicken breasts
- ¾ cup All Purpose Flour
- 1 tsp. Seasoned Salt
- ¼ tsp. Ground Black Pepper
- 1 Tbsp. Olive or Avocado Oil
- 1 Tbsp. Salted Butter
Instructions
- Preheat the oven to 450F and position the rack in the middle position. Line a half size baking sheet with parchment paper.
- Add the flour to a shallow bowl or a wide rimmed plate. Add the seasoned salt and black pepper. Whisk well to combine.
- Dredge the chicken on both sides with the flour mixture. Be sure to work it into any nooks and crannies.
- Shake off the excess flour and place the chicken on a clean plate. Repeat with the remaining chicken breasts.
- Heat a heavy stainless steel or cast iron skillet over just-above-medium heat. Once the skillet is warm, add the olive oil first. Once the oil is shimmering, add the butter and stir to melt it completely.
- Add the chicken breasts, and sear them for 2-3 minutes per side. Or until lightly browned.
- Remove the skillet from the heat and place the browned chicken breasts on the prepared baking sheet lined with parchment.
- Bake in the preheated oven for 15-20 minutes, or until the chicken reaches an internal temperature of 165F at the thickest portion. I bake mine for 20 minutes because we purchase chicken with the tender still attached, and therefore it takes longer to bake through. Yours may take less time, which is why internal temperature is so important.
- Let the chicken rest for 10 minutes before serving.
Notes
I like to use this recipe to prepare cooked chicken for casseroles and easy skillet meals. You can easily double or triple this meal, but don’t sear more than 4 chicken breasts at a time in the skillet. This will ensure even browning, which can’t happen with a crowded pan.
Nutrition Information:
Yield: 4 Serving Size: 1Amount Per Serving: Calories: 343Total Fat: 11gSaturated Fat: 4gTrans Fat: 0gUnsaturated Fat: 7gCholesterol: 110mgSodium: 507mgCarbohydrates: 18gFiber: 1gSugar: 0gProtein: 40g
Nutrition information will not be accurate because it includes the total amount of flour used for dredging the chicken breasts; you will have leftover flour, and so the nutritional information will be slightly off.
Pin it for Later






Leave a Reply