Why buy broth from the store when you can make it cheaper AND healthier at home!? This Instant Pot Beef Bone Broth is made easily in the Instant Pot, and boasts all the benefits of bone broth. Perfect for using in your favorite soups, stews, and casseroles, and is great for making ahead and freezing.
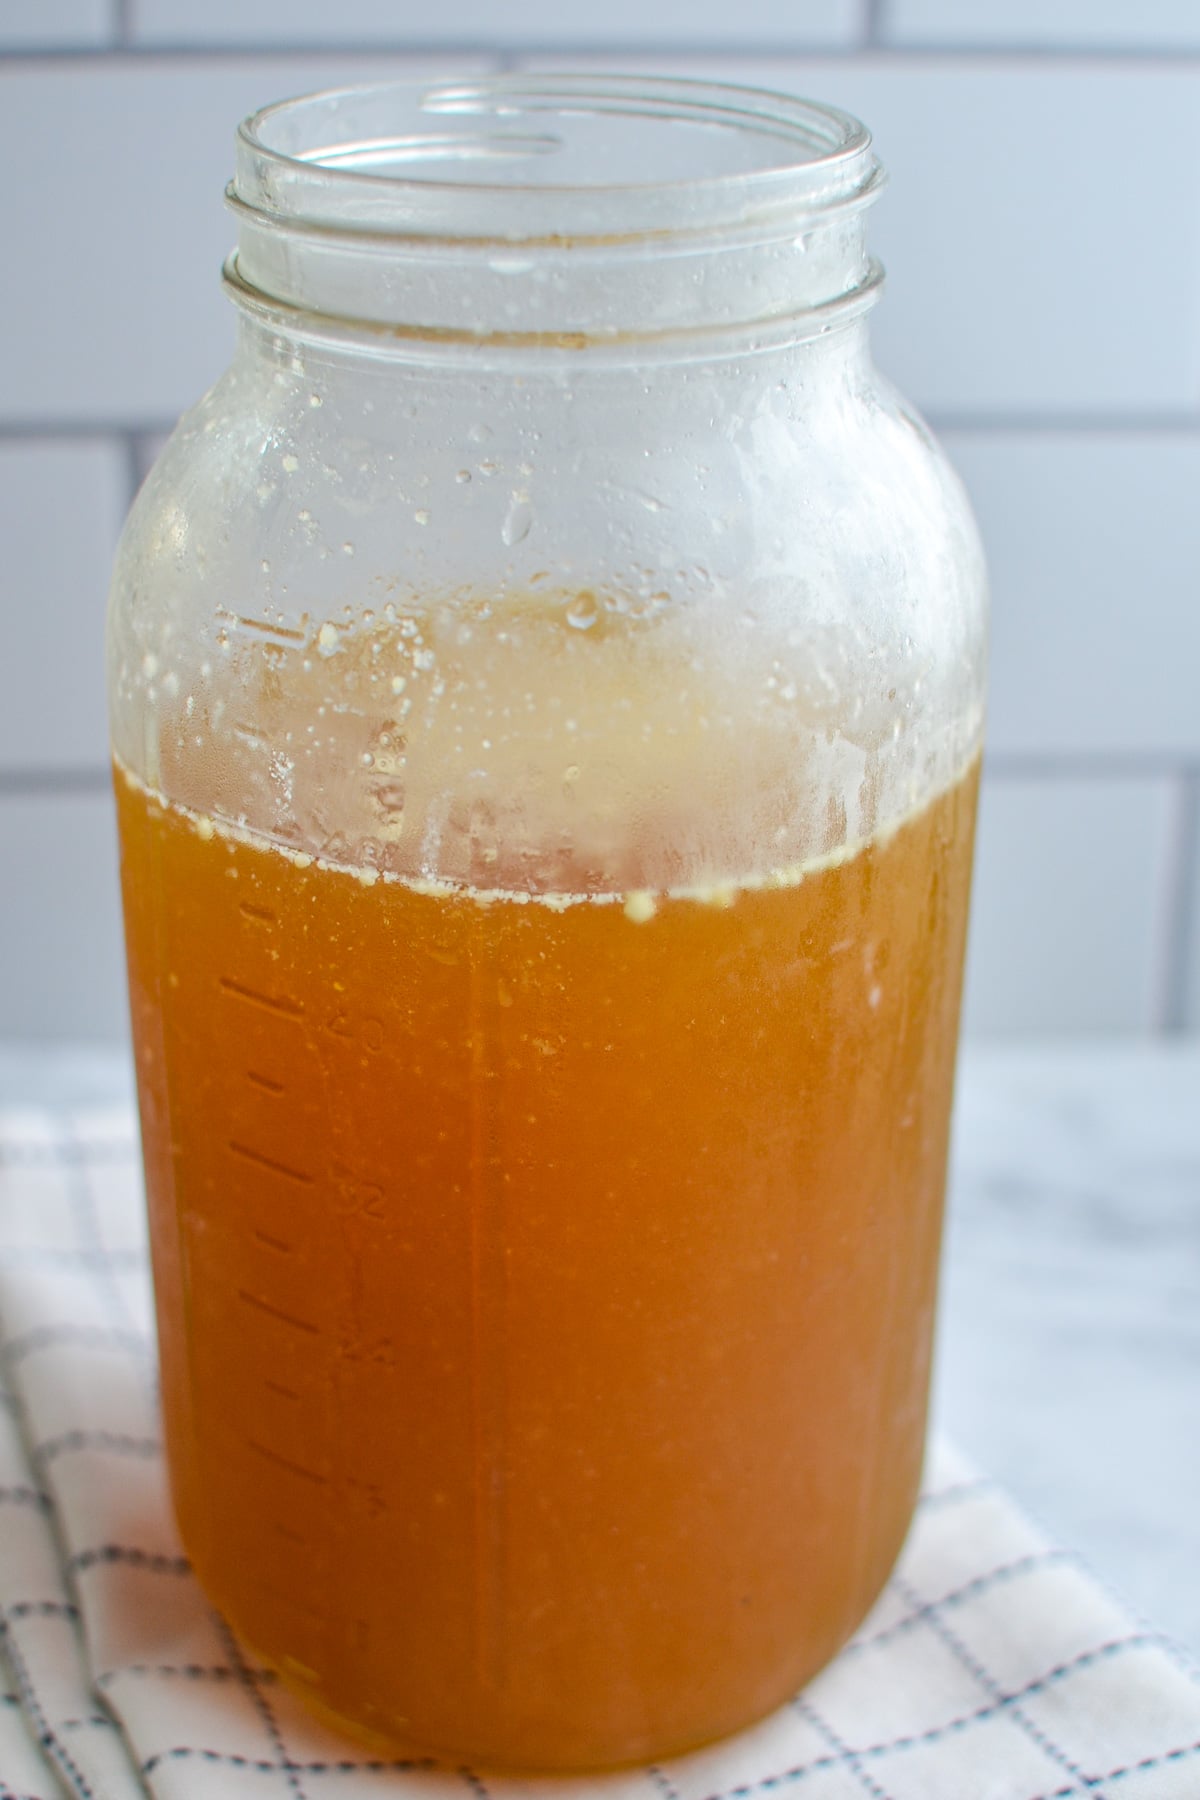
I was first introduced to the idea of bone broth about 10 years ago when I was first learning about frugality and cooking from scratch. That soon led down a rabbit hole that took me to traditional foods via Nourishing Traditions. Then I tumbled into the world of milk kefir and fermenting, and here we are! 10 years later and still talking about bone broth!
Well, back then we had slow cookers, but we didn't have the Instant Pot. The Instant Pot has revolutionized the kitchen, making so many long preparation foods easy and accessible to the average person with a career and family.
Bone broth is one of the many lovely foods you can make in the Instant Pot, and while chicken bones are the most often used, this recipe shows you how to showcase all the rich flavors of beef in your very own homemade broth. It's perfect for soups, stews, risotto, and even cooking your favorite grains!
Why You'll Love This Recipe:
- Bone broth is excellent for gut health, and free from all the additives and preservatives that store bought broth contains.
- It's cheaper to make your own! If you have bones and veggies, you have everything you need to make your very own beef bone broth.
- Instant Pot Beef Bone Broth is the easiest method for making bone broth, and is ready in way less time than traditional methods.Naturally gluten free, keto, low carb, paleo, and whole 30, beef bone broth works with a variety of lifestyles and dietary needs!
Ingredients
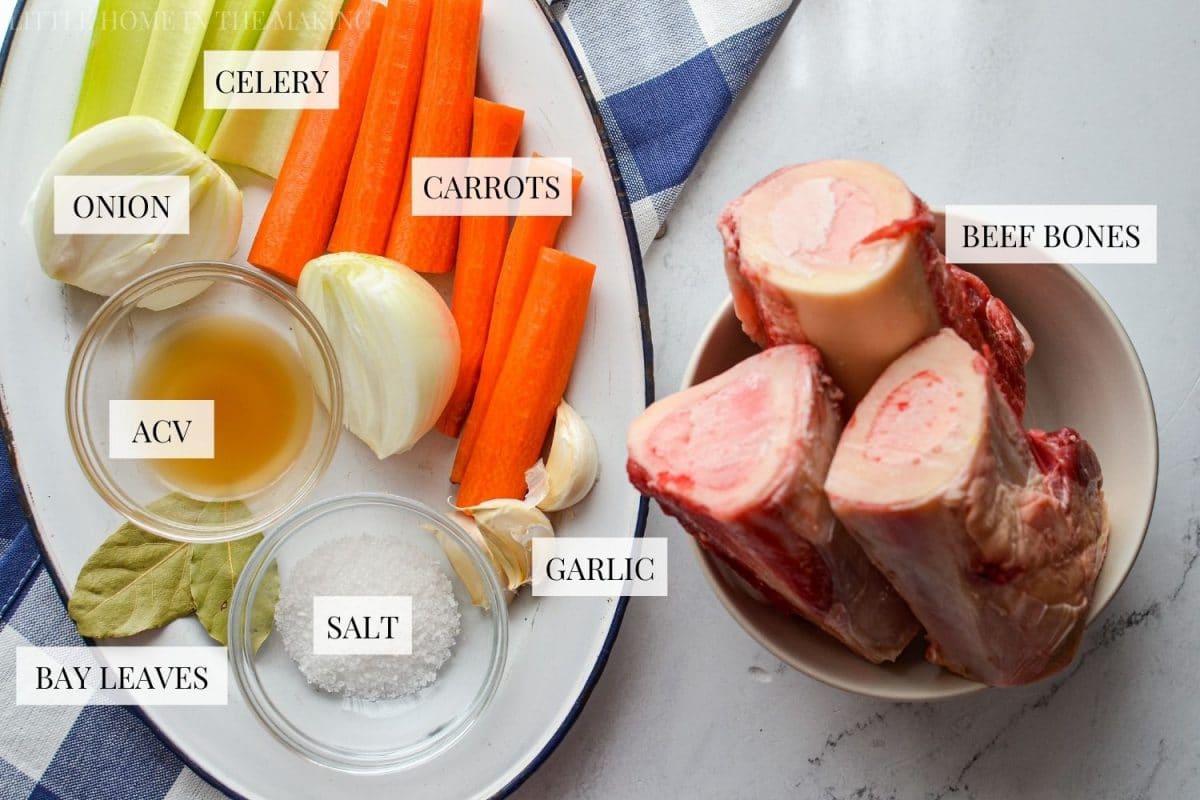
- Beef bones: A variety of bones is best. A variety of marrow, knuckle, and oxtail bones are idea, but go with whatever you can find! I used marrow bones for for shooting this recipe because it was all I could find, and the broth was delicious and just a little bit gelled. Knuckle and oxtail bones will have a higher collagen and gelatin content, and your broth will have a stronger gel.
- Aromatic veggies: You'll need onions, carrots, and celery. If using organic, you can leave these unpeeled. I tend to peel them anyway, but it's an option if you want to save a few steps! I also include just a few cloves of garlic.
- Apple cider vinegar: Adding a bit of ACV to the broth and allowing it to rest before cooking allows you to pull more minerals and good stuff from the bones. Don't worry, you won't taste it in the final broth!
- Salt: I like to use kosher salt or Redmond's Real Salt (they also have a kosher option, but I haven't been able to find it in my health food store). This adds the perfect amount of saltiness to your homemade broth.
- Bay leaves: Just a few tucked into the pot provides a nice flavor and compliments the beef. They will be strained off with the bones and veggies, so you don't need to worry about fishing them out.
- Parsley: This is optional, but adding about a half of a bunch of parsley adds a nice touch! I left it out because I didn't have any on hand or in the garden, but definitely include it if you can!
- Water: You'll need about 6-8 cups of clean, filtered water (we like Berkey!), or enough to cover the bones. Using less water will give you a richer broth that is more likely to gel, while using more water will give you a light broth that is less likely to gel, but great for soups, rice, etc.
Equipment Needed
- Instant Pot: I like to use my 8qt Instant Pot Duo for making broth since it is pretty spacey, but you can use a 6qt if that's what you have.
- Strainer: A fine mesh strainer is used to give a clear broth while catching all the veggies and bones. If you don't have a mesh strainer, the finest one you can find will do well.
- Half gallon jar: This is the perfect way to store your bone broth! I recommend getting one with a lid (I use a canning jar and a plastic storage lid), but you could also use a large bowl fitted with a tight lid.
How to Make Beef Bone Broth in the Instant Pot
Roasting the Bones
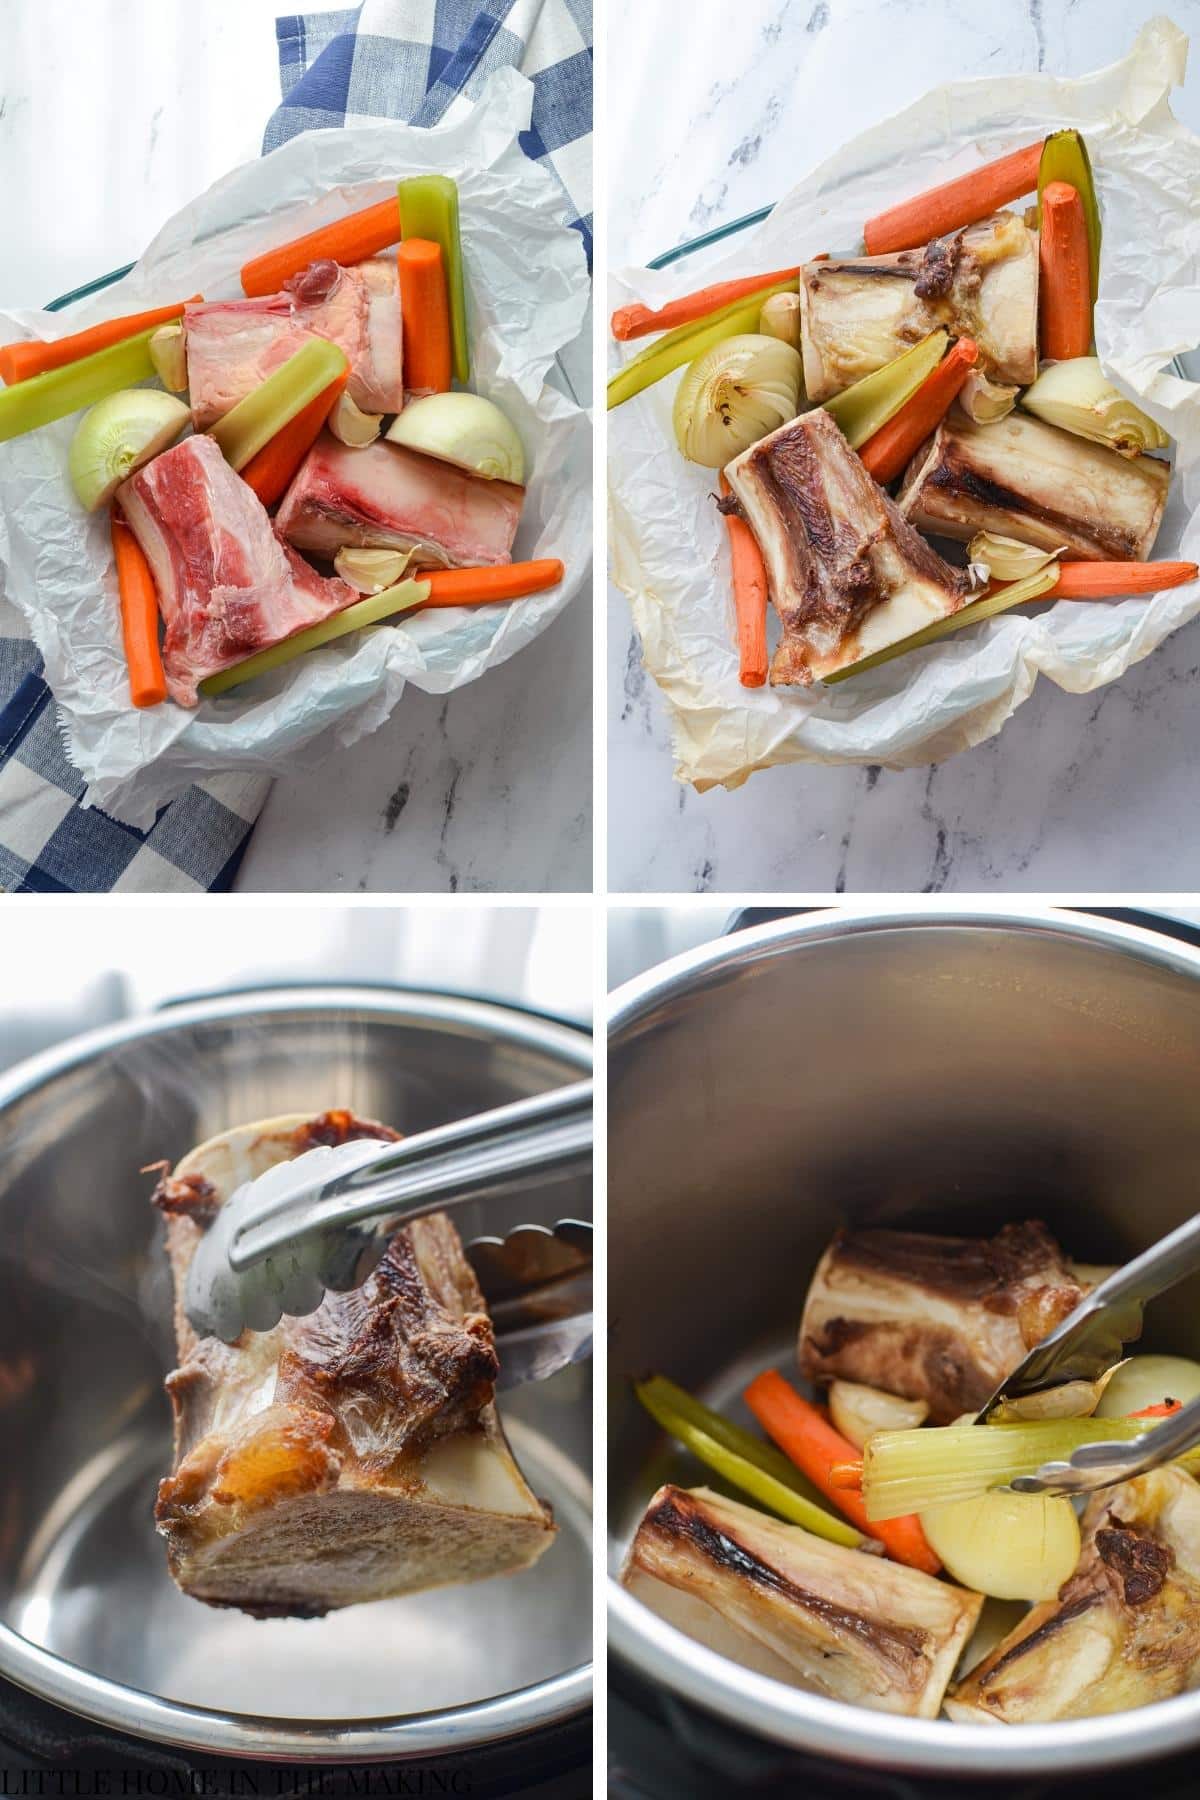
A really important step in beef bone broth is roasting the bones. This brings out the flavor and darkens the color of the broth. It's an essential step that really makes or breaks your batch!
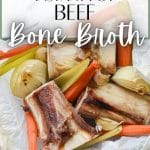
To get started, add your bones to a roasting pan or baking dish. I like to line it with parchment paper so it makes for an easy clean up. Then, tuck your aromatic veggies (onions, carrots, celery, and garlic) all around the bones.
Then, roast them in the oven until browned and toasty, for about 40-50 minutes.
Once the bones and veggies are roasted, add them to the insert of your Instant Pot, along with any liquid or fat that collected in the roasting pan.
Preparing the Broth
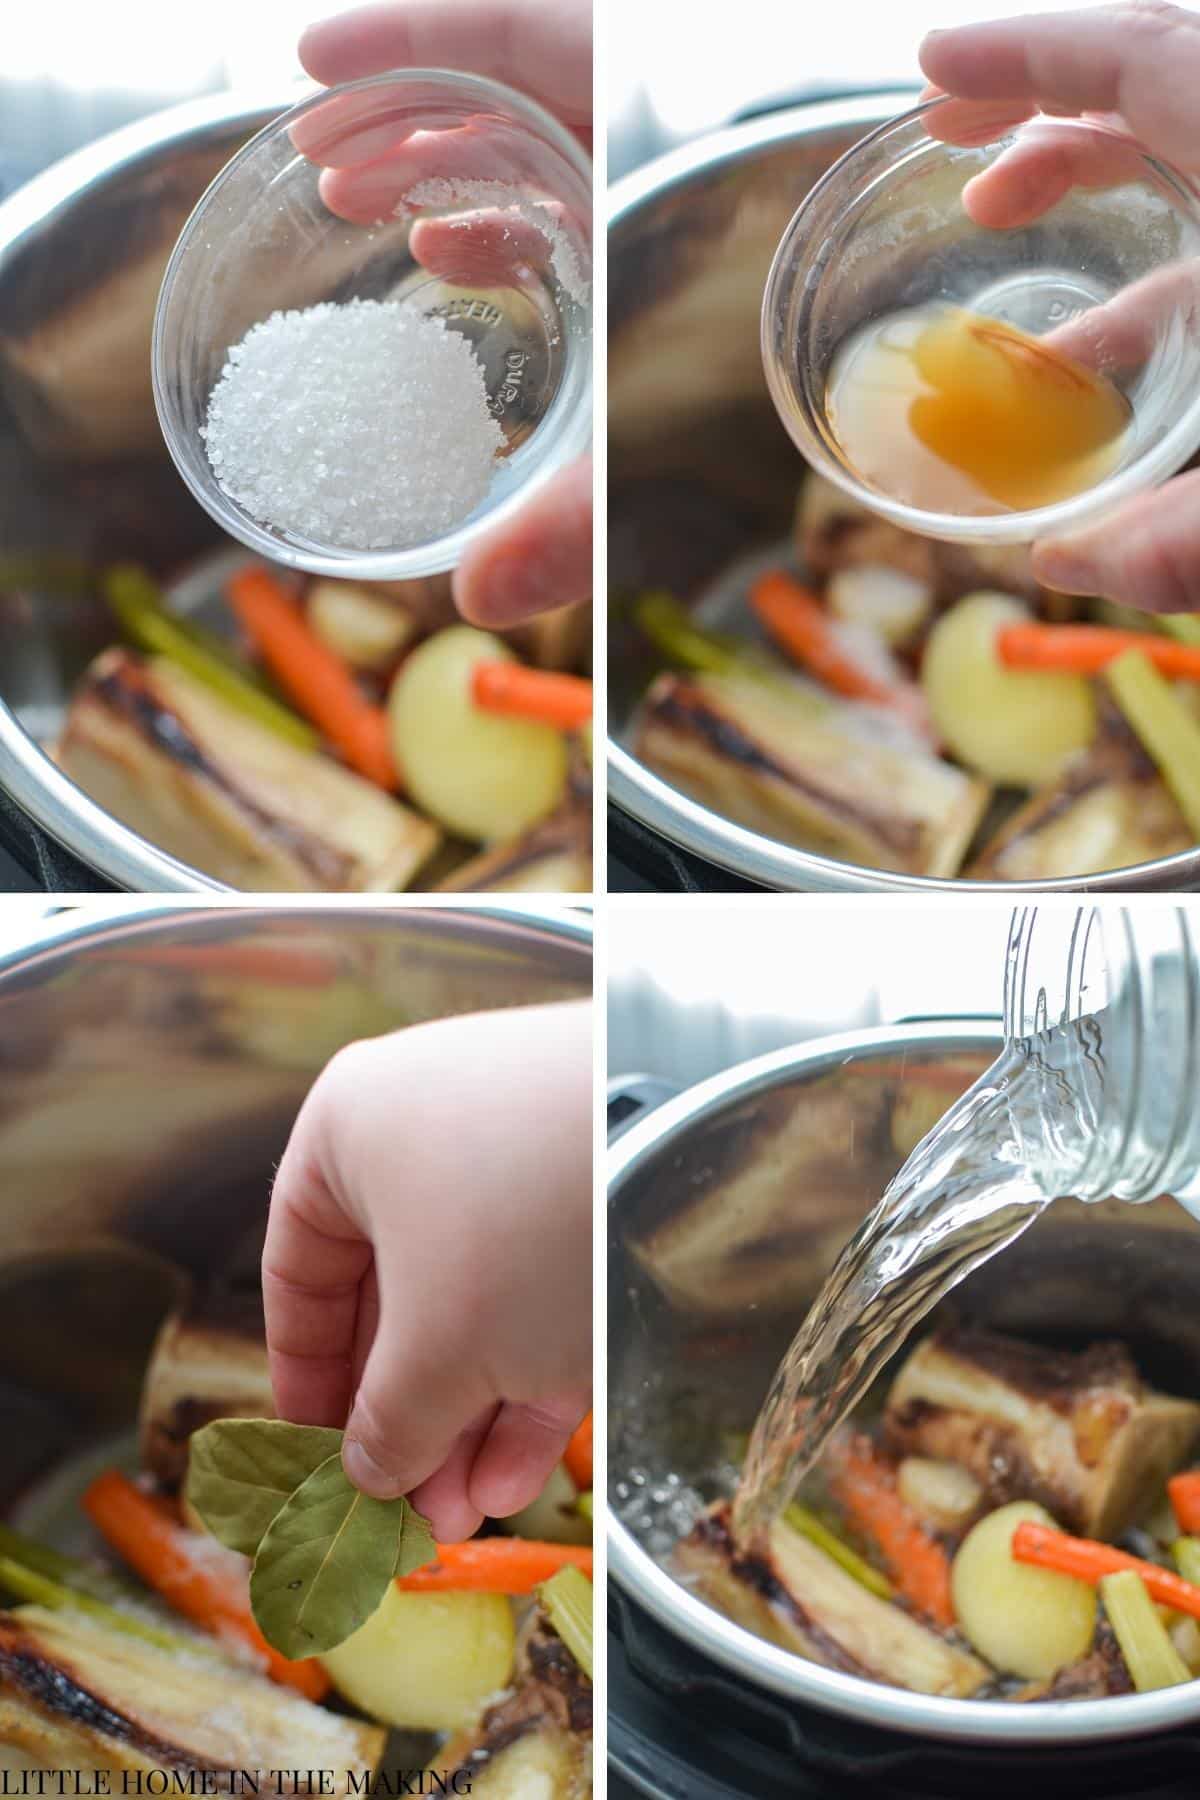
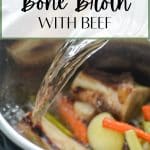
Add in your salt, ACV, and bay leaves. Then, cover with 6-8 cups of clean, filtered water.
I recommend setting your Instant Pot to a 30 minute delay start to allow the ACV to do its magic. If you want to do it the less technical way, you can just wait 30 minutes before turning it on.
Secure the lid and set the valve to "sealing." Set the Instant Pot to 120 minutes (2 hours) on manual mode. It will take a while to come to pressure, and it will beep both when it starts the cooking time. The pot will beep again when the cooking time is finished.
Releasing the Pressure
When the cooking time is finished, you can either do a natural pressure release (NPR) for a clearer broth, or a quick pressure release (QPR) for a quicker process, but cloudy broth.
Doing a natural pressure release means allowing the pot to release pressure on its own without switching the valve to "venting", while a quick pressure release involves toggling the valve to "venting" shortly after the cook time is through.
However you choose to do it, once the pressure has been released and the pin has dropped on your pot, it's safe to open the lid away from your face.
Straining
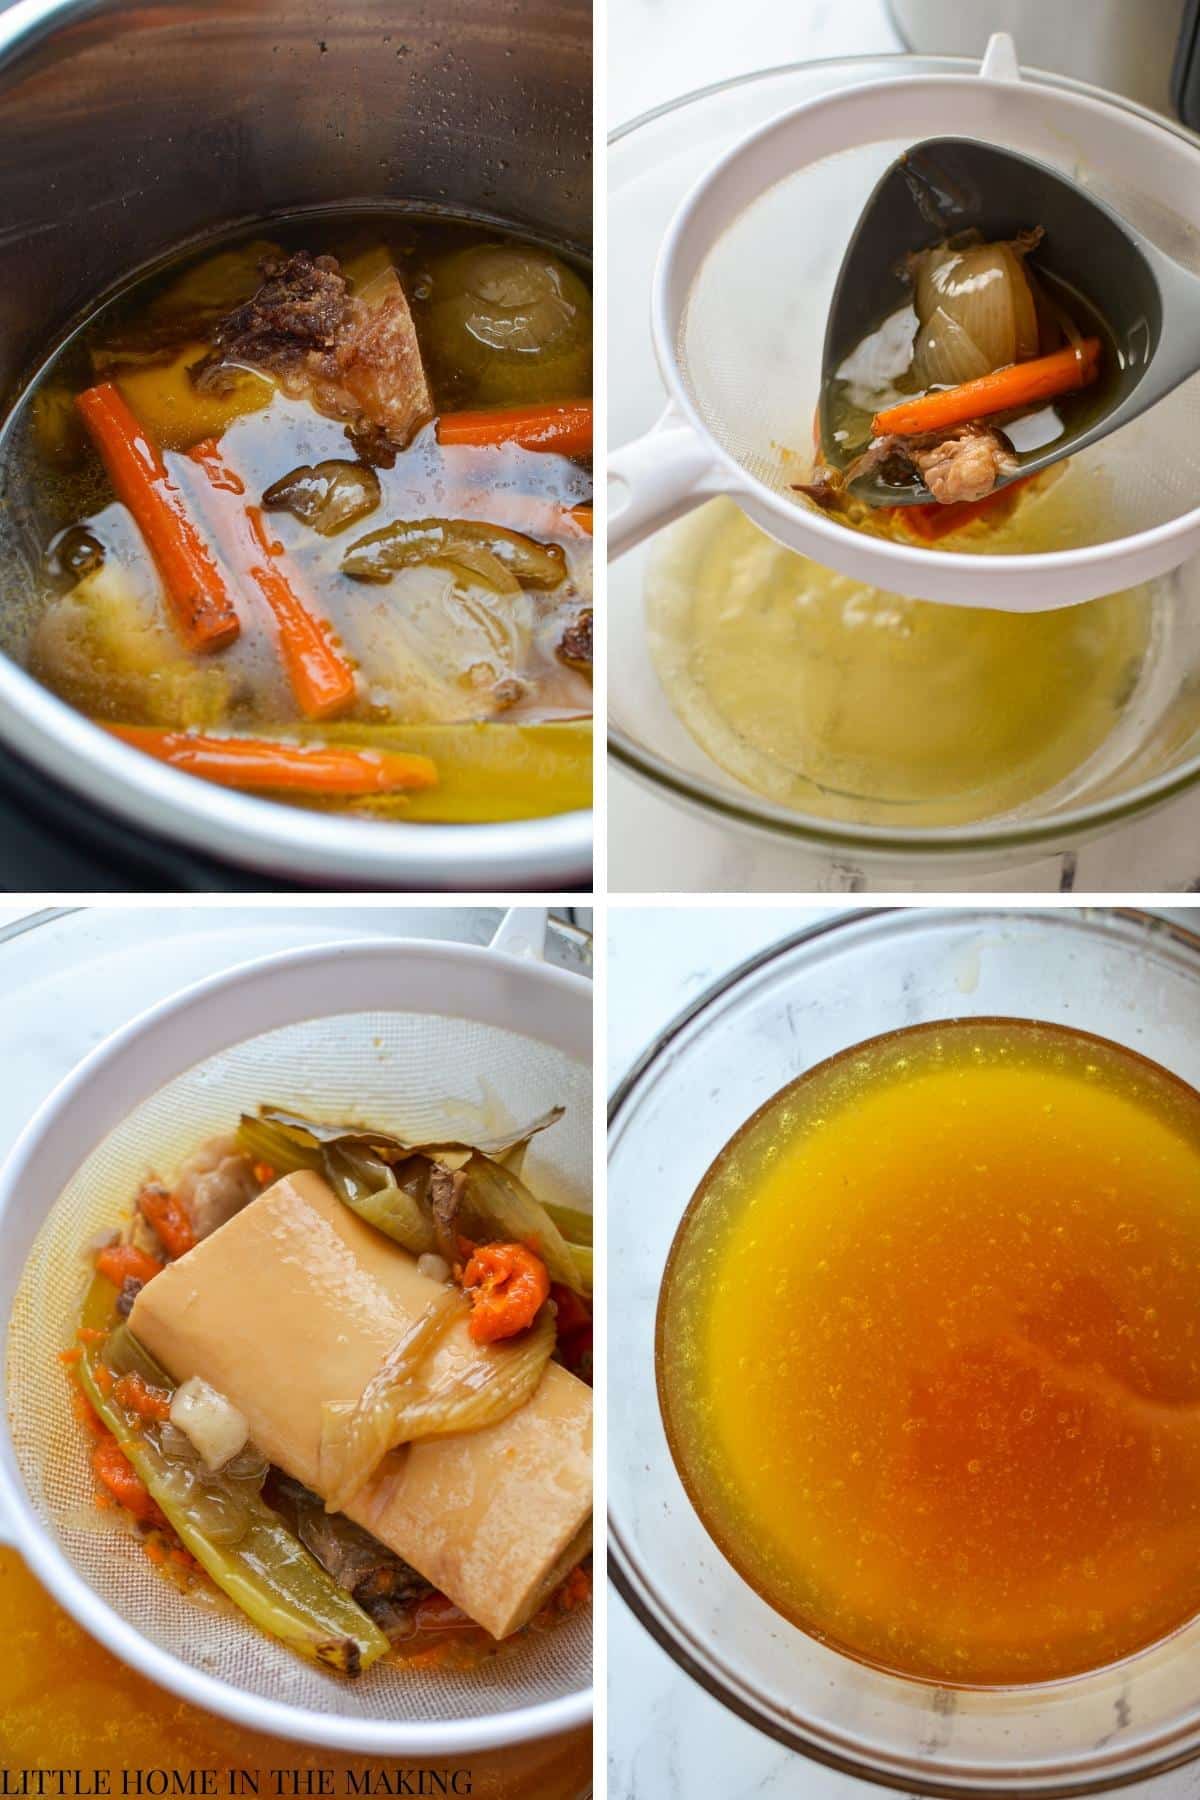
Set a fine mesh strainer over a very large bowl and ladle the bone broth (along with the veggies and bones) into the strainer. The strainer will catch the bones the veggies, and the broth will collect below in the bowl.
Once you have collected your broth, discard your bones and veggies and cover the broth with a tea towel.
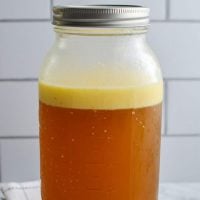
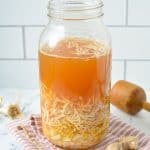
Once the broth has cooled down so it is just warm to handle rather than hot, transfer it to a half gallon mason jar OR airtight container with a lid.
Chilling the Broth and Reserving the Fat
Once you've made your broth, you can either use it immediately in soups, stews, to prepare grains and rice, OR you can chill it for later use.
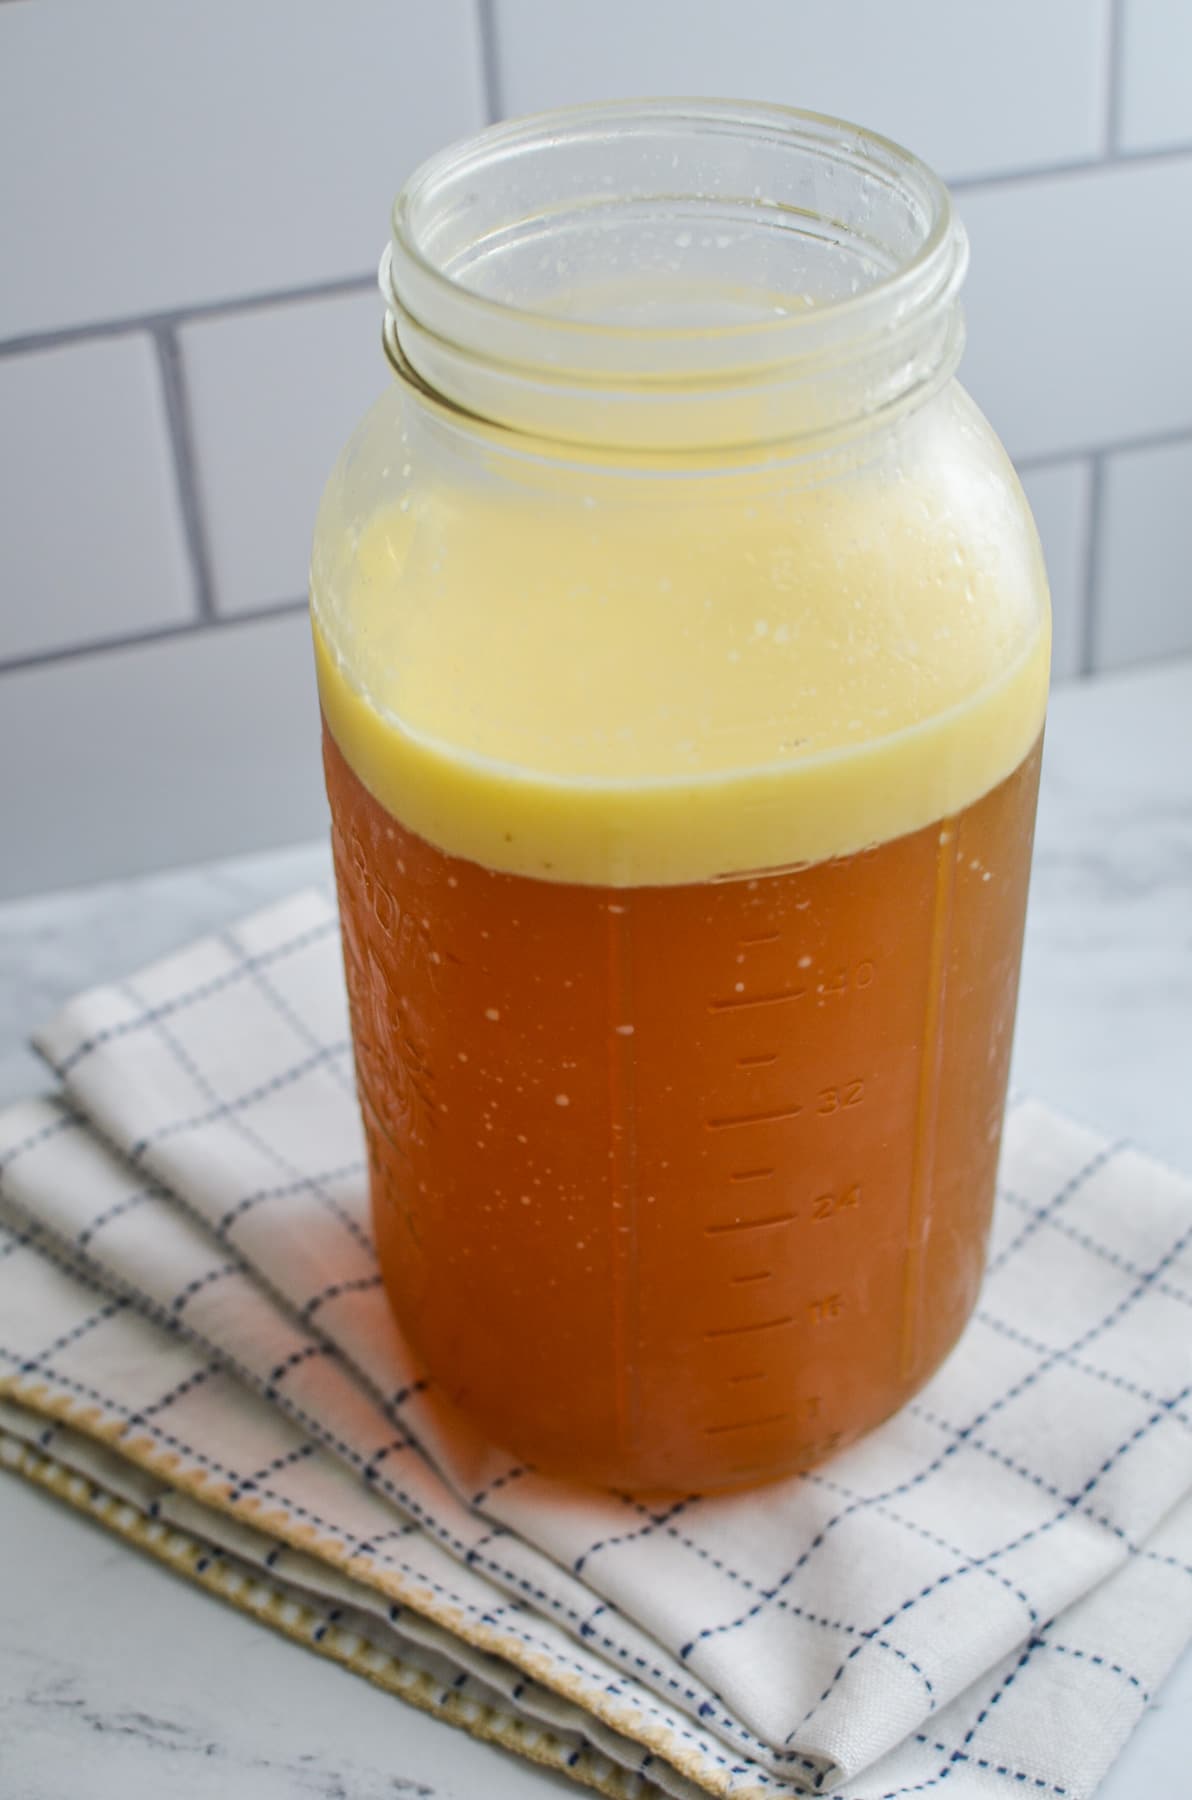
However I'm using my bone broth, I prefer to chill it first to remove the top layer of fat. This isn't because I'm afraid of a fat content, but rather because if I don't remove it, when I chill the soup I'm making with the broth, the fat will rise to the top and it's just not appetizing!
So by chilling the broth, you're able to remove the top layer of fat before adding it to your favorite recipes.
Saving and Using Tallow
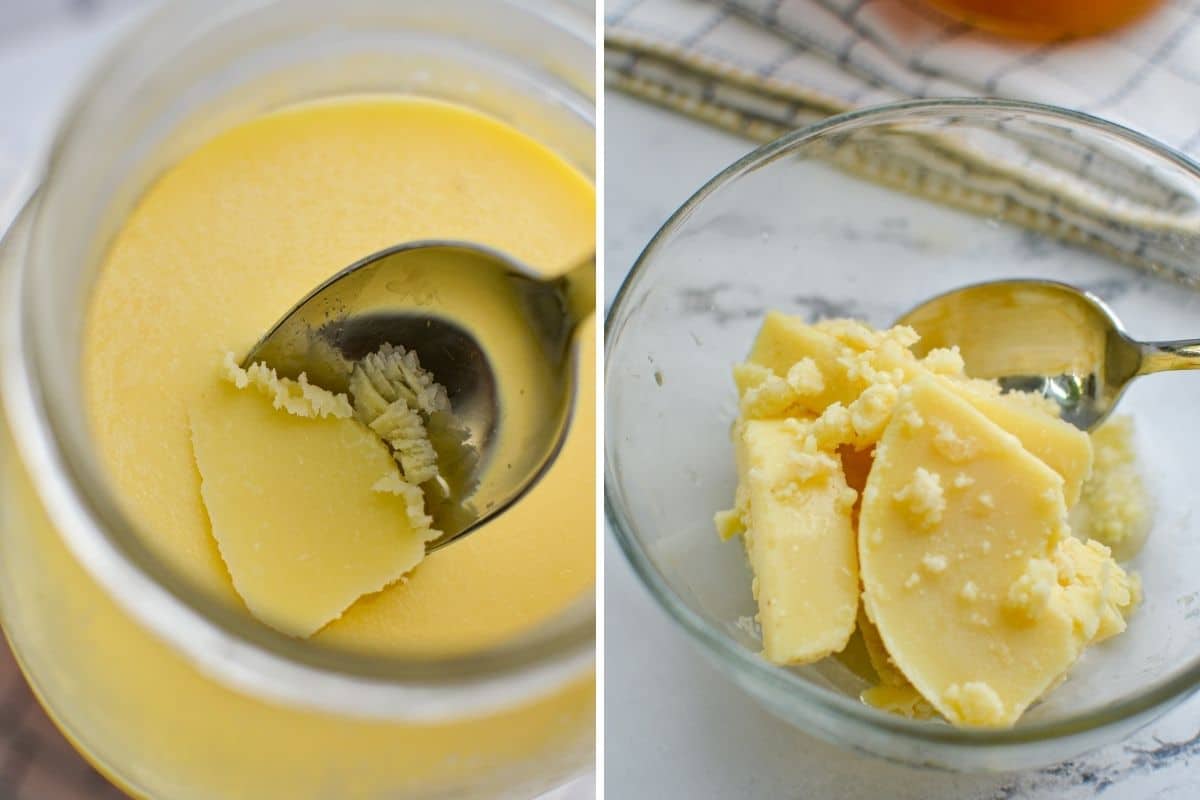
In the case of Instant Pot Beef Bone Broth, the fat that rises to the top is actually a rough form of the traditional cooking fat Tallow. So I like to remove the fat, and dab it dry. If I want to store it, I will render it and strain it off into a jar for using later. If I plan on using it soon, I'll just dab it dry and leave the chunks in a small container in the fridge. It's great for cooking potatoes, meats, and seasoning cast iron skillets.
Tallow itself is great for a variety of uses (including skincare and candles!), but this rough version of tallow is a little more limited and retains quite a bit of beefy flavor.
Storing and Freezing Beef Bone Broth
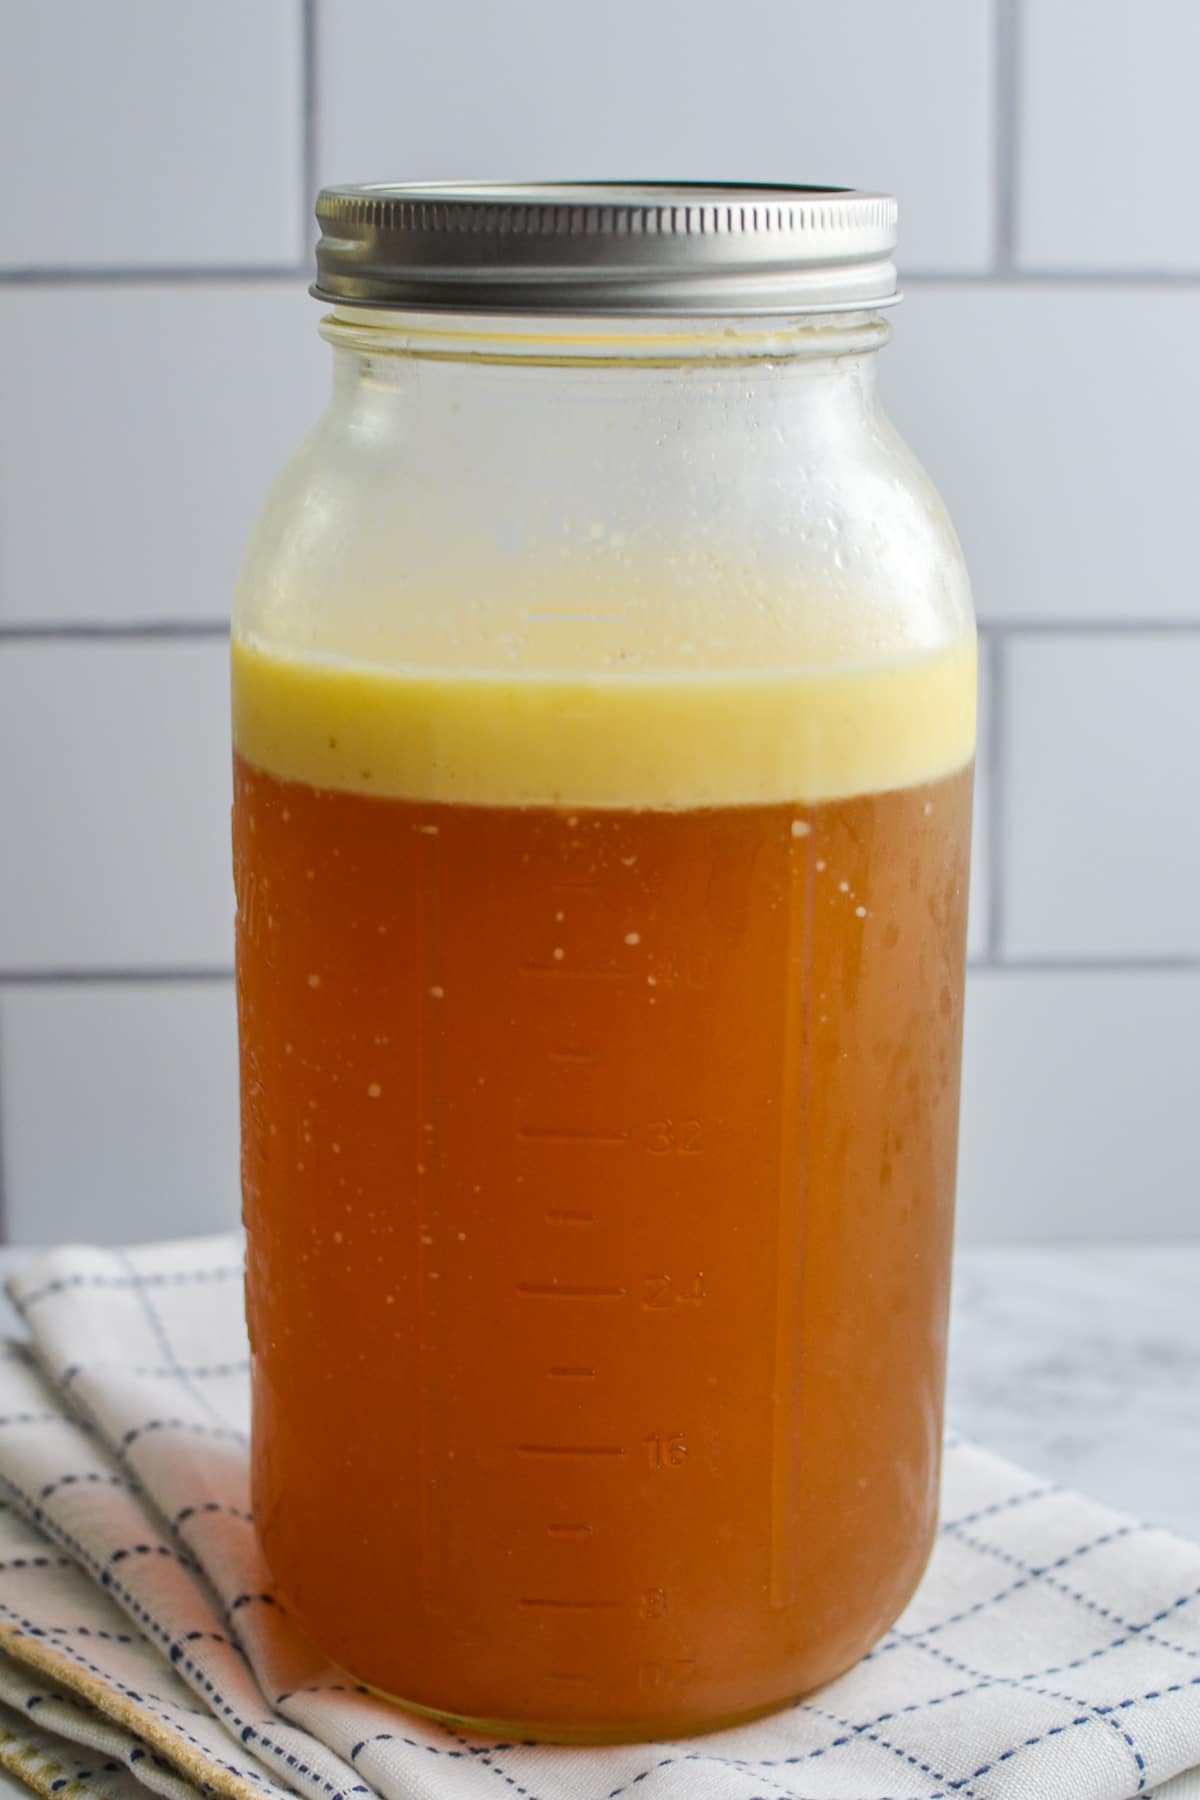
If you're storing your beef bone broth in the fridge, leaving the fat layer intact until you're ready to use it is a good way to reduce spoilage. The fat layer limits oxygen, meaning that the broth will have a bit longer of a shelf life versus if you skim the fat and then continue to store the broth.
Broth with the fat removed can store in the fridge from 3-5 days, while broth with the fat in place often stores for 1 week or longer.
Freezing
As a best practice, if you will be leaving your broth for more than 3-5 days, it's a great option to freeze it! You can freeze it in portions using a silicone tray like Souper Cubes (they come in 1 and 2 cup sizes), or in freezer safe containers.
Once frozen, your broth should last 2-3 months. You can thaw before using, or if adding to soup, you can add it in frozen and stir until melted. Easy peasy!
Beef Bone Broth Tips
- Make sure to select good quality, fresh bones for making your Instant Pot Beef Bone Broth. A variety of bones is best for flavor and gelling, but the recipe will work with whatever you can find! Select good quality marrow, oxtail, and knuckle bones.
- Always roast your bones (and veggies) to get the best flavor and color. Even though it's an added step, it's worth the extra work for a delicious, deeply colored beef broth.
- If you want your broth to gel, use more bones with connective tissue such as knuckles and oxtail. Also, use just enough water to cover. Using a little less water helps the broth thicken and gel, even if the yield is smaller.
- Beef broth has quite a bit of fat. After chilling, reserve the fat for cooking and seasoning your cast iron skillets. This is a rough form of the traditional cooking fat tallow and is great for cooking potatoes!
Frequently Asked Questions
If the Instant Pot has been turned off, you cannot leave bone broth overnight. If the pot is set to the slow cooker setting, you can leave it overnight. The warm function may not be hot enough to keep bacteria at bay, so it is recommended to either setting the pot to the slow cooker setting OR straining and placing your bone broth in the fridge before bed.
The best bones for bone brother are a variety of bones, and in particular the connective tissue bones. For beef, that means knuckles and oxtail, and for chicken that is often chicken feet. For all broths, using a variety of bones will give you the best results, with the connective tissue bones giving you a better chance at a gelling broth.
It is not recommended to put potatoes in broth, as they can add cloudiness and starchiness to your broth and cause it to spoil prematurely. It is also recommended to avoid too much garlic, although a few cloves are perfectly fine.
More Ways to Make Broth
📖 Recipe
Instant Pot Beef Bone Broth
Ingredients
- 2-3 pounds mixed beef bones including marrow bones
- 2 large carrots peeled and chopped
- 2 stalks celery
- 2 large onions quartered
- 3 cloves garlic unpeeled
- 2 bay leaves
- 1 tablespoon kosher salt
- 1 tablespoon apple cider vinegar
- ½ bunch parsley optional
- 6-8 cups filtered water
Instructions
- Preheat the oven to 425ºF and line a roasting pan or dish with parchment paper.
- Add the bones, carrots, celery, onions, and garlic to the prepared roasting pan and roast in the preheated oven for 40-50 minutes, or until the bones are well roasted and dark in color.
- Transfer the bones, veggies, and any liquid to the insert of a 6 or 8 quart Instant Pot.
- Add in 2 bay leaves, kosher salt, apple cider vinegar, and ½ of a bunch of parsley (if using).
- Pour in 6-8 cups of cool filtered water, OR enough to cover the bones and veggies.
- Optionally, allow the bones and water to rest for 30 minutes to allow the ACV to pull nutrients from the bones. You can do this manually, or select a delay start time on your Instant Pot of 30 minutes.
- Place the lid on the Instant Pot and flip the valve to “sealing”. Set the pot on manual pressure for 120 minutes (2 hours).
- Once the cook time is done, you may either do a quick pressure release by switching the valve to “venting” OR you can do a natural pressure release by allowing the pot to release pressure naturally. I prefer the natural release as the broth is more clear (versus cloudy) and I find it is more likely to gel. You will know the pressure has been fully released when the pin drops on the lid. Then, you can safely open the lid away from your face.
- Fit a large bowl with a fine mesh or stainless strainer. Ladle in the bone broth so that te strainer catches the vegetables and bones, while the beef bone broth collects into the bowl below.
- Allow the broth to cool completely before tightly wrapping the bowl of bone broth OR transferring to a half gallon size glass canning jar.
- Place the broth in the fridge and allow to chill for at least 6 hours, so the fat solidifies at the top and can be removed. Alternatively, you can use the hot broth with the fat in it, as it’s just a matter of preference!
- If storing in the fridge, leave the layer of fat and remove just before serving, OR remove the fat and transfer into freezer jars or use immediately.
Notes
Nutrition
Please note that some of my blog posts here at Little Home in the Making may contain affiliate links. If you make a purchase through these links, I will get a small commission at no additional cost to you. Please see my Disclaimer for more information.















Dee
I enjoyed this completely especially the tip to roast first. This is fantastic and I’ve ordered the soup er cups which is a wonderful suggest v thank you for taking the time to help me have a nutritious kitchen
Dolly | Little Home in the Making
My pleasure Dee! Freezing bone broth is SUCH a good way to have it on hand when you need it!