


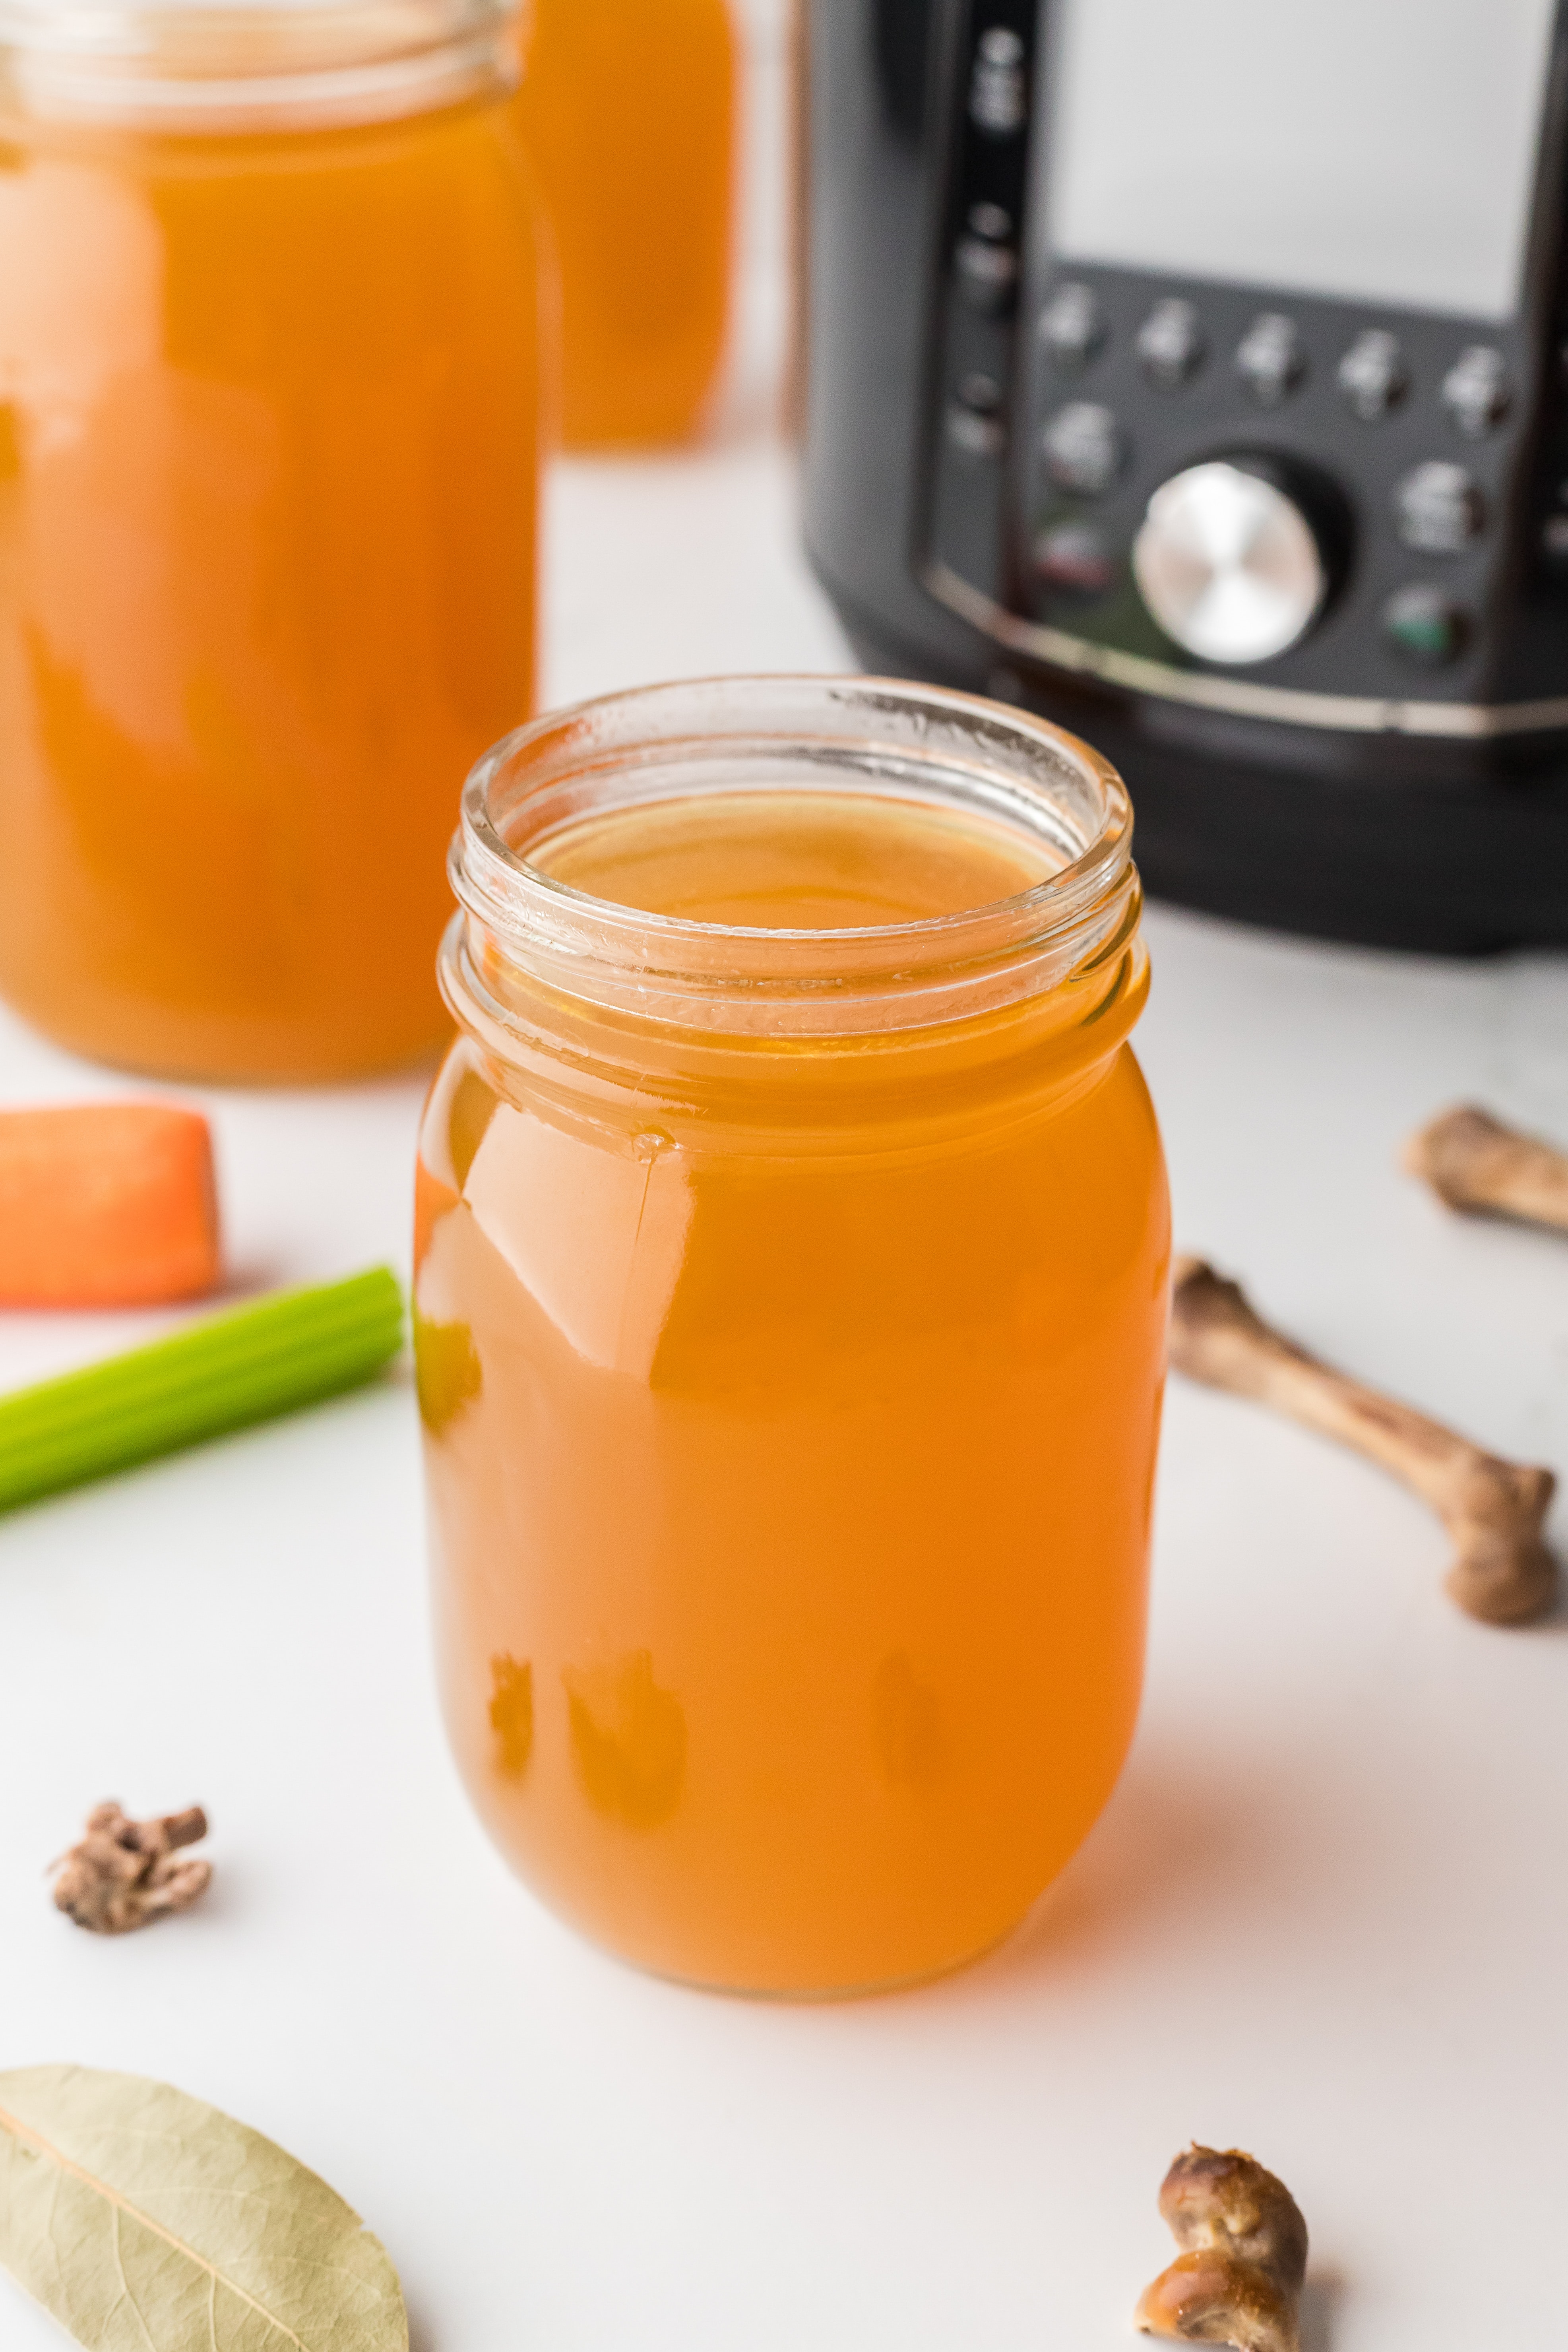
For a delicious homemade broth that gels perfectly every time, you have to try this easy Instant Pot bone broth recipe! Made with leftover bones, aromatic vegetables, and a few simple ingredients, this is sure to become a staple in your kitchen.
Whether it's your first time making homemade bone broth, or you're a seasoned pro, you'll love this easy method for Instant Pot chicken bone broth.
Just add all of the ingredients in an electric pressure cooker, set the timer, and walk away! Once the time is up, you'll come back to a rich and delicious broth that is perfect for sipping, or adding to your favorite recipes.
In my opinion, the Instant Pot makes the best bone broth (and trust me, I've made A LOT). It gels perfectly every time, and the high pressure extracts all of the goodness from leftover bones.
Best of all? It takes way less time than slow cooker bone broth or traditional stovetop methods. That's why it's always my #1 choice when broth is on the menu.
Why You'll Love It:
- Uses every part of the chicken. No need to toss the bones - you can make a nourishing bone broth instead!
- Hands-off. Compared to a traditional stock pot method, Instant Pot bone broth is SO easy and requires very little hands on time.
- Nutritious. Homemade bone broth is packed with minerals, amino acids, collagen, and gelatin. It's high in protein, making it the perfect starter for soups, casseroles, rice, and more.
- Doesn't heat up the house. Especially in the Summer months, you may want to avoid simmering hot liquids on the stove. Making your broth in the Instant Pot traps all of the moisture, heat, and steam inside the pot.
Ingredients
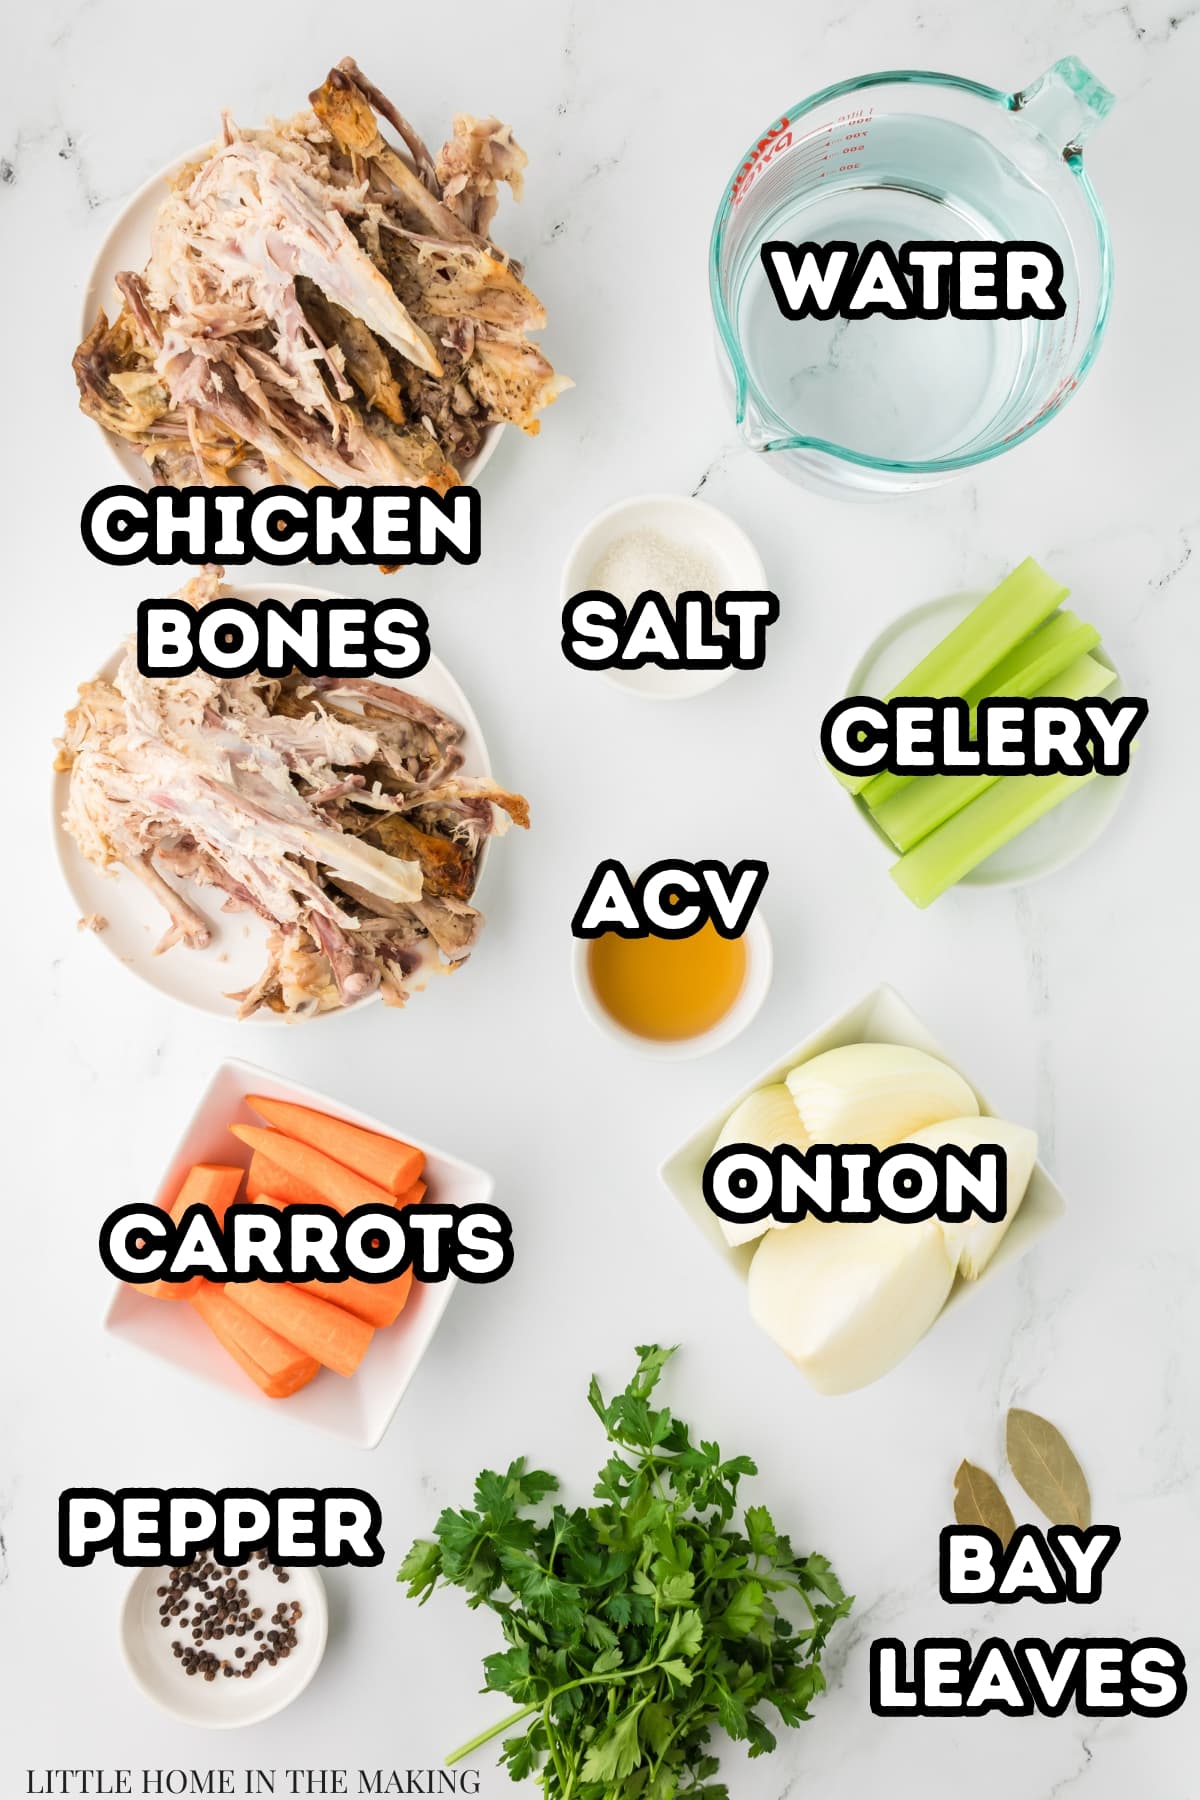
- Chicken bones: You will need about 3 pounds of bones, which is equivalent to roughly 2 chicken carcasses, although you can use an assortment of bones. Look for cuts with lots of connective tissue likes joints and wings. If you can find them, a few chicken feet make for a super rich and gelatinous broth.
- Vegetables: I recommend an assortment of aromatic veggies - celery, onions, and carrots.
- Seasoning: Keep it simple with salt, peppercorns (optional), and bay leaves.
- Apple cider vinegar (optional): This helps to pull minerals from the bones, but does not add any acidity. If you don't have any on hand, no worries!
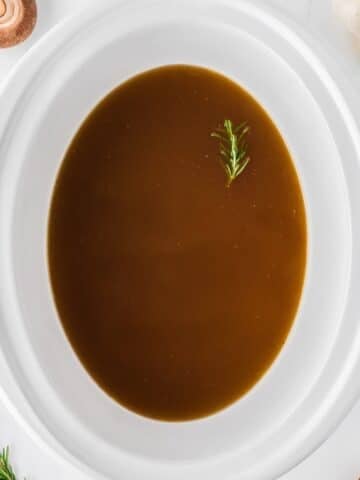
- Parsley (optional): If you like fresh herbs, adding some parsley to the hot broth after cooking helps to add a delicious flavor. It's completely optional, so if you don't have parsley you can leave it out.
- Water: Any drinkable quality water will do. I like to use filtered water, but if your tap water is good quality you can absolutely use that.
Can I make beef broth instead?
Yes! Just swap out the chicken bones for 3 pounds of roasted beef bones, or follow my recipe for Instant Pot Beef Bone Broth for more detailed instructions.
How to Make Instant Pot Bone Broth
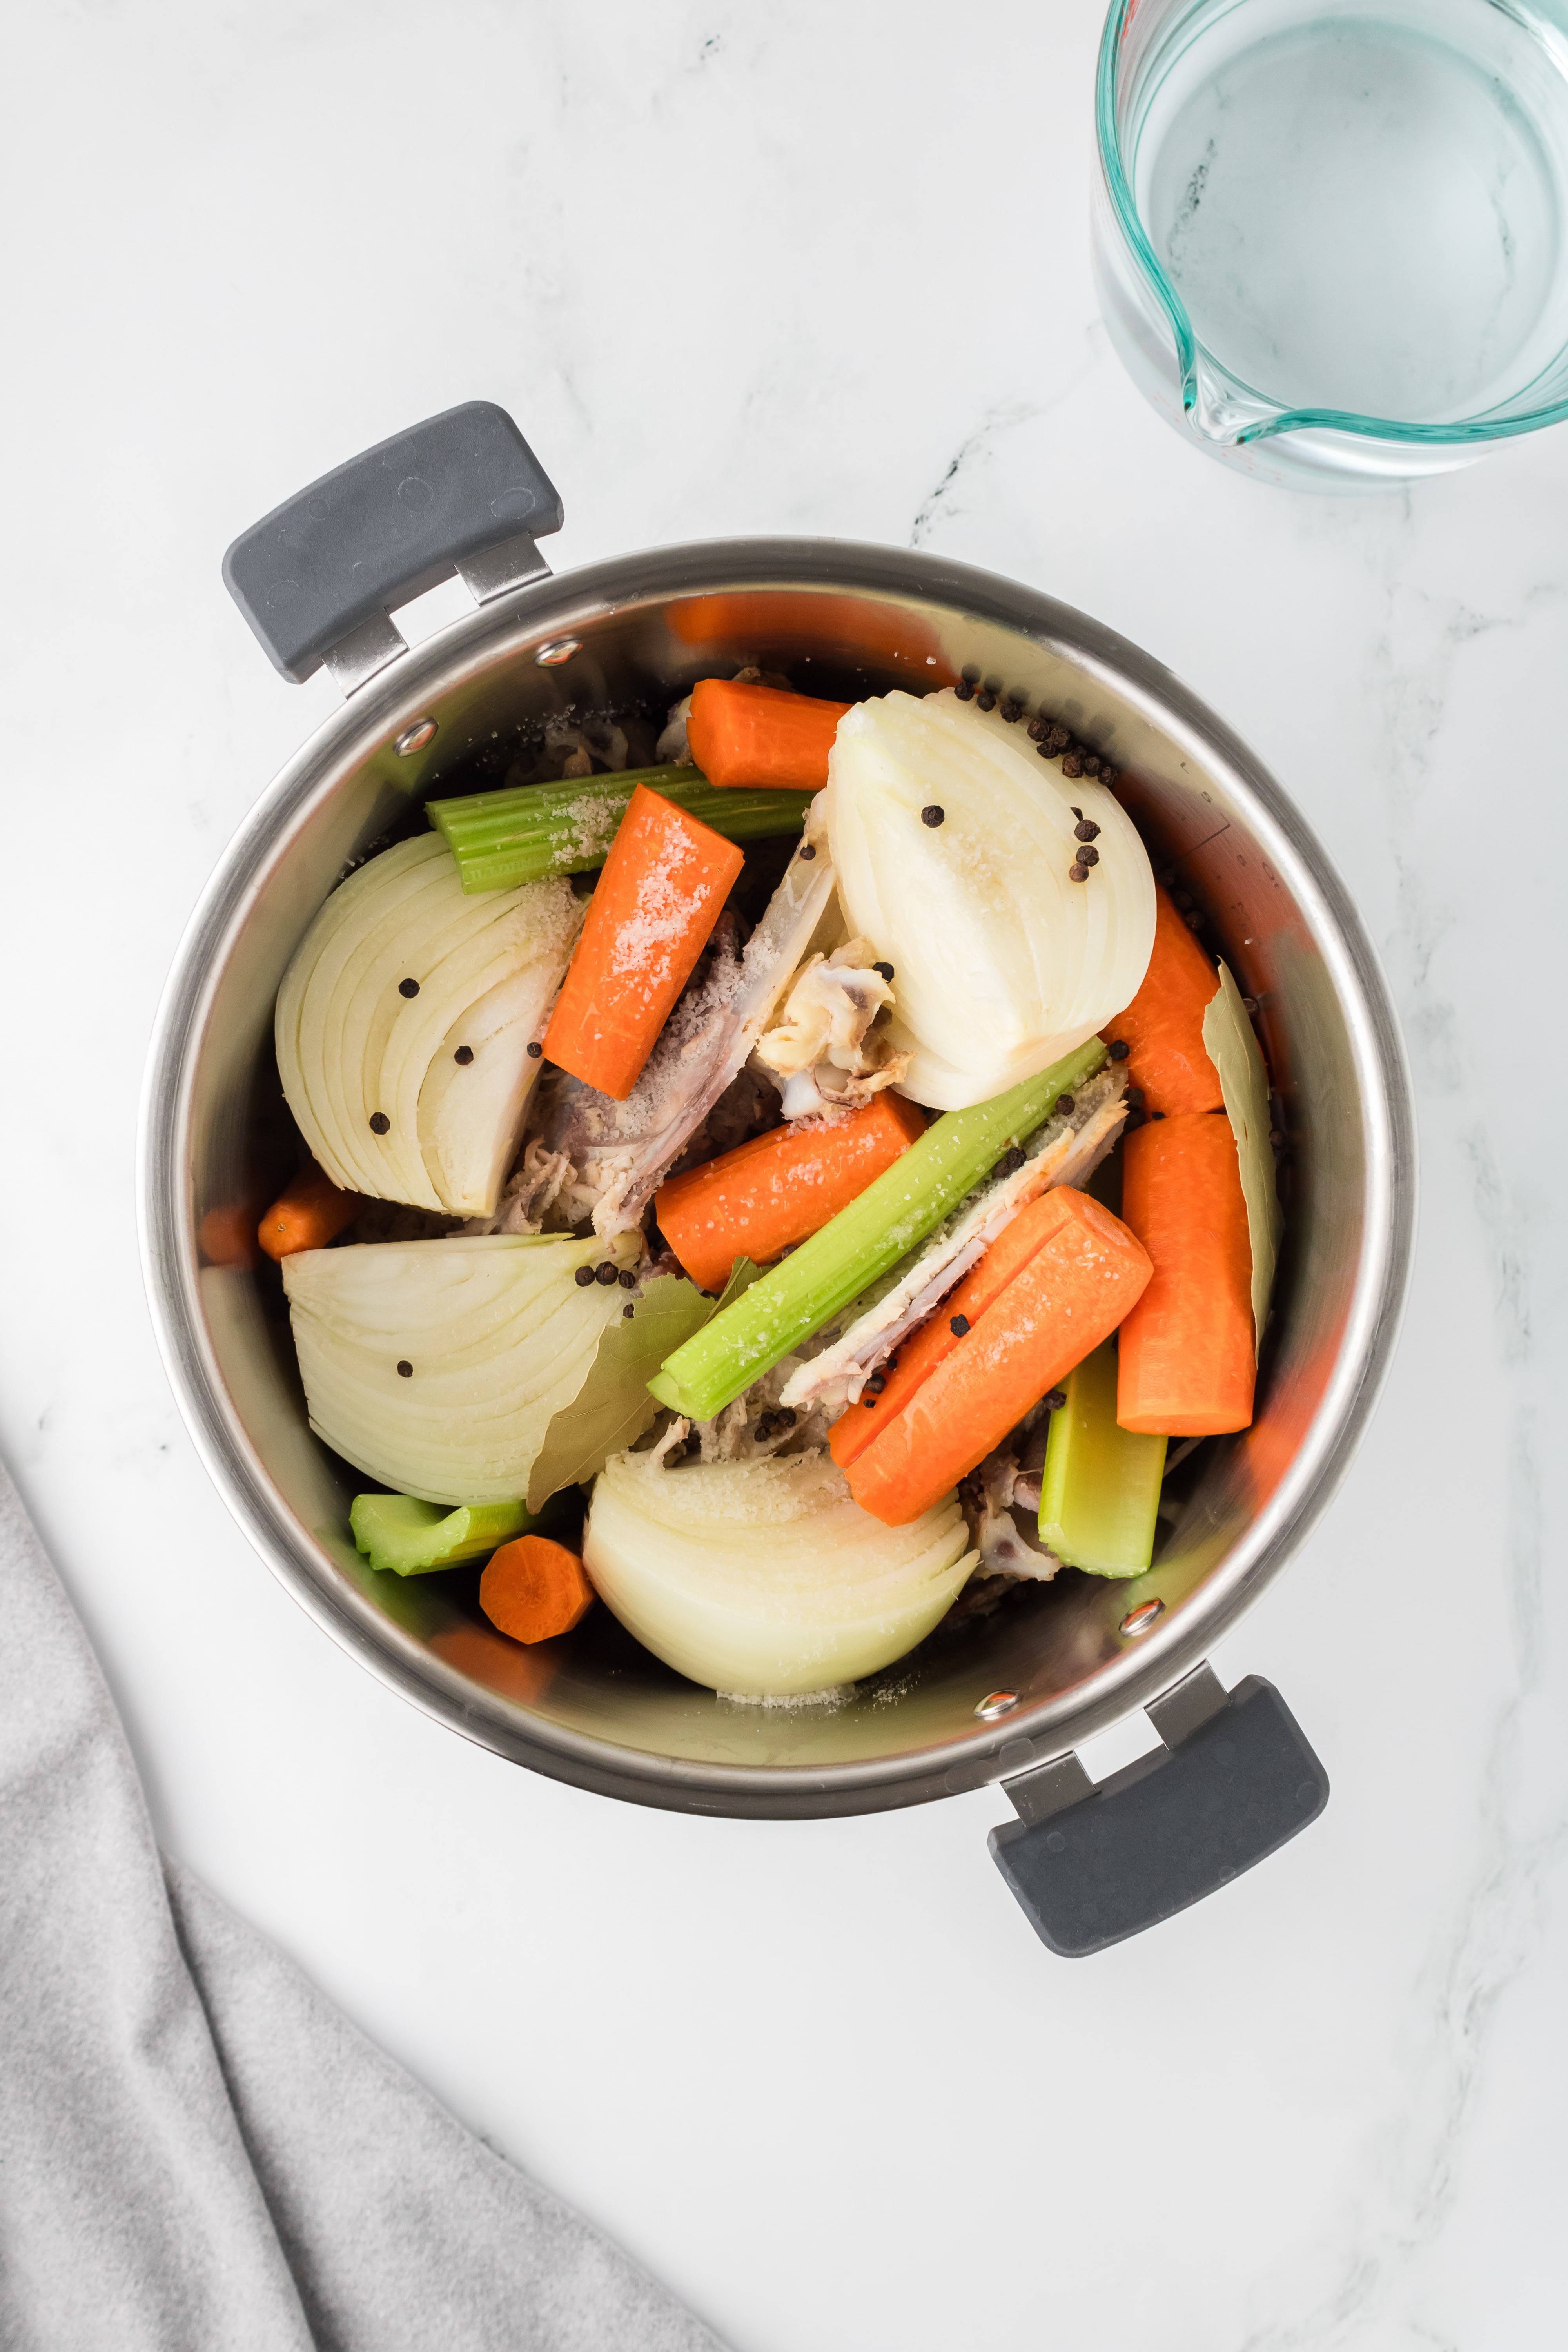
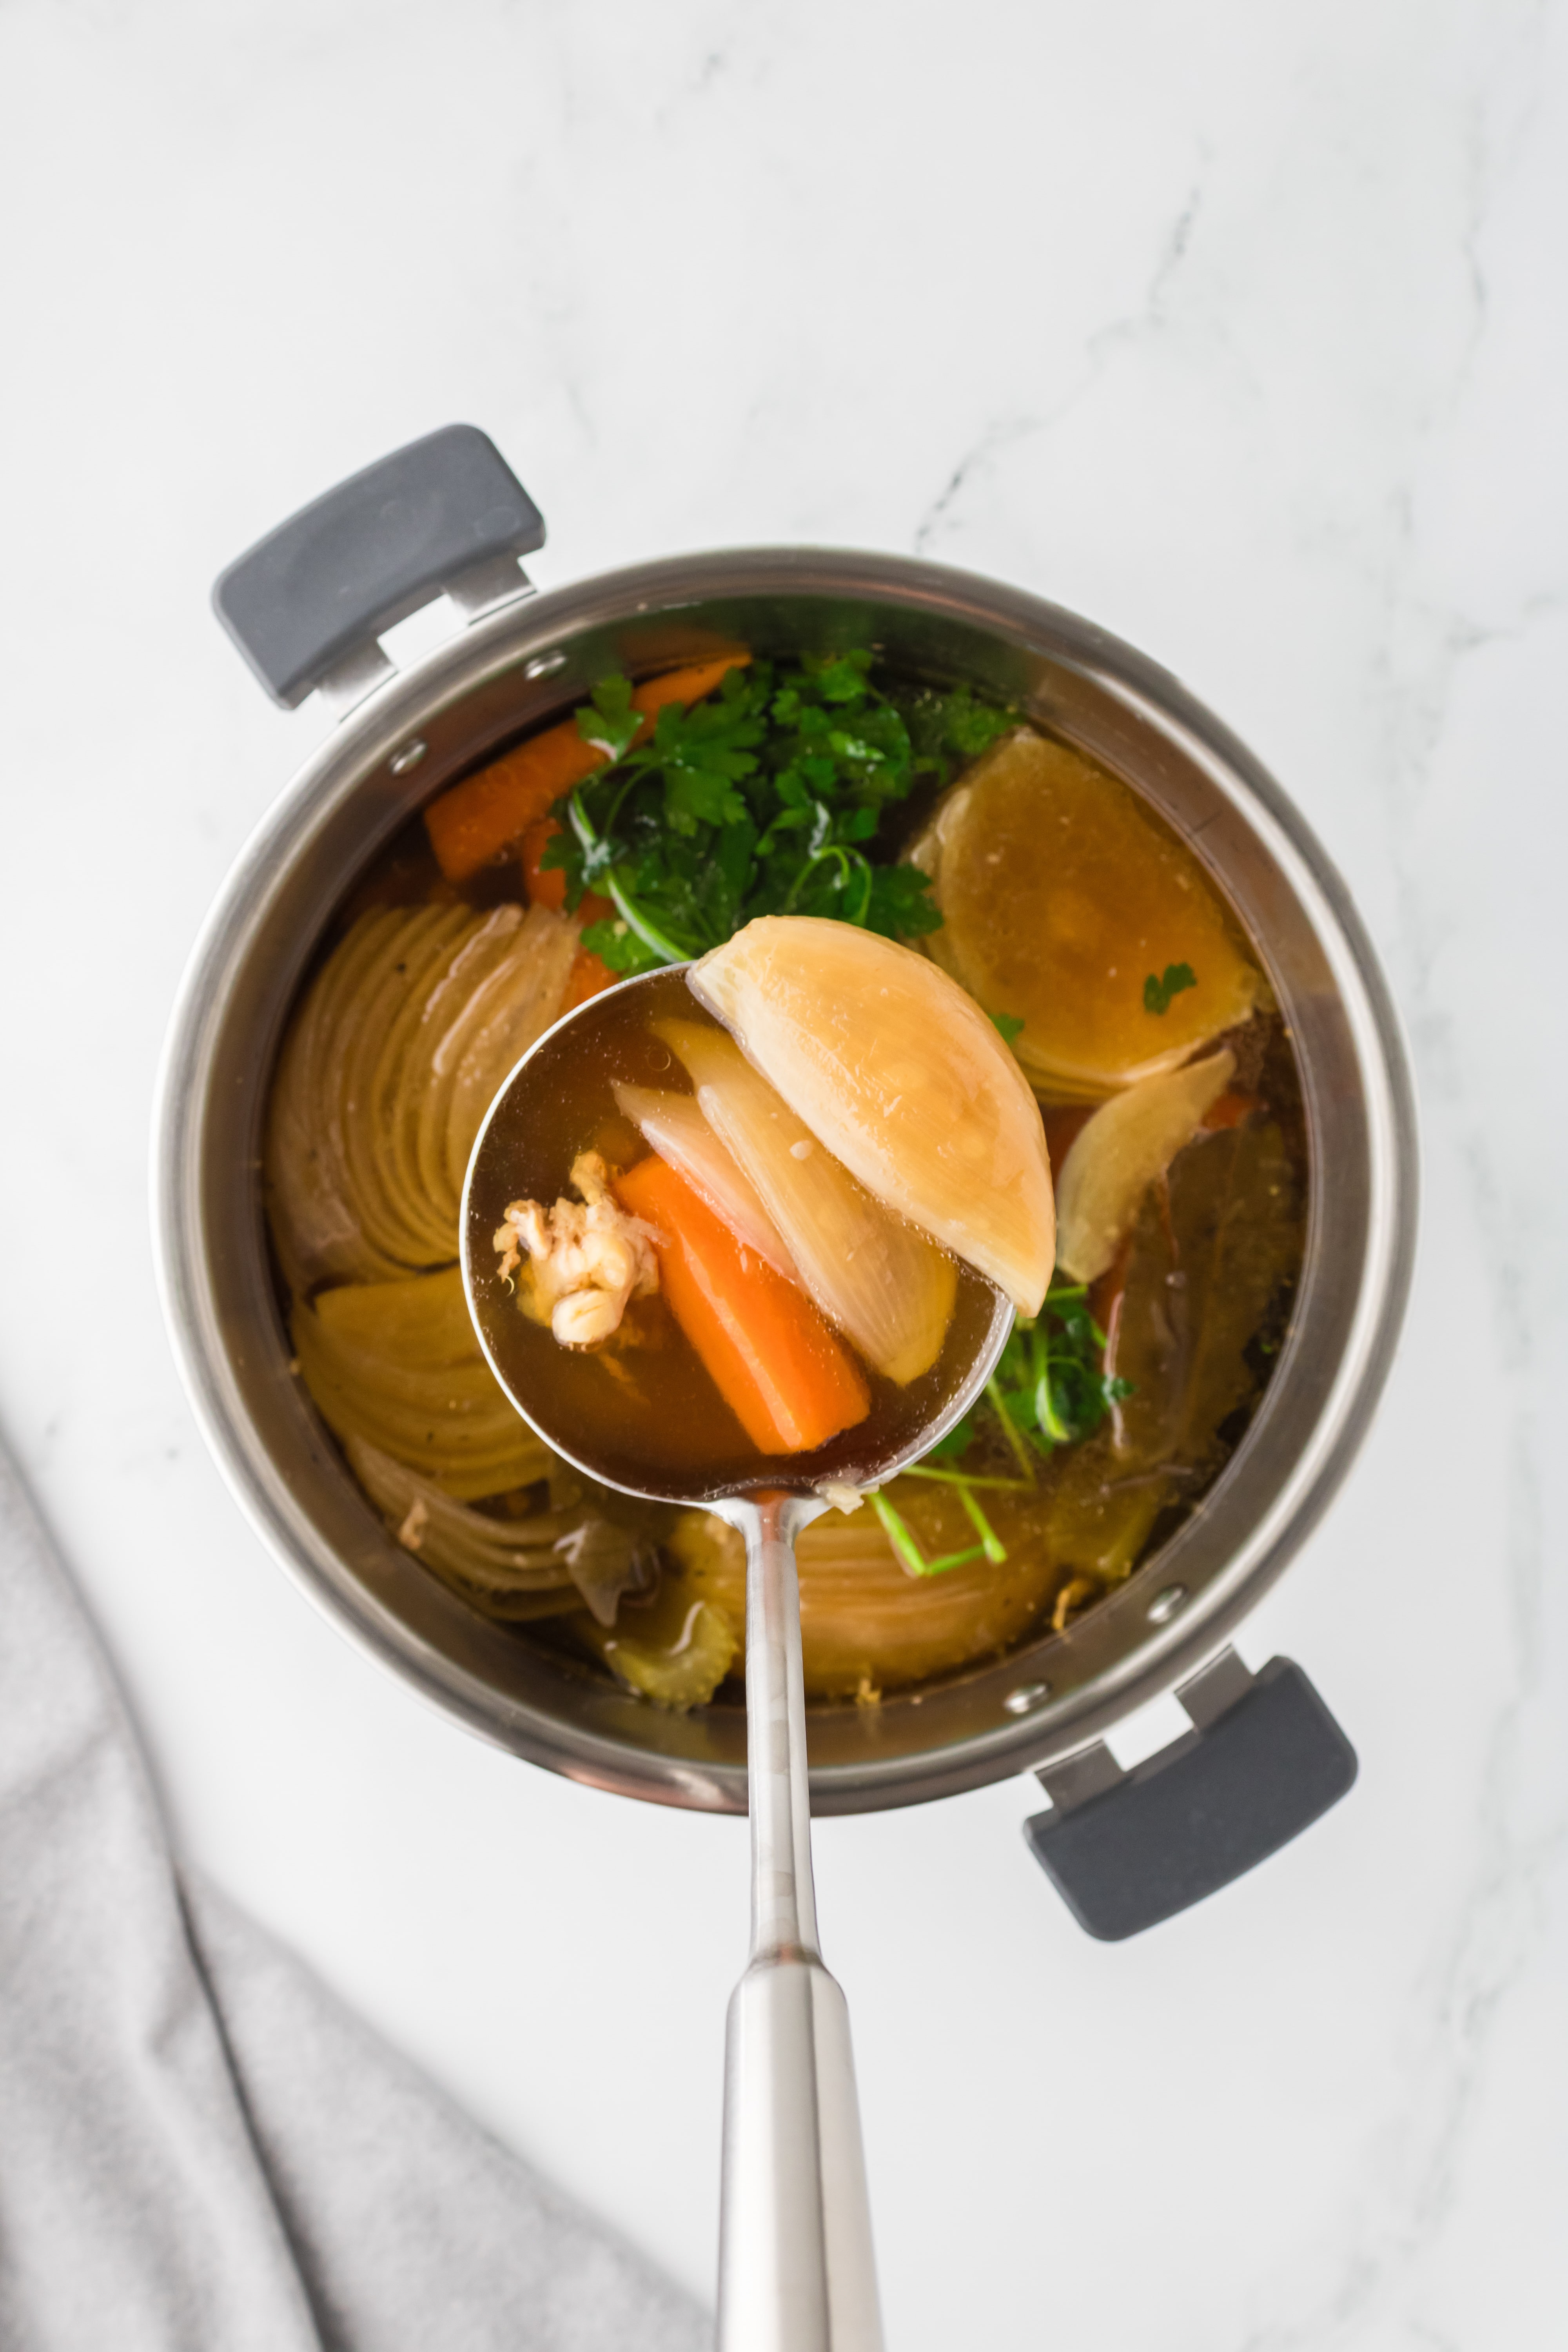
- Add the chicken bones, apple cider vinegar, vegetables, peppercorns (if using), salt, and bay leaves into the inner pot of an Instant Pot (6 or 8 quart).
- Add enough water to cover the bones and vegetables - about 8-10 cups. Be careful to not exceed the max fill line.
- Place the lid on the Instant Pot and set the valve to "sealing."
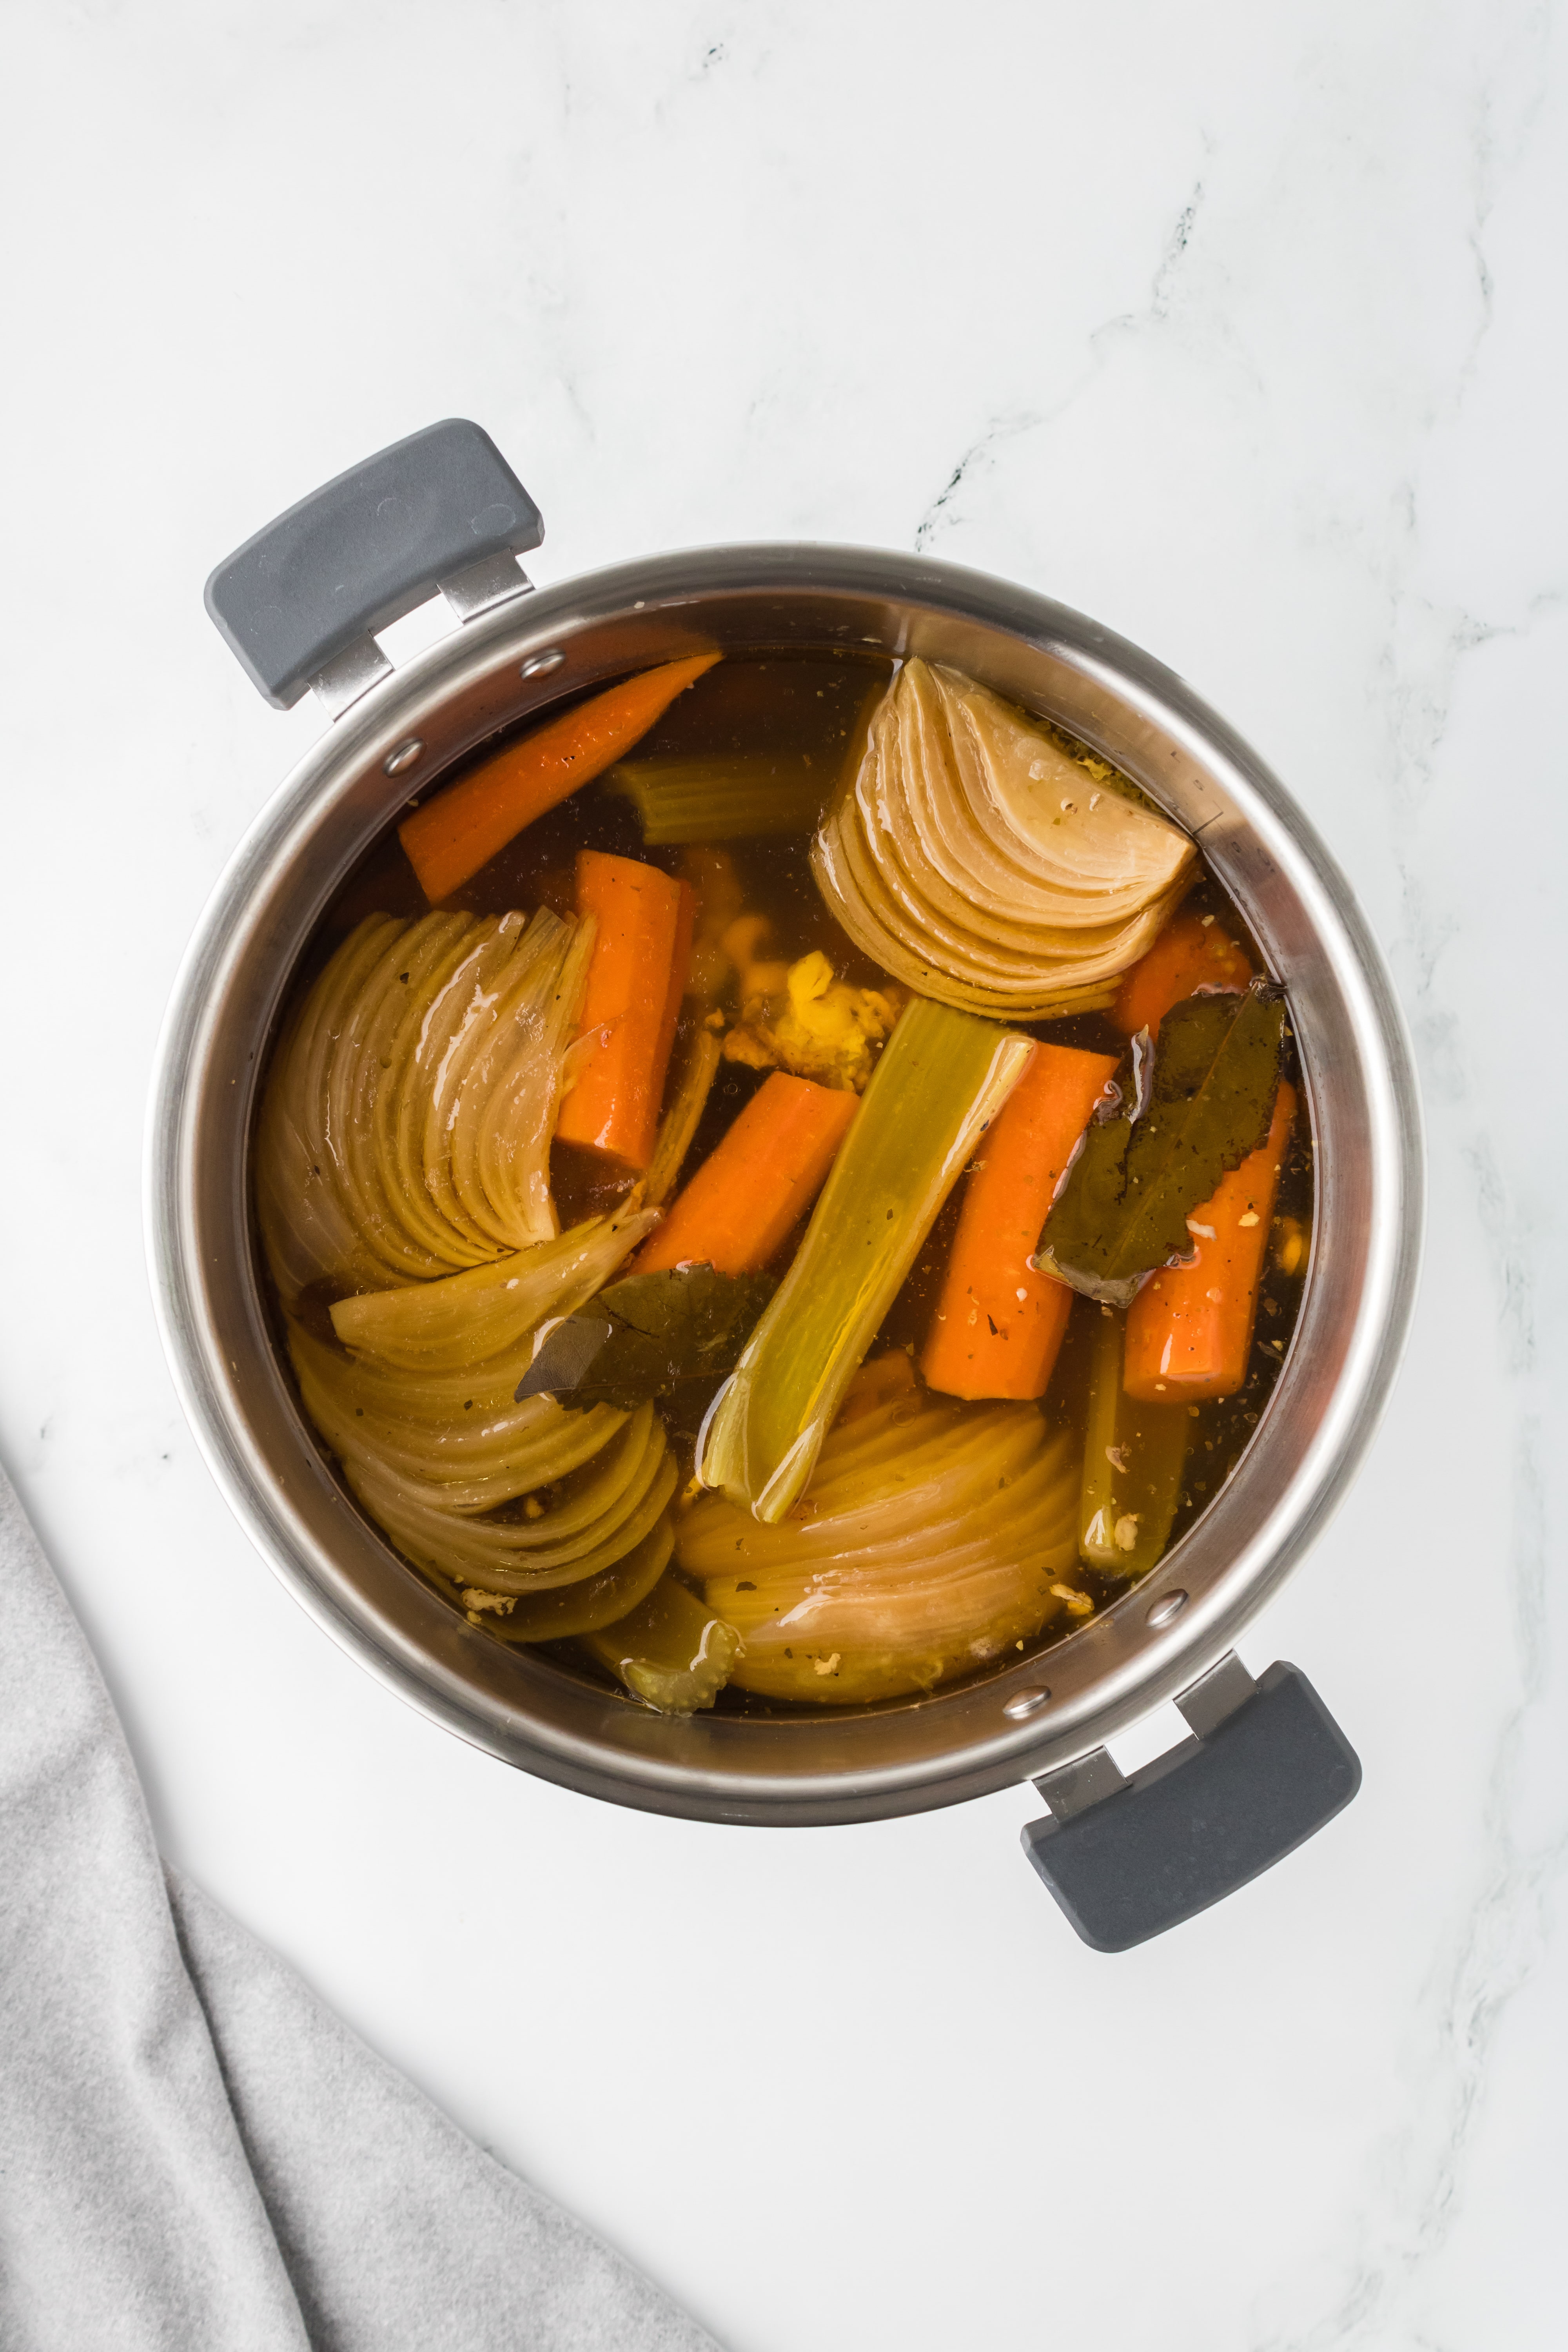
- Cook on manual "high pressure" for 2 hours (120 minutes). If you have a soup or broth setting on your pot, you can use that.
- Once the broth has finished cooking, either do a quick pressure release, or allow the pot to do a natural pressure release.
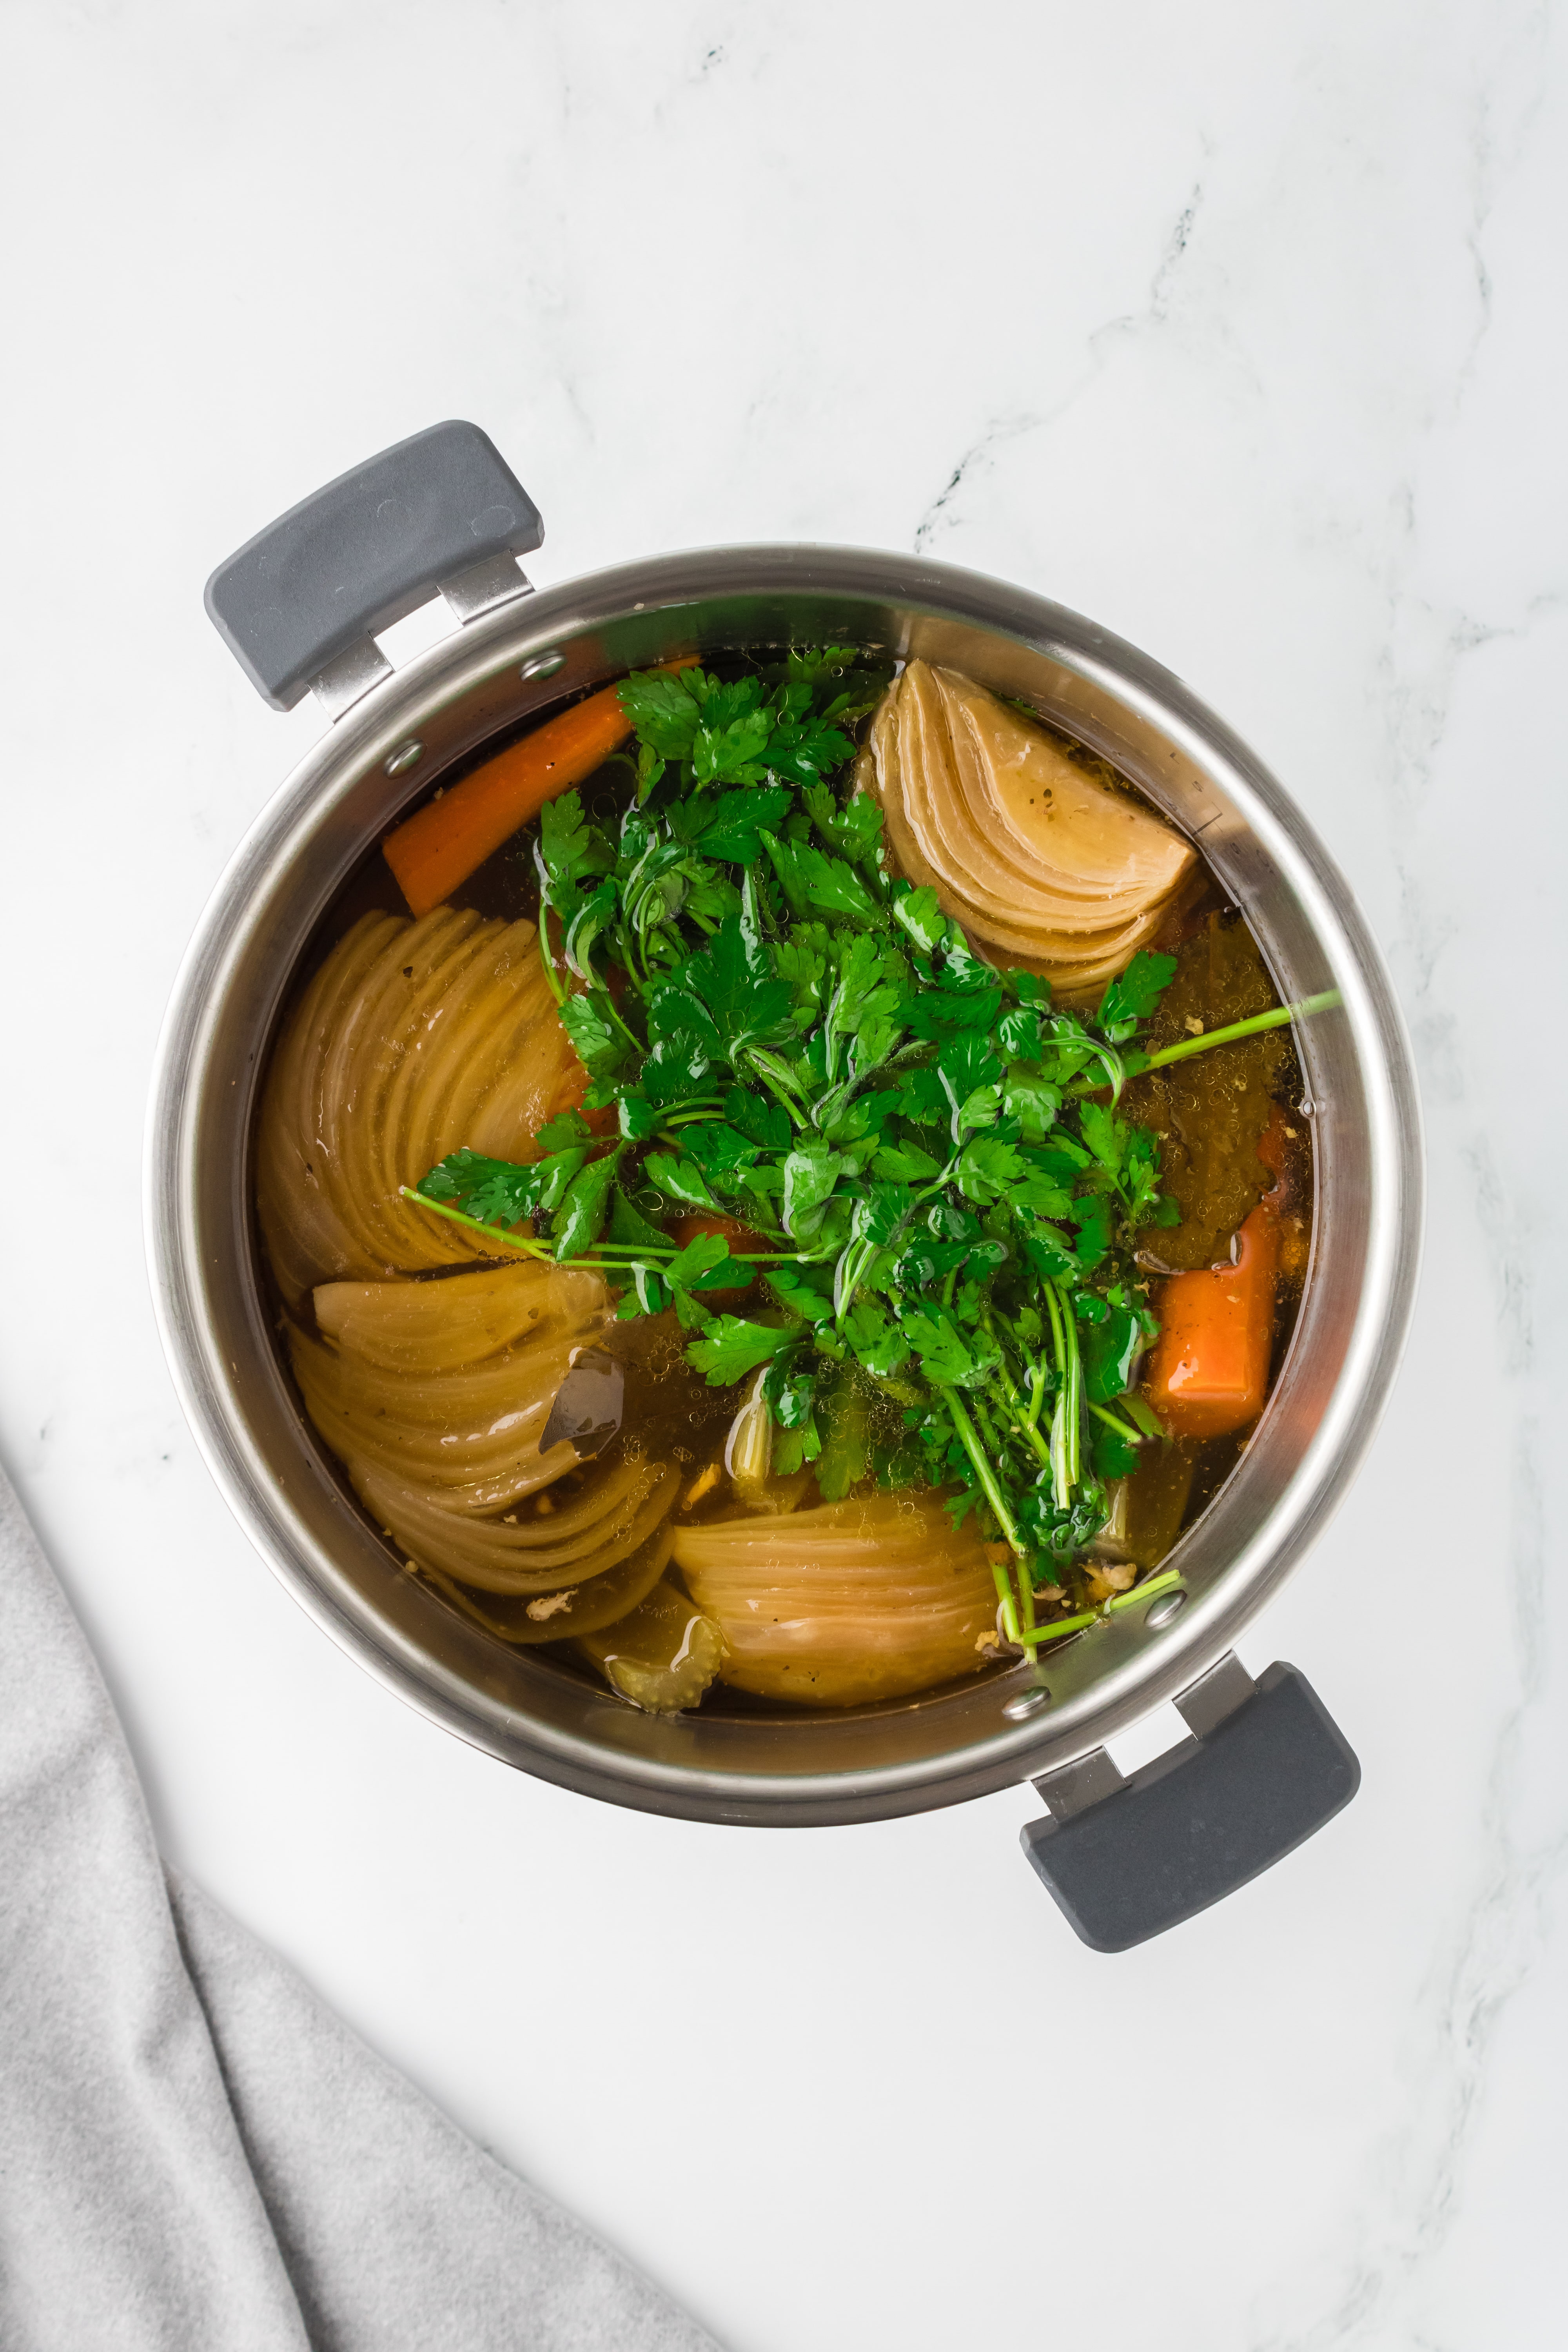
- If desired, add the parsley to the finished broth and allow to steep in the hot liquid for 10-15 minutes.
- Remove the bones and large solids from the Instant Pot; discard or compost.
Note: You can keep the bones and use them a second time to make broth with fresh vegetables. Use about half of the water to ensure the broth is concentrated enough.
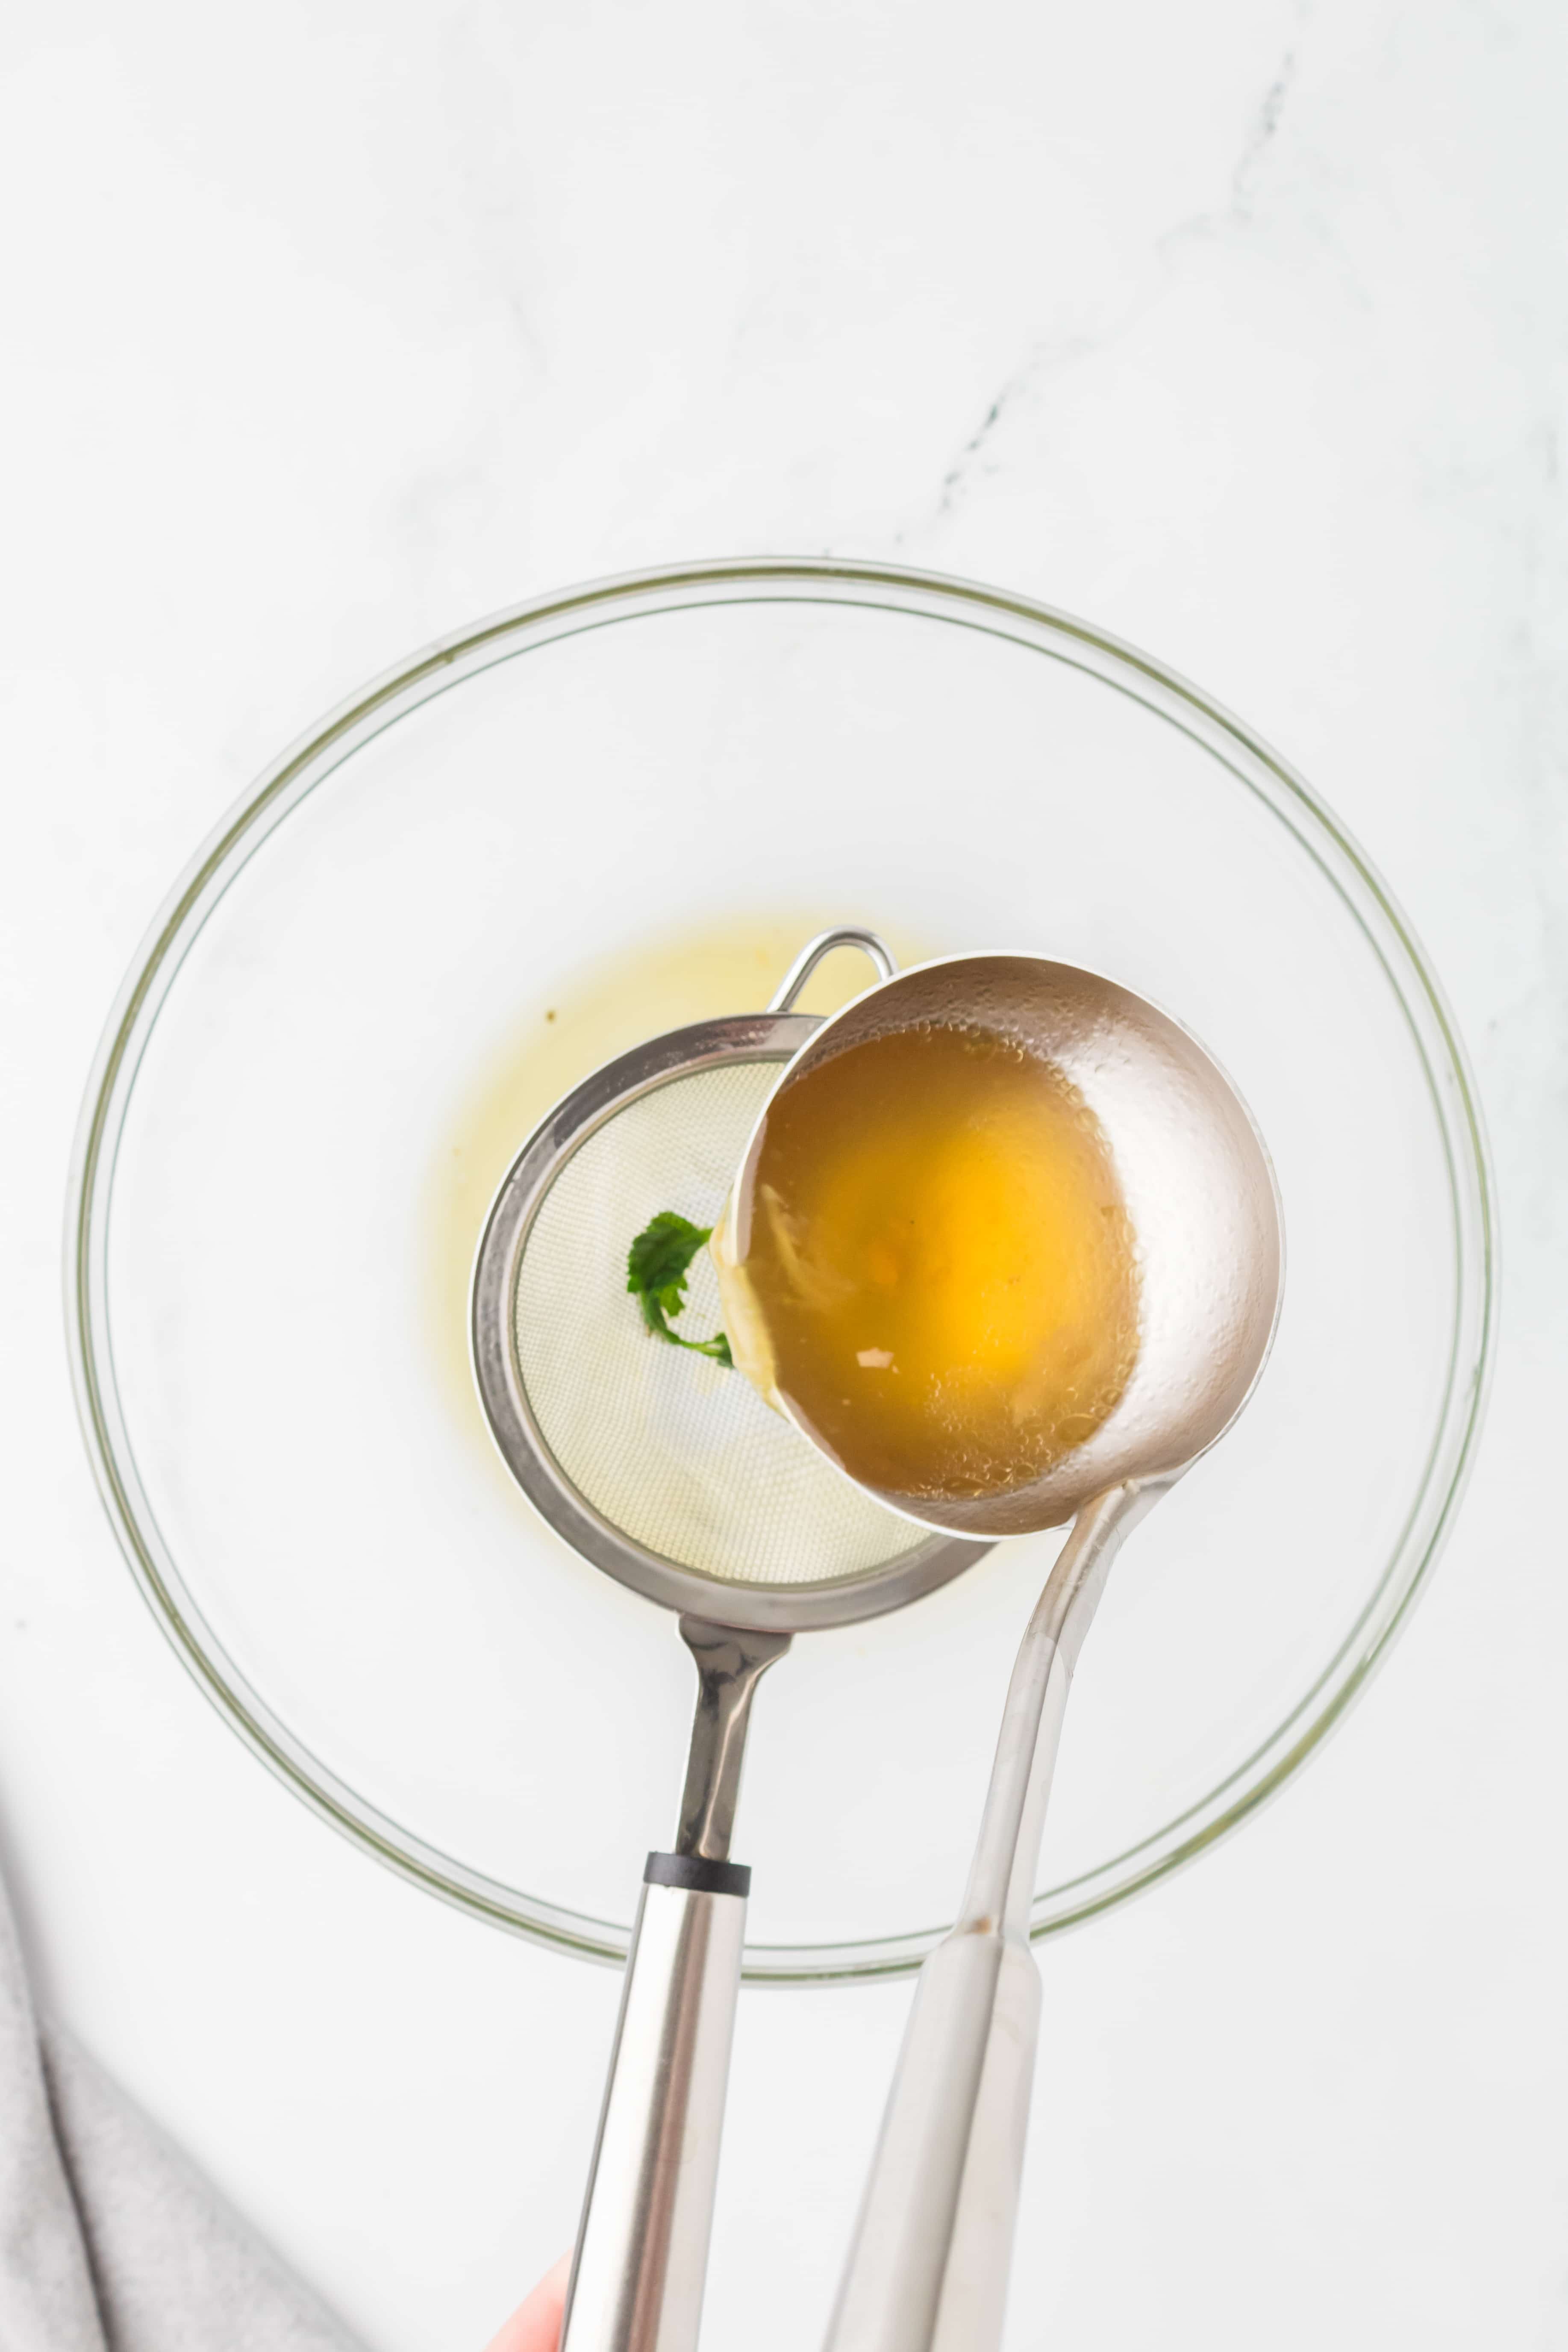
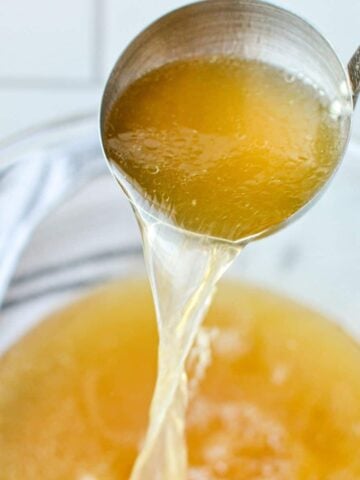
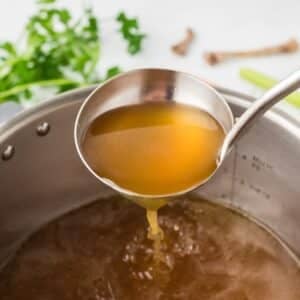
- Fit a large bowl with a fine mesh sieve (or strainer). Ladle in the broth, allowing the sieve to catch solids and debris, as the broth collects in the bowl below.

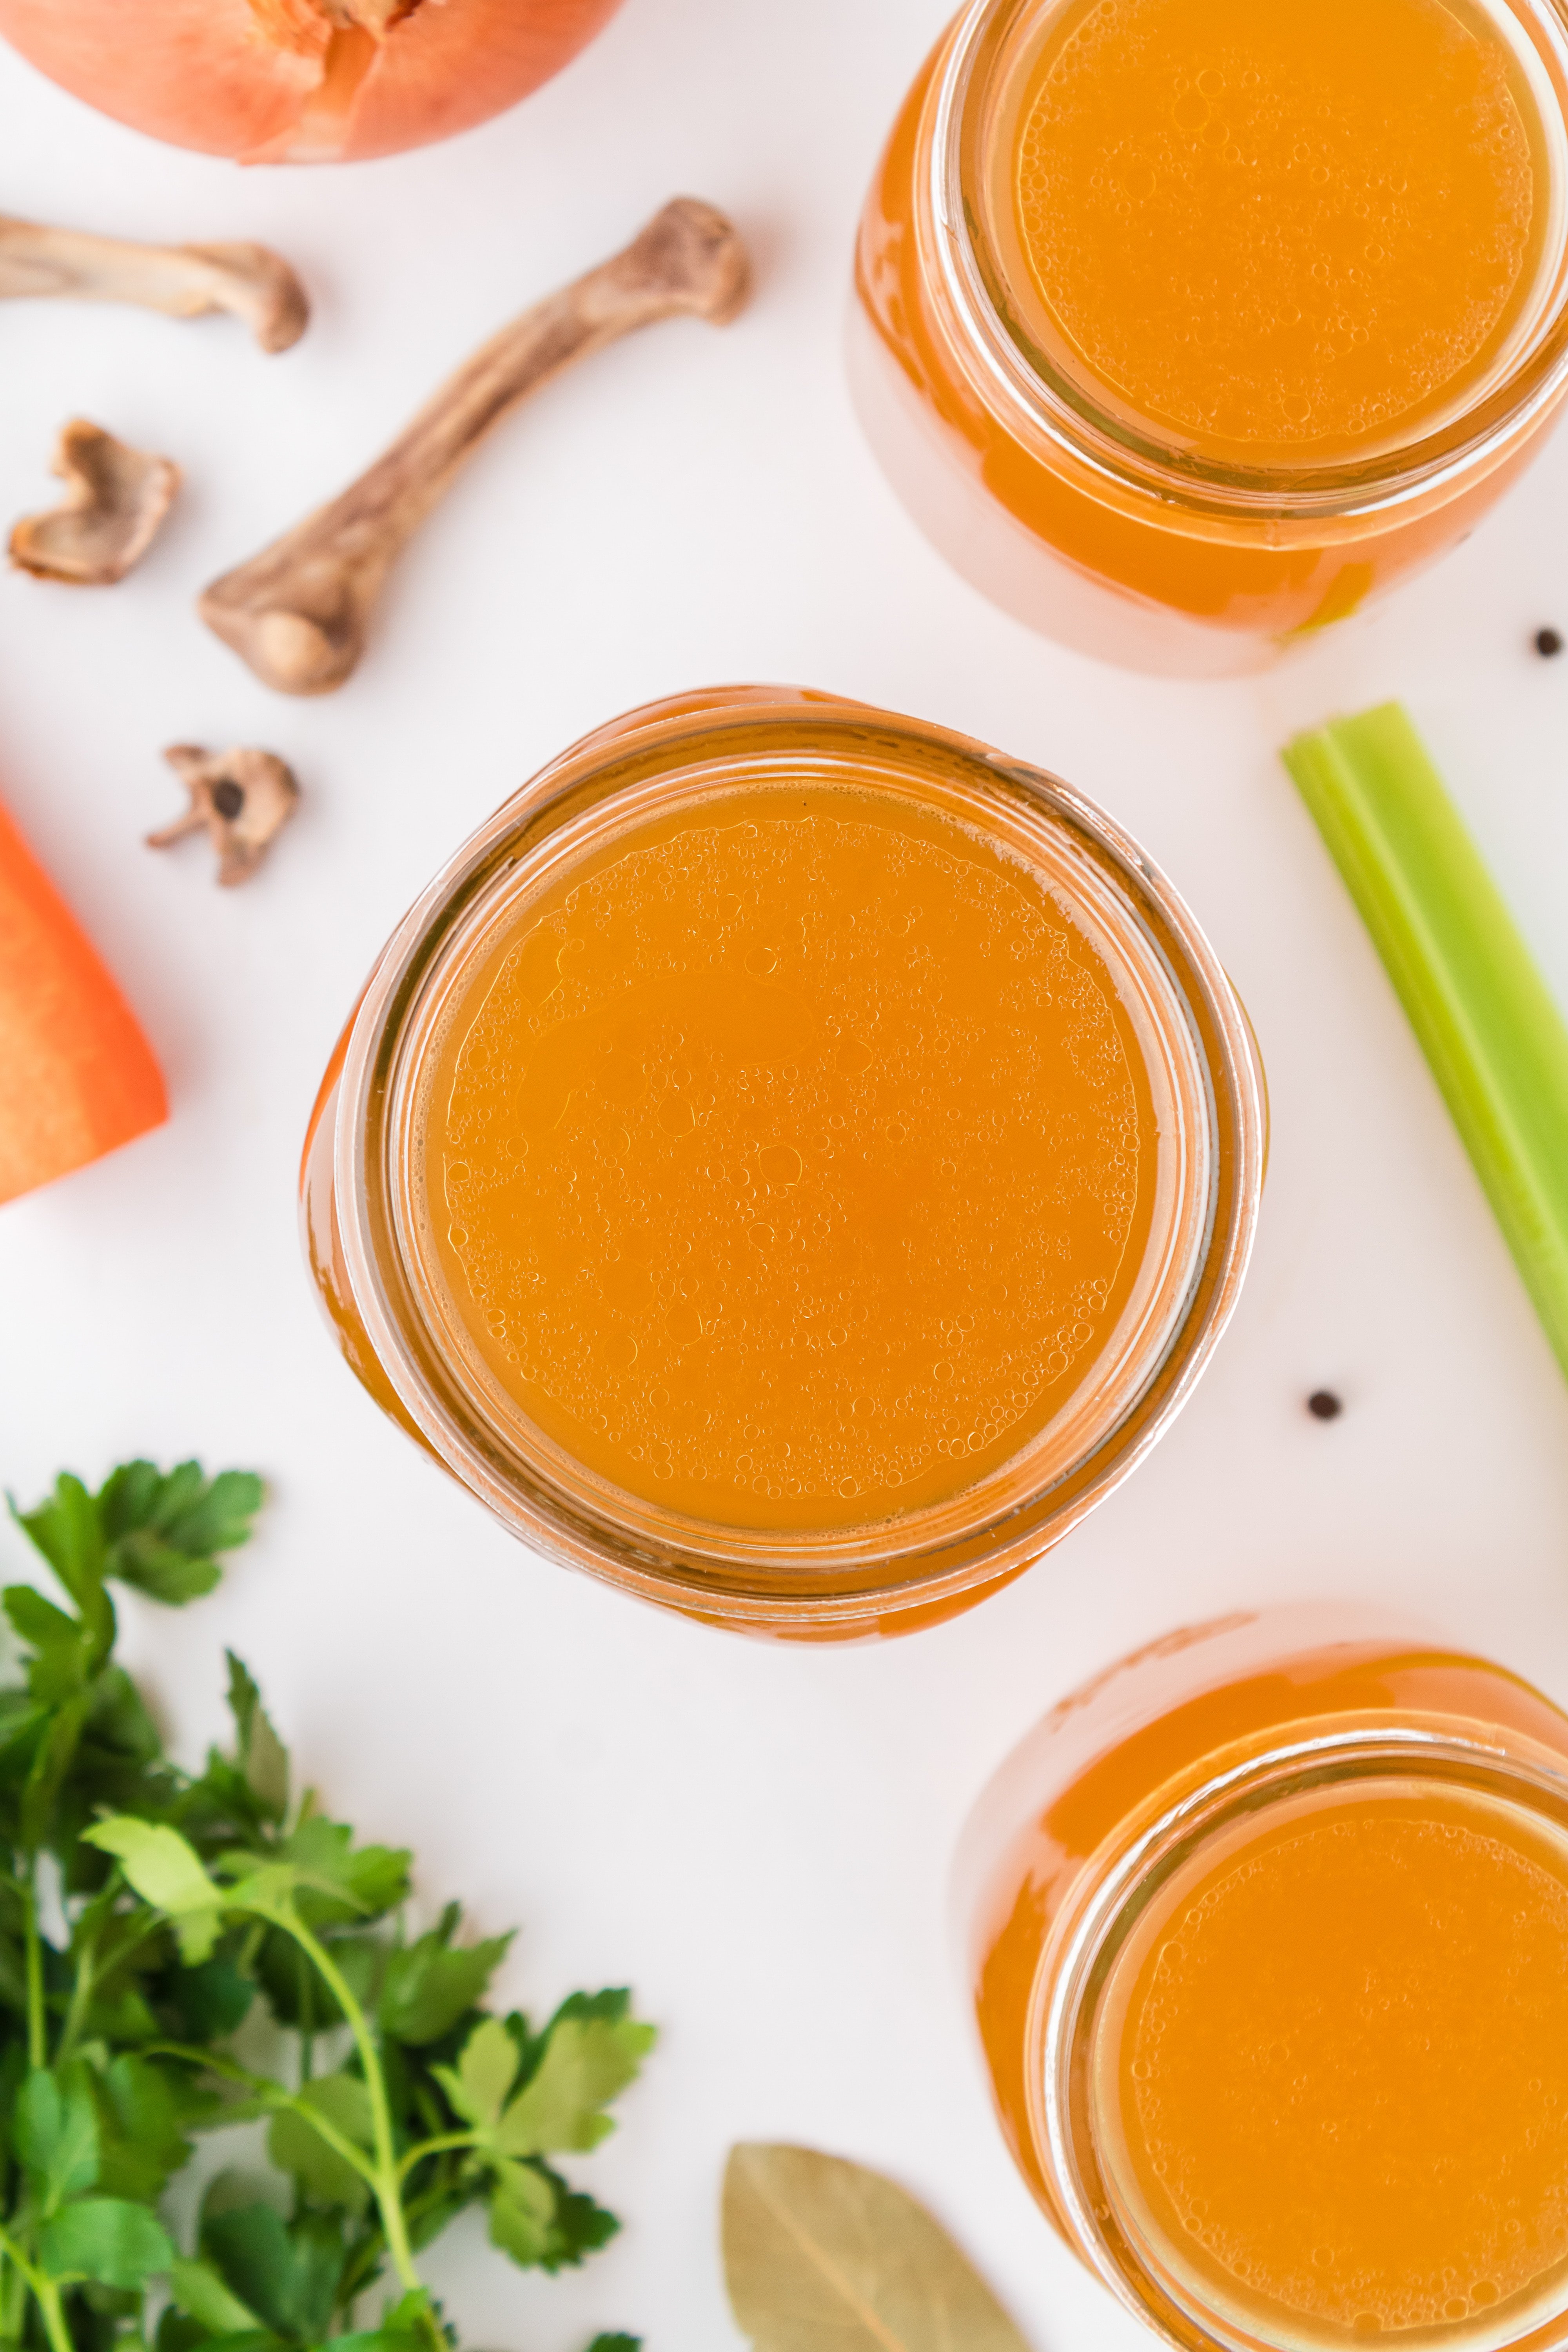
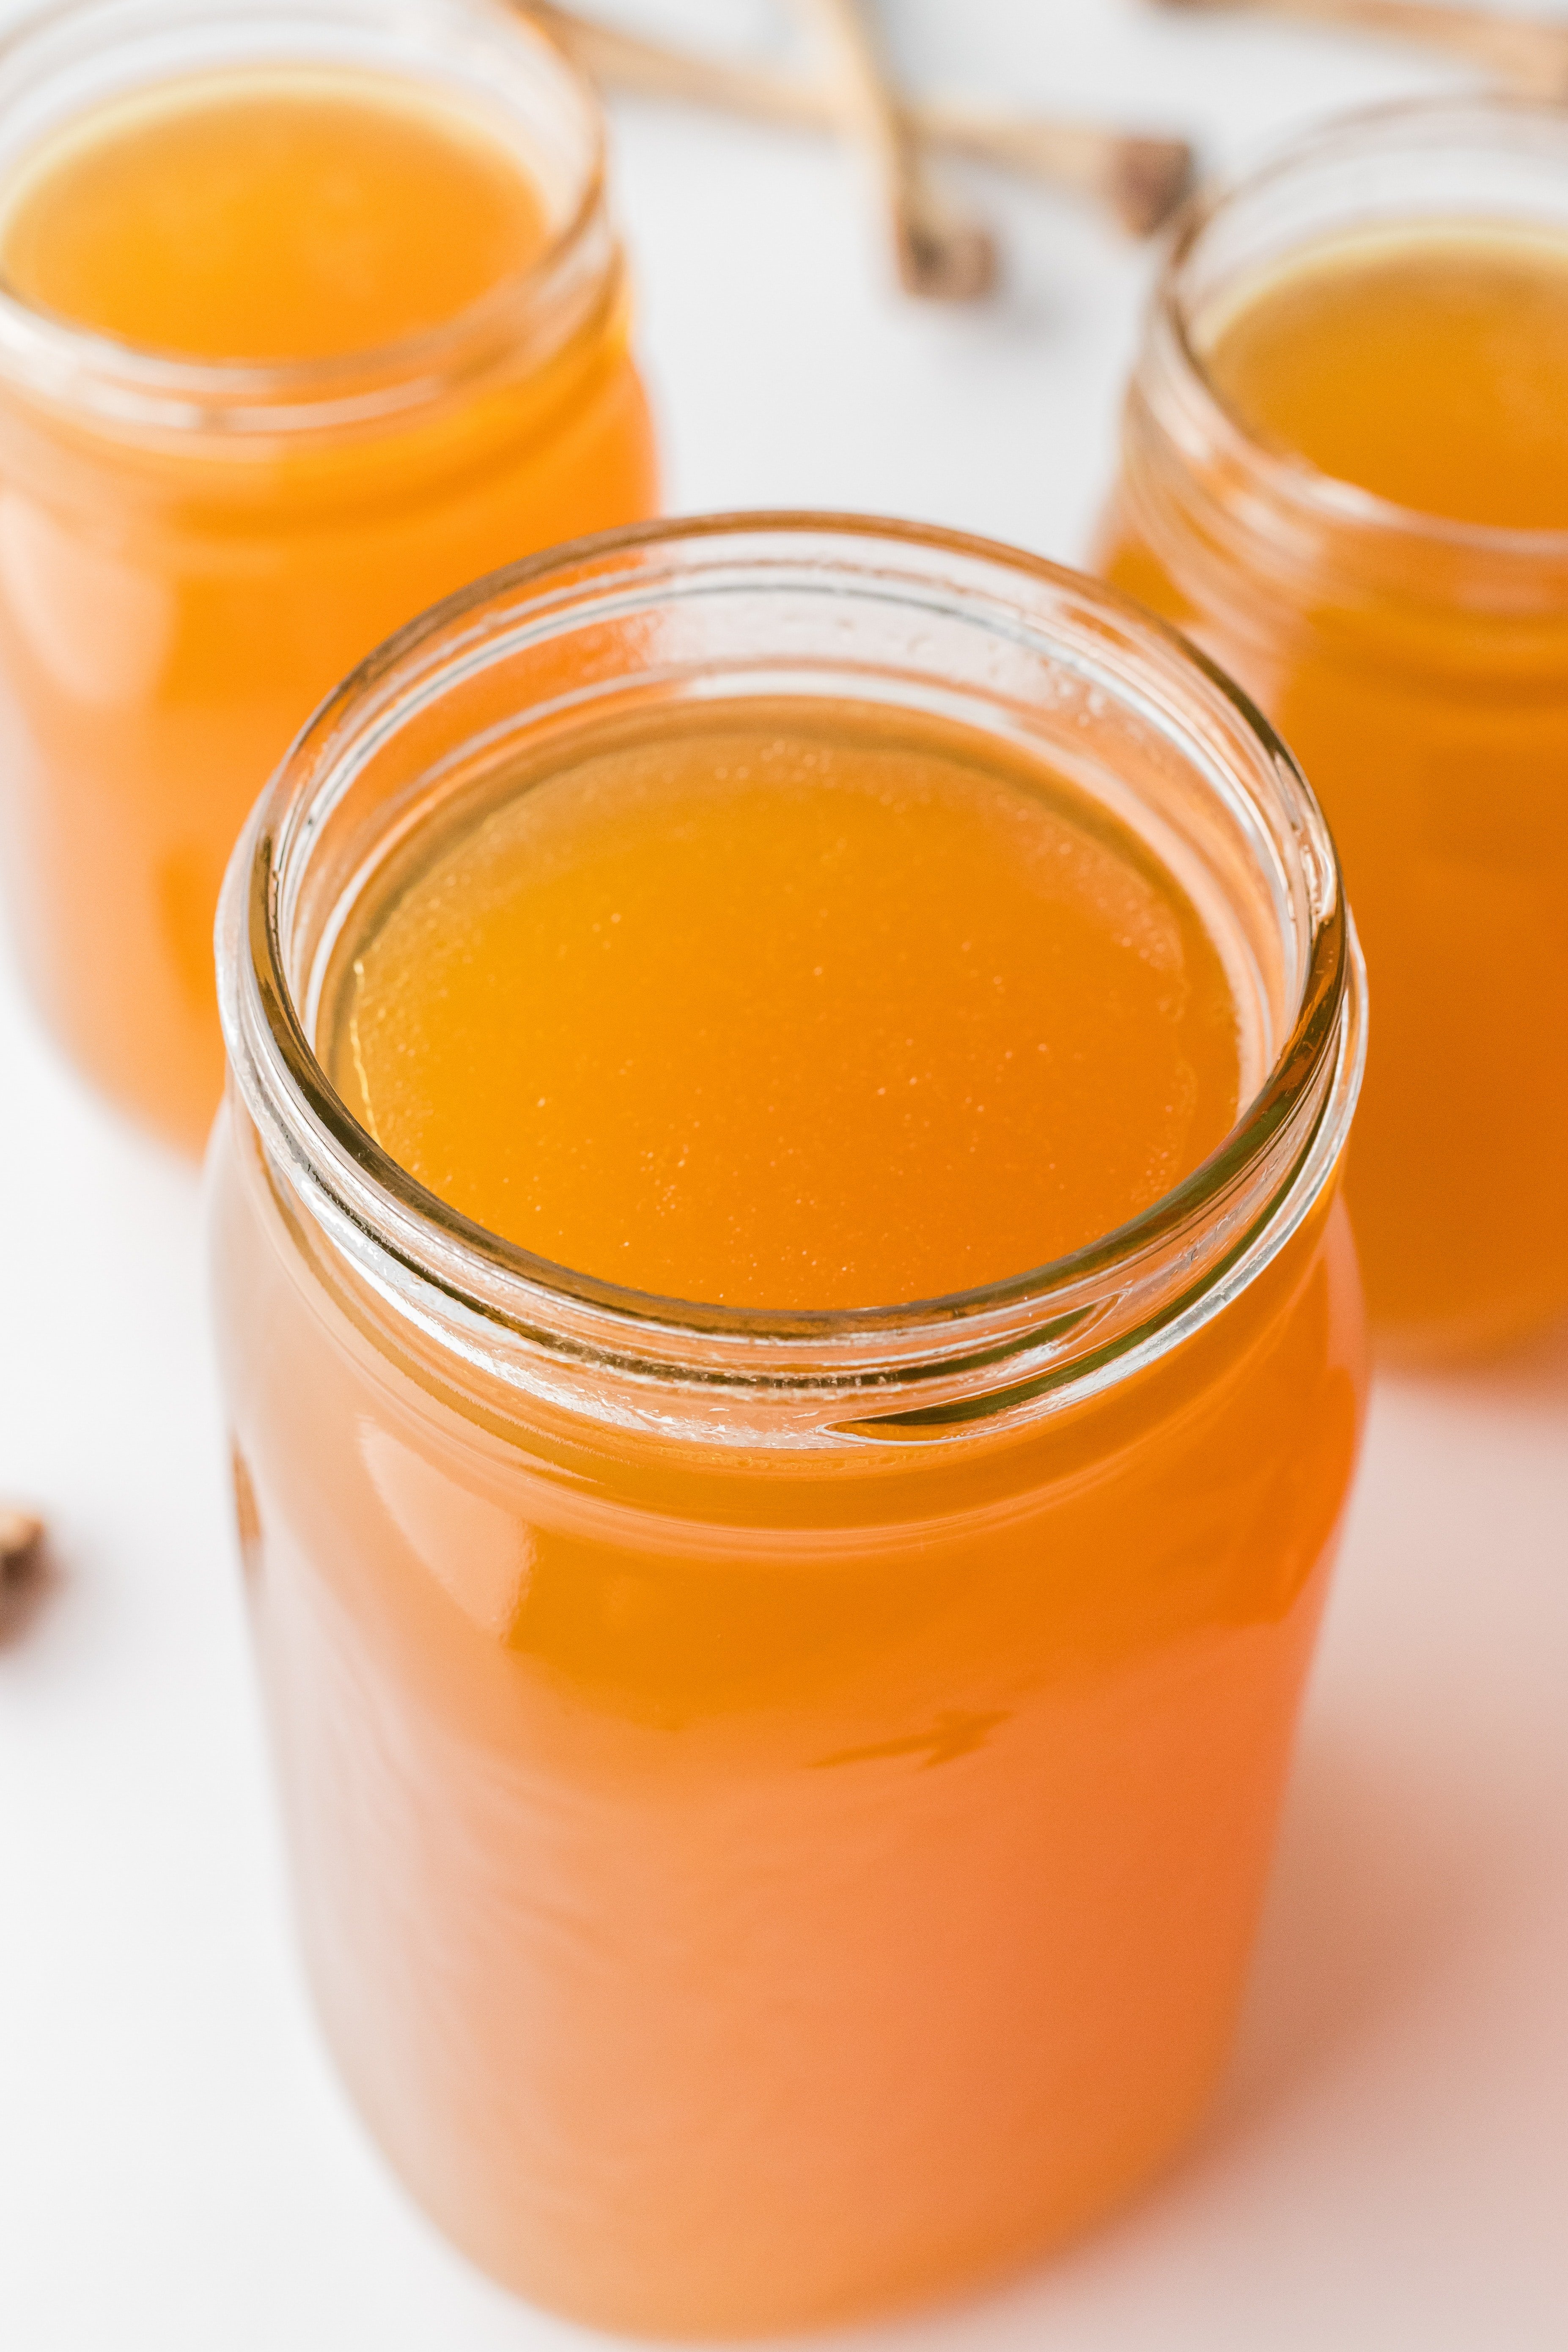
- Transfer the finished broth to glass jars or storage containers, use immediately, or cover the bowl and place it in the fridge to chill.
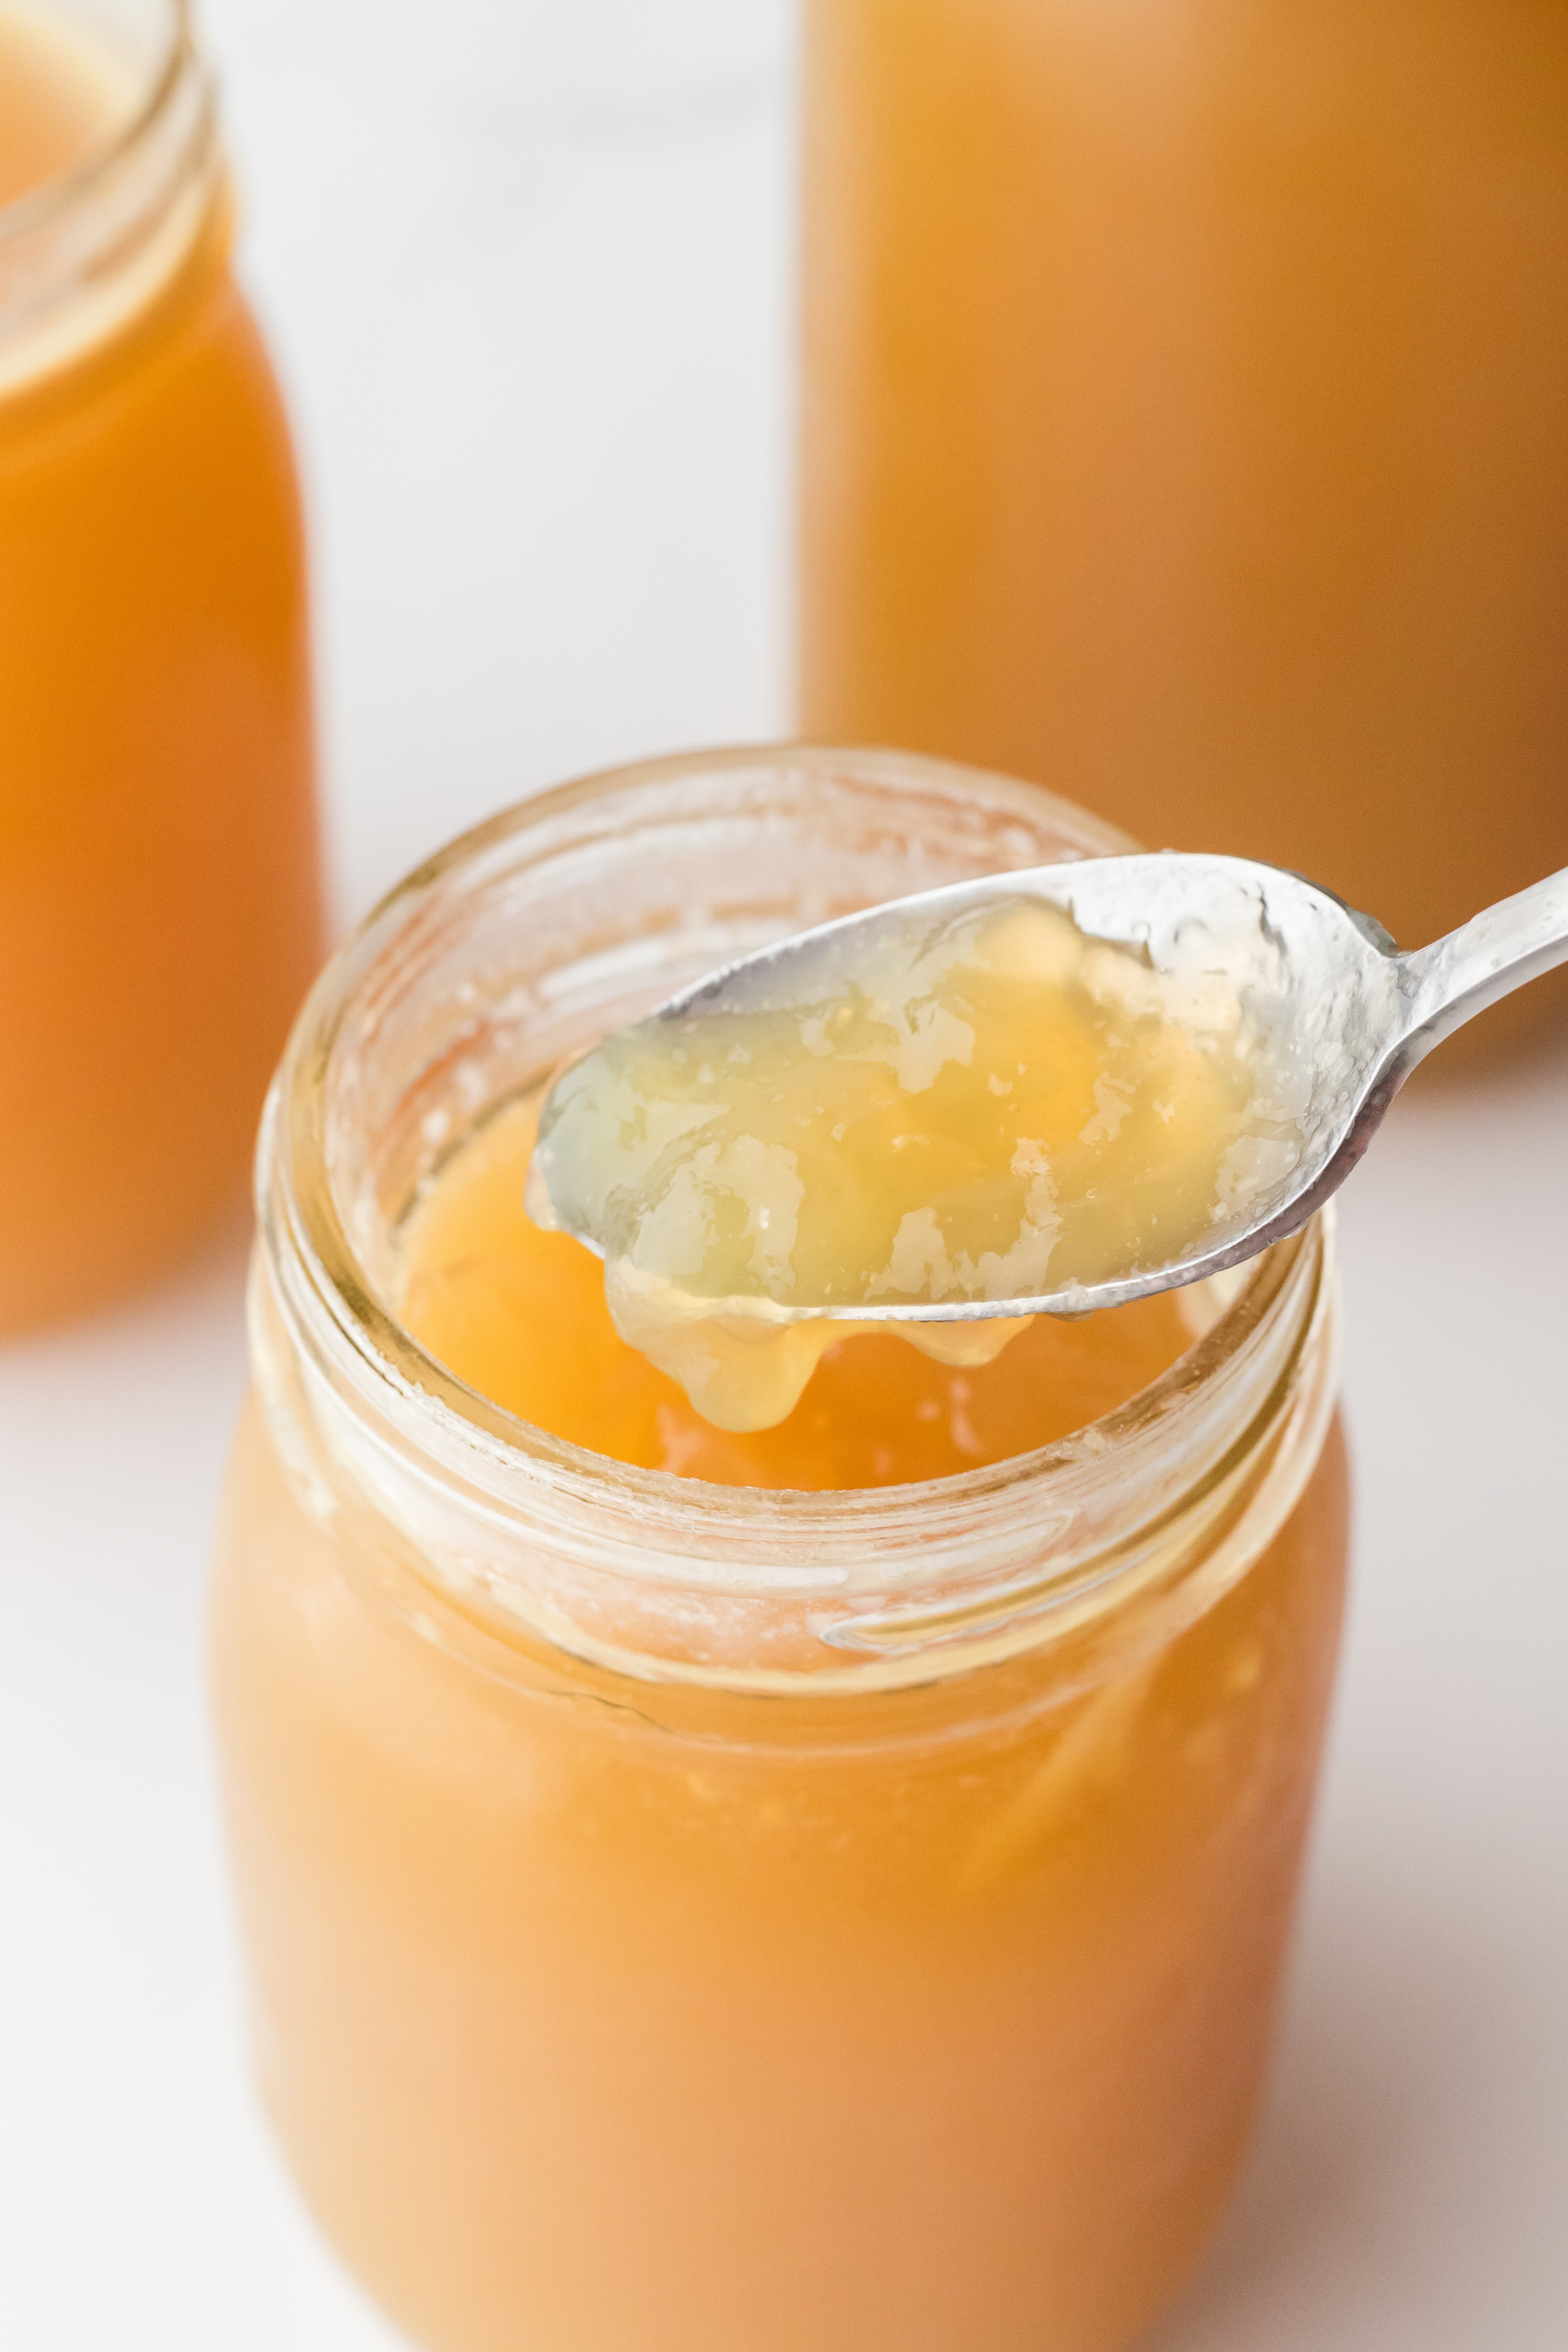
What about the layer of fat?
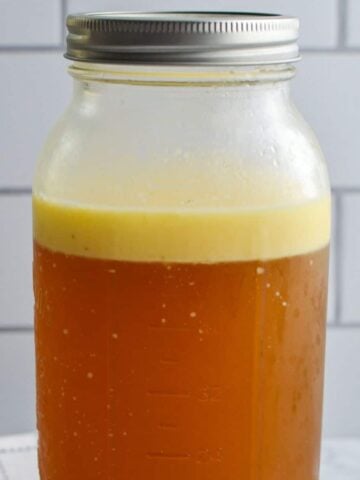
- As your broth cools, you will see a layer of semi-transparent liquid collect on the top. Once the broth is completely cooled, it hardens to a scoop-able consistency similar to softened butter.
- I leave the fat cap in place if I'm storing my broth in the fridge, as it seals the broth and slows down spoilage, but I do remove the fat before using in my favorite soups and stews (at least most of the time).
- The fat is similar to schmaltz and can be used to fry potatoes, vegetables, or use in place of oil or butter in cooking.
Storing and Freezing Bone Broth
Homemade bone broth can be stored in the refrigerator for 3-4 days. For longer storage, transfer it to a freezer safe container and freeze it for 3-6 months.
For smaller batches, you can freeze the broth in Souper cubes (they come in 2 tablespoon, ½ cup, 1 cup, and 2 cup sizes), or ice cube trays. Then you can just thaw the amount needed for your recipe - easy peasy!
Note about Freezing in Glass Jars
If you want to freeze in glass jars, you have to be quite careful. I've experimented quite a bit with freezing in mason jars and they have a high likelihood of breaking.
The secret is that only the mason jars with straight edges (no neck whatsoever) like the half pint size and 3 cup size (the ones used for asparagus) are safe for freezing. Any other type of glass jar is likely to break.
Ways to Use Bone Broth:
- In homemade soups (chicken soup, anyone?)
- To cook rice or other grains
- Pan sauces
- Gravies
- Risotto
- Bone broth hot chocolate
- Chicken and dumplings
- Warmed with ginger, turmeric, and coconut milk for a flavorful sipper
- Or anywhere you would use store-bought broth
Keep in mind that although this recipe makes a big batch, it can easily be frozen or canned for later use!
Other Methods
- Slow cooker: Add all of the bones, water, seasonings, and vegetables to a large Crock Pot. Add a lid and cook for 15-18 hours, then strain and store.
- Stovetop: Add the bones, seasoning, and vegetables to a large stockpot and cover with water. Bring to a boil, then reduce to a very low simmer and place a lid on the pot. Cook for 12-18 hours, adding more water if the water level reduces well below the bones.
- Pressure cooker: Add all of the ingredients to a pressure cooker and cook at 15 pounds of pressure for 1 hour. Then turn off the heat and allow the pressure to release inside of the pot naturally.
How Do I Make Gelatinous Broth?
- Selecting the bones. If you want to have a homemade broth that gels really well, you want to select bones with lots of connective tissues. Typical chicken carcasses work well, but adding chicken feet to your broth will make it even more likely to gel!
- Apple cider vinegar. This helps to pull minerals from the bones and helps them to break down during the cooking process. Including it can increase your chance of getting a thick broth.
- Water ratio. If you use too much water or too few bones you will have a light broth and it isn't very likely to gel. Adjust the water level to cover the bones by about 1".
- Cooking time. If using a slow cooker, go for a slow and low approach to extract all the gelatin and collagen from the leftover chicken bones.
- Under pressure. I find the most consistent method for making gelatinous broth is the Instant Pot method. The high pressure cooking environment seems to get every last bit of goodness out of the bones.
Recipe FAQS
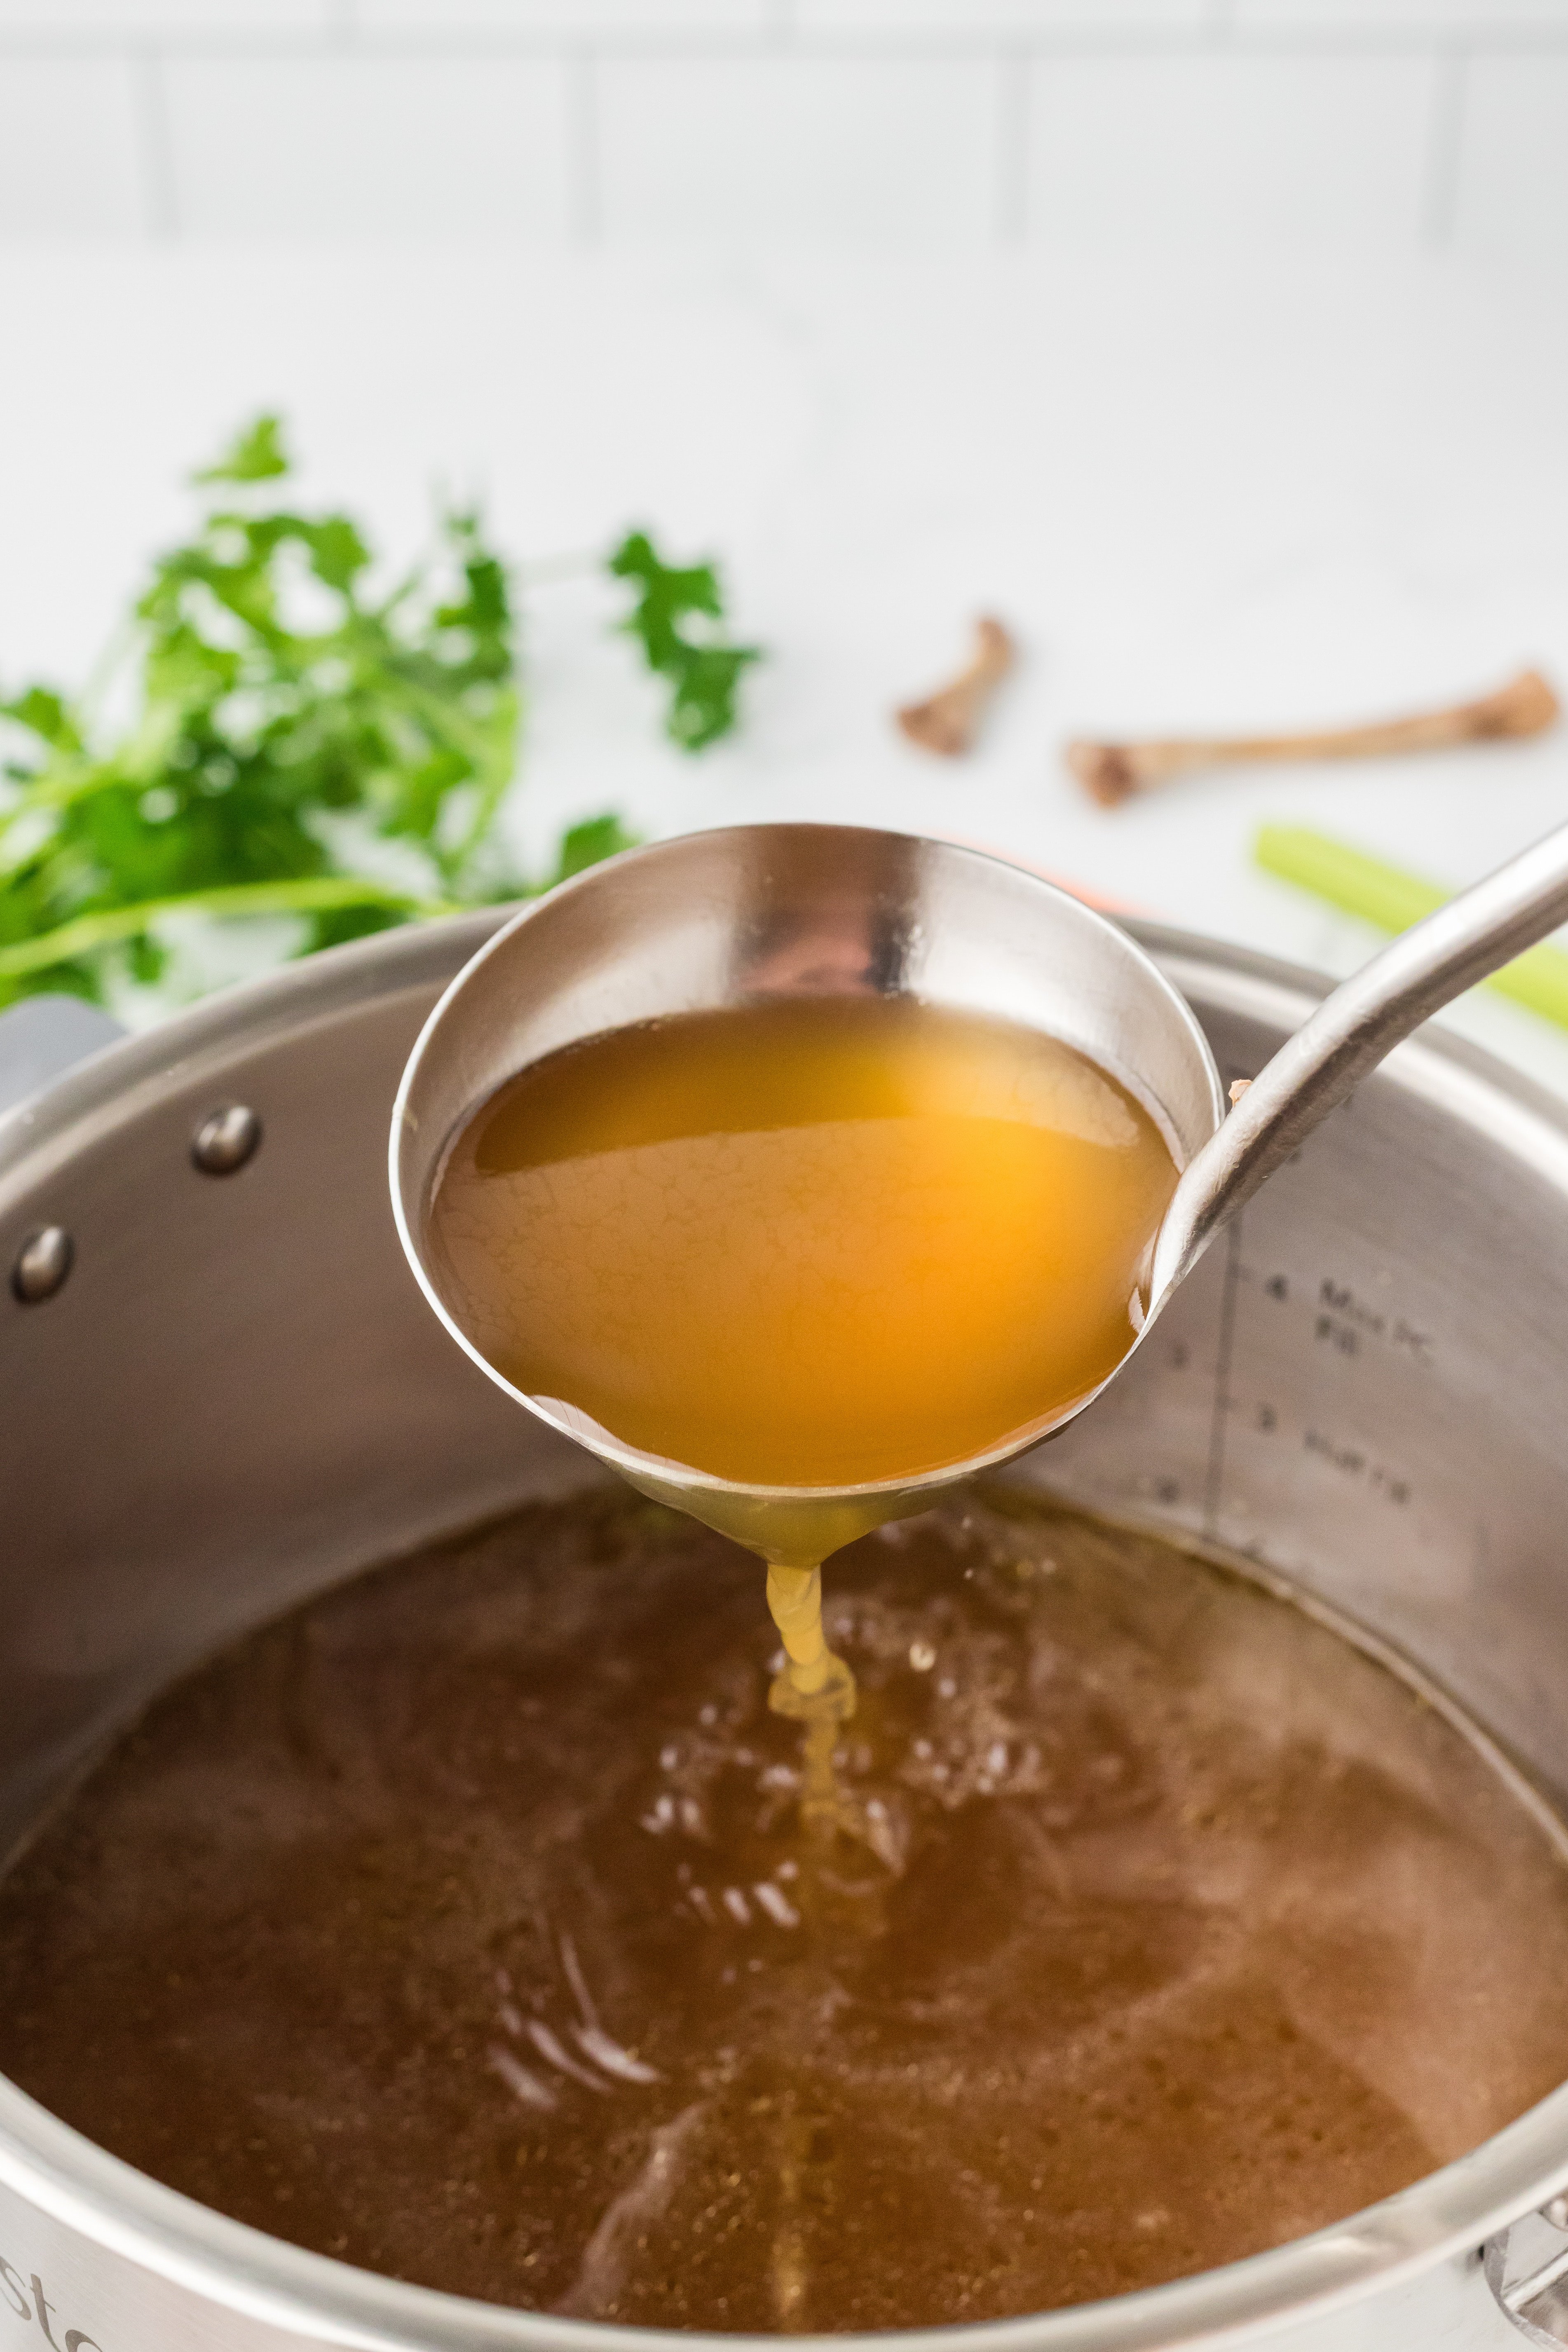
Some people think that because the bones are cooked under pressure, Instant Pot bone broth can't be as "healthy" as traditional methods. Instead, you'll find that your broth is more gelatinous and rich in flavor than other methods, indicating a higher levels of both collagen and gelatin.
If you want your broth to gel, you'll want to use at least 1 pound of bones for every quart of water (roughly 4 cups). To ensure a gelatinous broth, you can lower the amount of water to as little as 2 cups per 1 pound of bones.
Yes, you can, but it is a bit different than bone broth. Known as meat stock, it's lower in collagen and gelatin, but can be used interchangeably in recipes. Instead of using 3 pounds of bones, use 1 whole uncooked chicken. It will give you a light, yet flavorful broth that has a strong chicken flavor.
Many people like to save up their kitchen scraps in the freezer (like onion peels, carrot peels, etc). While this is a great way to reduce waste and make use of leftovers, broth that is made from good quality vegetables and bones will have the best flavor and makes for the best soups, stews, and sauces.
Bone broth can easily be made with leftover rotisserie chicken bones if desired. The one thing to consider is the source, since grocery store rotisserie chickens tend to be conventional, rather than organic. If organic or pastured is important to you, making your own roast chicken or purchasing it from an organic market is probably the best option.
If you loved this Instant Pot chicken bone broth recipe, let me know by leaving a 5-star review in the recipe card or comment below! You can also tag me on Instagram @littlehomeinthemaking.
📖 Recipe
Instant Pot Chicken Bone Broth
Equipment
Ingredients
- 2 chicken carcasses or 2-3 pounds of assorted chicken bones
- 8-10 cups water
- 1 onion peeled and quartered
- 2 ribs celery halved
- 2 large carrots peeled and quartered
- 2 tablespoons apple cider vinegar optional
- 2 teaspoons salt (I use Redmond’s or pink salt)
- 1 teaspoon whole peppercorns optional
- 2 bay leaves
- ½ bunch parsley optional
Instructions
Cook Mode- Add the chicken carcasses, onion, carrots, celery, apple cider vinegar (if using), salt, peppercorns, and bay leaves to a 6 or 8-quart Instant Pot. Stir well.

- Add enough water to cover the bones (about 8-10 cups). Do not exceed the max fill line marked on the inner portion of the pot.
- Place the lid on the Instant Pot and set the valve to “sealing.”
- Cook on manual pressure for 2 hours (120 minutes; or use the “Soup” mode if available on your Instant Pot model).
- Once the cook time is done, you may either do a quick pressure release by switching the valve to “venting” OR you can do a natural pressure release by allowing the pot to release pressure naturally. I prefer the natural release as the broth is more clear (versus cloudy) and I find it is more likely to gel. You will know the pressure has been fully released when the pin drops on the lid. Then, you can safely open the lid away from your face.
- Optional: If using parsley, add it to the hot broth and allow it to rest for 10-15 minutes before straining.
- Fit a large bowl with a fine mesh or stainless strainer. Ladle in the broth in so that the strainer catches the vegetables and bones, while the chicken broth collects into the bowl below.
- Allow the broth to cool completely before tightly wrapping the bowl of broth OR transferring to a glass canning jars.
- If desired, place the broth in the fridge and allow to chill for at least 6 hours, so the fat solidifies at the top and can be removed. Alternatively, you can use the hot broth with the fat in it (or store it with a fat cap), as it’s just a matter of preference!
- Transfer the broth to canning jars or freezer containers for storage. Keep in the refrigerator for 3-5 days, or in the freezer for up to 6 months.


Notes
Nutrition
Please note that some of my blog posts here at Little Home in the Making may contain affiliate links. If you make a purchase through these links, I will get a small commission at no additional cost to you. See our disclaimer for more information.