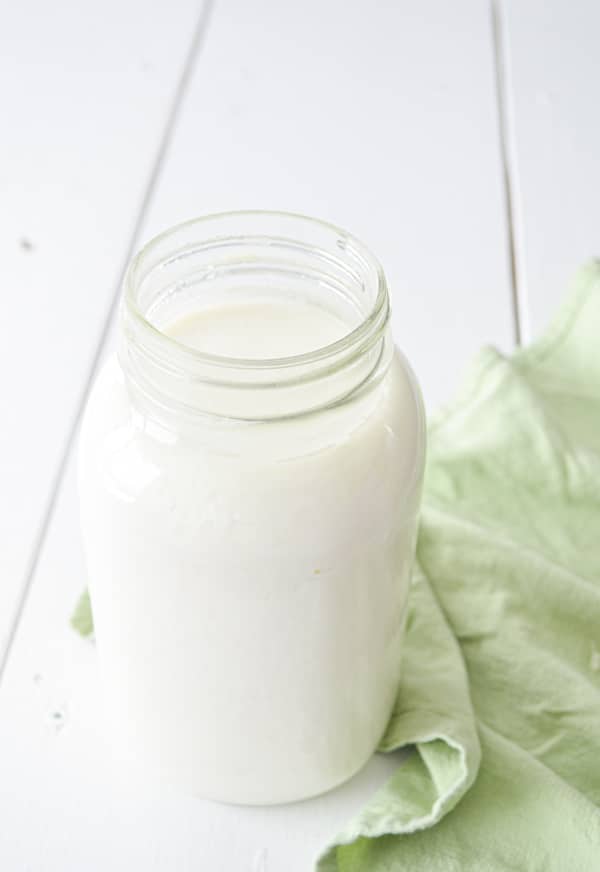
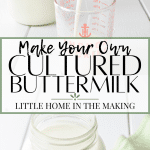
Why settle for the fake stuff when you can have the real stuff? All you need to start your own buttermilk culture is some store bought buttermilk and some milk. I'll show you how to make this easy cultured dairy that will be a staple in your home. PLUS: Probiotics!!! Yesssss.
This post contains affiliate links, which means that if you click a link and make a purchase, we receive a commission at no additional cost to you. See our disclaimer for more information. Any nutritional information is for entertainment and informational purposes only, and is not intended as medical advice. Always seek the advice of your health provider.
I absolutely love making new and exciting things in my kitchen! Don't you? It's so fun and rewarding to turn out a loaf of sourdough bread, a brand new batch of homemade milk kefir, or a big jar of fermented sauerkraut. There's nothing like homemade, and there are so many cultures and ferments we can try in the comfort of our homes.
One of those cultures is homemade real buttermilk. You've seen this at the store, and you've probably even bought it a few times for a new pancake recipe or to whip up a batch of biscuits. But did you know that you can make it yourself at home? With just two ingredients (regular milk and store bought buttermilk), you can have a quart of the real thing in just 24 hours. Best of all? You can keep the party going by using a portion of your homemade stuff to culture the next batch!
Suddenly, you feel like Suzie Homemaker...or maybe Ma Ingalls. Probably Ma Ingalls. Or that's how I feel at least! In my mind I'm in a log cabin, wood stove going, wearing a calico print dress, and wiping the sweat from my brow after a long day of homemaking on the prairie.
Yup, that's what cooking from scratch will do to you. You'll go a little crazy, just like me 😅
What Are the Different Types of Buttermilk?
- Old Fashioned or Churned Buttermilk: This is a result of the butter-making process. When you are making butter, you churn heavy cream until it separates into two distinct parts: liquid, and butter. The liquid is drained off and is known as old-fashioned buttermilk.
- Cultured Buttermilk: This uses a culturing process to transform regular milk into a thickened, acidic liquid that many of us are familiar with. This is the same as what you would purchase at the supermarket.
- Whole Milk Buttermilk: This is cultured buttermilk that is made from whole milk, rather than lower fat milks. Supermarkets carry mostly lower fat buttermilks, so if you desire a whole milk buttermilk, it is often easier to make your own from a starter culture of store-bought buttermilk and whole milk. The recipe below details this process, but you can use lower fat milks if desired.
- Buttermilk Substitute: If you've been baking or cooking for any amount of time, it's likely that you've run into a recipe that calls for buttermilk. If you have some on hand: great! If not, what do you do? You can use regular milk, add an acidic medium (like vinegar or lemon juice) and let it set for about 5 minutes. This does not provide the thick texture that real cultured buttermilk does, but it does provide the acidity and is a good stand in.
What Recipes Use Real Cultured Buttermilk?
Buttermilk is a common ingredient in many baking recipes. It provides a pleasant tang that is reminiscent of yogurt or sour cream. The acidity also helps any leavening (like baking soda and baking powder) activate. Pancake and waffles are particularly delicious with the addition of real cultured buttermilk, as are biscuits.
Here are a few recipes that make excellent use of buttermilk:
- Easy Farmhouse Buttermilk Cake - The Café Sucre Farine (this one is a family favorite!)
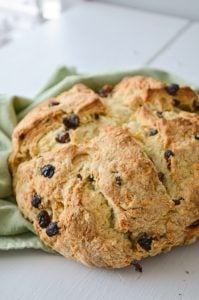
- Sourdough Discard Irish Soda Bread - Little Home in the Making
- Homemade Buttermilk Biscuits - Sally's Baking Addiction
- Buttermilk Pancakes - Café Delights
- Best Buttermilk Cornbread - Tastes Better from Scratch
- Buttermilk Pie - Add a Pinch
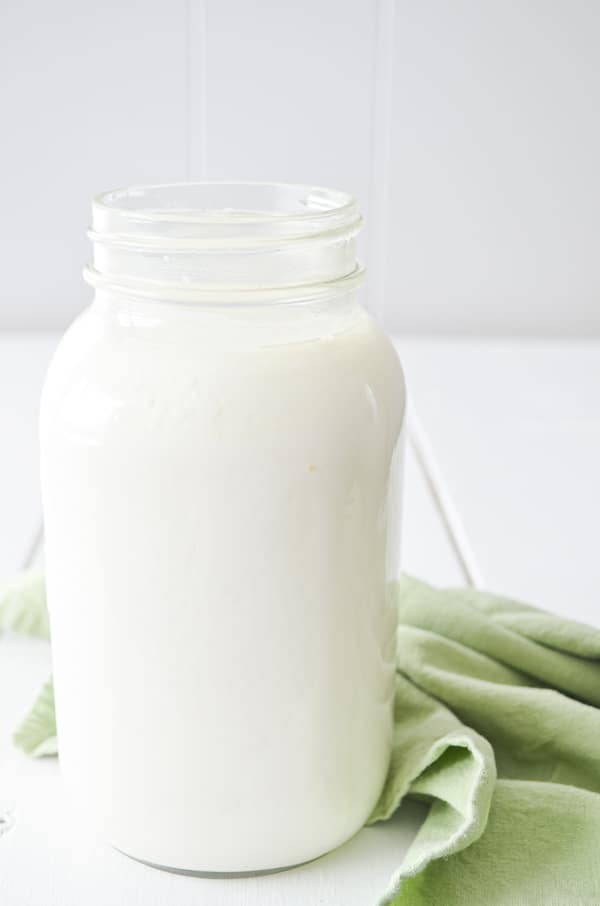
How Do you Make Real Cultured Buttermilk from Regular Milk?
It's really a very simple process to make real cultured buttermilk. All you need is some regular old milk and a small portion of store bought buttermilk! Oh, and a little time!
What Kind of Milk?
When selecting your milk, be sure to stay away from ultra-pasteurized milk. This is milk that has been pasteurized at a higher temperature, and often does not work out well when used in culturing recipes. Any shelf-stable milks will be ultra-pasteurized, and many organic milks will be as well. This is a way to lengthen the shelf life of the milk, but it doesn't suit our purposes well. Ultra-pasteurized milk will often have "UHT" on the label, so a quick check should ensure you don't accidently buy the wrong kind.
Other than avoiding UHT milk, you can opt for any cow's milk you like. You can use 1%, 2% or whole milk. I like to use whole milk because whole milk buttermilk is a rare specialty that is hard to find in stores. It's also the milk we drink, so that's easy peasy for me!
Can I Make Dairy-Free Buttermilk?
Since real cultured buttermilk is a dairy product, it's important to use cow's milk. Goat's milk would probably work as well, but I haven't tested it yet myself to be sure. Since we will be culturing the milk in this process, plant-based milks will not work. Though you can make a quick buttermilk substitute that is vegan and dairy free (Check it out here from Simply Vegan), it's not "real" cultured buttermilk and so I won't be covering that in the scope of this post. Still, I wanted to include this info for inquiring minds!
Step by Step: How to Make Real Cultured Buttermilk
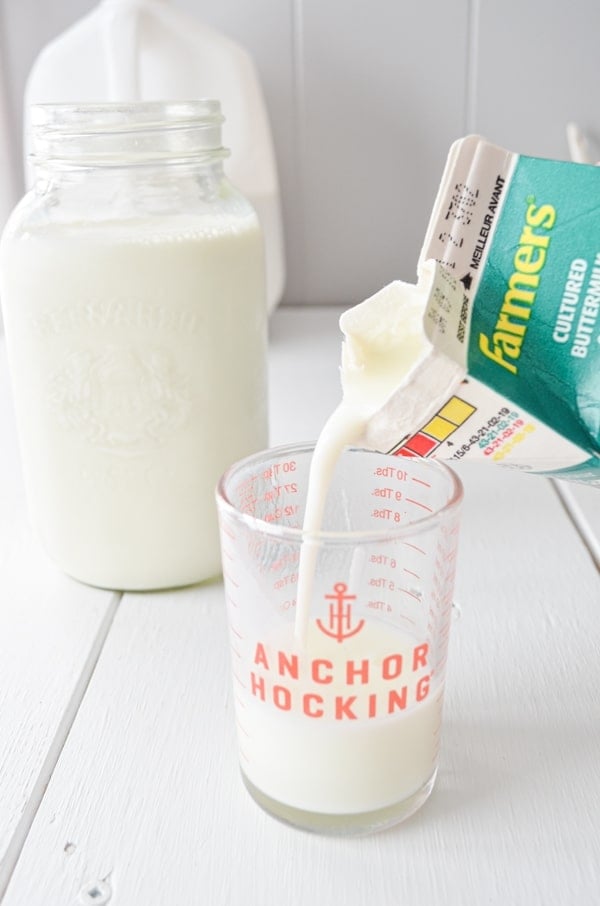
Step One: Measure
Use a small measuring cup to measure out your store bought buttermilk. Pour your milk into a quart-sized mason jar.
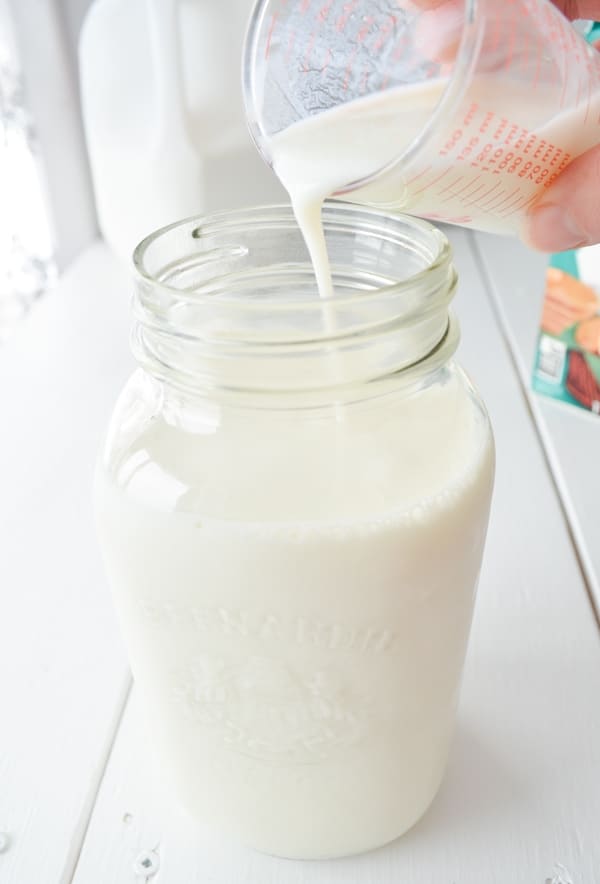
Step Two: Combine
Add the buttermilk to your jar of milk. This is the "culture" and will transform the milk over a period of approximately 24 hours.
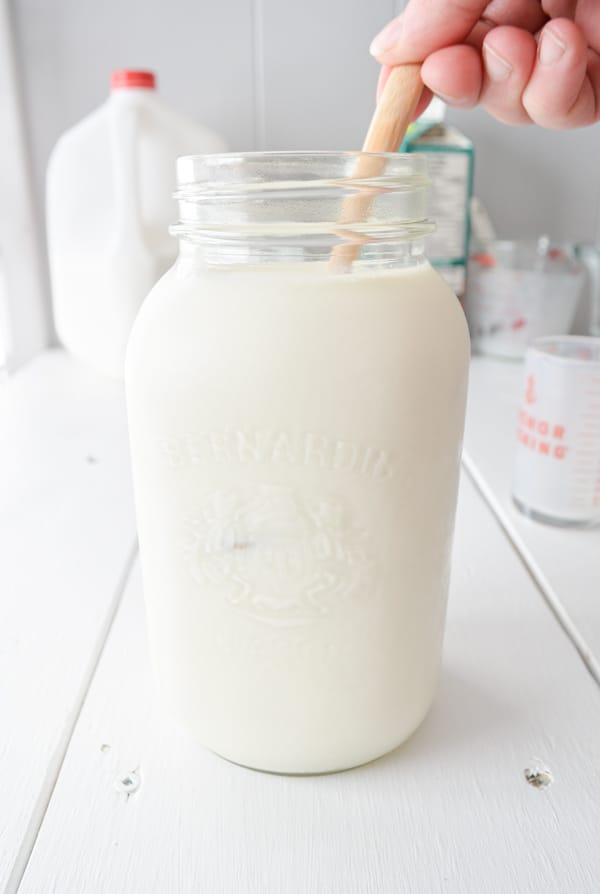
Step Three: Stir
Use a wooden or plastic utensil to gently stir the mixture. This helps distribute the culture through the milk.
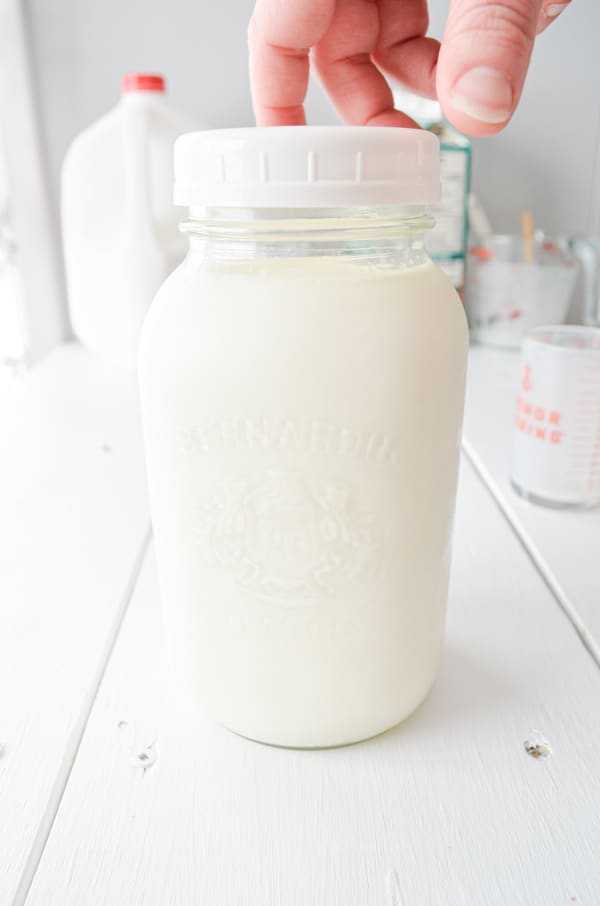
Step Four: Cover
I like to use a plastic mason jar lid, but you can also use a coffee filter or triple-layered cheesecloth secured with a rubber band. I prefer to use a lid because it prevents cross contamination with other cultures and ferments.
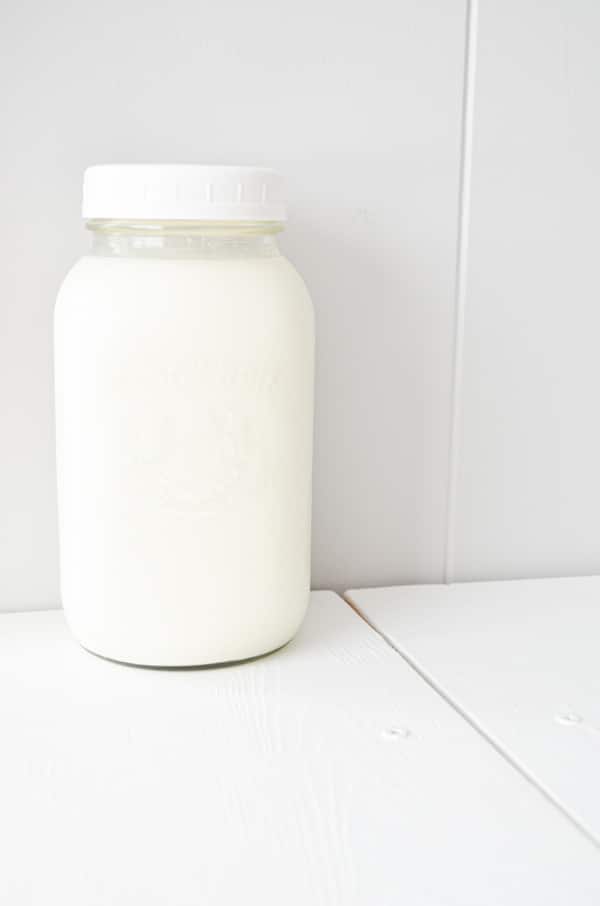
Step Five: Set Aside
Place your covered jar in a warm (75-80F) area for 18-24 hours. If it is summer time or very warm in your home, your culture may be done sooner. If it is winter, you may want to find an area with a warmer ambient temperature. I used my oven and put the light on. This keeps it just warm enough, but be sure to remember that you have something in the oven before preheating it! I've heard some horror stories of people losing their beloved sourdough starters, or their milk kefir cultures exploding!
Step Six: Check and Store
Once your culturing is complete, you will have a thick and pleasantly sour smelling end product. It should be significantly thicker than milk, and closer to standard yogurt in its consistency. If it smells off or putrid, discard and try again in a cooler location in your home, or check it sooner for completion.
Once your regular milk has been turned into buttermilk, you can store it with the lid on in the fridge for 2-3 weeks. You can use a portion of your homemade buttermilk to culture your next batch. If you're consistent, you can keep it going for a very long time!
Now welcome your new friend, and I hope you enjoy your kitchen creation!
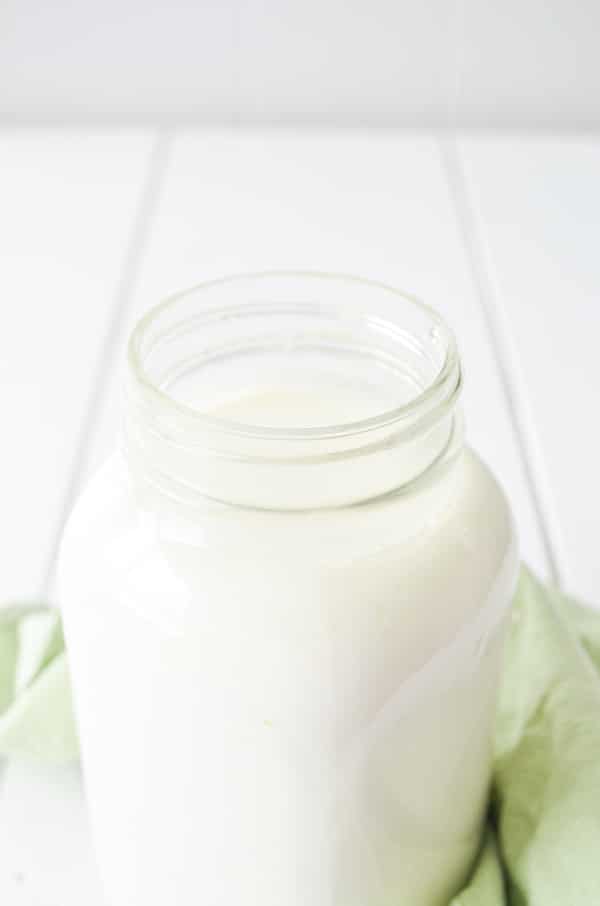
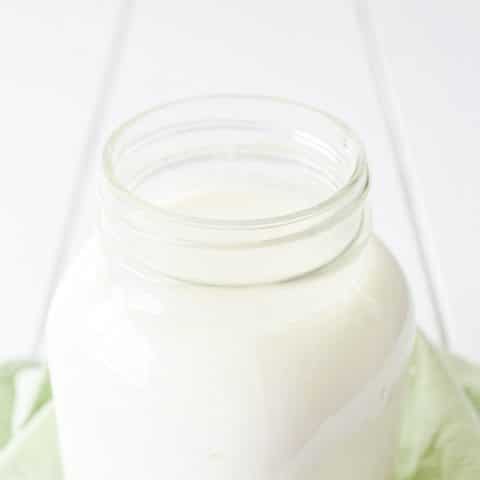
Real Cultured Buttermilk
Make your own cultured buttermilk in your home AND get the probiotic benefits of cultured dairy products. All you need is 2 simple ingredients and you're ready to make real cultured buttermilk!
Ingredients
- 3 ¾ cups Whole Milk
- ¼ cup Store Bought Cultured Buttermilk
Instructions
- Add the whole milk to a clean, dry quart-sized mason jar. Add in the cultured buttermilk.
- Stir well with a wooden or plastic spoon. Metals can interact negatively with cultured foods, so it's best to be careful and stick to plastic or wood.
- Place a plastic lid on the jar. You may also use a triple layer of cheesecloth secured with a rubber band if you do not have a plastic lid.
- Leave your jar in a warm area (approximately 75-80F) for 18-24 hours. Your buttermilk is done when it is thickened and pleasantly sour smelling. Secure a lid on the jar or move it to an airtight container.
- Store in the fridge for up to two weeks. You can continue on the culture by using a portion of the buttermilk you just made in your next batch.
Nutrition Information:
Yield: 8 Serving Size: 1 gramsAmount Per Serving: Calories: 82Total Fat: 4gSaturated Fat: 2gTrans Fat: 0gUnsaturated Fat: 1gCholesterol: 13mgSodium: 107mgCarbohydrates: 7gFiber: 0gSugar: 7gProtein: 5g
Nutritional Information is an estimate only.
Sources:
Buttermilk Questions You Were Too Embarrassed to Ask - Cooks Illustrated






Bob
Can you tightly seal the glass jar? Why does it need to be loose? This is bacteria not gas producing yeast? The small amount of any gas does not need venti g , correct??
Dolly | Little Home in the Making
Depending on the conditions in your home it might explode. I like to cover mine with a cloth and an elastic band, but I have cultured plenty of things with a tight lid and as long as there is ample space (or an airlock) it should be okay.