


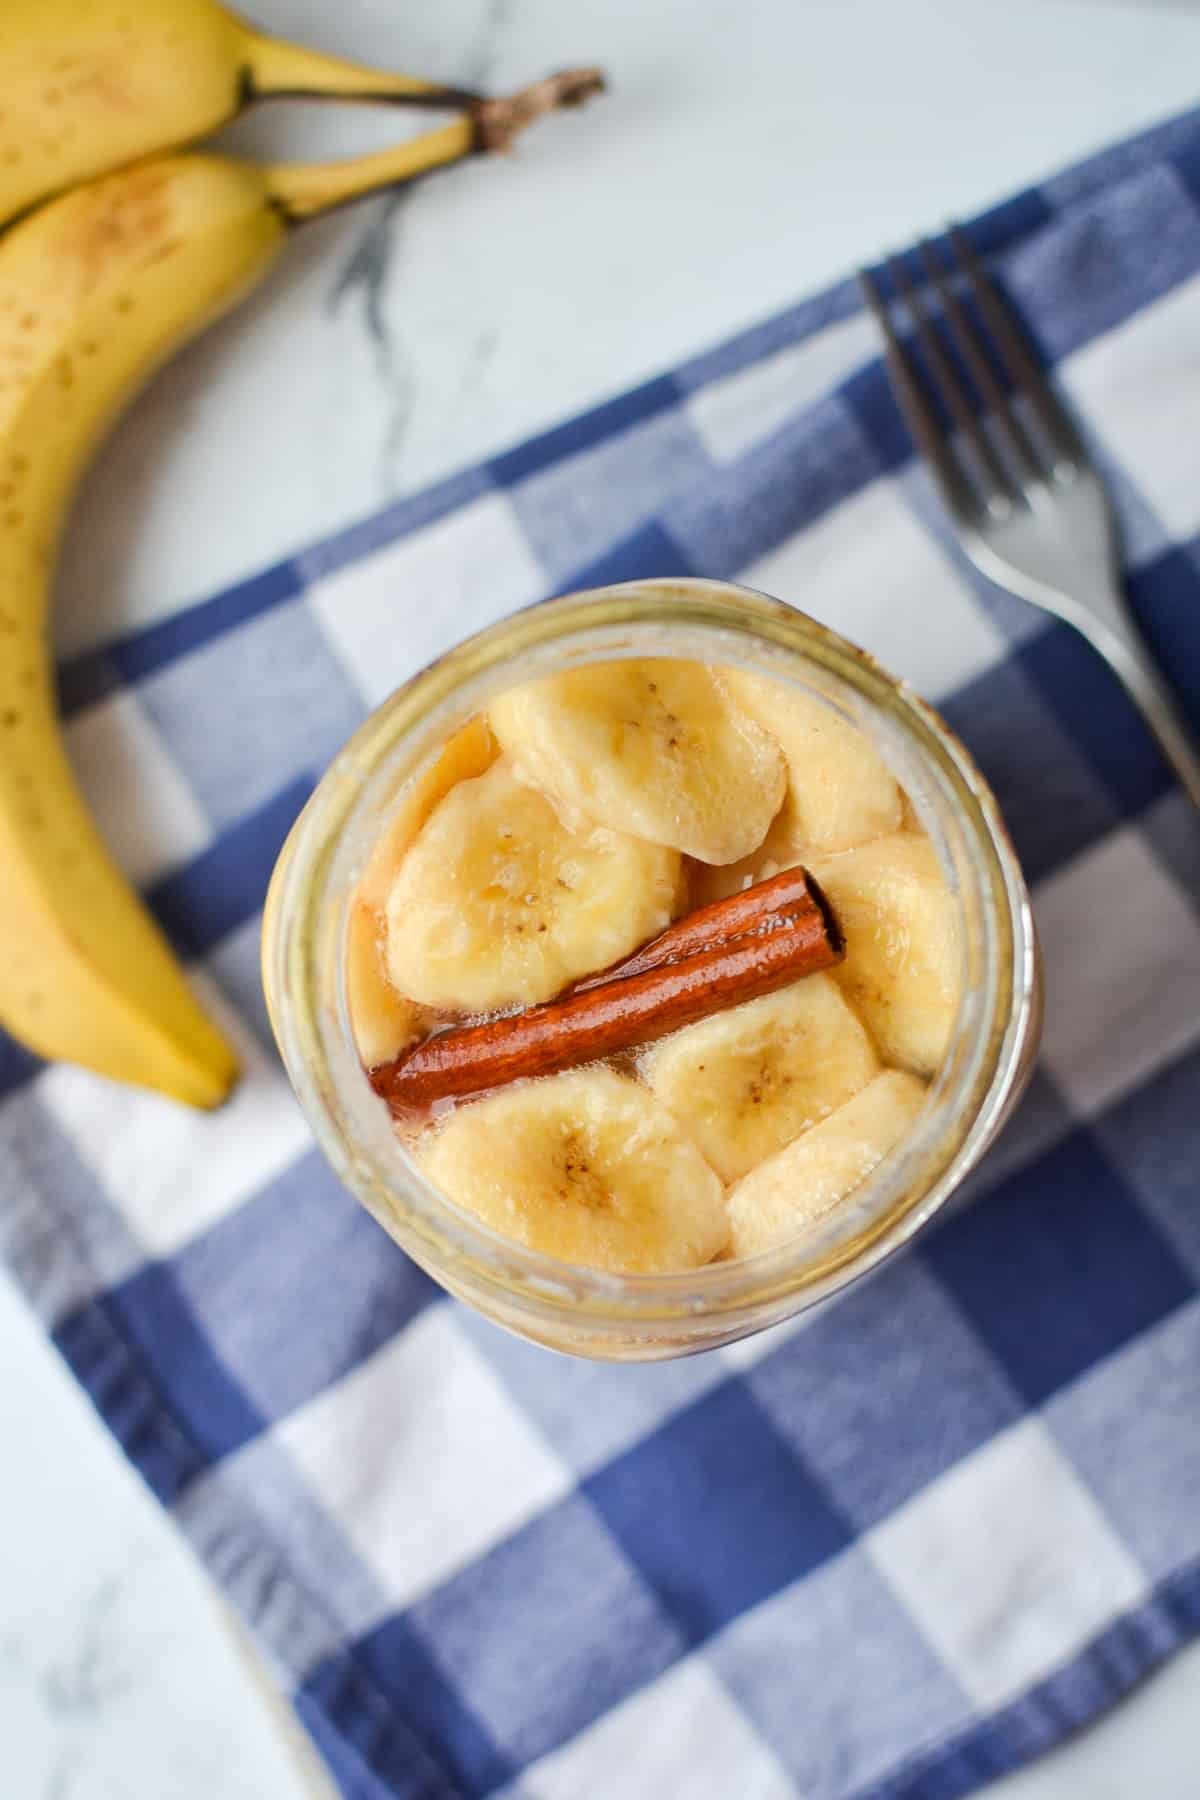
This easy and probiotic-rich recipe for fermented banana is the perfect way to introduce fermented fruits into your daily meals. Fermented bananas taste delicious, and can easily be incorporated into smoothies, oatmeal, or your favorite baked goods. Easy to make with just a few simple ingredients.
I've been fermenting in my home for well over a decade now, and I can honestly say it has been once of the most beneficial things I've done for my health. I've had psoriasis clear up, and have overcome debilitating low energy and brain fog thanks to serious dietary changes (including fermented foods). I'm constantly using more and more fermented and cultured foods in my kitchen for both the health benefits AND the culinary ones.
This easy recipe for fermented bananas is a new favorite of mine, and that's because it's just so simple! Bananas are a readily available and inexpensive fruit (even organic ones!), and we always seem to have an abundance in our home.
While the overripe ones go to making my Son's favorite sourdough banana muffins or sourdough banana bread, the just underripe ones are perfect for making an easy batch of these fermented bananas. They have been a delicious and sweet addition to my daily kefir smoothies, and they are just so simple to make. I just know you'll love them as much as I do!
Why You'll Love This Recipe
- Like all fermented foods, fermented bananas are rich in probiotics and beneficial bacteria which supports gut health.
- An easy way to add fermented foods into your daily routine.
- You need just 5 simple ingredients to make this beginner-friendly fermentation recipe - one of which is water!
- Tastes delicious when added into smoothies, oatmeal, or even on top of some good quality ice cream.
Ingredients and Equipment
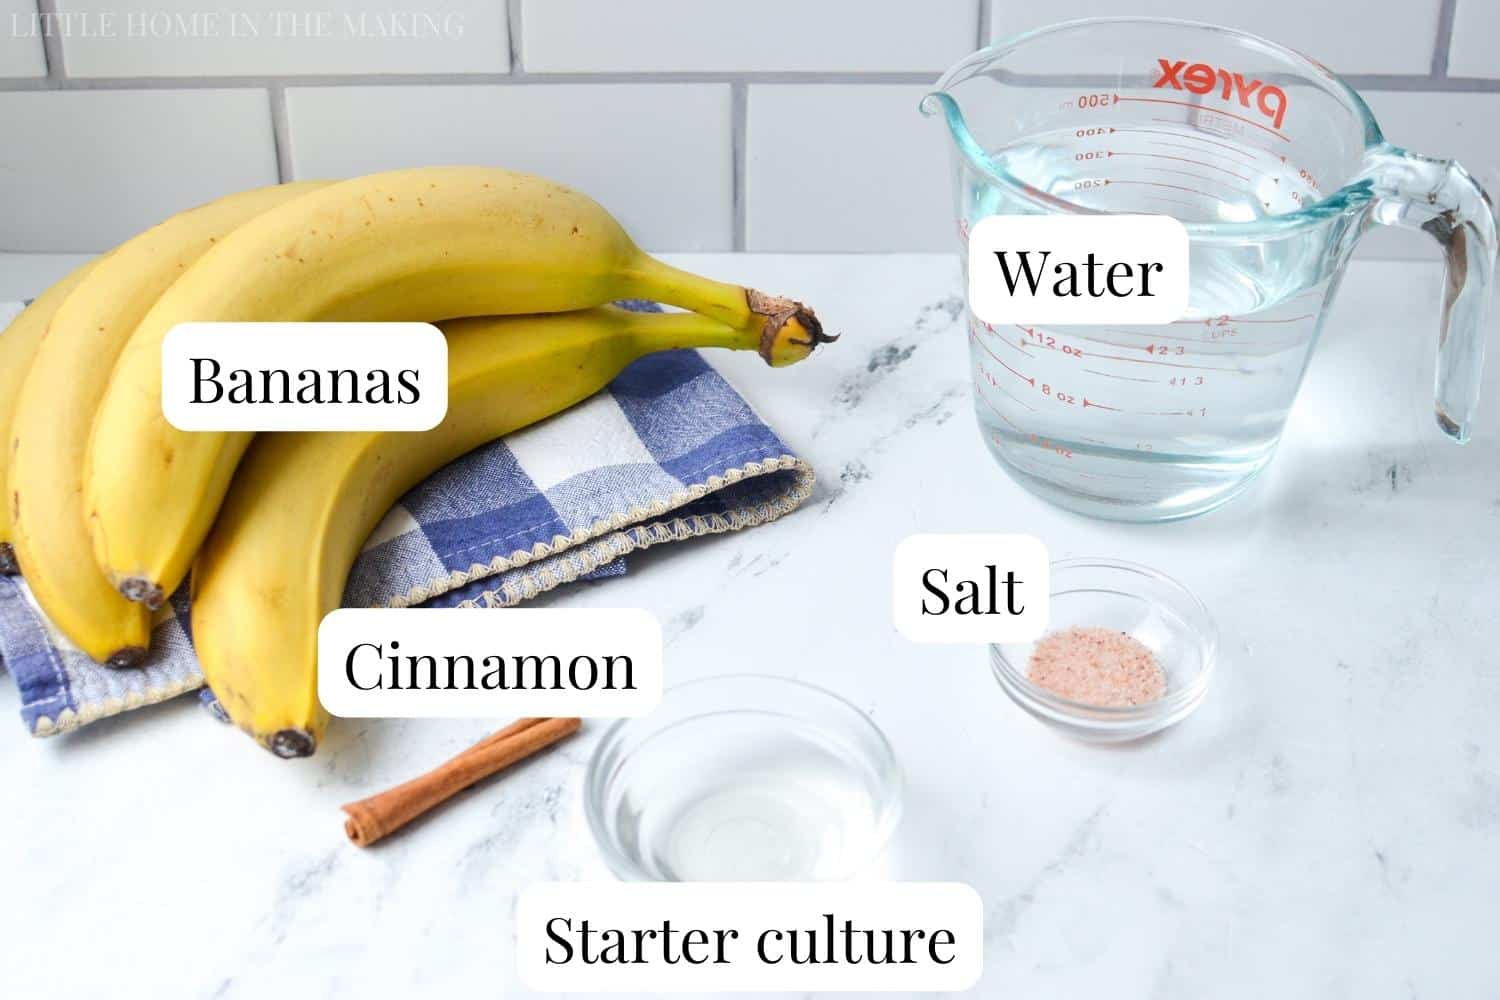
- Bananas: You'll need about 3 large bananas, that are just slightly underripe. Bananas that still have a bit of green skin tend to be firmer and hold up to the fermentation process better.
- Salt: I like to use an unrefined salt like Redmond's Real Salt for my fermentation projects. Celtic sea salt or pink Himalayan will work well too.
- Starter culture: While this can be made without a starter culture, I highly recommend you use one for the best results. I used some water kefir for this batch, but you can use kombucha, whey, a ginger bug, or brine from a previous ferment.
- Water: You'll need enough water to cover the bananas, and you should use filtered water if you are not located on a well.
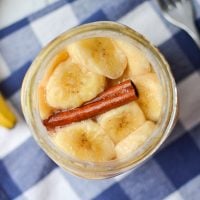
- Cinnamon stick (optional): This is optional, but the slight cinnamon flavor compliments the banana perfectly and is a nice addition.
Equipment
- Mason jar or Weck jar: You’ll need a clear jar that is quart sized (or holds about 4 cups).
- Fermentation weight: These handy fermentation weights keep the food below the brine, making for a more consistent end product with less chance for bacteria or mold to sneak in. If you don’t have fermentation weights, I highly recommend you invest in some. As an alternative, you can use a 4oz mason jar filled with water or fermentation brine.
- Fermentation lid: If you’re a frequent fermenter, I highly recommend investing in a fermentation lid. I really like pickle pipes, but airlock lids work great too. They are inexpensive and make it so you don’t have to “burp” the jars during the fermentation process.
- OR a basic lid: If you don't have a special fermentation lid, you can absolutely use a basic plastic lid OR two-piece canning lid (there will be some rust around the edges, but you can easily wipe it off). Just make sure to "burp" the jar each day.
How to Ferment Bananas
Before you get started, make sure all of your equipment is totally clean. For the most part you won't need to sterilize anything, but if you want to, you can definitely take that extra precaution. I just make sure to use a jar that was washed recently and is free from debris.
Once you have a clean jar, weight, and lid, you're ready to get started on your bananas!
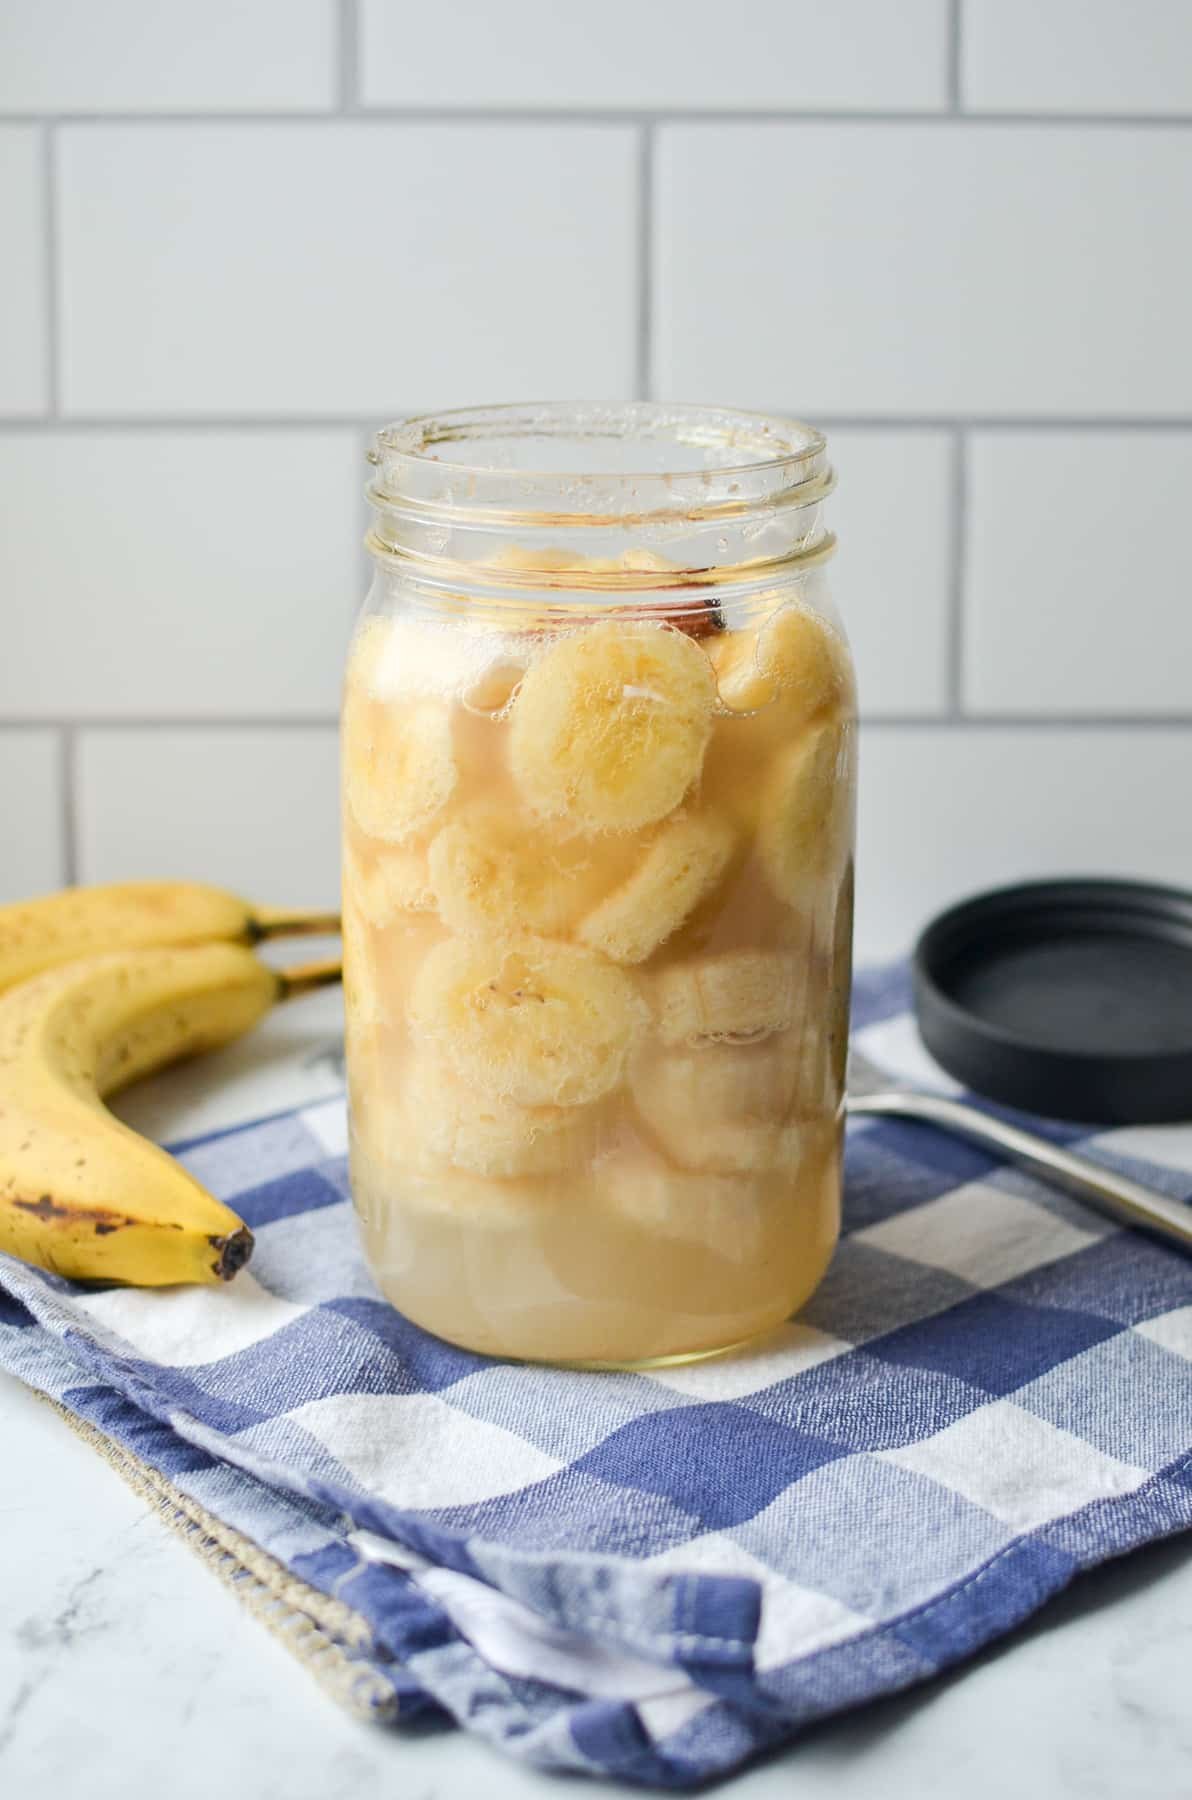
Peel and slice your bananas into ½" thick rounds, packing them into the jar gently.

Preparing the Culture and the Brine
Add the starter culture of your choice (I used water kefir) to a clean glass bowl or measuring cup, along with the salt and ½ cup of the water. Stir well to dissolved the salt.
Preparing the Ferment
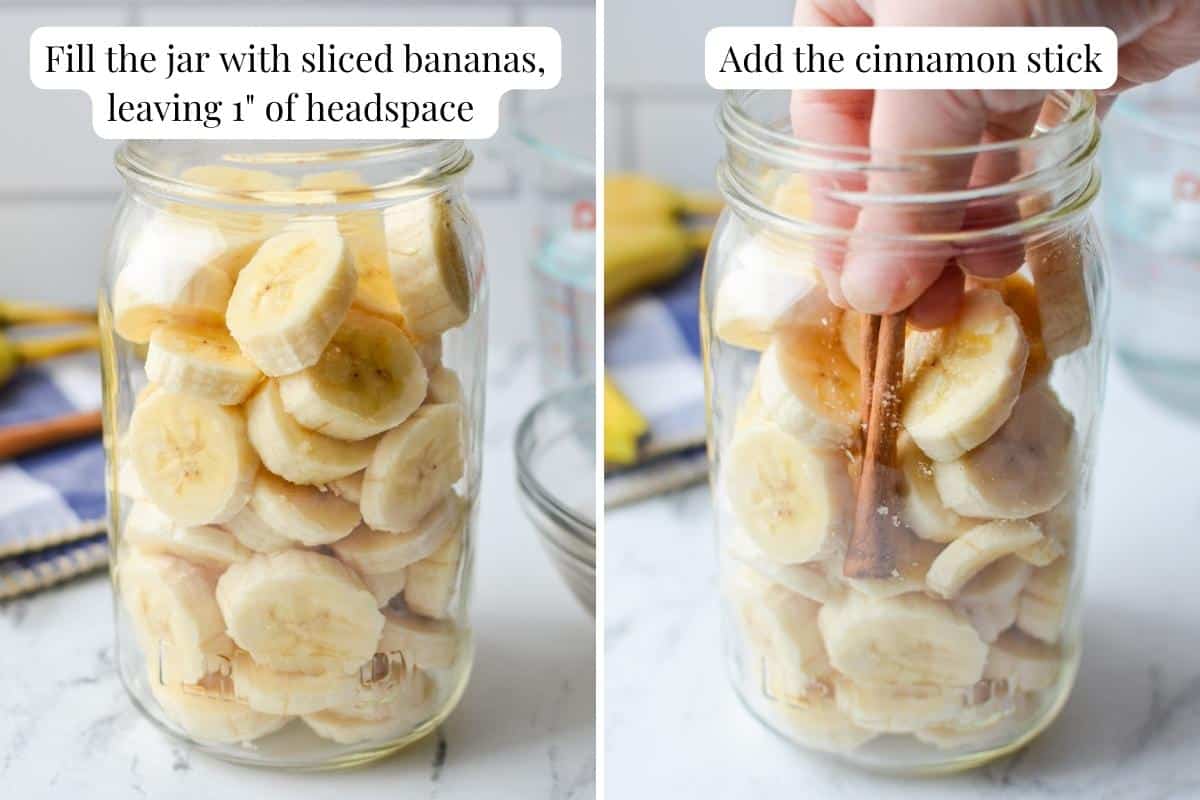
Check to make sure your bananas have about 1-1 ½" of headspace at the top. This will allow for enough room for the liquid to cover, as well as a fermentation weight. Then add the cinnamon stick into the jar if you've decided to include that.
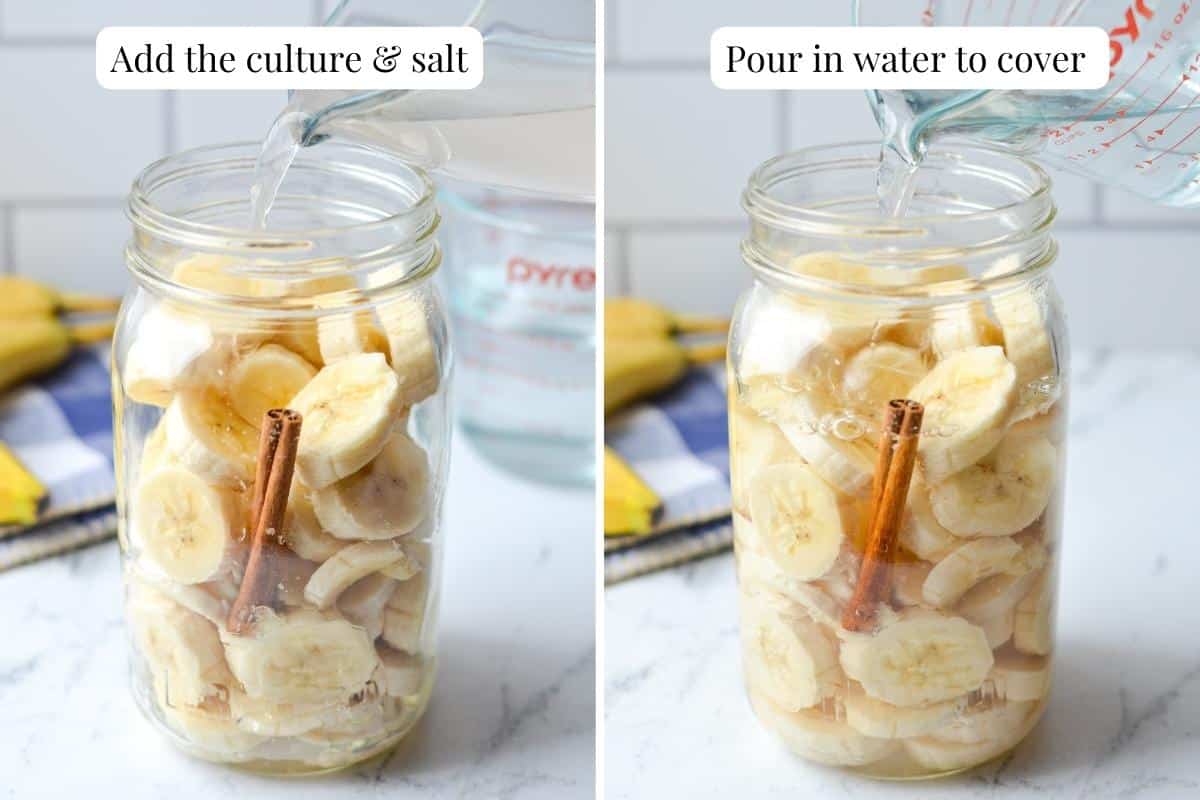
Add the culture, salt, and water mixture to the jar of bananas, and then top the jar with additional filtered water to cover. Aim to leave about 1-1 ½" of headspace.
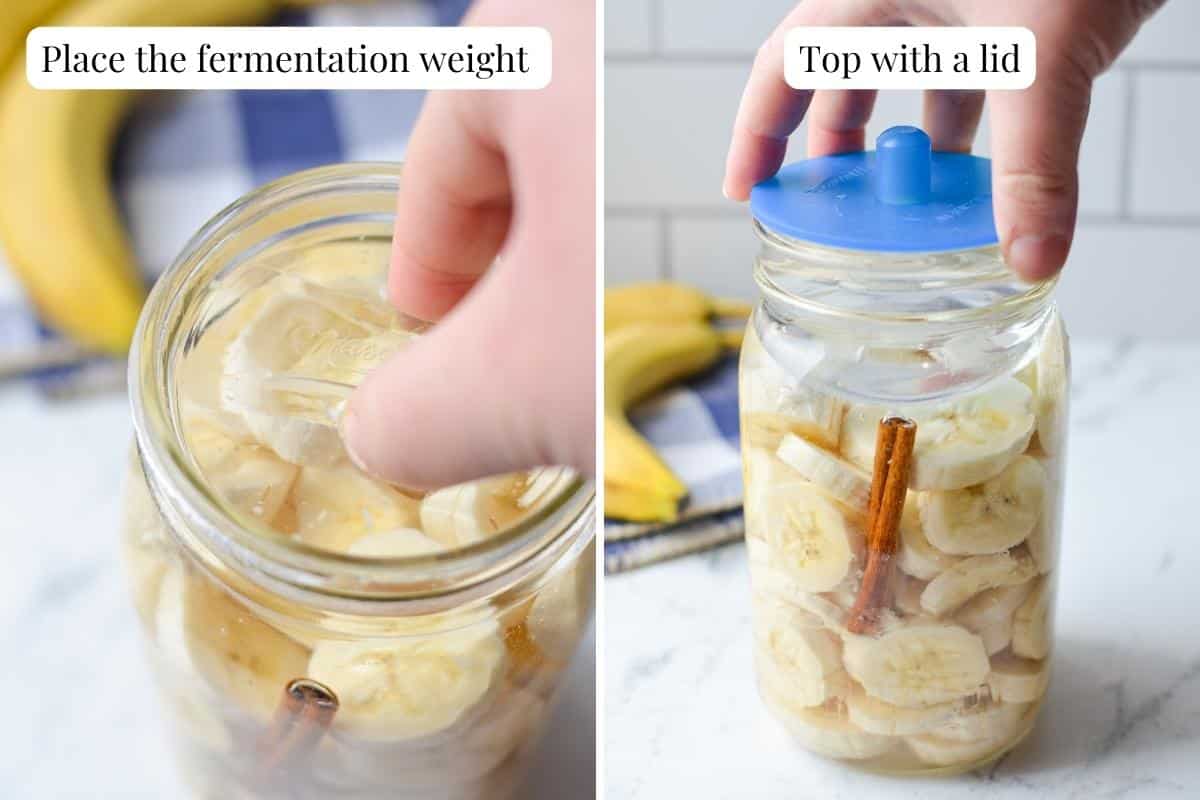
Add the fermentation weight to the jar, wiping up any excess water or brine that comes out of the jar. If you're using a 4oz canning jar as a weight, you may have to adjust the level of the bananas and brine, OR drape the jar with a triple layer of cheesecloth that has been secured with an elastic band.
Top the jar with a fermentation lid (like a pickle pipe or airlock lid), or a standard plastic or two-piece canning lid.
Fermenting the Bananas
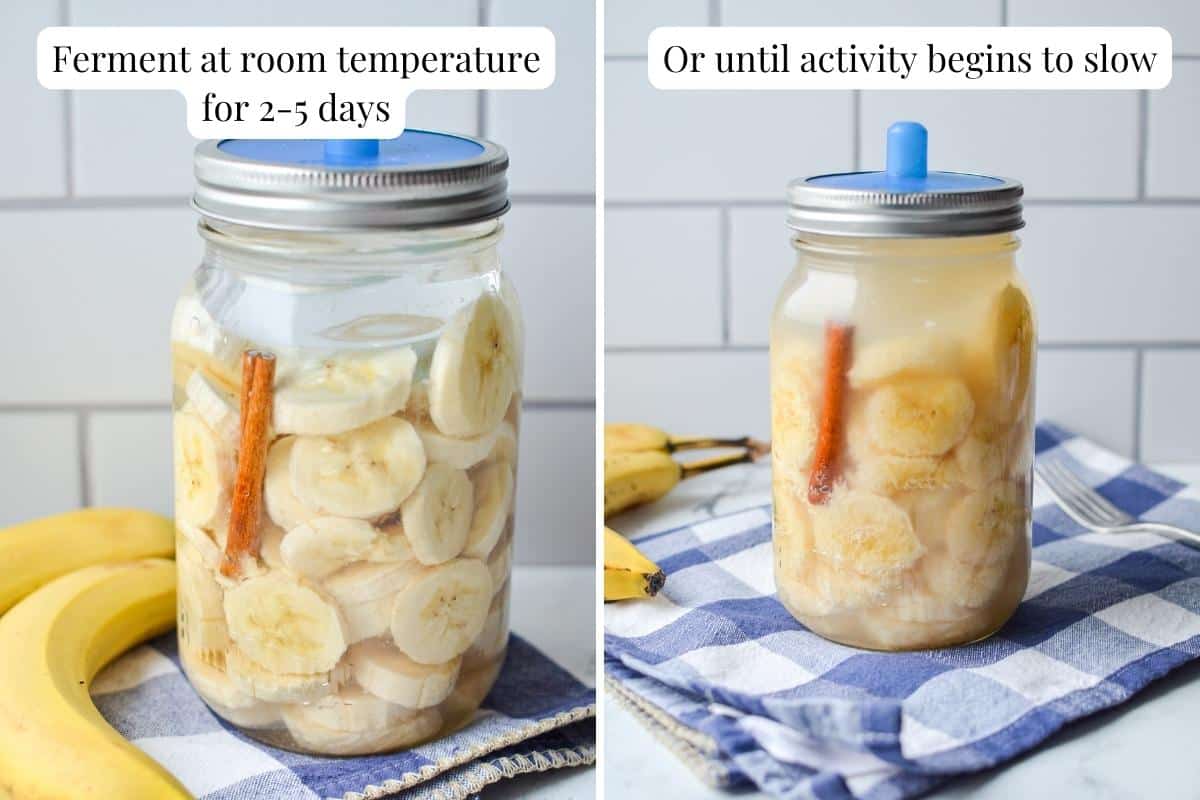
Allow your jar of bananas to ferment at room temperature (anywhere from 65ºF-90ºF) for 2-5 days, or until there has been significant activity and the bananas are just starting to break down. The activity will have reached a peak, and then begun to slow ever-so-slightly. This is a good sign that your ferment is ready.
If you did not use a fermentation lid, you will need to "burp" the jar daily by cracking the jar open to release gases.
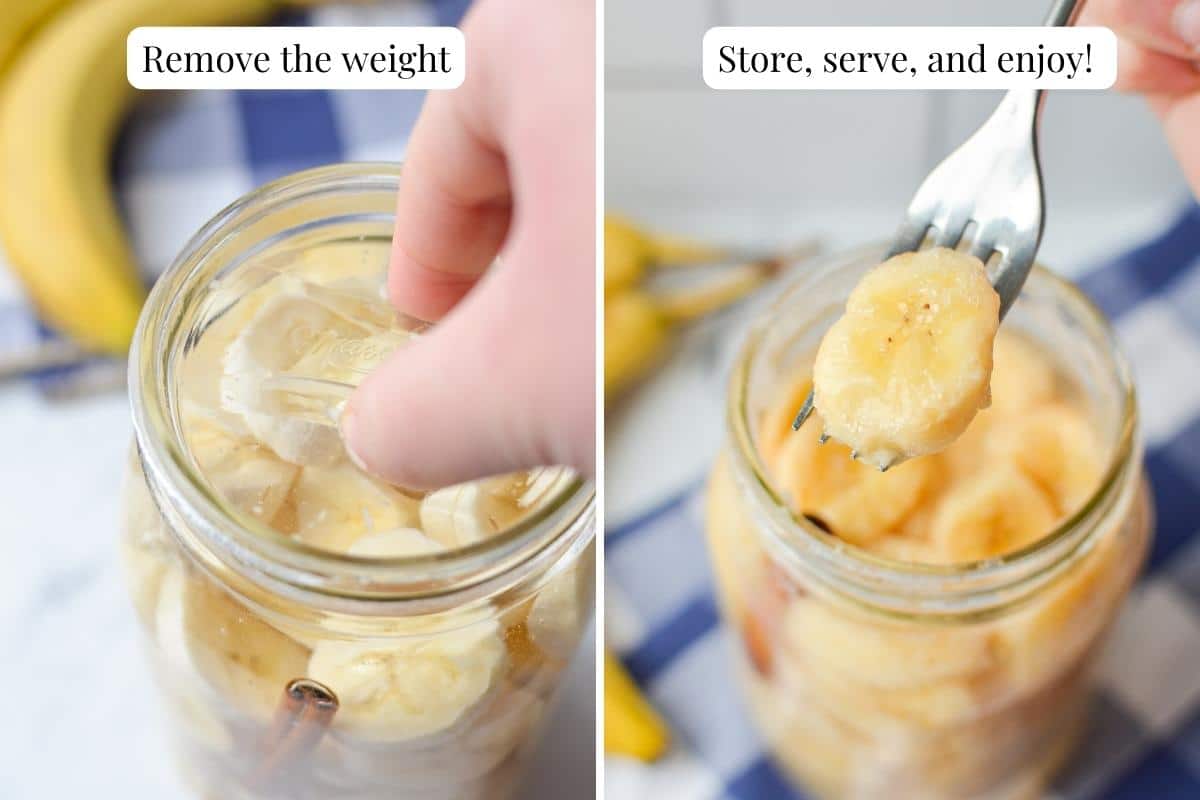
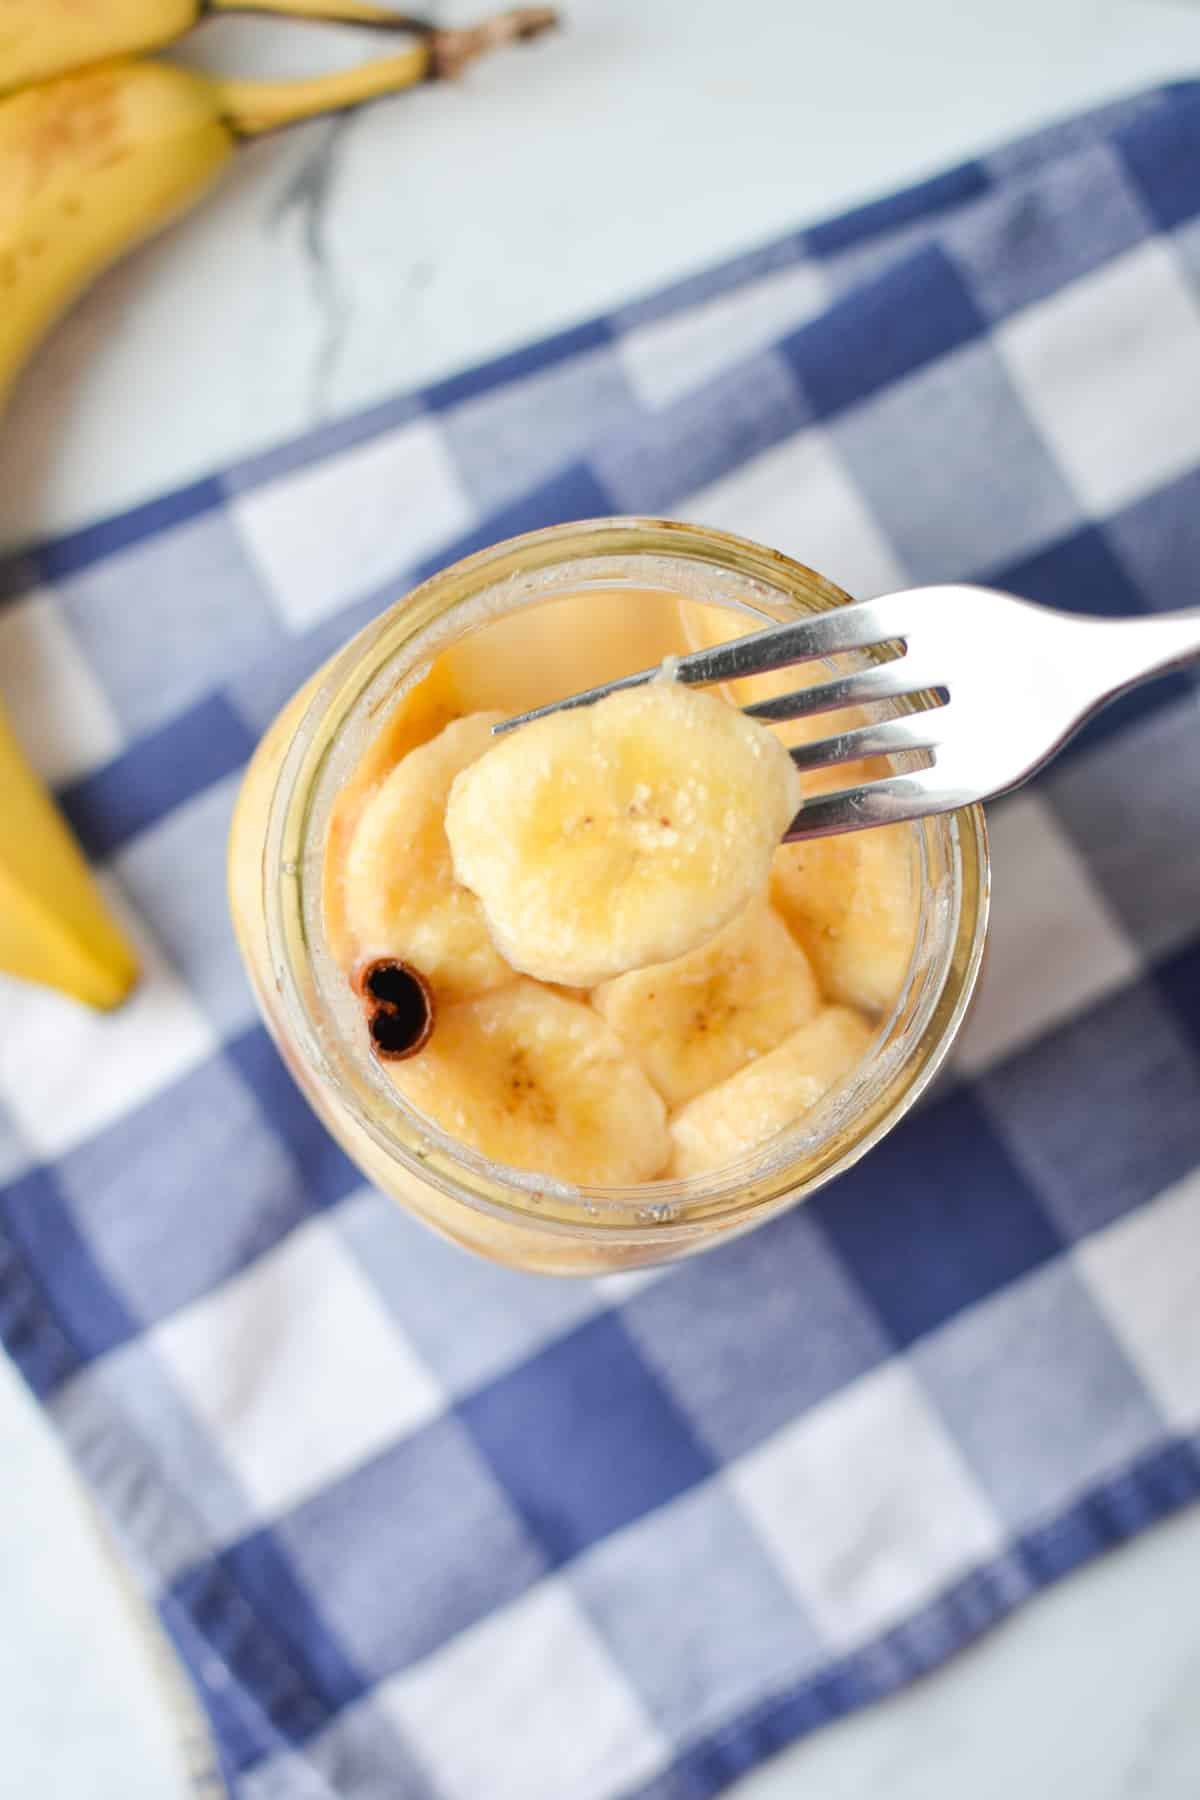
Remove the fermentation weight and taste your bananas to ensure they are fermented to your liking.
Store them in the same container you used to ferment them, serve, and enjoy!
Storing Fermented Bananas
- Once your bananas have fermented to your liking, keep them in the same jar you fermented them in.
- Top the jar with an airtight lid (I like these plastic mason jar lids).
- Store in warmer area in your fridge (like the door) for 2 weeks or up to 2 months if no signs of spoilage occur.
- If you see mold or an off-putting smell, discard the fermented bananas and make another batch with clean equipment.
- If the utensils used to retrieve the bananas were clean, you shouldn’t have any issues with spoilage for 2-4 weeks.
- You can mash and freeze your bananas in silicone cubes (like these ones from Souper Cubes) to use in smoothies or add to oatmeal. This is a great way to prolong storage if you don't think you'll use all of the bananas within 2 weeks.
Tips for Fermenting Fruit
- Use good quality fruit, free from blemishes or obvious signs of decay. Choose organic if possible, and remove the peel to reduce any residues. When fermenting bananas, it is best to choose those that are slightly underripe, as they tend to stand up better to a 2-5 day fermentation.
- To give your fermentation the best chance, keep it out of direct sunlight. This helps the food retail color and prevents it from becoming too hot to maintain the delicate balance of bacteria that occurs during fermentation.
- If you’re not using a pickle pipe or airlock lid, make sure to “burp” the jar 1-2 times per day. This is done by gently opening the lid and allowing excess gases to escape.
- Compared to vegetables, fruits – which are higher in sugar – ferment very quickly and should be watched closely for signs of activity.
Fermenting Bananas Without Starter or Culture
You don’t need to purchase a special starter culture for this easy recipe, BUT if you have a natural starter culture from fermenting your own foods at home, you can use 1-2 tablespoons of that to get these probiotic rich fermented bananas started. This is a great way to introduce the bacteria needed to achieve fermentation.
Possible Starter Cultures
- Water kefir
- Kombucha
- Whey from straining yogurt
- Kefir whey
- Ginger bug (will add a slight ginger flavor)
- Leftover sauerkraut brine (imparts a distinct flavor on your ferment)
- Brine or liquid from other ferments
Without a Starter or Culture
If you want to make fermented bananas but don’t have a starter culture available, no problem! Although the results can be a little less consistent, you should still be able to get a good fermentation going.
With the natural sugar and salt content, it should be pretty simple to have fermented bananas without a culture. You may just need to add 1-3 days onto the total process in order for everything to get established, and just temper your expectation since fermenting like this isn’t as reliable as using some sort of starter culture is.
Also make sure to keep your ferment in a warm location, which provides the perfect environment for growth of beneficial bacteria. Somewhere between 75-85ºF (24-30ºC) is good range in my experience.
How to Use Fermented Bananas
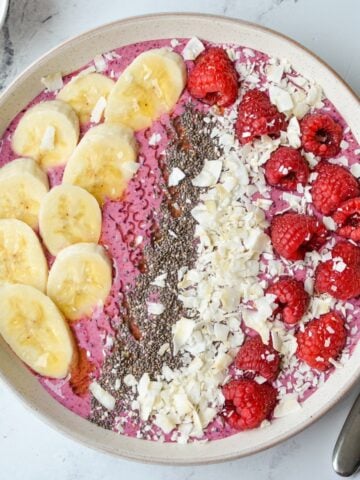
Now that you’ve made these easy and probiotic rich fermented bananas, you might be wondering how you can use them. I've enjoyed them added into my kefir smoothies each morning, but there are a variety of ways to use them. Here are a few of my favorites:
- Added to a bowl of oatmeal
- On top of sourdough waffles or pancakes
- Tossed into smoothies (like this peanut butter and banana kefir smoothie)
- As an ice cream topping
- Blended and added to homemade fermented beverages like water kefir or kombucha
- Drained and mashed, and then added to your favorite baked goods like sourdough banana bread or these sourdough banana muffins.
Frequently Asked Questions
Yes, you can eat bananas that have been fermented intentionally. When fermented with a starter culture and in a clean environment, fermented bananas are generally fine to eat and rich in probiotics! When bananas have started to ferment on their own, without the a controlled environment, they may not be safe (or pleasant) to eat.
When fermented with a starter culture and an unrefined salt brine, bananas should ferment in 2-5 days. Since fruit ferments quickly, this type of ferment will gain activity very quickly.
All fermented foods contain a small amount of alcohol, but often this is extremely negligible. In order for there to be a high enough alcohol percentage, your bananas would have to ferment for an extended period of time (a month or longer). Countertop ferments often contain a fraction of a percent of alcohol and are considered safe to consume.
More Fermentation Recipes
- Fermented Apples
- Fermented Jalapenos
- Red Sauerkraut (Fermented Red Cabbage)
- How to Make Sauerkraut in a Crock
- Fermented Blueberries
📖 Recipe
Easy Fermented Bananas
Equipment
- Glass quart jar
- Fermentation weight** optional
- Plastic lid or fermentation lid
Ingredients
- 3 large bananas slightly underripe
- 1 cinnamon stick optional
- ½ -1 teaspoon unrefined salt
- ½ -1 teaspoon unrefined salt
- 1-2 tablespoons starter culture *See notes
- Water
Instructions
Cook Mode- Slice your bananas into ½” thick rounds, discarding any bruised or browning pieces.
- Add the sliced bananas into the quart jar, packing them gently so they do not mash together.
- Add the cinnamon stick to the jar, if using.
- In a small glass bowl or measuring cup, combine the salt, ½ cup of water, and the starter culture of your choice. Stir gently to dissolve the salt.
- Add the culture, salt, and water mixture to the bananas.
- Pour in enough filtered water to cover the bananas, leaving about 1 ½” of headspace at the top of the jar.
- Add a fermentation weight** (or a 4oz canning jar weighted with water or brine) and press down to keep the banana slices submerged.
- Fit the jar with a pickle pipe, airlock fermentation lid, OR a screw on lid.
- Ferment for 2-5 days, or until bubbly and active. Fruit ferments very quickly, so it's important to keep a close eye! Your bananas are ready when they smell fragrant and have started to break down. They should not smell overly strong or alcoholic.
- Once your bananas are fermented to your liking, remove the weight and add an airtight lid. Store in the fridge for 2-4 weeks. Discard if there are any signs of spoilage such as a strong smell, mold, or other growths. Try to keep the bananas below the liquid line for the best results.
Notes
Nutrition
Please note that some of my blog posts here at Little Home in the Making may contain affiliate links. If you make a purchase through these links, I will get a small commission at no additional cost to you. See our disclaimer for more information.


KATE says
This looks interesting. Two questions:
Can you reduce the salt slightly in this recipe or does the process absolutely have to have this amount. Secondly, what does the bananas actually taste like, does it still have the regular sweet taste of unfermented bananas or does it taste different?
Dolly | Little Home in the Making says
Hi Kate,
So the salt is there to help keep the bad bacteria at bay while the good ones are being established. You may be able to reduce it slightly, but the finished bananas do not taste very salty. Some people rinse ferments after they are finished to reduce the amount of salt, but I haven't personally tried that with fruit ferments.
It definitely tastes different than a regular banana, the best way I can explain is it very ripe bananas that are typically only used for banana breads. They are quite soft, and have that signature fermented flavor.