


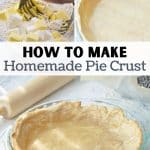

This classic recipe for a butter and lard pie crust is easy to make with just a few simple ingredients. An all purpose pie crust recipe that works for both savory and sweet applications and has stood the test of time. I've been using this recipe for more than 10 years!
A few months ago I shared my sourdough pie crust recipe, which was inspired by this classic pie crust recipe I'm sharing with you today. This is the recipe I've been using for over 10 years to make delicious pot pies, sweet pies, and everything in between.
When I tell you that this recipe softened the heart of my husband's grandfather, do not let that be understated. Papa was by all accounts an honest man, and wouldn't hesitate to tell you your food was "no good" if he saw it that way. He also was slow to compliment, preferring the reluctant "It was okay" to "It was delicious."
But every time I made a pie with this pie crust, he would sing the praises of how good my crust was and how it tasted "just like Granny's." My husband, having enjoyed many sweets and pies prepared by his grandmother, tells me it happens to be even better than Granny's. And while I'm grateful for the compliment, I'm willing to consider that he may have a bias since I'm his wife and all.
The Test of Time
This classic butter and lard pie crust recipe has been served hundreds of times over the years. I'm certain its recipe has been imprinted on the backs of my eyeballs. And I'm pretty sure I could prepare it blindfolded at this point!
I knew I had to share this foundational recipe with you all, and encourage you to try your very own homemade pie crust. Know that there can be a bit of a learning curve with pie crust, and you will eventually get a feel for it and produce a delicious dessert (or pot pie) time after time. Like so many kitchen skills, it's about achieving mastery through repeated use.
Why Use Butter AND Lard?
- It offers a balance of flavors. Butter has a distinct taste that makes everything taste better. And lard has a good mouthfeel that has made it popular in baking for hundreds of years.
- The dough is firm, yet soft. Lard doughs are very soft and butter doughs very firm, so it has the best of both worlds.
- It's less expensive. Butter can be very pricey, while lard can easily be made at home (or found inexpensively). This helps mitigate the cost of baking with large quantities of butter.
Ingredients
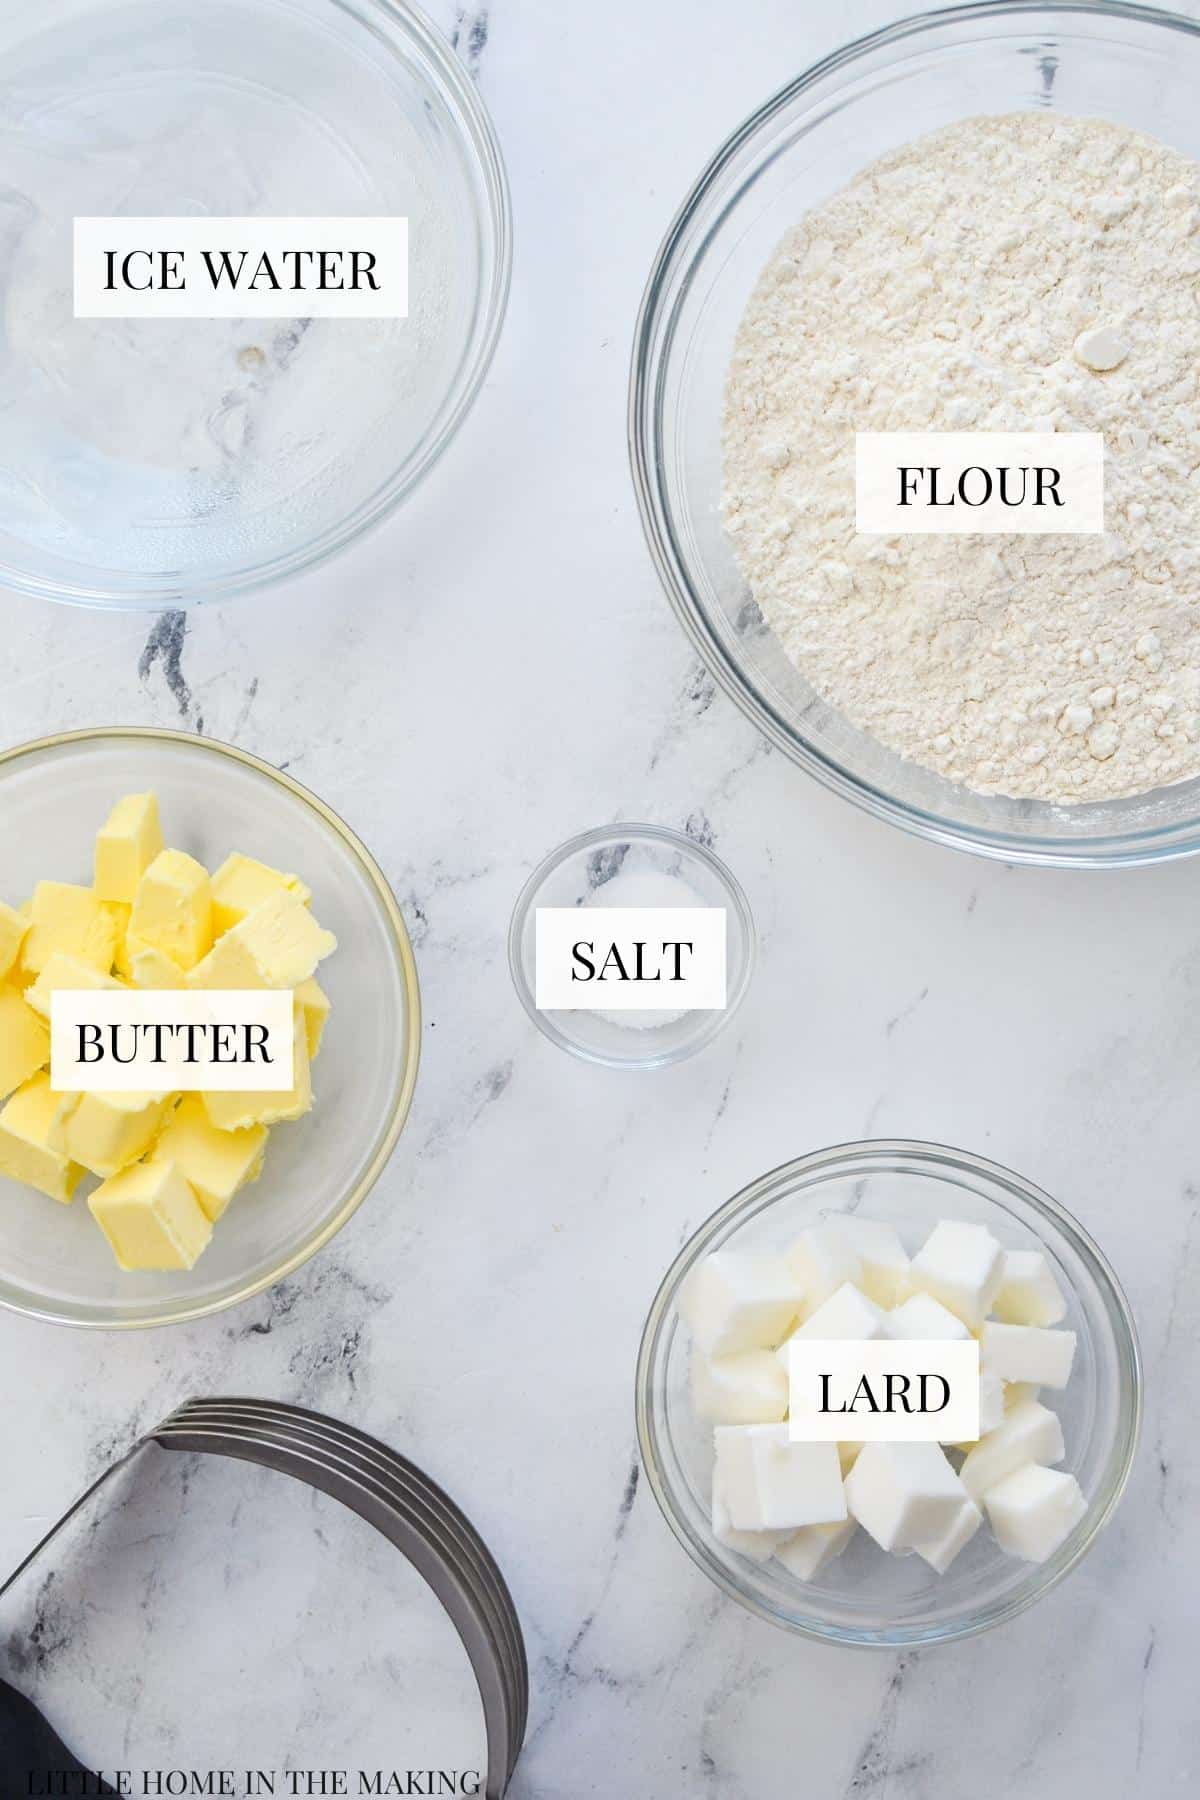
- Lard: An old-fashioned cooking fat, this once popular ingredient has fallen out of favor with the cooking community. I think it makes for delicious pies, pastries, and biscuits. It's been used in my classic pie crust recipe for years (as well as my sourdough version). If you prefer, you can use all butter or shortening instead, just make sure they are kept chilled.
- Butter: Nothing can beat the flavor of butter! Using butter in your pie crust makes it unbelievably flaky. It also has that signature flavor that we all know and love. The most important thing is to ensure your butter is cold, so leave it in the fridge until you're ready to start.
- Flour: I recommend using an all-purpose flour here, and either conventional or unbleached is totally fine to use.
- Salt: Just a little bit of salt is added in with the flour to add the right amount of saltiness. Up it a bit if you used unsalted butter.
- Ice Water: When it comes to pie, cold ingredients are essential. Once the fats have been cut into the dry mixture, you'll have to add some water to moisten it into a dough. It needs to be absolutely ice cold, so I fill a bowl with ice cubes and pour in some cool water. Works like a charm!
Equipment:
- Pastry blender: An essential tool if you plan on becoming a pie baker! You can use two forks in a pinch, but a pastry blender makes things 1000% easier.
- Rolling pin
- Pie weights (optional): Pie weights do exactly what you would expect - weigh down your pie crust for blind baking (baking without a filling). You can also use old dry beans in a pinch.
How to Make Pie Crust with Butter and Lard
To get started, prepare a bowl of ice water. Just fill a small bowl with ice cubes and top with some cool water. Set aside while you prepare the main portion of the dough.
Add the flour and salt to a medium-sized bowl and whisk together to combine well. Then add in the cubed (cold) butter and cubed (cold) lard.
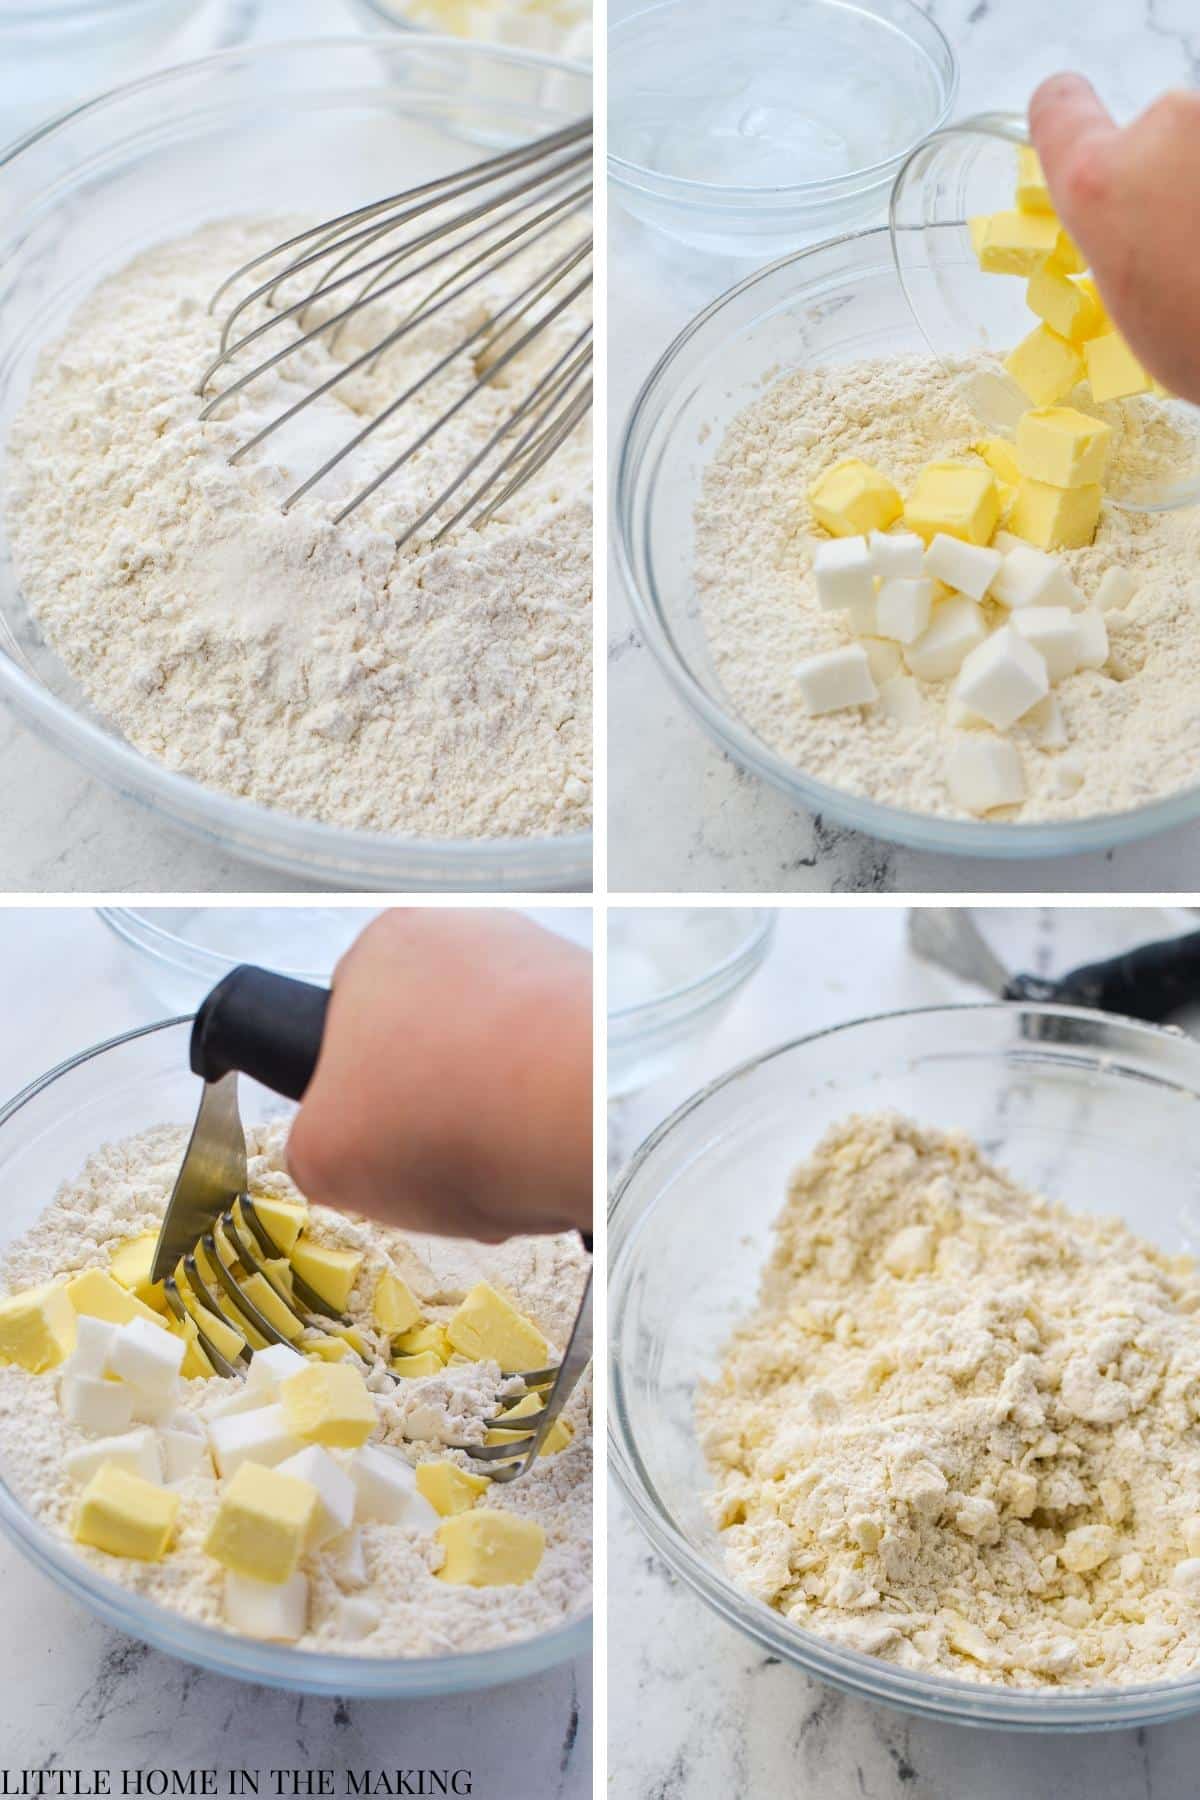
Use a pastry blender to cut the fat cubes into the flour mixture. You could also use a food processor or two forks if you don't have a pastry blender. Just be careful if you're using a food processor, as you want the crumbs to be about pea-sized.
Keep cutting the butter and lard into the flour until the mixture resembles coarse crumbs (as pictured).
Adding Ice Water
Now begin adding the ice water a few tablespoons at a time, just enough to moisten the flour and fat mixture, and bring it together into a cohesive ball of dough.
I start out with about 4 tablespoons of water and then gently fold the water into the flour and fat mixture until it is mostly absorbed. Then, continue to add the water 1-2 tablespoons at a time until the dough begins to come together.
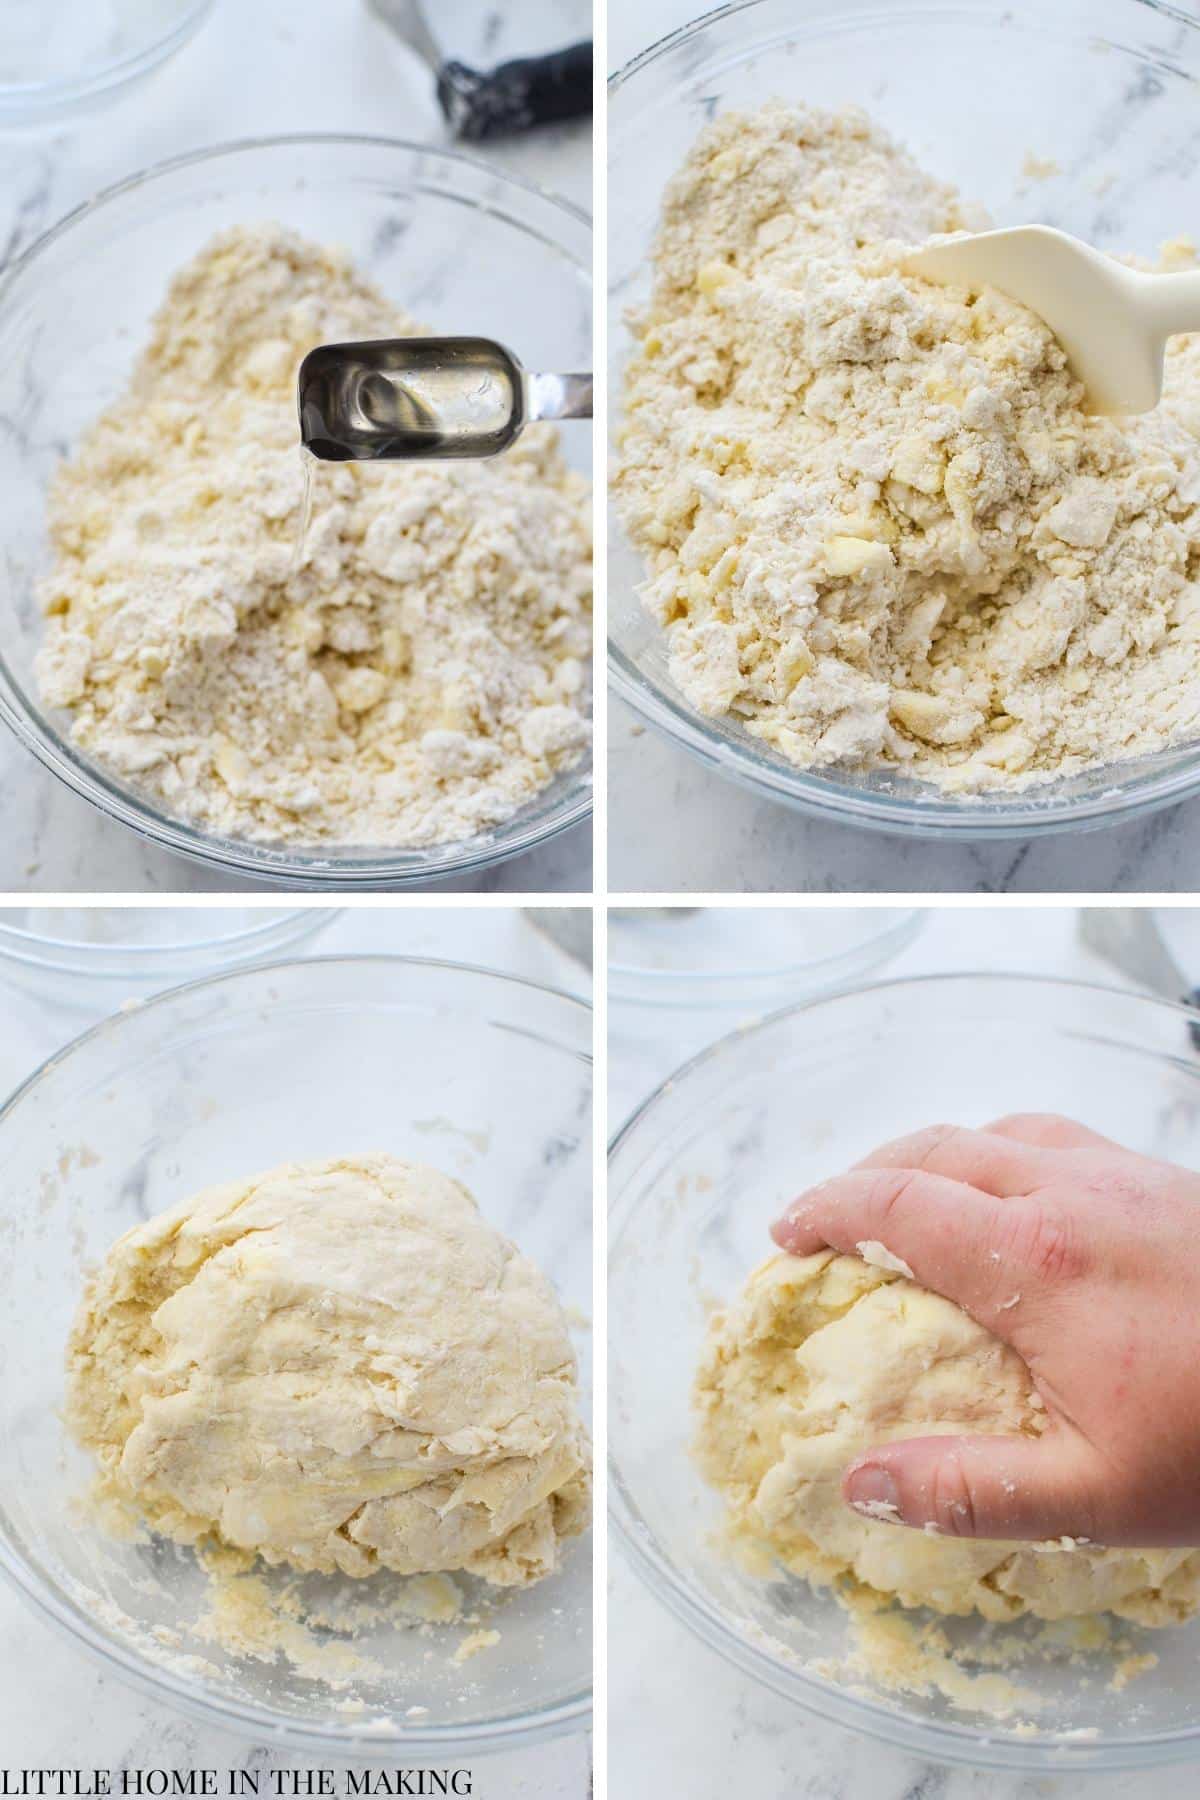
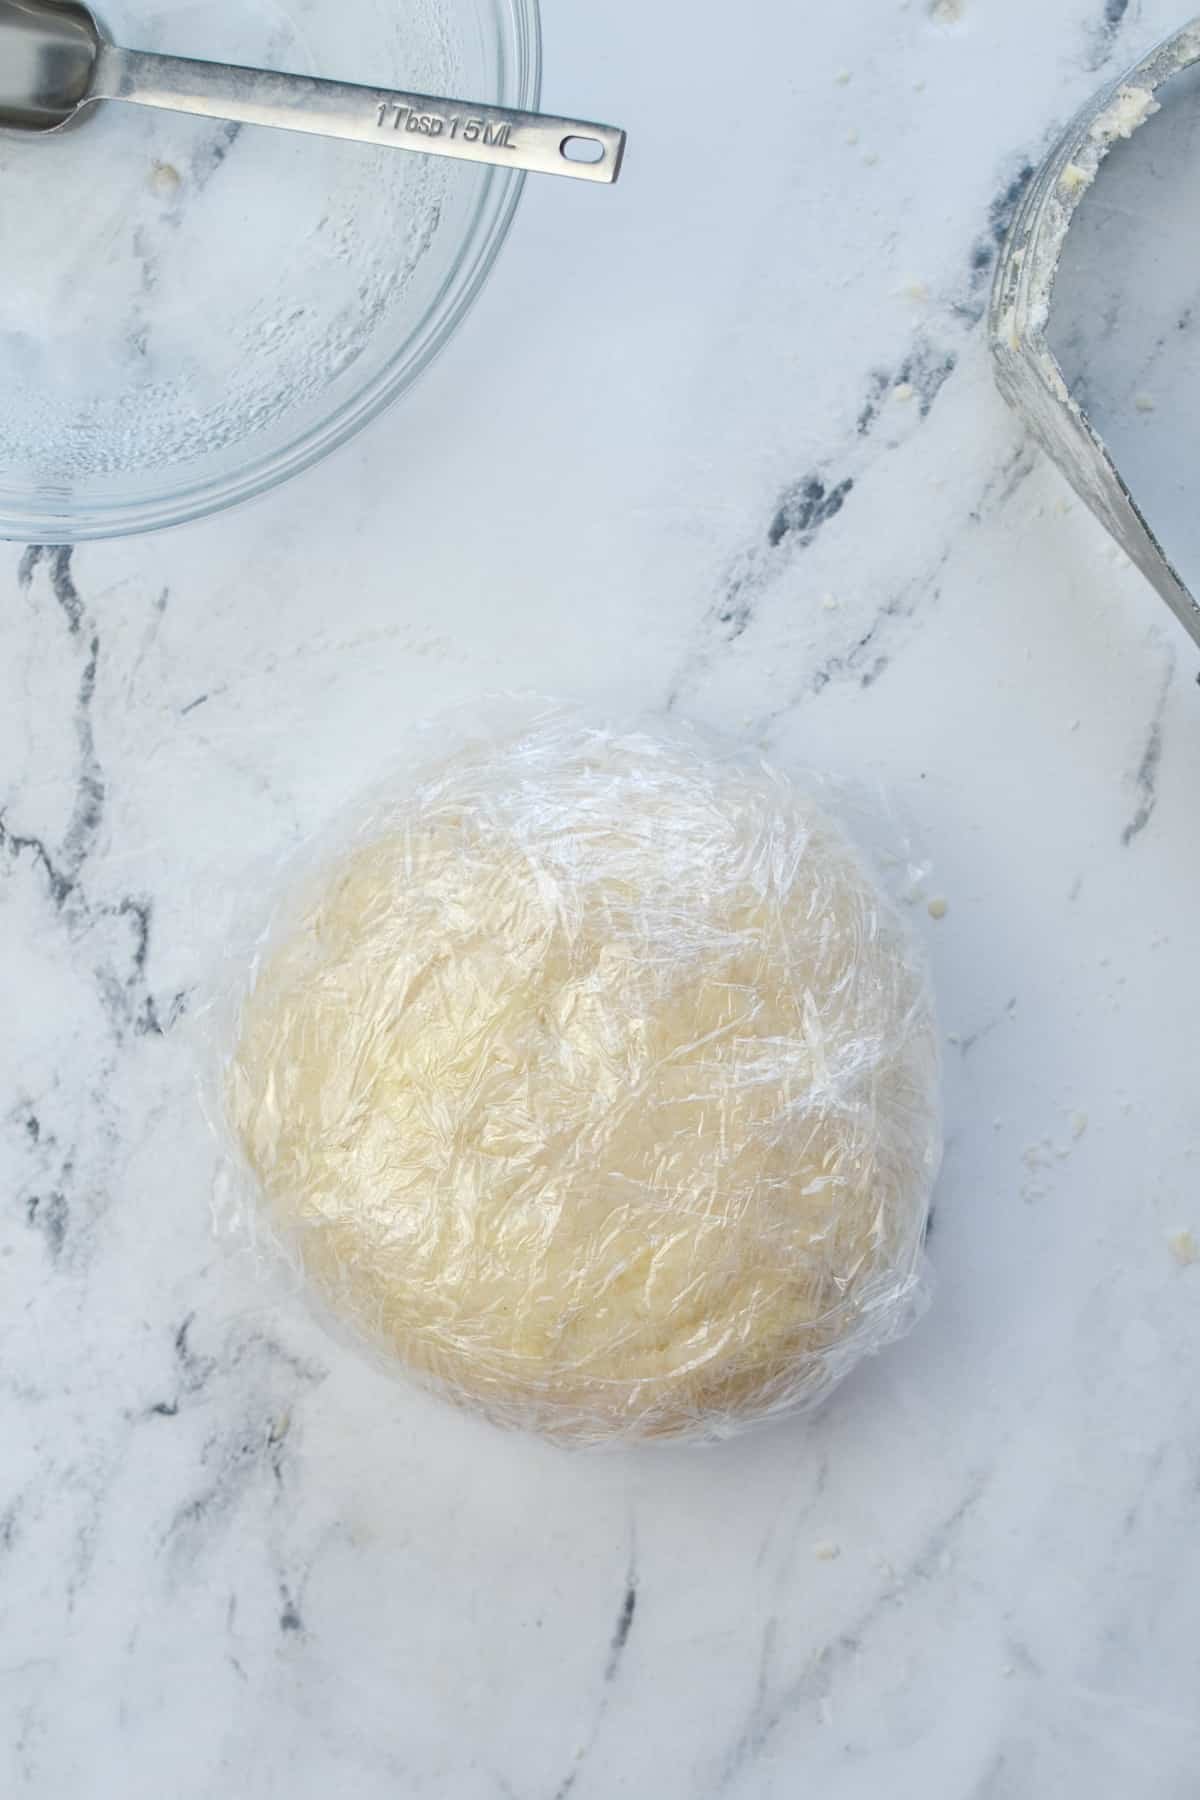
Once the dough starts to come together, form it into a ball using your hands, gently kneading it to absorb any excess flour and fat around the edges of the bowl.
Wrap your dough ball in plastic wrap and place it in the fridge to chill for at least 2 hours, but preferably overnight. You can also make this well in advance and keep it in the fridge for 3-5 days or in the freezer for 2-3 months.
Rolling The Pie Crust
Once your pie crust dough has chilled for at least 2 hours, you're ready to roll it out and fit it into the pan. This recipe makes enough for a double crust (top and bottom), or two single crusts.
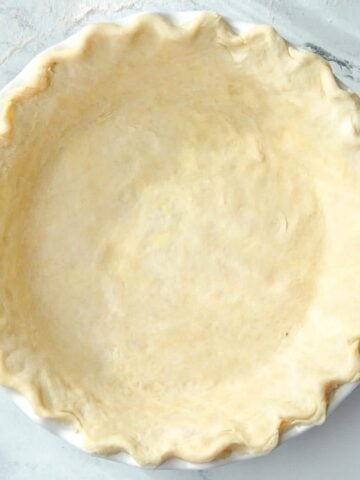
Divide the dough in half and place one half on a lightly floured surface. Roll the dough into a circle by rotating the dough quarter turns and flipping it over after each roll.
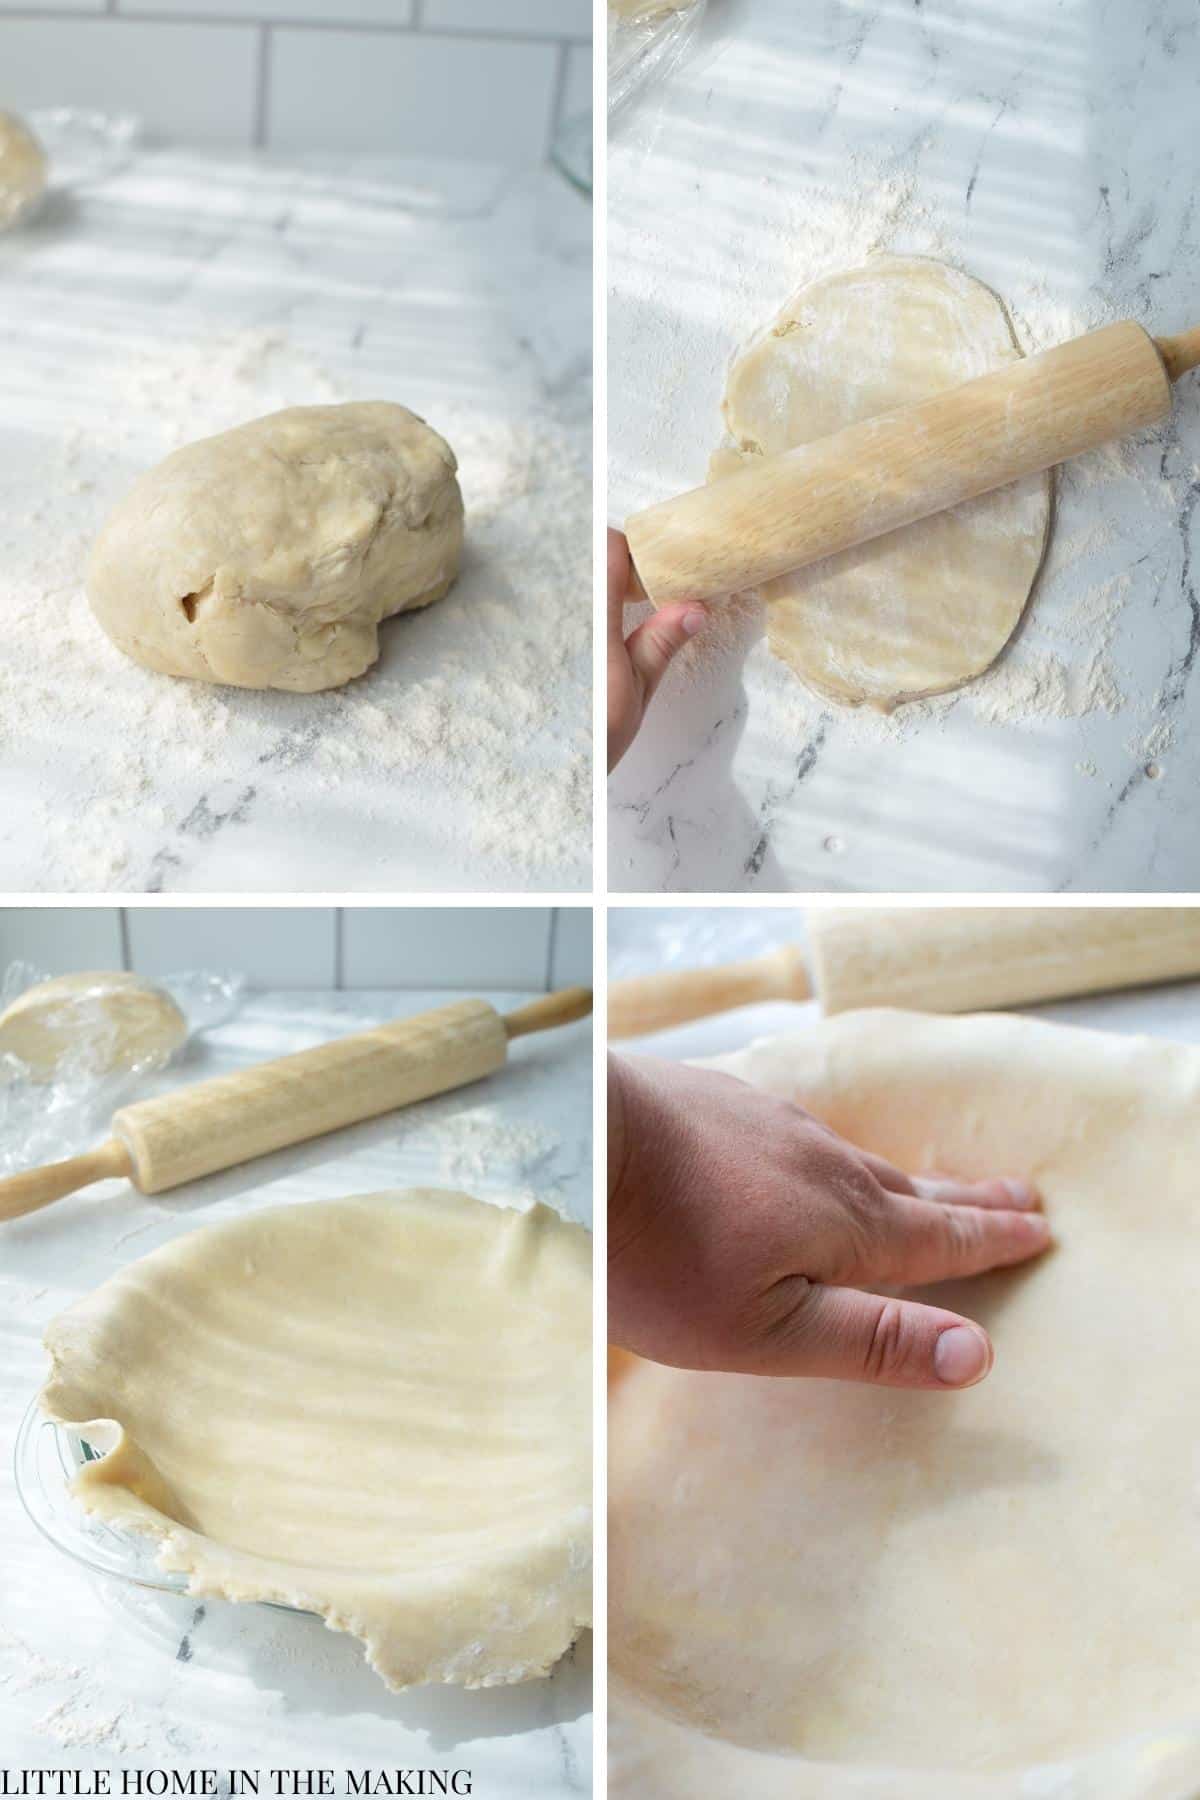
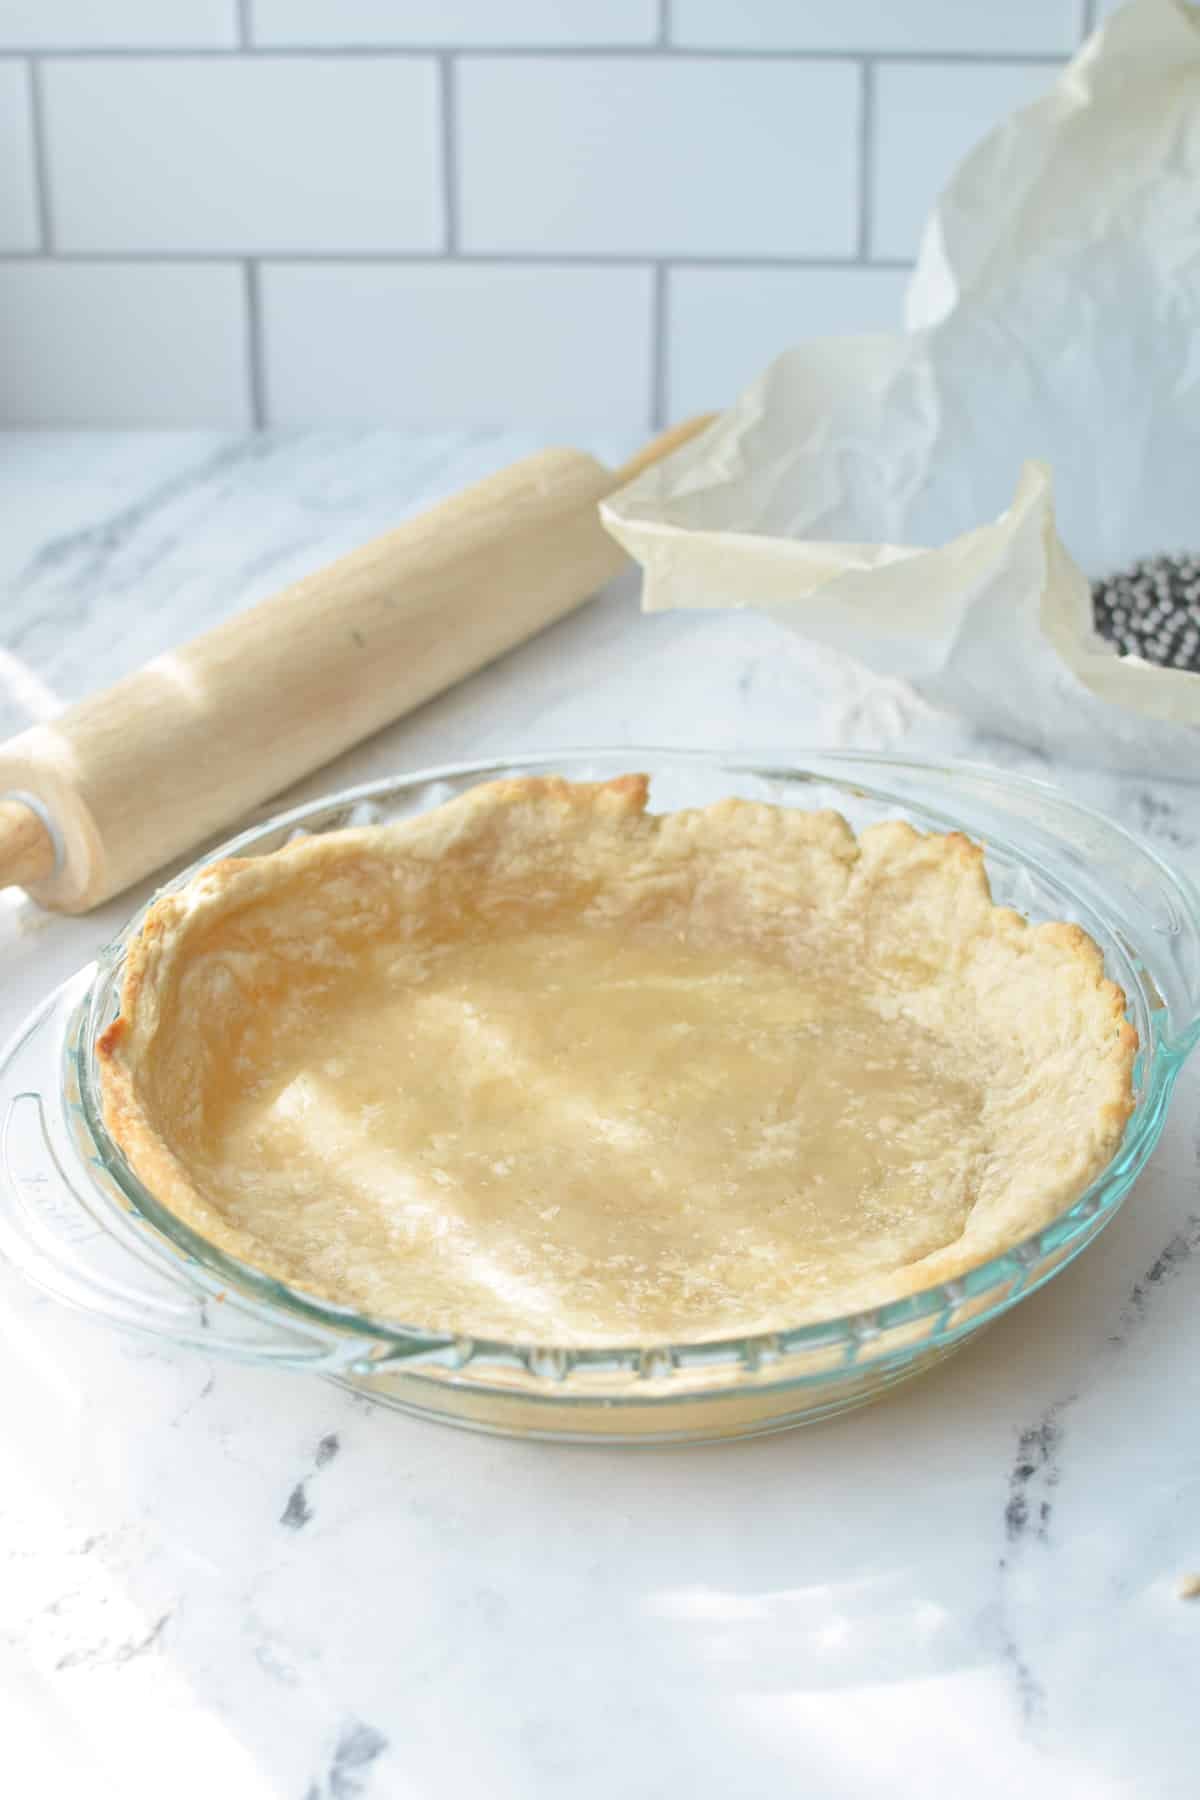
Once the dough has been rolled into a rough circle (about 12" in diameter), fit it into your pie plate. Use your hands to press the dough into the bottoms and sides of the dish.
Trim any crust that exceeds 1 ½" past the lip of the dish, and then tuck the remainder under to form a crust. Flute the edges if desired.

Use the tines of a fork to dock the crust all over the bottom and up the sides of the dish.
Depending on your recipe, you may need to pre-bake or blind-bake the crust, OR you may add the filling directly to the unbaked crust. Be sure to check the directions in your recipe to confirm.
If you are doing a blind bake or pre-bake, place a piece of parchment paper inside (crinkle it first) and fill it with pie weights. If you don't have pie weights you can use old dry beans instead.
Blind Baking or Partially Baking
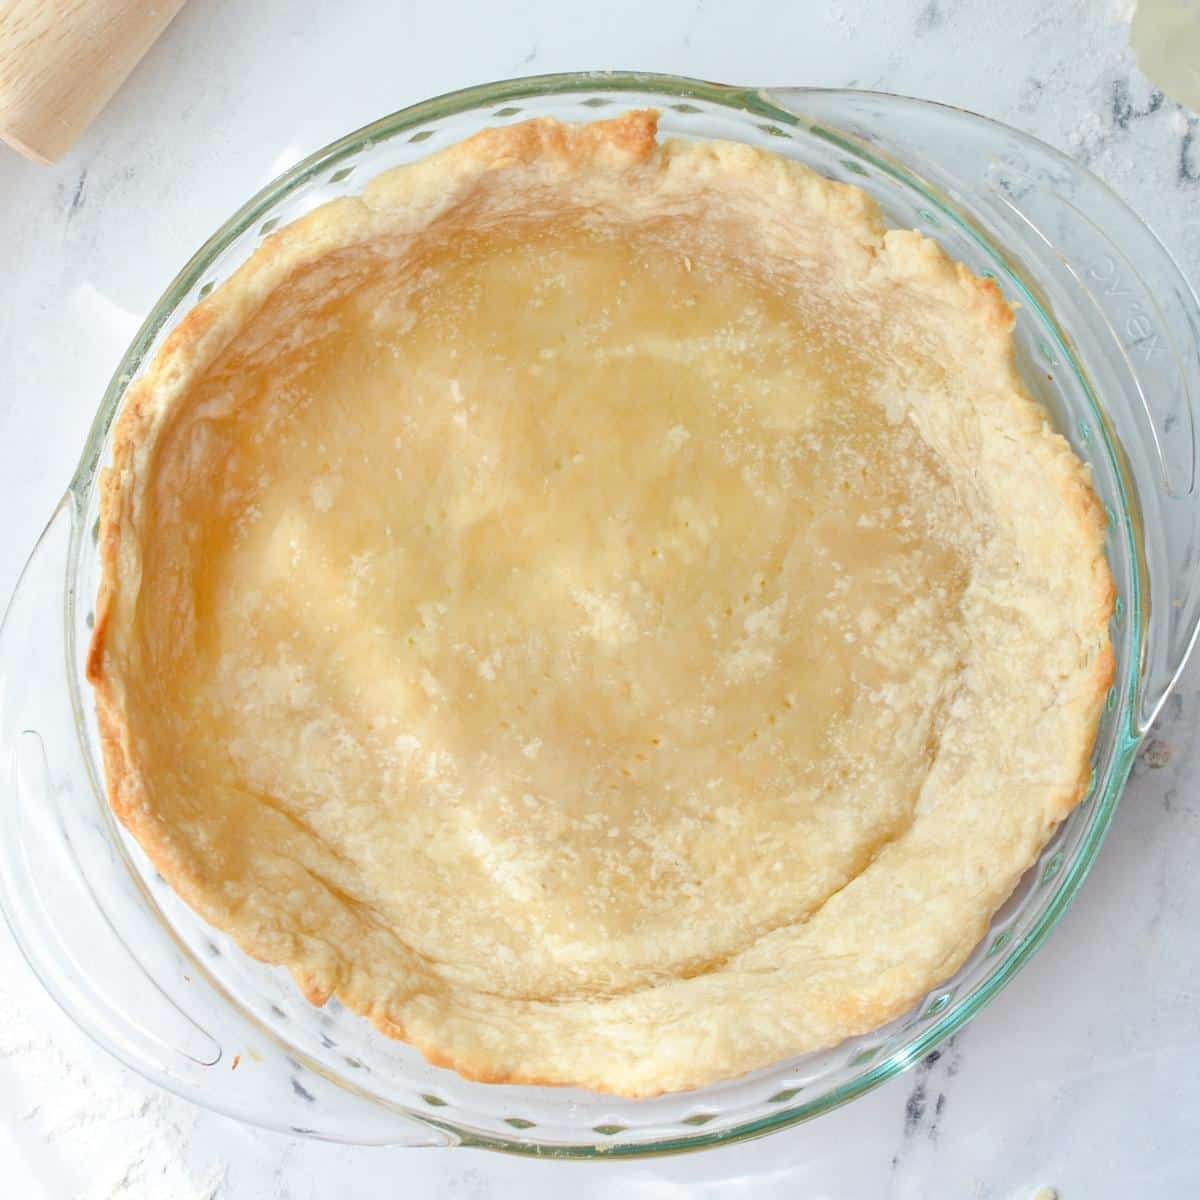
A blind bake is when you cook a pie crust completely, with both the outer edges and bottom being lightly browned. This is often used for pies that will not be returned to the oven such as coconut cream pie, butterscotch pie, or other pies with no bake fillings.
A pre-bake or a partial bake is when you bake the pie crust just enough to brown the outer edges and firm the bottom part of the crust. This is often used for pies that have a high liquid content, as it prevents the bottom crust from becoming soggy.

How to Blind Bake a Pie Crust:
- Preheat the oven to 375ºF and place a piece of parchment paper over the crust fitted into a pie plate.
- Add pie weights or old dry beans to the center, spreading the weights or beans out so they weigh down the center of the pie.
- Bake in the preheated oven for 15 minutes, or until the edges of the crust are beginning to brown.
- Remove the parchment and return to the oven if for an additional 5-10 minutes, or until the bottom is just beginning to brown.
- Remove and cool, or fill as directed in your recipe.
How to Partially Bake a Pie Crust:
- Preheat the oven to 375ºF and place a piece of parchment paper over the crust fitted into a pie plate.
- Add pie weights or old dry beans to the center, spreading the weights or beans out so they weigh down the center of the pie.
- Bake in the preheated oven for 15 minutes, or until the edges of the crust are beginning to brown.
- Remove from the oven remove the parchment and weights.
- Cool the crust, or fill as directed in your recipe.
Tips for Making Pie Crust From Scratch
- Cold water is essential to getting a good quality pie crust that is flaky, yet holds together and rolls out easily. Getting the right amount of liquid is key, and having that liquid cold will greatly improve the texture and taste of your butter and lard pie crust.
- In the same vein, it's very important to have cold fats. While some people like to freezer their butter, I find keeping it refrigerated is plenty good enough for making a good quality dough. Just make sure to keep both the butter and lard nice and cold, leaving them in the refrigerator until you're ready to get started.
- While the food processor makes easy work of homemade foods, I really recommend making your butter and lard pie crust by hand! The larger chunks of fat make for a more delicious, flaky crust in my experience.
- Chill the dough - Just as important as using cold water and cold fats is chilling the dough. This gives it a chance to firm up, solidify the fats within the structure of the dough, making it much easier to roll out. At least 2 hours is recommended, but you'll get the best results from 8+ hours.
Storing and Freezing Pie Dough
In the fridge: You can keep your wrapped pie dough in the fridge for 3-5 days. For the best results, form it into discs to make for easy rolling.
In the freezer: Homemade pie dough freezes very well. Just wrap it in a double layer of plastic wrap and place in a freezer bag. You can freeze it like this for 2-3 months. Thaw overnight in the refrigerator before rolling out and using to make your favorite pie recipes.
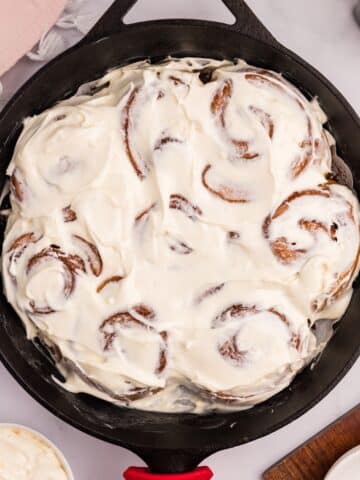
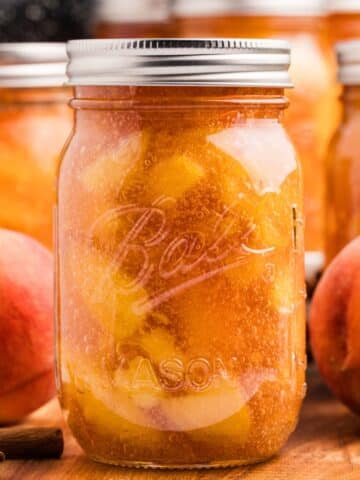
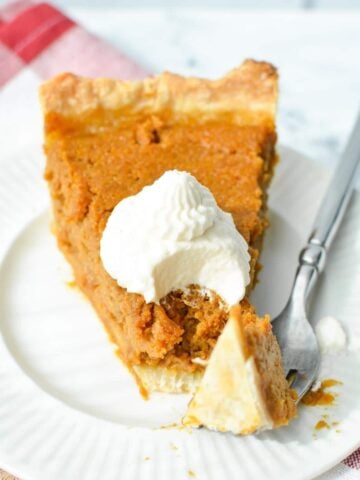
More Pie and Crust Recipes
📖 Recipe

Classic Butter and Lard Pie Crust
Ingredients
- 2 ½ cups all-purpose flour
- ½ teaspoon salt
- ½ cup butter cubed and cold
- ½ cup lard cubed and cold
- Ice water
Instructions
Cook Mode- Add the flour and salt to a medium-sized bowl and whisk to combine.
- Prepare a bowl of ice water by pouring 1 ½ cups of cool water into a bowl filled with ice cubes. Set aside.
- Add the cold lard cubes and the cold butter cubes to the bowl of flour and salt.
- Use a pastry cutter to cut the fat into the flour, blending until the mixture resembles coarse crumbs.
- Once the mixture has even, pea-sized crumbs (or smaller), begin adding the ice water a few tablespoons at a time. Start with 4 tablespoons, and mix gently with a silicone spatula.
- Add the ice water 1-2 tablespoons at a time, and gently mix, until the dough comes together in a mostly solid mass.
- Use your hands to bring the dough together, and mold it into a large disc or ball.
- Wrap tightly in plastic wrap and chill for at least 2 hours, but overnight is preferable.
- When you’re ready to roll the dough out, cut the dough in half and roll it into a circle on a lightly floured surface.
- Fit the dough into a pie plate, tucking the edges under and fluting the edges for decoration. Pierce the bottom and sides of the crust with the tines of a fork.
- Fill the pie or blind bake, according to your recipe instructions.
Notes
Nutrition
Please note that some of my blog posts here at Little Home in the Making may contain affiliate links. If you make a purchase through these links, I will get a small commission at no additional cost to you. See our disclaimer for more information.
ANITA says
I’ve been looking for a good pie crust recipe using lard and butter that is soft dough and easy to roll out. I’ll be trying this recipe soon, although it’s a bit hot here now in Sacramento, Ca. I do wish you would give your recipes for pot pies, including making mini pot pies. Thanks, Anita
Dolly | Little Home in the Making says
Hi Anita! I don't have any pot pie recipes posted yet, but I will definitely add it to my list of recipes to create!
Jay says
Excellent recipe my new favorite …I did add a T of sugar. Thank you so much for sharing your recipe
Dolly | Little Home in the Making says
My pleasure! Happy to hear you're enjoying the recipe Jay!
Halbert says
Can I use 2% or whole milk instead of water?
Dolly | Little Home in the Making says
I haven't used milk in pie crust before so I'm not really sure if it would affect the flakiness/texture. If you give it a try, come back and update us!
Kim says
Needs an egg. Doesn’t roll out well.
Dolly | Little Home in the Making says
Hi Kim! You may need to add a little bit more water during the dough making stage if you're having difficulty with rolling. That being said, plenty of people use enriched pie crust (with egg), and it can be helpful if you like the flavor and texture.
Yaiza says
Could you possibly put weights in metric or pound and ounces for us Brits As I would love to try some of your recipes
Dolly | Little Home in the Making says
Hi Yaiza! As I publish new recipes I'm including metric measurements, and as I go through and update older once I will try my best to do the same for those!