Winter is one of the most difficult times to be a gardener. Make the most of the chilly season and get a head start on your spring garden! Here are 10 ways you can prepare for gardening season...right now!
This post contains affiliate links, which means that if you click a link and make a purchase, we receive a commission at no additional cost to you. See our disclaimer for more information.
If you've been a gardener for any period of time, you know the urge that begins once the calendar page turns from December to January. Although, for many of us, gardening is in the somewhat distant future, the itch is there. So how to do you scratch that gardening itch, even with snow on the ground and no green in sight?
Preparation is Key
A sure way to start your gardening season off early is by making every effort to prepare. While you can't start seeds for time yet, there are many ways you can prepare for the gardening season. I have prepared a list of the things that I do to prepare for the gardening season, and they have been a great help in trying to make it through our chilly and long winters here in Zone 5.
Why Prepare for Gardening Season?
Not only does preparing for the garden season help get those gardening willies out, it also helps set you up for success once the very busy spring season sets in. If you have the materials you need, a great plan, and a well laid-out working space, you're going to have a lot more success...without all of the stress! Taking the time to prepare often means taking the time to plan, which will help you execute your goals in a measured fashion. It can be such a rush to get all those seeds and transplants in the ground, but if you start the work now, that need not be!
Continue on for my list of 10 Easy Ways to Prepare for Gardening season! 👇
1: Stock Up on Seed Catalogs
Every gardeners winter dream session has to start with a nice stack of seed catalogs. As soon as these start coming in the mail in late December, I start my collection. There is nothing like sitting down with a hot cup of French press, a giant sharpie, and a stack of seed catalogs.
If you're new to gardening and haven't placed orders through seed companies before, you will need to sign up for these catalogs. Even though I've been gardening for years now, I tend to sign up in the new year just to make sure they will be heading my way.
Some of my favorite popular seed catalogs are Baker Creek Heirloom Seeds, Johnny's, Richter's, and Seed Savers Exchange. When I'm buying my heirloom cultivars, I like to see if a local heirloom seed company carries it. Since the plants are grown in our exact climate, I know they are a good selection for my particular garden. I suggest you explore your local community and see if there are small companies offering seed. While the majority of your seeds will probably come from a large company, it's good to support local when you can and however you can.
2: Join a Gardening Group
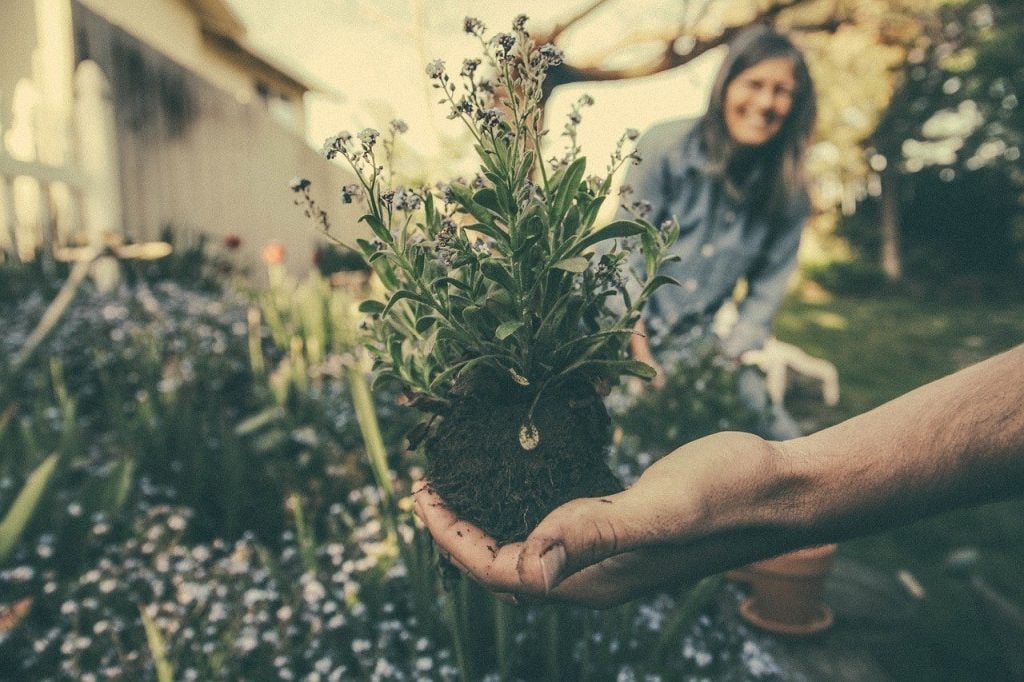
One of the best things I did to prepare for gardening season in the dead of winter was to join a local gardening group on Facebook. It was filled with members, like myself, who couldn't wait to get outside and get their hands dirty. Since it was a local group, our last frost dates were all about the same, and I was able to learn a lot about gardening in our particular climate from those who had been doing it a lot longer than I had.
In addition to that, the group put together a plant swap and I was able to bring my extra starts to trade for some new plants for my garden. I picked up many perennials, including some hops, which have been an interesting addition to my garden spread!
If you can't find a local gardening group, why not start one? Invite local friends and family and ask them to invite people they know, and before you know it you'll have a great group to trade tricks of the trade.
3. Place Your Seed Orders
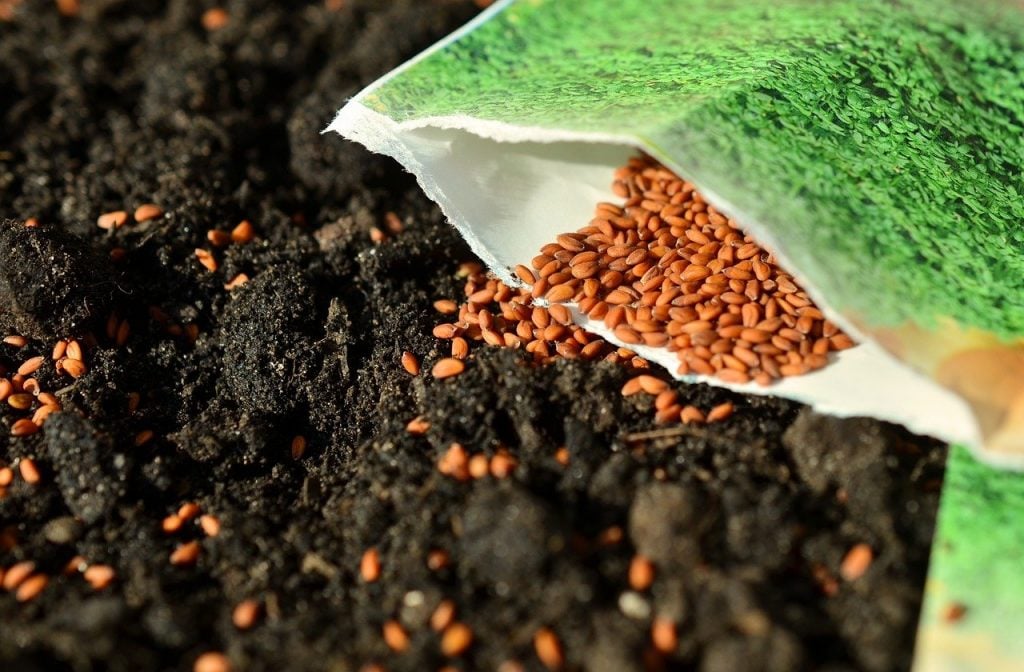
Once you've had the chance to go through your seed catalogs, you're getting ready to draft the final list and place your orders. There is a lot to be considered here, including space, budget, and ability. Narrowing it down to the seeds you absolutely must have is half the fun, as you know if you've been gardening for any time now.
Once you have your final lists ready, it's time to place your orders. Make sure you do this as soon as possible (especially this year, since so many seed companies are facing unprecedented order volumes) to ensure you get the cultivars you most want. You always feel a tad crazy placing those orders in January when you last frost isn't until the end of May, but I assure you that you are not. 🤣 If you live in a colder climate (like I do), you'll find the companies sold out when you place your order at a more "reasonable" time. Remember, there are people who live in frost free climates placing orders too, so you need to get in before the crowd!
4. Get Your Seed Starting Station Ready
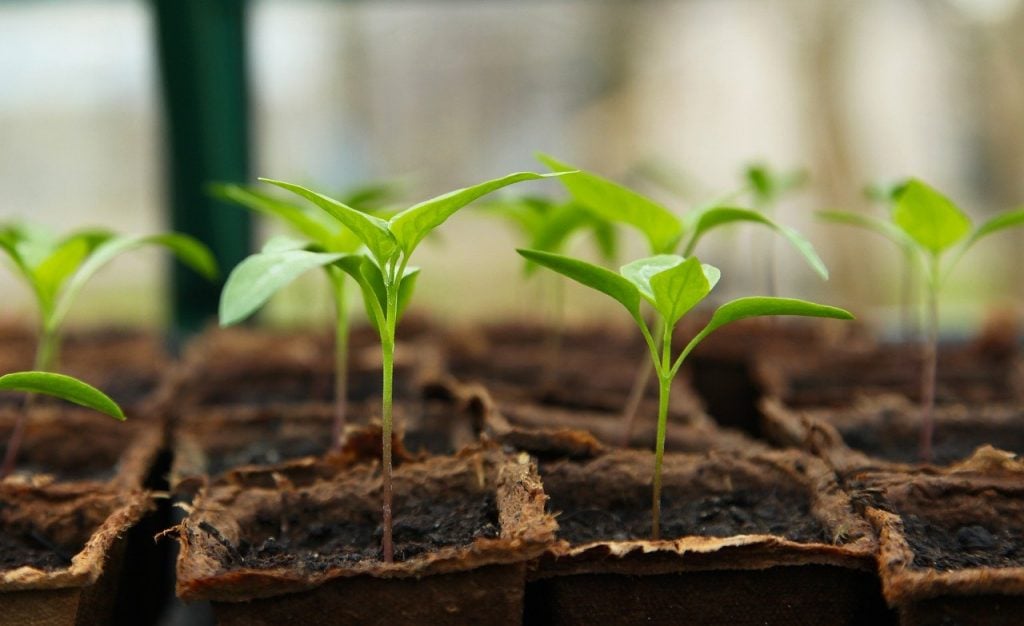
Do you have a seed starting station? If you don't, you need one! It may be your kitchen table pushed in front of a south-facing window, or maybe you have a fancy seed-starting stand with plant lights galore. I have a mock-up DIY version of one of those fancy seed-starting stands using a storage shelf, some shop lights, and a few zip ties. 😂 Call it that hillbilly ingenuity.
Whatever your situation, it's time to start preparing your area. Ensure it is cleared off, and you have access to lighting and water if needed. Whatever you have for starting seeds, get it all gather together and ready for the big show. We have a curious young toddler, so my area is going to have to employ some interesting fencing elements. I don't know if they make a baby gate big enough, but I suppose I will be finding out soon enough!
If you have existing seed trays and pots, take the time to clean and sanitize them. This prevents passing on pathogens and the like that can destroy your gardening dreams. It's definitely worth it to give them a thorough cleaning. Here's a great post from the Prairie Homestead on How to Disinfect Seed Trays.
5. Stock up on Seed Starting Essentials
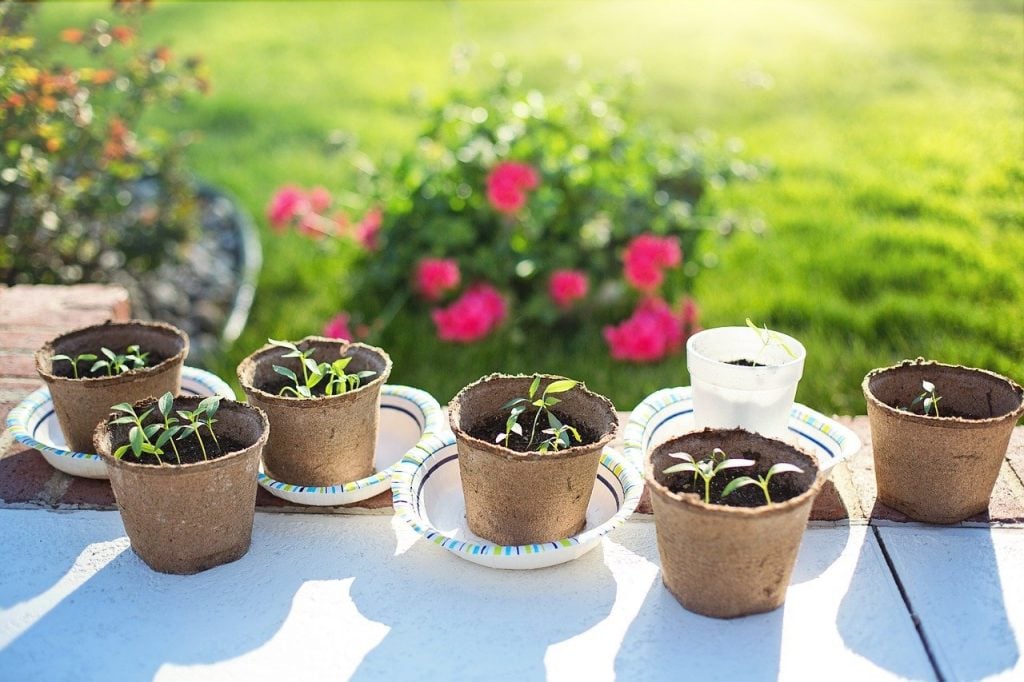
Now that you've set up your seed starting station, you can clearly see what you have and what you're missing. You may be asking yourself, well what do I need? I have a few suggestions based on what I use and grow, but that may change depending on your style of gardening.
- Seed trays
- Seed tray inserts or peat pellets
- Small plastic plant pots (for transplanting)
- A watering can
- A spray bottle
- Potting soil (I like ProMix)
- Trowel
- Scoop
- Seed Collection
- Plastic covers for seed trays
- Label maker or masking tape
- Permanent marker
- Light timer
- 5000K or plant lights
- Heating mats
- Gloves
Make a list of whatever you need, and take that to the hardware or feed store the next time you have a chance. Make sure to keep an eye on the flyers, since there are often lots of sales during the gardening prep season.
6. Organize Your Seed Collection
Every seed enthusiast knows that it doesn't take much for your seed collection to get a little out of hand. I saw a video this week from The Elliot Homestead on organizing your seed packets using a photo organizer, and I'm totally in love with the idea! My husband bought me a seed keeper from Lee Valley (now discontinued) for my heirloom seeds that I save from year to year, but I'm thinking on picking up some of these clear organizers for keeping my seed packets in line.
If you're not in the market for a large seed organization system, a simple high-sided basket from the dollar store will do. I've actually done this for many years, and since I have an ample seed collection, it really has stopped working effectively. I made some tabs using some index cards for further organization, but it just didn't hold up 😂. If this is your first year gardening, I'm sure it will be more than adequate! If you're a seasoned gardener with a passion for seeds, you're probably going to need an upgrade.
7. Build a Raised Bed
So many gardeners are all in when it comes to their gardening method. No-dig, Back to Eden, raised beds, Ruth Stout, square foot gardening, traditional tilling, and what have you. Not so is the case for myself. I employ a variety of gardening styles, and mostly that is because I love to experiment and see what works best. I'm definitely partial to no-dig methods like Back to Eden, but we just don't have the mulch material we need for the large garden space we have designated. On top of all that, these methods can be a little more high maintenance in the early years with weeds creeping in on the sides.
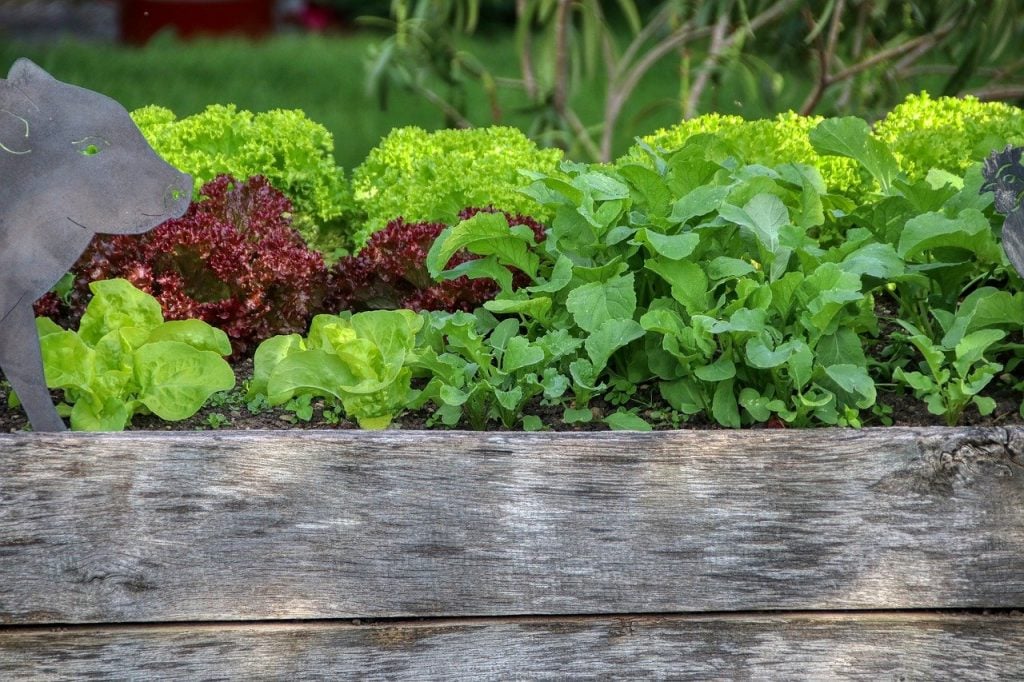
Since I'm in my child bearing years and have a toddler under foot, I'm loving raised beds right now. Raised beds are great for those who have a difficult time maintaining a garden for whatever reason. Those with joint issues, health problems, pregnant, with small children, elderly people, etc. particularly benefit from raised beds, but they are a wonderful way to garden for many people. I think everyone should at least have a raised bed or two in their garden.
Making Inexpensive Raised Beds
We make our raised bed's 12' X 4' because it makes for the least amount of cuts and it's a good size for our larger garden. Many in urban and suburban areas find 4' X 4' beds great for their needs. I use 12' X 8" X 2" spruce boards because they are inexpensive, thick, and just high enough for many root vegetables to do well.
Winter is the perfect time to pick up some lumber and make yourself a few raised beds to prepare for the gardening season. You could even paint the outsides if you like, but we like the weathered look. It really goes with the little country cottage vibe.
8. Have Compost or Manure Delivered
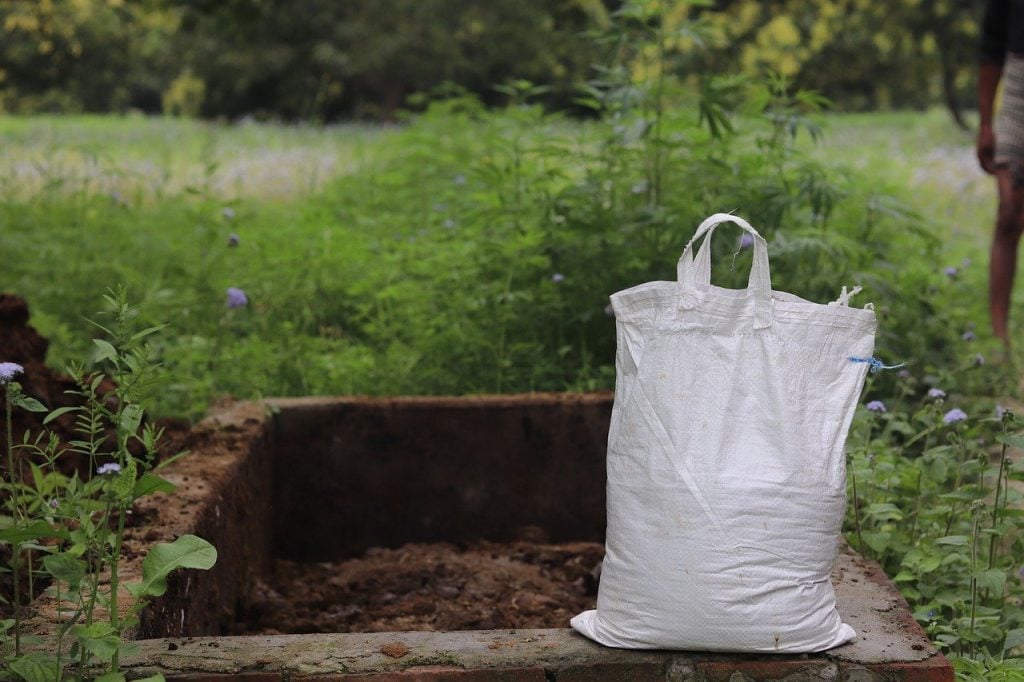
Everyone knows that the best way to a gardeners heart is POOP. 💩 Nothing does the garden good like some high quality compost or manure. While everything else is frozen, those big steaming piles of composting manure and yard waste are not. Well, not unless they are fully composted or it's REALLY cold out! This is the perfect opportunity to arrange for a delivery of compost or manure for your spring garden.
If the manure isn't composted, or if the compost still has a good amount of larger materials in it, you'll need to continue to the composting cycle on site. Most manure will come mixed with the bedding that was used (pine shavings or straw), and the high carbon content of the bedding will balance out the nitrogen content of the manure and begin composting. Ensure you have a sufficient amount of carbon (add in more shavings, straw, or chopped leaves if needed), otherwise you'll end up with a slow-composting, stinky stinky pile of animal poop.
Using Manure in the Garden
In order to use manure in your garden, it needs to be applied the fall before OR be fully composted. So you want to make sure when purchasing in the spring, that it is either completely composted or close to it with plenty of carbon materials along the way to help.
You can also arrange for a delivery of finished compost closer to the gardening season. Just having your order placed, paid for, and scheduled can make a gardener giddy, that's for sure!
9. Make a Garden Plot Plan
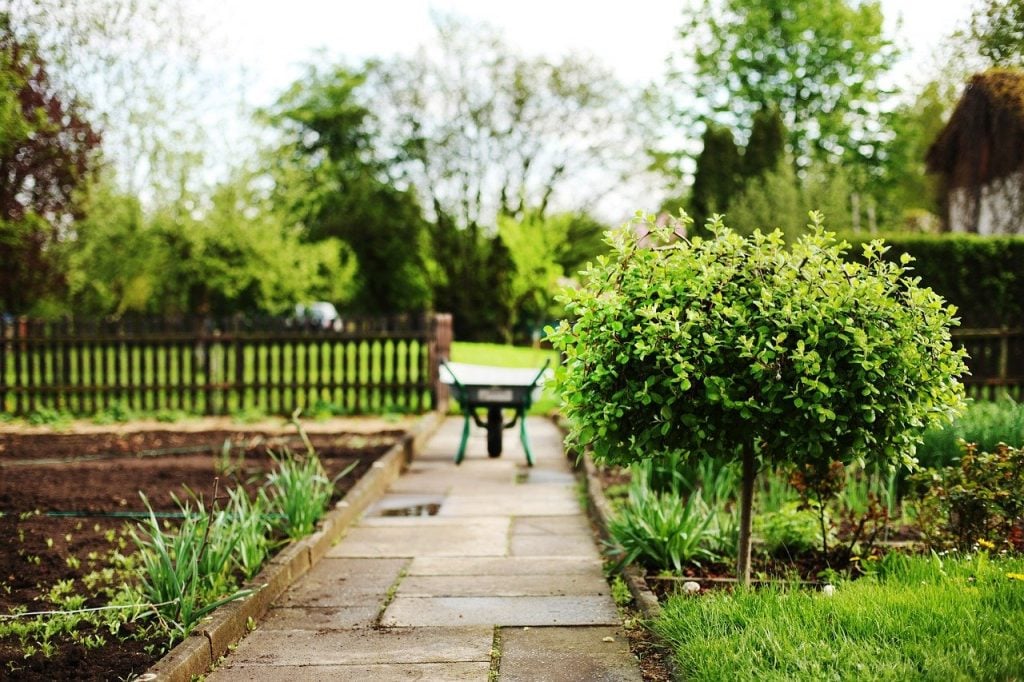
This is one of my favorite things to do during those cold winter months. Although it never plays out in the garden just as it does on paper, I love taking the time to plan out my crops. I get out my seed collection, my copy of Carrots Love Tomatoes, and start plotting out just how I will plant all my favorites for maximum yield and compatibility.
Another favorite is Will Bonsall's Guide to Radical, Self-Reliant Gardening. This book is a balm to my soul. While I can't imitate everything Will Bonsall does, I sure want to! Minus the humanure of course (🤣). I get so much inspiration for interplanting from this book, and seem to learn something that I didn't notice the last time I read through it. He is an expert in all things organic, sustainable, heirloom gardening and so I take his advice as often as I can.
Whether you're planning for raised beds, or for a traditional garden plot, a pad of graph paper and a pencil is all you need to get started. Play around with your combos of crops and see how you can get the most yield for the space you're working with. It is great winter fun, and it comes in handy when you're trying to place all of those transplants in the spring!

10. Create A Seed Starting Time Line
Going along with creating your garden plot plan is creating a seed starting time line. This will be immensely helpful for you in the coming months, since so many seeds need to be started at different times.
Start by making a list of all of the crops you hope to grow via seed. Once you have that list, do a quick search online for your local area and look for the expected last frost date. Most seed packets have instructions on how to start your seed indoors, or to sow directly. They will often indicate how many weeks before the last frost you should plant your seed. Gather this information for everything on your grow list, and then you will be able to begin creating a timeline.
I like to pick up a cheap calendar (or use a free one that we get in the mail just before the new year) and note the dates of our last frost, as well as the dates for planting each of my crops indoors or sowing directly. This means I can take a glance at my calendar, and know exactly what I need to start and when.
Popular Crops and Their Approximate Time For Starting Indoors:
- Onions and Leeks: 10-12 Weeks
- Tomatoes: 6 to 8 Weeks (I tend to do 8-12 weeks since we have a short season)
- Sweet Peppers: 8 Weeks
- Hot Peppers: 8-12 Weeks (we do 12 for most hot peppers because of our colder climate)
- Pumpkins: 4 Weeks
- Cucumbers: 4 Weeks
- Squash (both Winter and Summer): 4 Weeks
- Corn: 4-6 Weeks
- Melons: 4 Weeks
- Eggplant: 6 Weeks
You may want to practice succession planting for some of the crops you like to eat fresh. Cucumbers, cherry tomatoes, and eggplant are a few that you may want to practice this with to avoid a bumper crop all at once. That means you'll want to plant in intervals. For example, 6 weeks before the last frost, you may plant enough for 4 eggplant seedlings. Then, you'll plant 4 more approximately 4 weeks before the last frost, and then 4 more 2 weeks before the last frost. You will set them outside in the same succession, meaning you will have a continuous harvest rather than a bunch at once. This is particularly great for those short-lived herbs like cilantro and basil.
If you opt for a succession plan, be sure to include that on your seed starting plan and listed on your calendar. This will give you a structured plan on when to get started with your plants, and exactly when you need to start them. It's almost as fun as gardening itself!
Bonus: Prepare for the Gardening Season by Stocking up On Poles and Trellis'
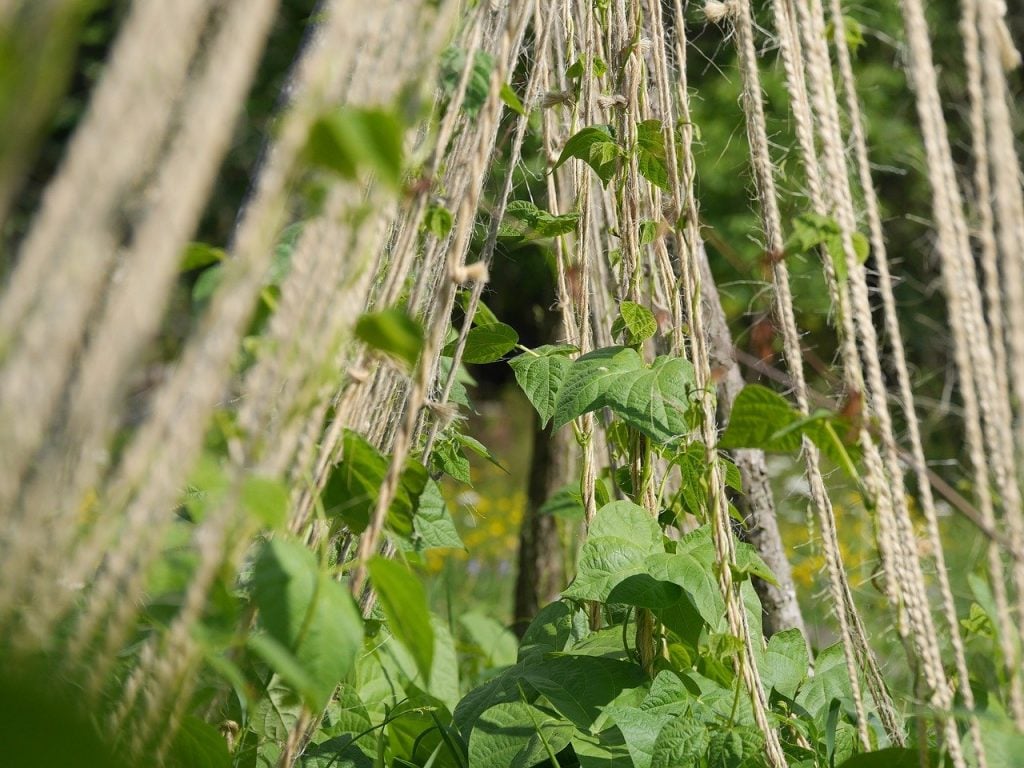
Winter is the perfect time to start visiting hardware stores and stocking up on all of your trellising materials before the crowds hit. I am absolutely in love with pole beans, so I try to pick up a few poles every time I go. I also prefer 6' Cedar stakes to tomato cages for my tomato plants, so I pick those up whenever I get a chance too. I've been gardening for years now, and I still never seem to have enough trellising when it comes time for planting. Winter is the perfect time to start planning for your plant supports, and you may even be able to make some yourself if you have the skills and the time!
Here is a great tutorial from Cottage at the Crossroads on how to make your own DIY Wooden Garden Obelisk!
Final Thoughts
Gardening is such a pleasure and a joy. While it can be difficult and involve a lot of hard work during the harvest time, the fruits of your labor will be more than worth it. There is nothing like eating a meal that you prepared from your own garden 😊. Once you have the gardening bug, there's no going back! That serves as your warning if you're a first time gardener. Remember to take it slow and not take it too seriously. Gardeners are always learning something new and facing new challenges. That's half the fun!
I hope you found this list helpful in getting you prepared for gardening season, and be sure to leave in the comments if you have any additional tips to share with your fellow gardeners!







Leave a Reply