This old fashioned recipe for a Christmas season favorite is SUPER simple to make! Just 4 ingredients come together to make these easy no bake, gluten free, and fuss free Old Fashioned Peanut Butter Balls. Made with powdered sugar, butter, and peanut butter, the simplicity cannot be beat! Perfect for gifting, or for swapping at a Christmas cookie exchange. This version is completely plain, but instructions are included for adding a chocolate coating if desired.
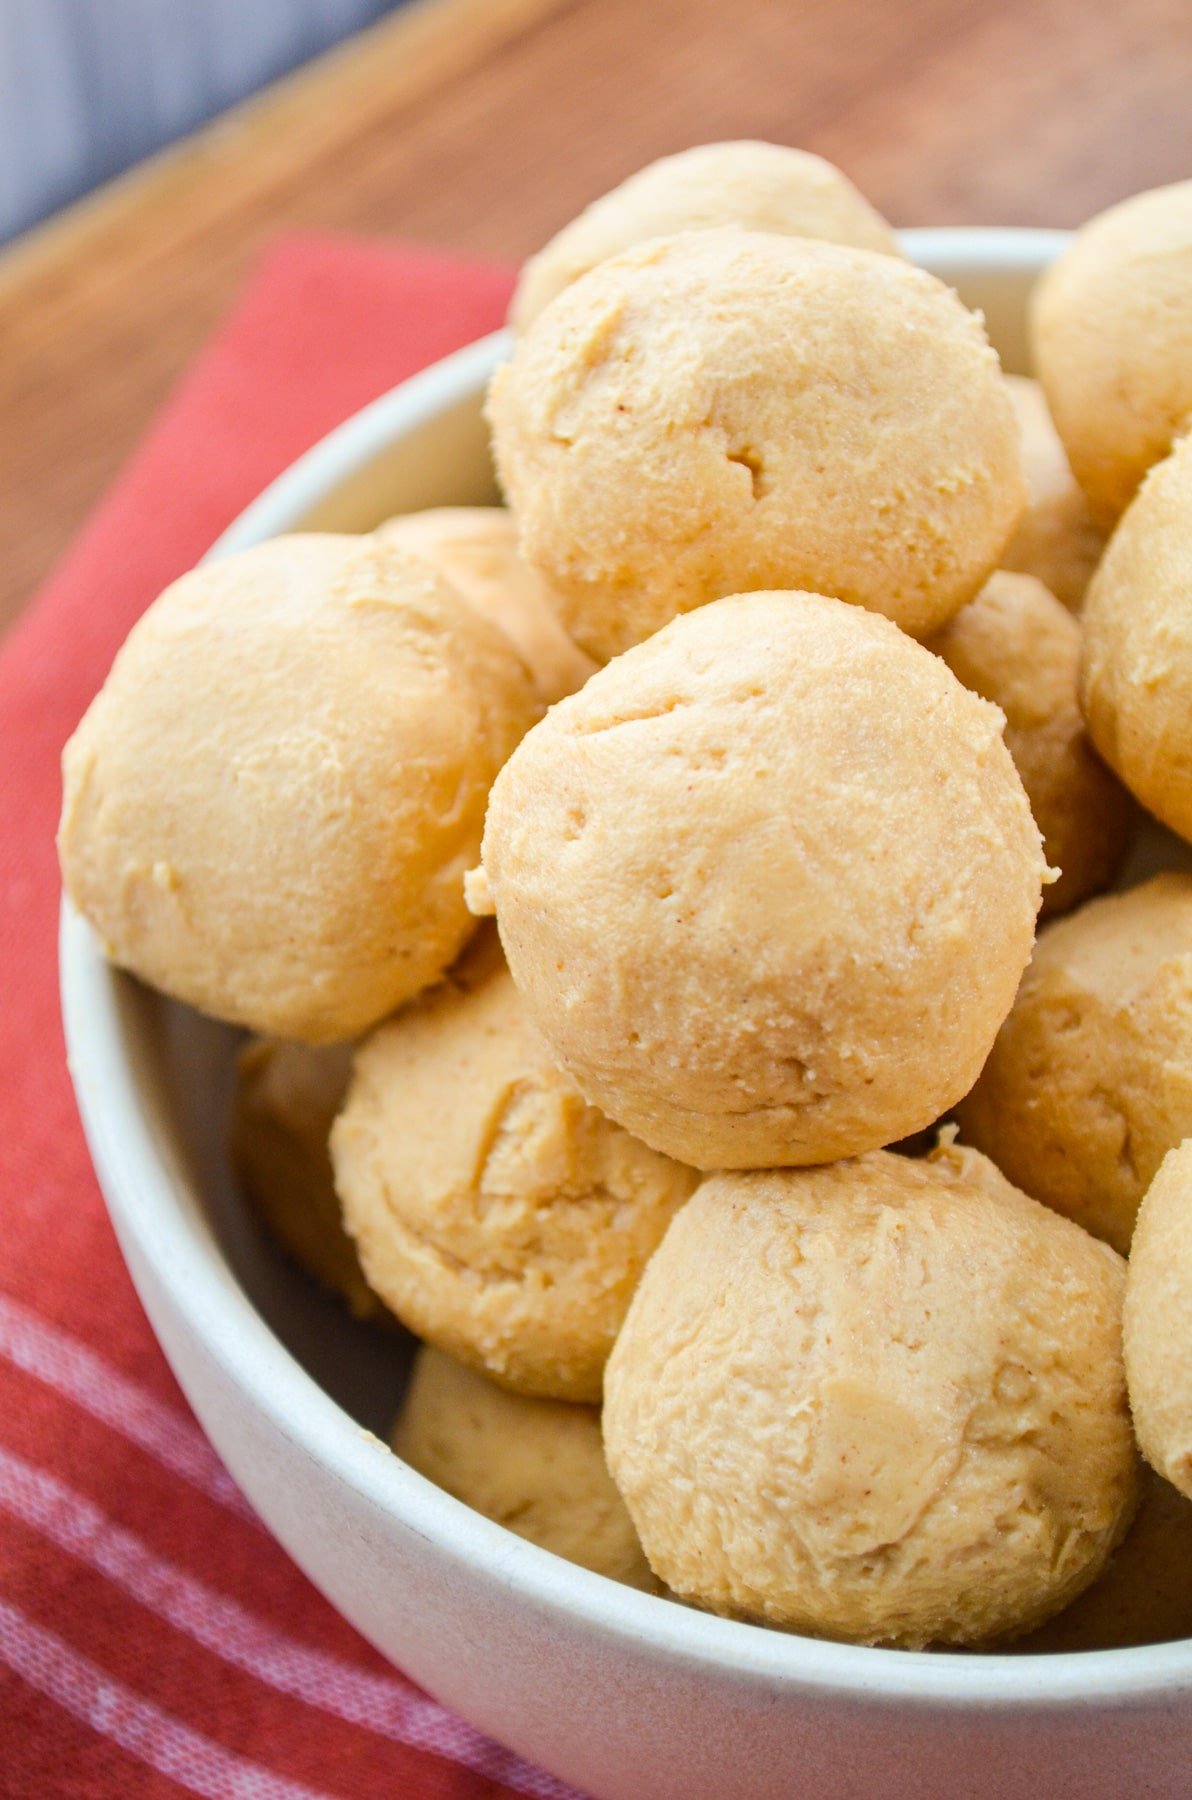
With the Christmas season fastly approaching, I figured it was high time I started sharing some of my favorite holiday recipes.
Peanut butter balls are in high demand here, since I live with two certifiable peanut butter lovers. We go through several pounds of the stuff per week, and keep every variety in the pantry you can possibly imagine! I don't eat a whole lot of peanut butter, but when I do, I prefer natural. I use in in my Peanut Butter Cookie Oatmeal, and it's sooo delicious.
This recipe for Old Fashioned Peanut Butter Balls makes use of the most popular variety of peanut butter in the house: creamy peanut butter. You won't want to use natural for this recipe, since the oils can interfere with how well the balls stay together. You'll want your run of the mill, regular old creamy peanut butter.
What Makes These Peanut Butter Balls Old Fashioned?
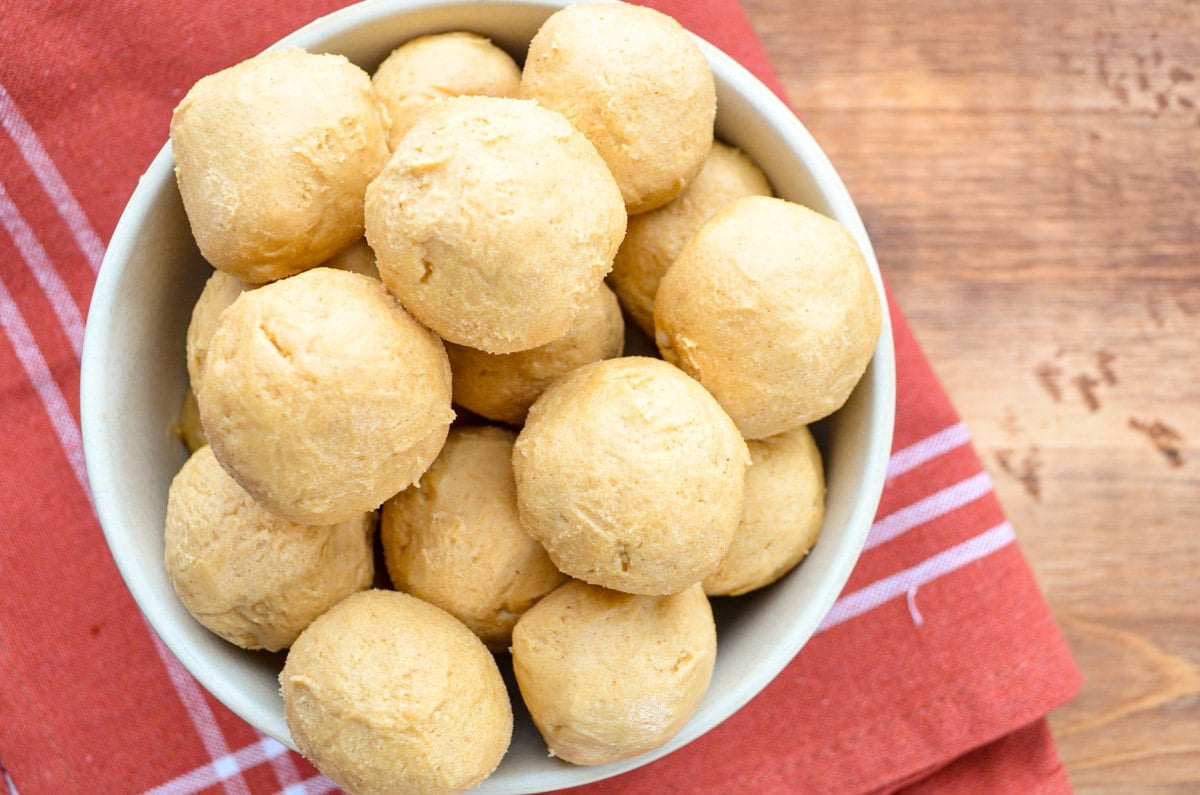
Modern peanut butter ball recipes include the use of cereal or graham cracker crumbs to get a firm texture, but these weren't used in older recipes. This old fashioned recipe includes just 4 simple ingredients, and are a lot softer than the modern day versions. These are simple ingredients that were able to be found in just about any pantry in the middle of the last century, thus making it a simple and economical dessert. Particularly popular around the Christmas and holiday season, these Old Fashioned Peanut Butter Balls are great for gifting, or for bringing to an old fashioned Christmas cookie exchange.
Ingredients
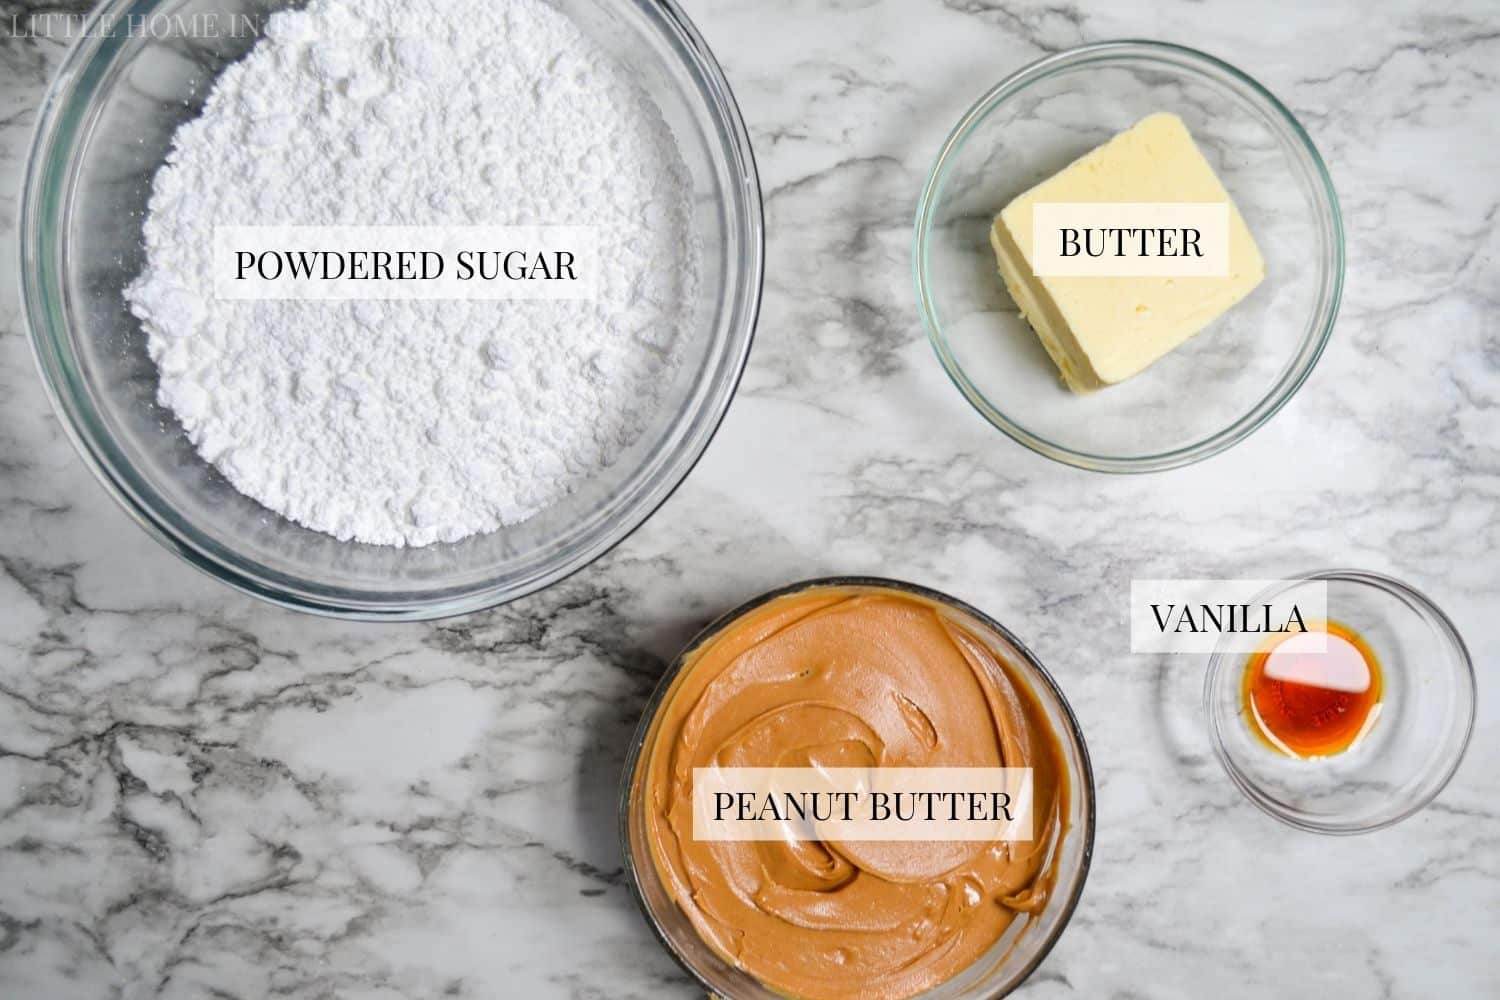
- Peanut butter: You'll want to use a creamy peanut butter for this recipe. Natural peanut butter is not recommended, as it is a little too oily to hold together with the other ingredients.
- Butter: I used salted butter for this recipe, since the salty flavor really helps elevate the peanut butter experience! You can use unsalted if that is what you have on hand; just add a few generous pinches of salt!
- Powdered sugar: Also known as confectioners sugar or icing sugar. This can be found in the baking aisle of your local grocery store, or you can make your own if you're in a pinch.
- Vanilla: Just a touch of vanilla gives these simple peanut butter balls the gentle flavoring they need.
Instructions
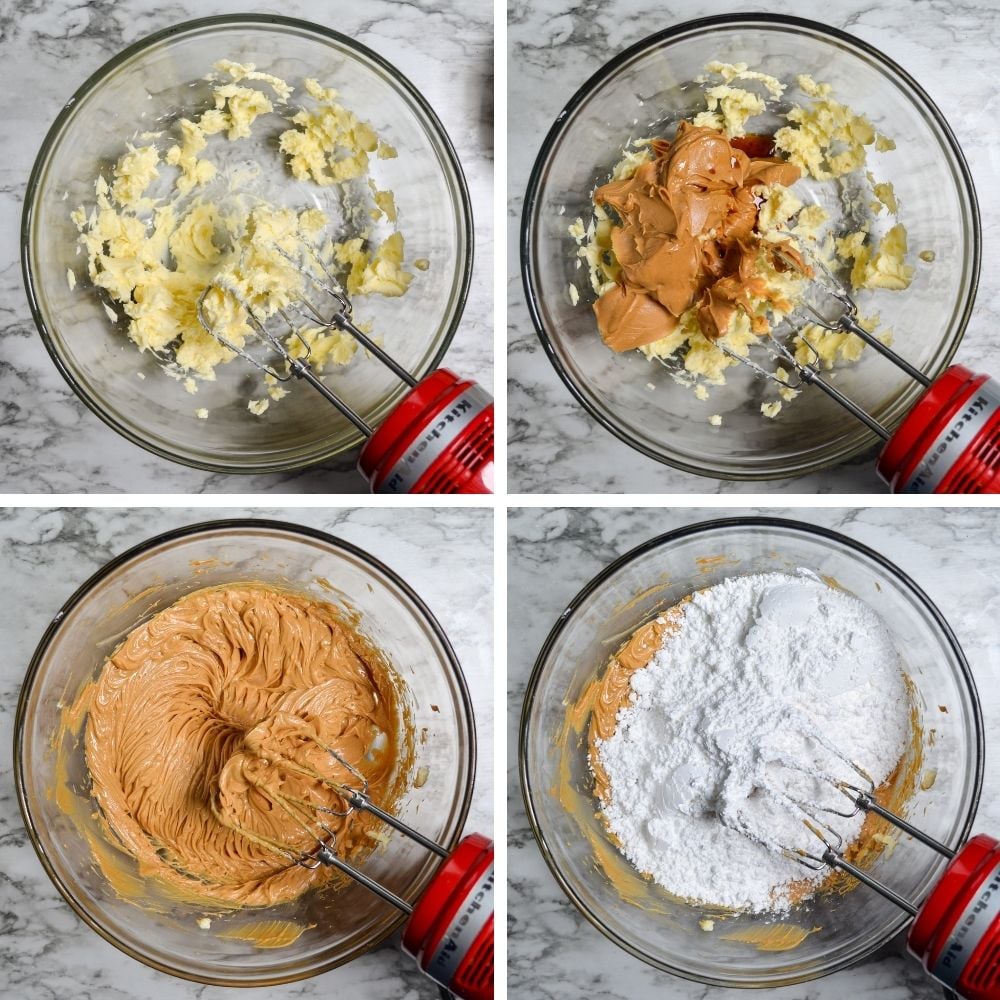
Add the butter to a large mixing bowl, and use a hand mixer to beat it until soft and fluffy.
Add in the peanut butter and beat until fully combined with the butter and smooth. Pour in the vanilla extract, and blend again to combine.
Add 2 cups of the powdered sugar and mix on medium speed until fully incorporated.
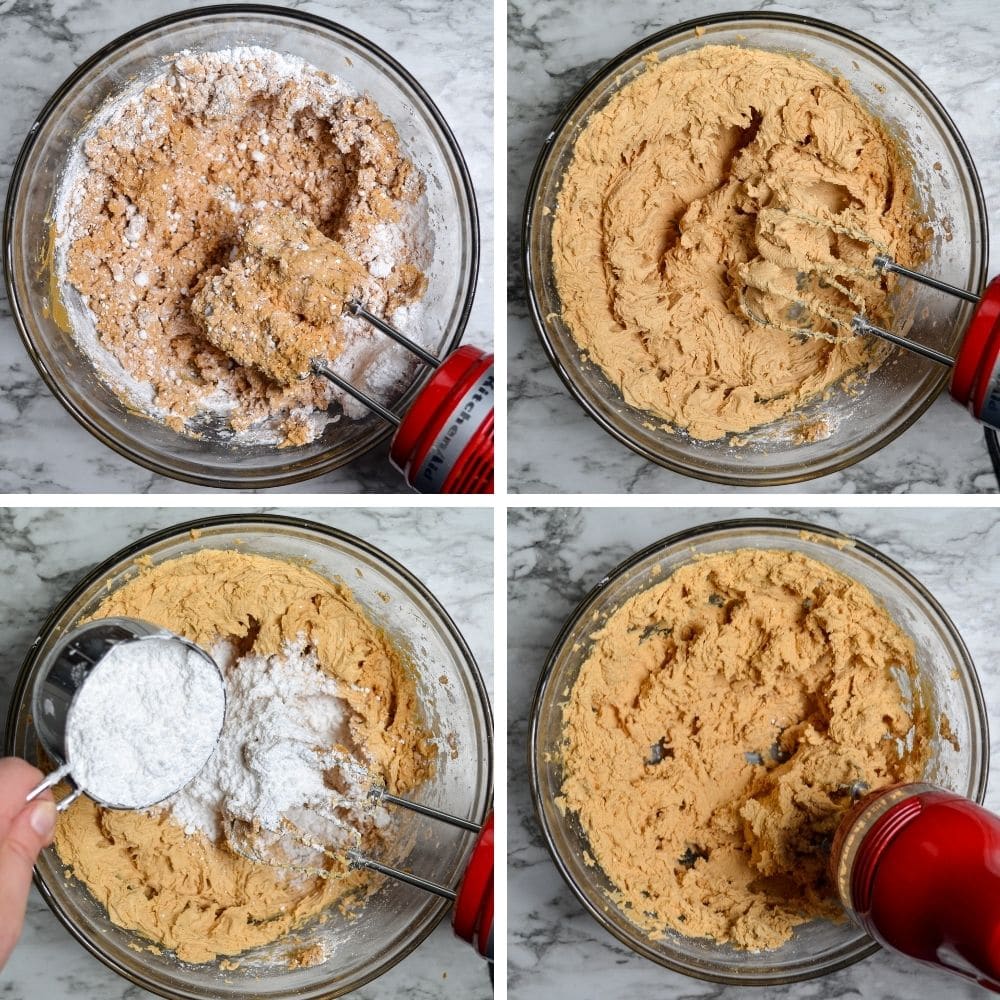
Add the remaining powdered sugar, ½ cup at a time, until the mixture is smooth and stiff. If your mixture is still very sticky, add a little more powdered sugar.
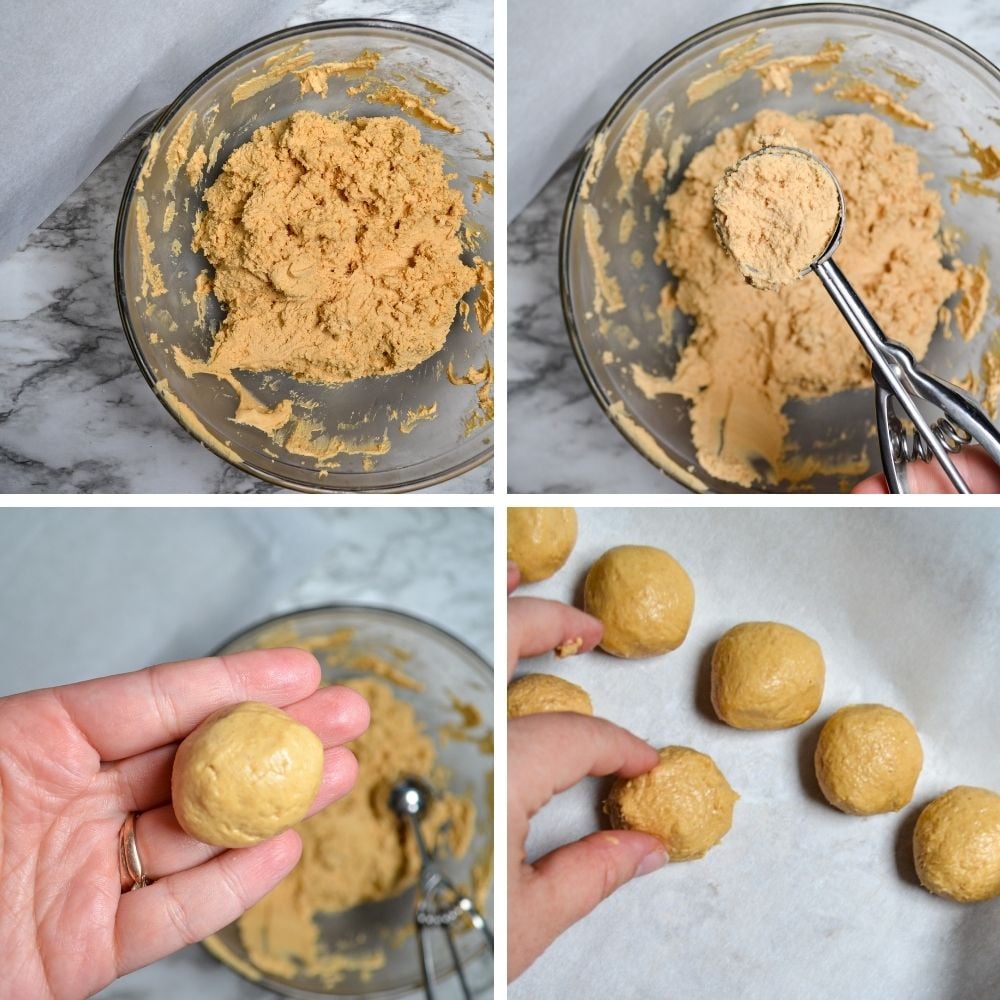
Form the batter into a cohesive ball and cover with plastic wrap.
Place in the fridge for 1 to 3 hours to firm up.
Once the batter has chilled, prepare a cookie sheet by lining it with parchment or waxed paper. Use a cookie scoop or tablespoon to portion out golf ball sized amounts, and roll them between your hands to form a smooth ball. Place on the prepared baking sheet.
Repeat with the remaining batter, until all of it has been used and formed into peanut butter balls.
Chill until firm, and then transfer to an airtight container lined with parchment paper.
Storage
Keep in a covered container lined with parchment paper in the fridge for up to 3 days, or in the freezer for up to 1 month.
Tips for Success
- In order to keep the peanut butter balls from sticking, you may need to dust your hand with powdered sugar occasionally.
- Use parchment paper or waxed paper to keep your surfaces clean and to prevent the peanut butter balls from sticking.
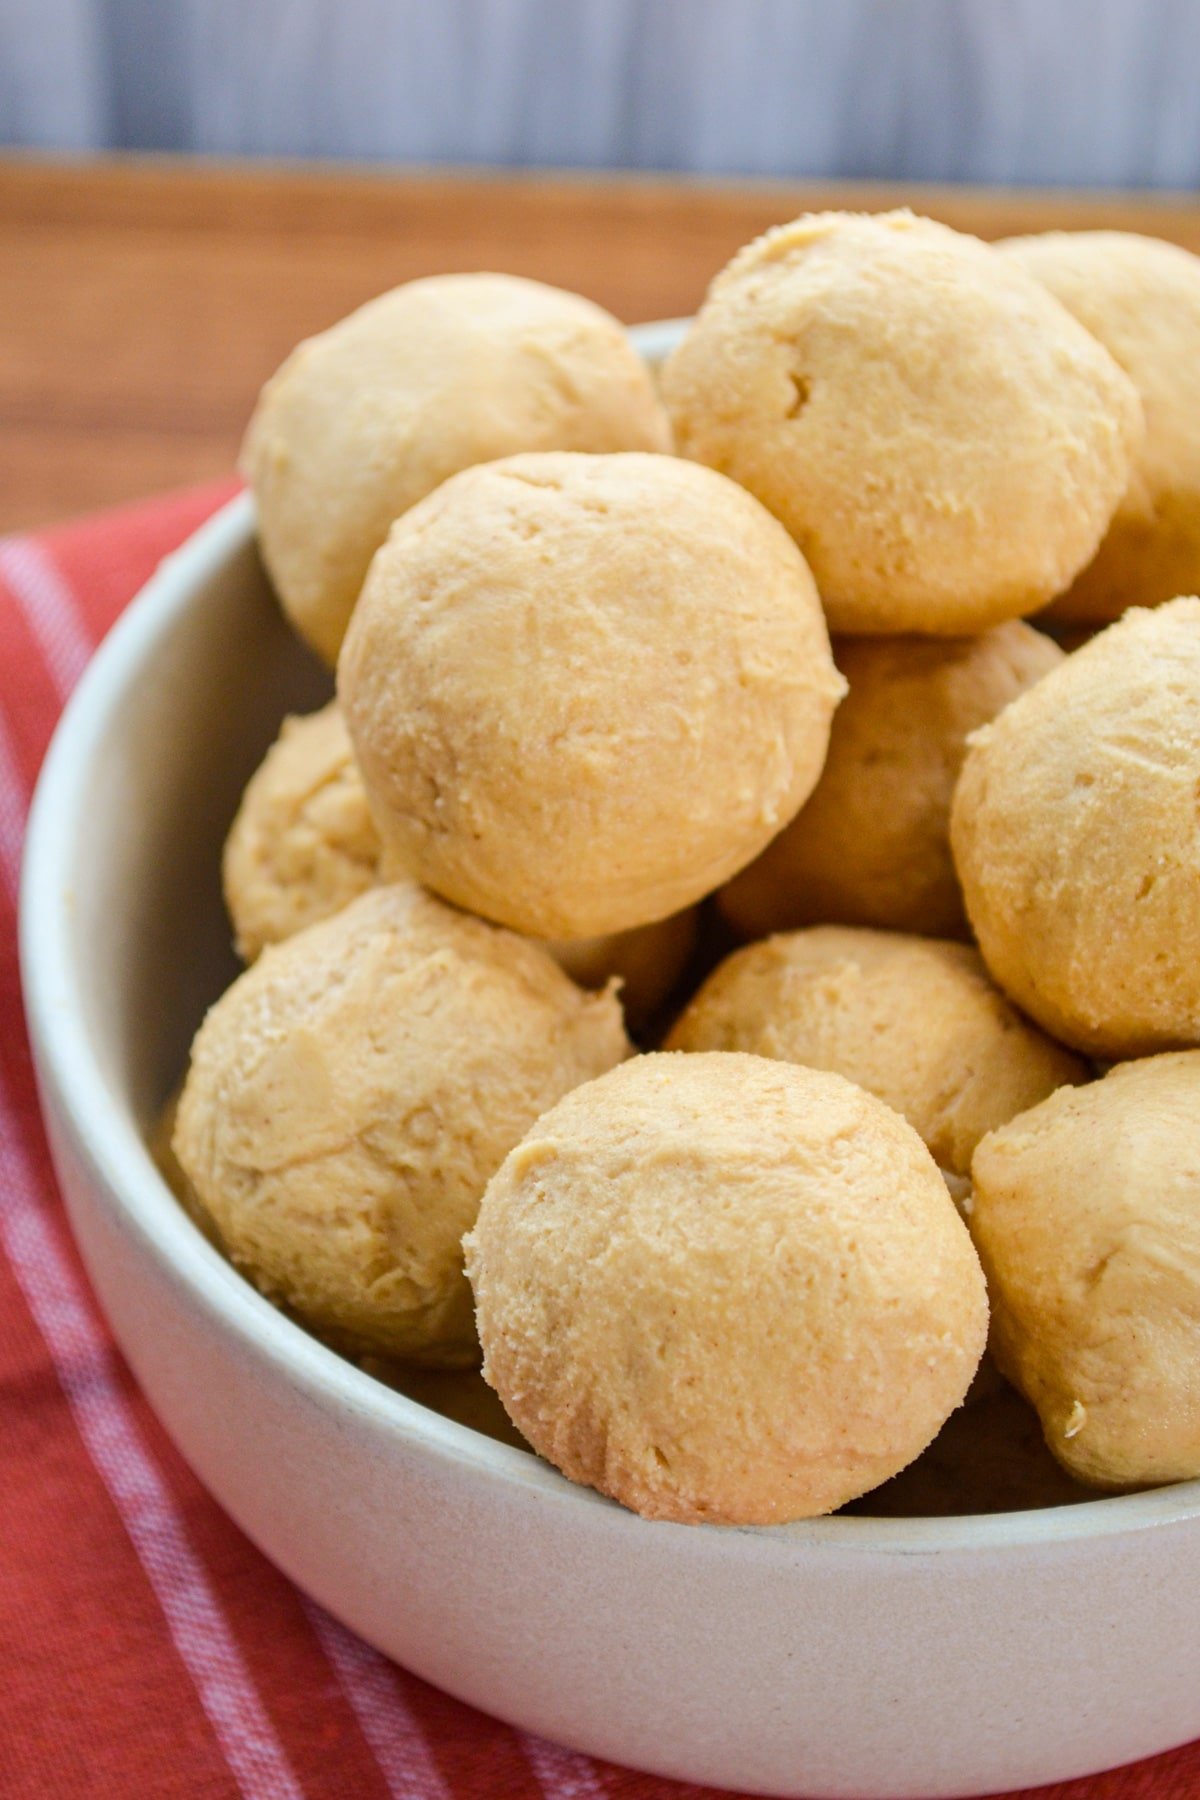
- Chill your prepared peanut butter balls for as long as you can to get the firmest results. This old fashioned recipe is a little more sticky and soft than modern versions, so it needs adequate chilling time to firm up.
- Store your peanut butter balls in the fridge or in the freezer in airtight containers. They need to be chilled at all times, since they will start to melt and become soft if left at room temperature for too long.
- These delicious bite sized desserts can be eaten directly from the freezer! Store them in there for a quick sweet tooth fix; they will remain soft enough to eat!
Substitutions and Variations
Gluten free: This recipe is gluten free as written! Verify that all of the individual ingredients are free from gluten-containing additives or cross contamination.
Dairy Free: Substitute the butter for a dairy-free butter, OR use butter flavored coconut oil or refined coconut oil.
Without Powdered Sugar: If you don't have powdered sugar, you will need to make a substitute using sugar and corn starch. This is an essential ingredient to the recipe, so this is the only substitution that can be made!
With Chocolate: While the recipe is for peanut butter balls without chocolate, you can certainly add chocolate if that's what you prefer! Simply dip the fully chilled balls into melted chocolate, and set on a lined tray. Move to the fridge and chill until the chocolate is hardened, or 4-8 hours.
Frequently Asked Questions
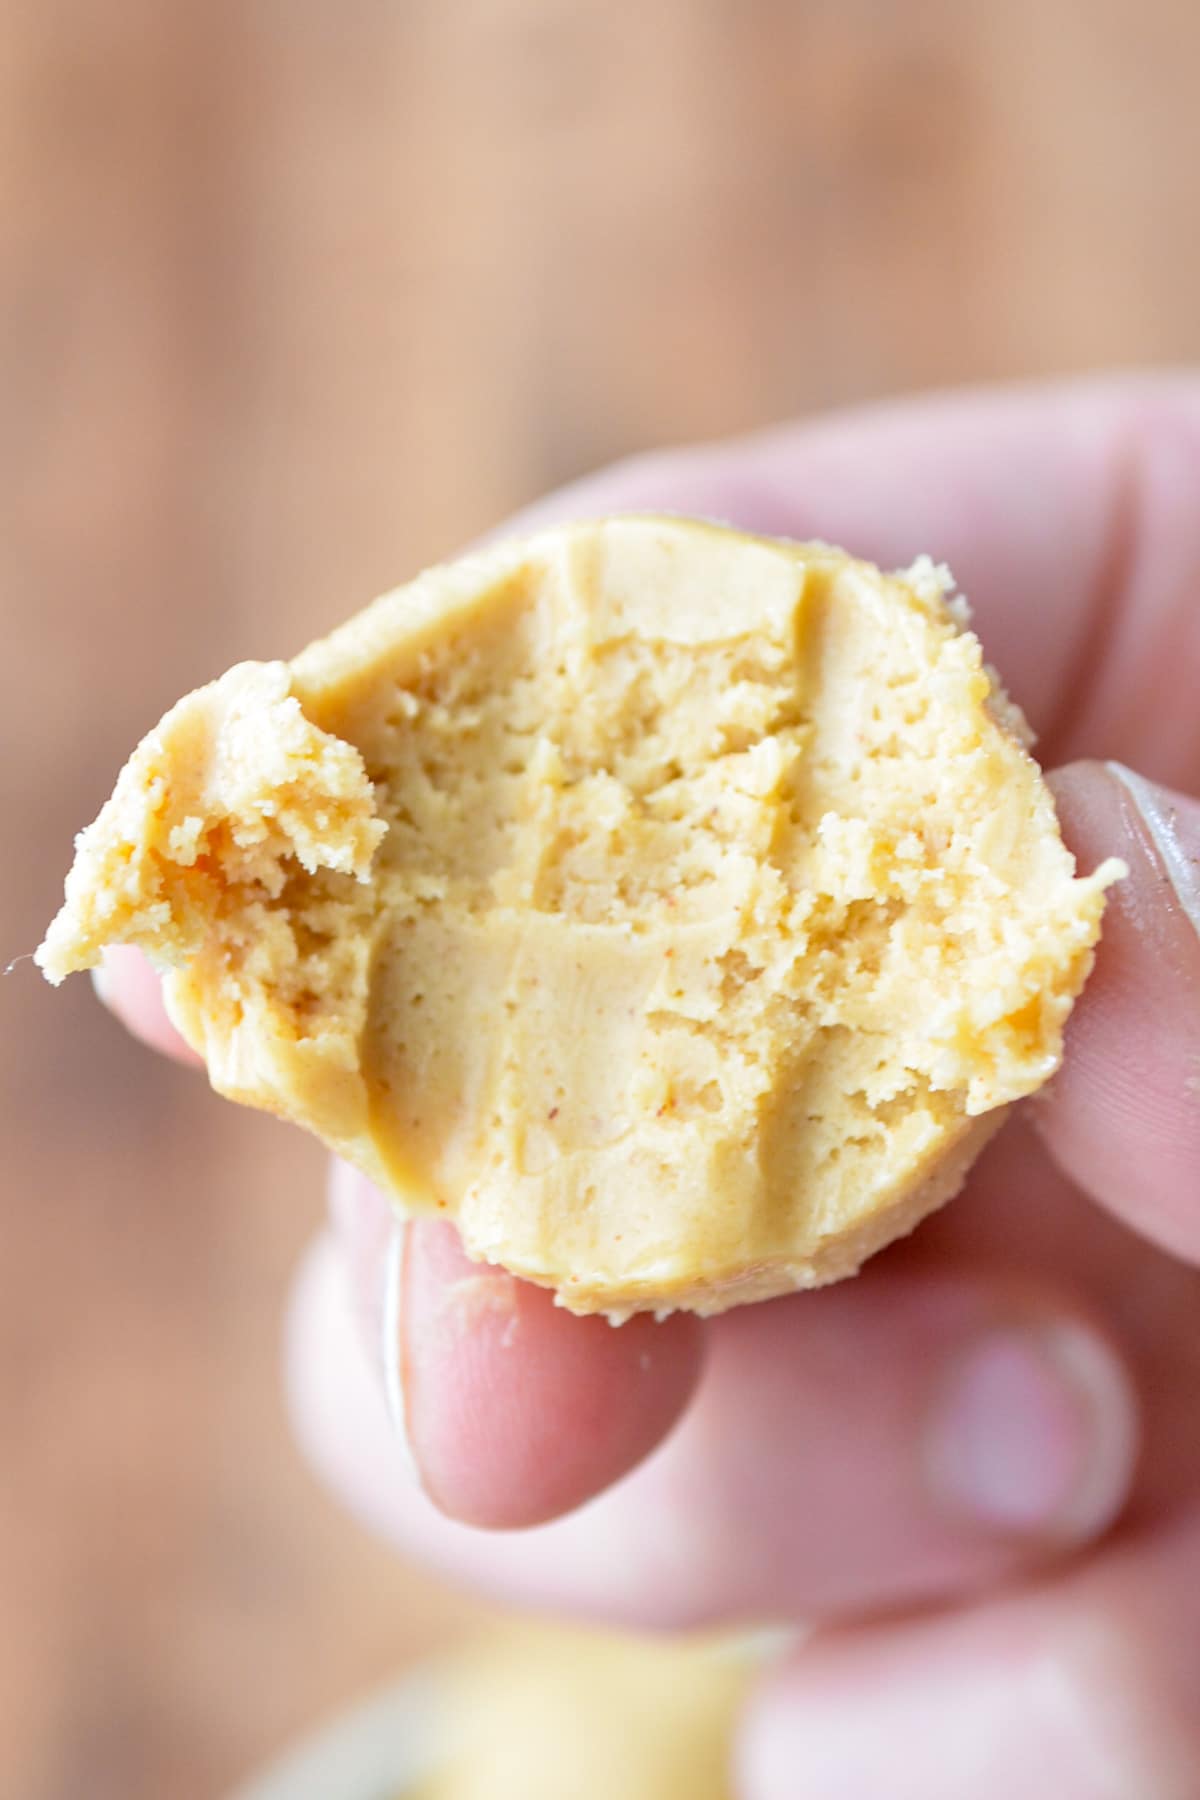
Adding some extra powdered sugar will help your peanut butter balls firm up a little more. If they are already formed, you can roll them in powdered sugar to help absorb the stickiness.
This really depends on the recipe! The old fashioned version calls for merely peanut butter, butter, vanilla, and confectioners (AKA powdered) sugar. Modern versions include the addition of rice krispies or graham crackers to help create a firm texture.
I recommend storing your peanut butter balls in the fridge for up to 3 days for the best results. While you can keep them longer than that and they will still be safe to eat, the best results are within the first 3 days. For longer storage, it is recommended to keep your peanut butter balls in the freezer.
More Old Fashioned Christmas Recipes
- Potato Candy - Sugar Spun Run
- Gingerbread Cake - Once Upon a Chef
- Plum Pudding - Rock Recipes
- Shortbread Cookies - Preppy Kitchen
- Divinity Candy - House of Nash Eats
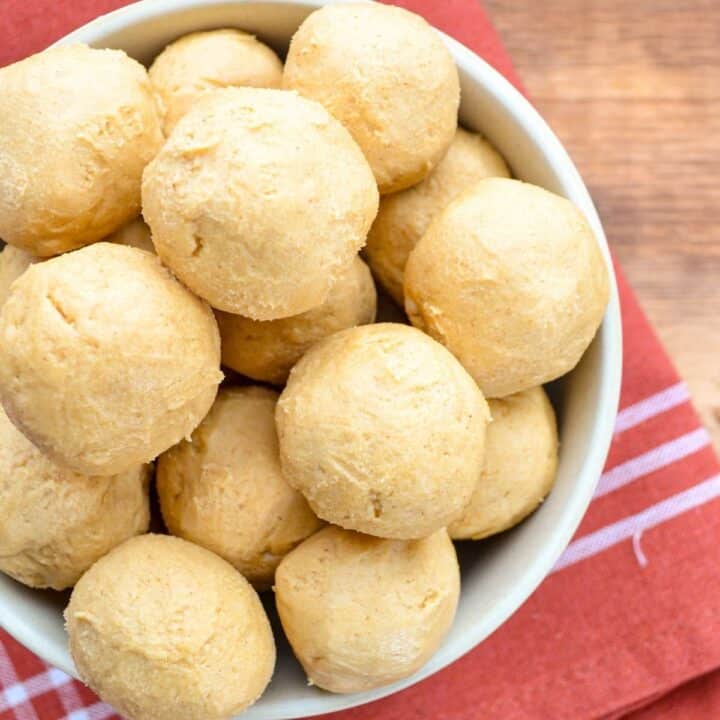
Old Fashioned Peanut Butter Balls
These creamy and easy peanut butter balls have old fashioned flavor, and use just 4 simple ingredients. The perfect addition to your Christmas baking, or to make as a simple food gift for the peanut butter lover in your life.
Ingredients
- 2 cups smooth peanut butter
- ¾ cup salted butter, softened
- 4 cups powdered sugar
- 1 teaspoon vanilla extract
Instructions
- Add the butter to a large mixing bowl, and use a hand mixer to beat it until soft and fluffy.
- Add in the peanut butter and beat until fully combined with the butter and smooth.
- Pour in the vanilla extract, and blend again to combine.
- Add 2 cups of the powdered sugar and mix on medium speed until fully incorporated.
- Add the remaining powdered sugar, ½ cup at a time, until the mixture is smooth and stiff. If your mixture is still very sticky, add a little more powdered sugar.
- Form the batter into a cohesive ball and cover with plastic wrap. Place in the fridge for 1 to 3 hours to firm up.
- Once the batter has chilled, prepare a cookie sheet by lining it with parchment or waxed paper. Use a cookie scoop or tablespoon to portion out golf ball sized amounts, and roll them between your hands to form a smooth ball. Place on the prepared baking sheet.
- Repeat with the remaining batter, until all of it has been used and formed into peanut butter balls. In order to keep them from sticking, you may need to dust your hand with powdered sugar occasionally.
- Chill until firm, and then transfer to an airtight container and keep in the fridge for up to 3 days, or in the freezer for up to 1 month.
Notes
Storage: Store in waxed paper or parchment paper lined containers, with an additional sheet of paper between each layer. This will prevent sticking.
Keeps in the fridge for up to 3 days, and in the freezer for up to 1 month.
Chocolate Dipped: If you like your peanut butter balls with chocolate, you may dip these in melted chocolate after they have chilled for at least 8 hours. Then, place the chocolate covered peanut butter balls on a parchment lined baking sheet to chill in the fridge for an additional 4-8 hours.
Nutrition Information:
Yield: 24 Serving Size: 2 ballsAmount Per Serving: Calories: 249Total Fat: 16gSaturated Fat: 6gTrans Fat: 0gUnsaturated Fat: 9gCholesterol: 15mgSodium: 148mgCarbohydrates: 23gFiber: 1gSugar: 19gProtein: 5g
Nutrition information is an estimate only.
Please note that some of my blog posts here at Little Home in the Making may contain affiliate links. If you make a purchase through these links, I will get a small commission at no additional cost to you. Please see my Disclaimer for more information.













Stacey
Super fast treat.
Robin Yoder
Could these be dusted with cocoa powder... for added flavor, and to help them to not be sticky??!
Dolly | Little Home in the Making
If you would like to you could. I think powdered sugar would work really well for that as well.
Carolyn elza
Just the regular recipe I was looking for, lost mine in the shuffle. THANKS
Dolly
My pleasure Carolyn!
Myth
Wait is the yield 48? Or is it 24? The nutrition info says 24 but the thing at the top of the recipe page says 48? I’m confused 😥
Dolly | Little Home in the Making
Hi! It's actually because the serving size is 2 peanut butter balls, so the nutritional information is based on that. I'll definitely make an edit so that's more clear.
Shirley Barber
When I was a child the school l went to made them with raisins in them they were so good.
Dolly | Little Home in the Making
I've never tried that but it sounds yummy!
Sherry Boyd
I used to make this. I started in the 80”s when I was in high school. I would roll them in vanilla wafer crumbs. My brother just asked me to make them for Christmas. Thank you for the recipe it’s been forever since I made them.
Brian
I don’t have a blender. Can I make these without one and just mix with my hands?
Dolly | Little Home in the Making
I would recommend using maybe an electric hand mixer at least. The ingredients are pretty stiff and hard to work by hand. If you have arms of steel you may be good to go though!
Alston
Just READING this made me hungry!