This classic Elderberry Syrup recipe has traditionally been used to boost the immune system during cold and flu season! You'll love it, as this natural remedy may shorten the duration of symptoms and serve as an excellent preventative.
Make your very own elderberry syrup with just 5 simple ingredients, and with less than 45 minutes of hands on time!
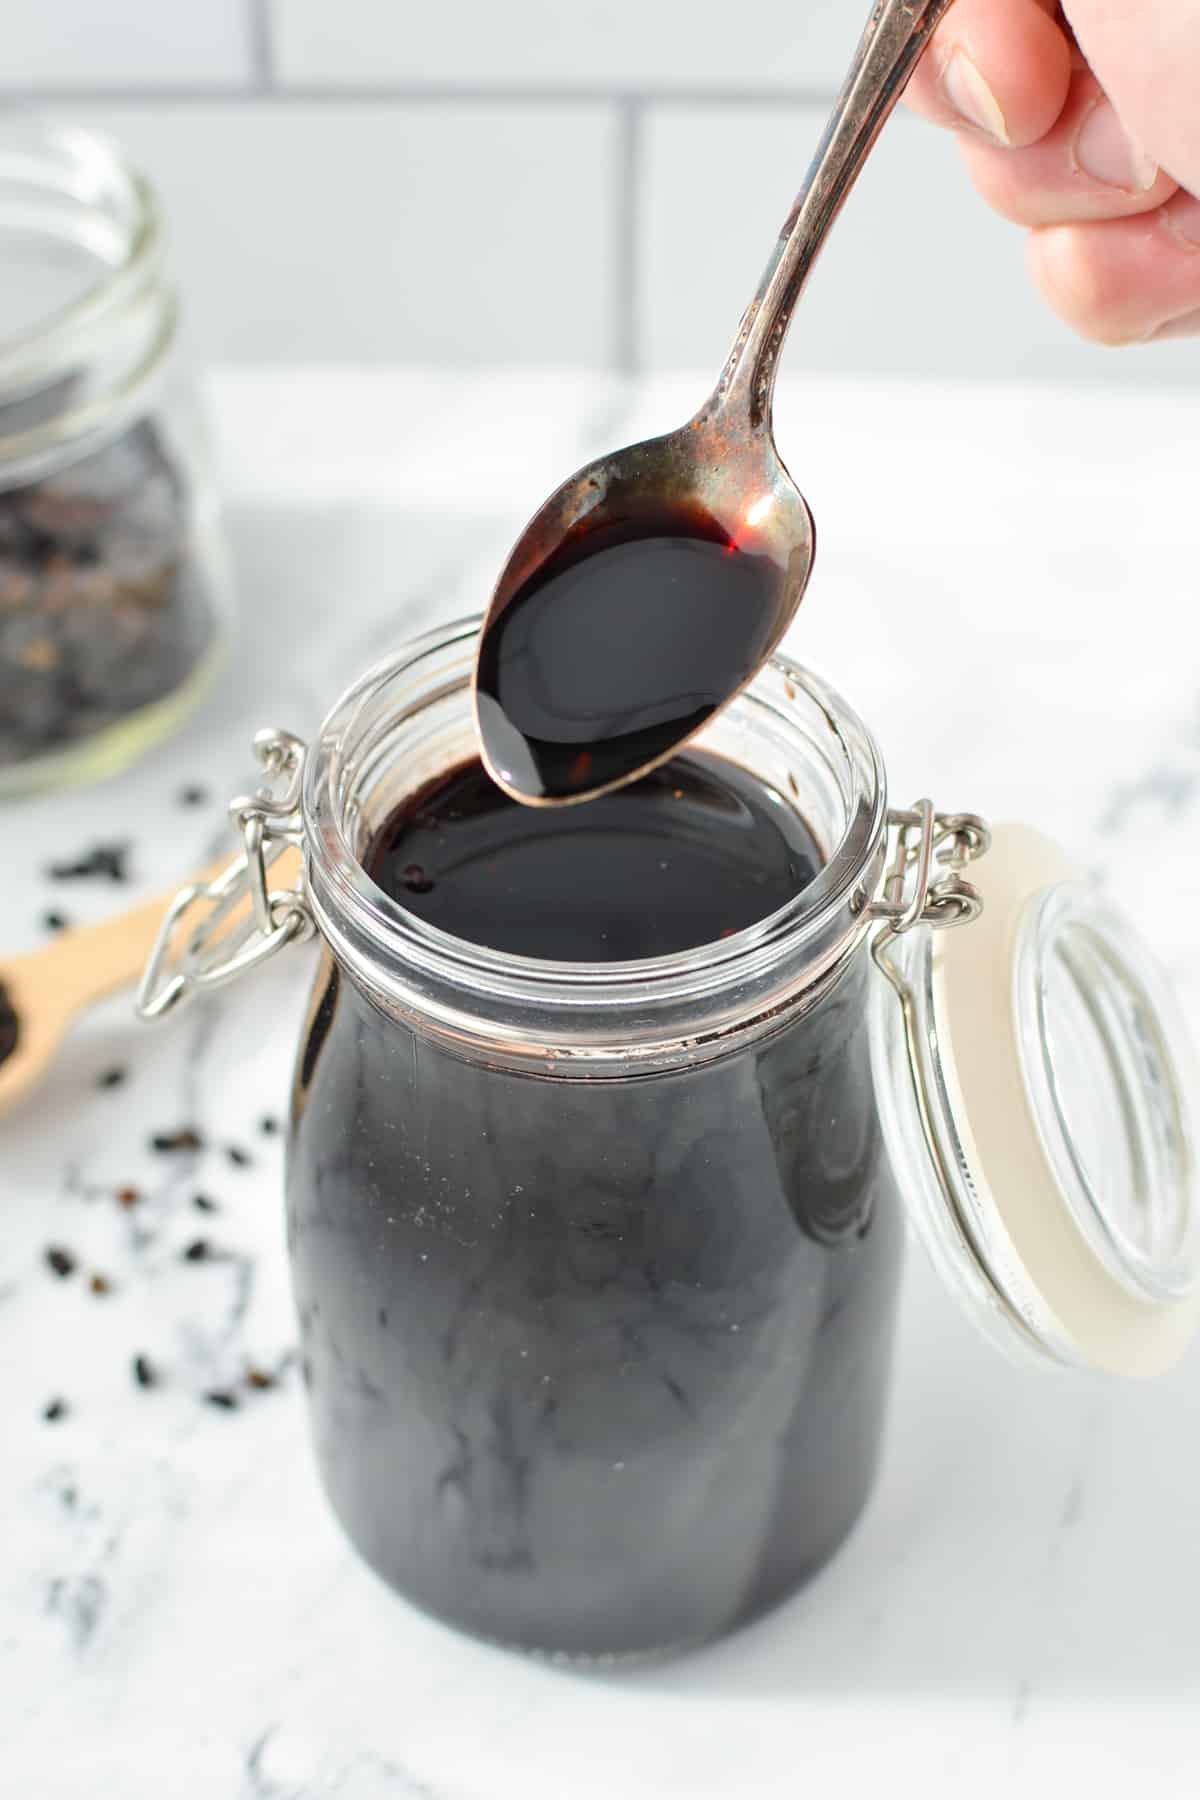
Whenever the late Summer months roll around and the Elderberry trees are bursting with fruit, you know it's time to make Elderberry Syrup.
This time of year is a busy one, with school work starting back up, harvesting and preserving from the garden, and getting prepared for the long Winter ahead. But soon enough, cold and flu season will be upon us.
That's why every year I make this homemade elderberry syrup recipe, which was adapted from Rosemary Gladstar's recipe (just like my Instant Pot Elderberry Syrup). Elderberries have been used for immune support for a very long time, dating back thousands of years. Recently, studies have shown that the use of elderberries reduces the intensity and duration of bouts of sickness (source).
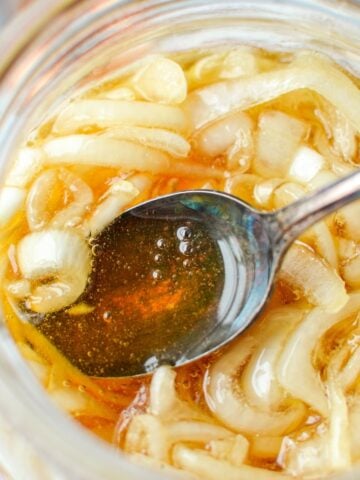
Oh, and don't forget to make a batch of my Honey and Onion Cough Syrup to have at the ready too!
Benefits of Elderberry Syrup
Elderberries (and a syrup made from their cooked juices) has been used for many years in folk and herbal medicine. Their efficacy has even been studied, with favorable incomes for helping with both cold and flu symptoms in double blind studies. Here are a few of the most touted benefits:
- Rich in antioxidants
- High in vitamin C
- A good source of phenolic acids, flavonols, and anthocyanins
- Shortens the duration of influenza
- Reduces the length of a cold
- Significantly reduces upper respiratory symptom during a cold or flu
Elderberry has been show to have a positive correlation with reducing the risk of a variety of diseases and symptoms. You can read more from Healthline, including citations to studies that have been conducted.
Ingredients
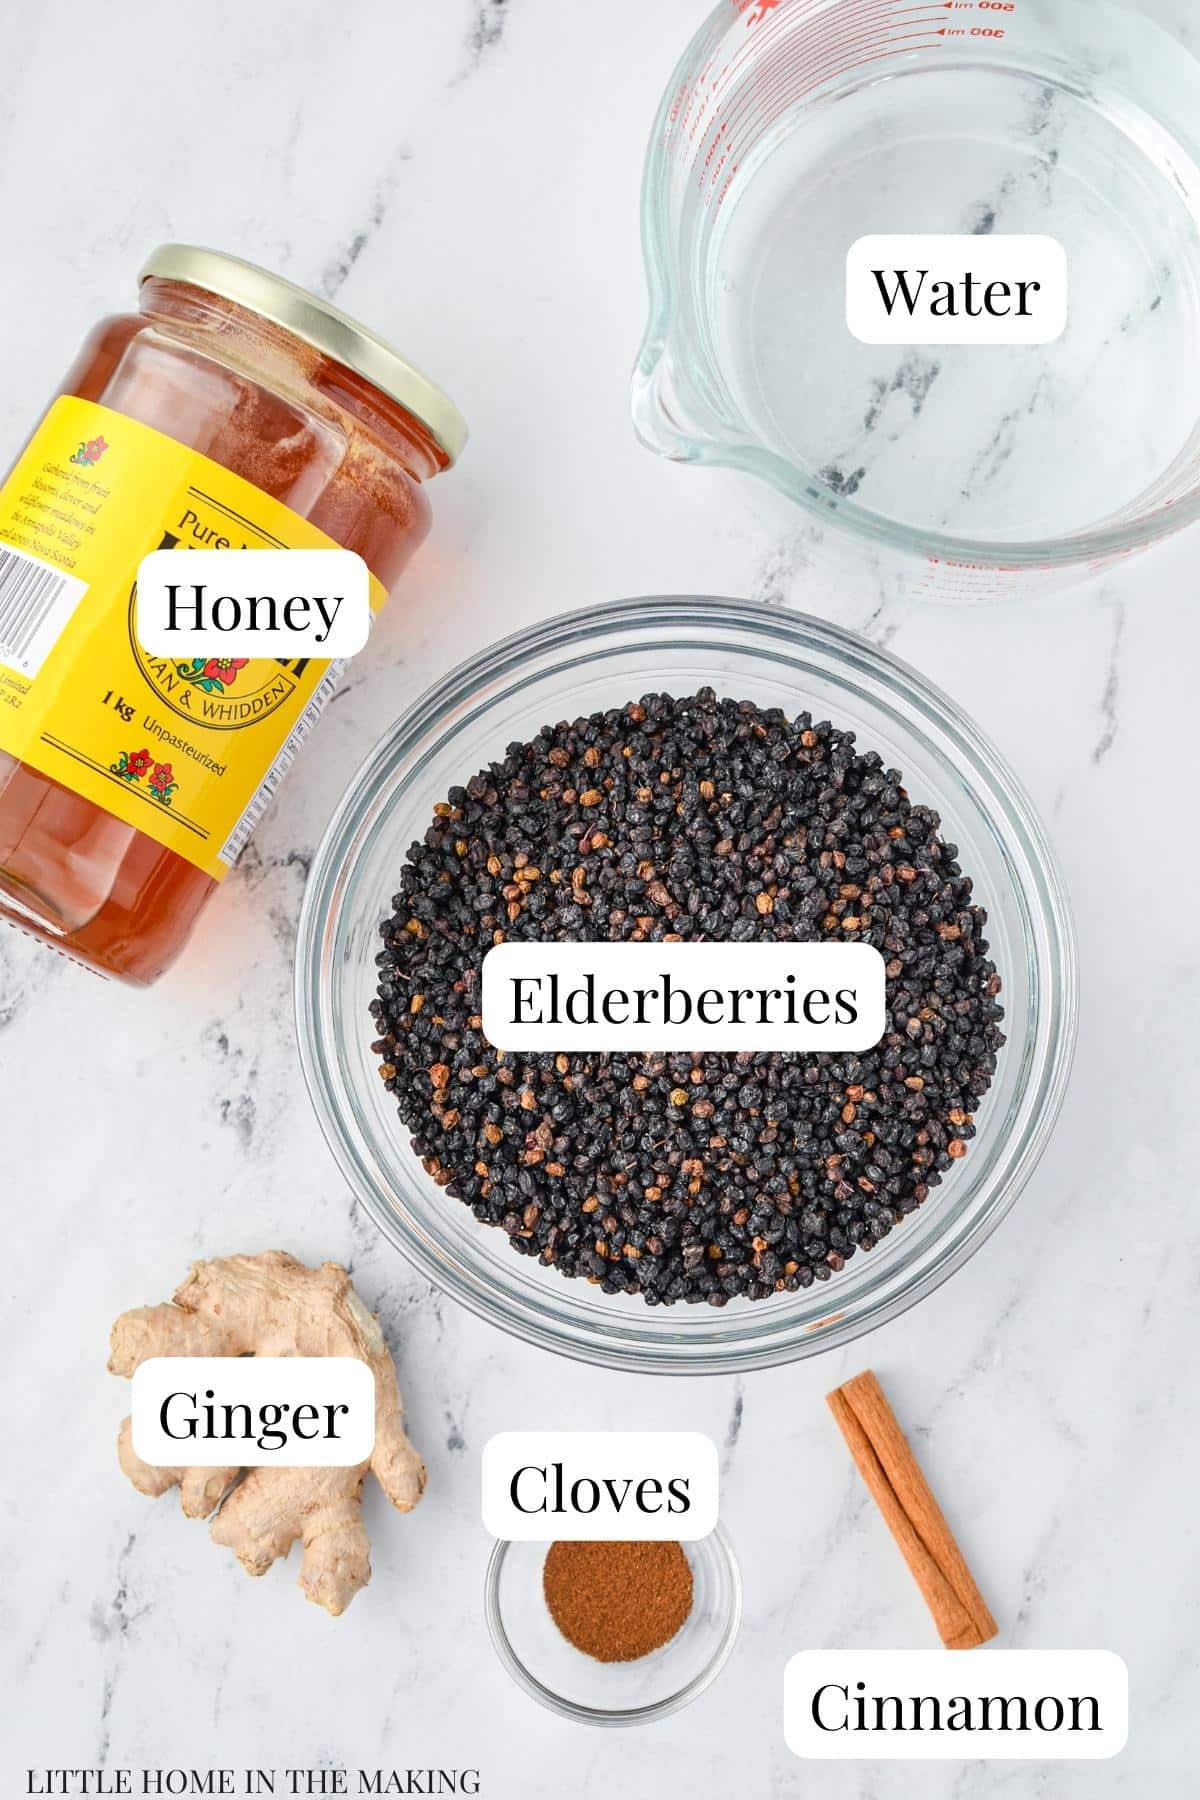
- Elderberries: You could use either dried elderberries or raw elderberries for this recipe, although fresh are the most common. You can find organic elderberries online (Amazon, iherb, Mountain Rose Herbs) or at your local health food store. Fresh are generally only available at Farmer’s markets in season, or if you grow your own elderberries.
- Honey: The gold standard is local raw honey, but you can use whatever you have available to you.
- Ginger: Fresh grated ginger is packed with beneficial properties, but ground ginger definitely works in a pinch.
- Cloves: I recommend ground cloves, but if you have whole cloves on hand you can use a few of those instead.
- Cinnamon (optional): This really adds a nice flavor, and makes it a delicious syrup that kids are eager to take.
- Water: This is simmered with the dried elderberries and spices to make a "juice".
Equipment:
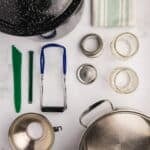
- Heavy bottomed saucepan: Using a good quality heavy-bottomed saucepan is key in preventing the mixture from becoming too hot. It also needs to have a lid to allow steam to escape without too much of the juice evaporating. I recommend stainless steel or a Dutch oven.
- Fine sieve or mesh strainer: This is for straining off the solids from the simmered elderberries. I recommend these fine mesh strainers for a lot of fermenting and culturing projects, and use them pretty much daily.
Note: If you don't have a mesh strainer you can line a regular colander with cheesecloth or a clean flour sack towel.
See the notes section of the recipe card for instructions on how to make this elderberry syrup recipe with fresh berries.
How to Make Elderberry Syrup
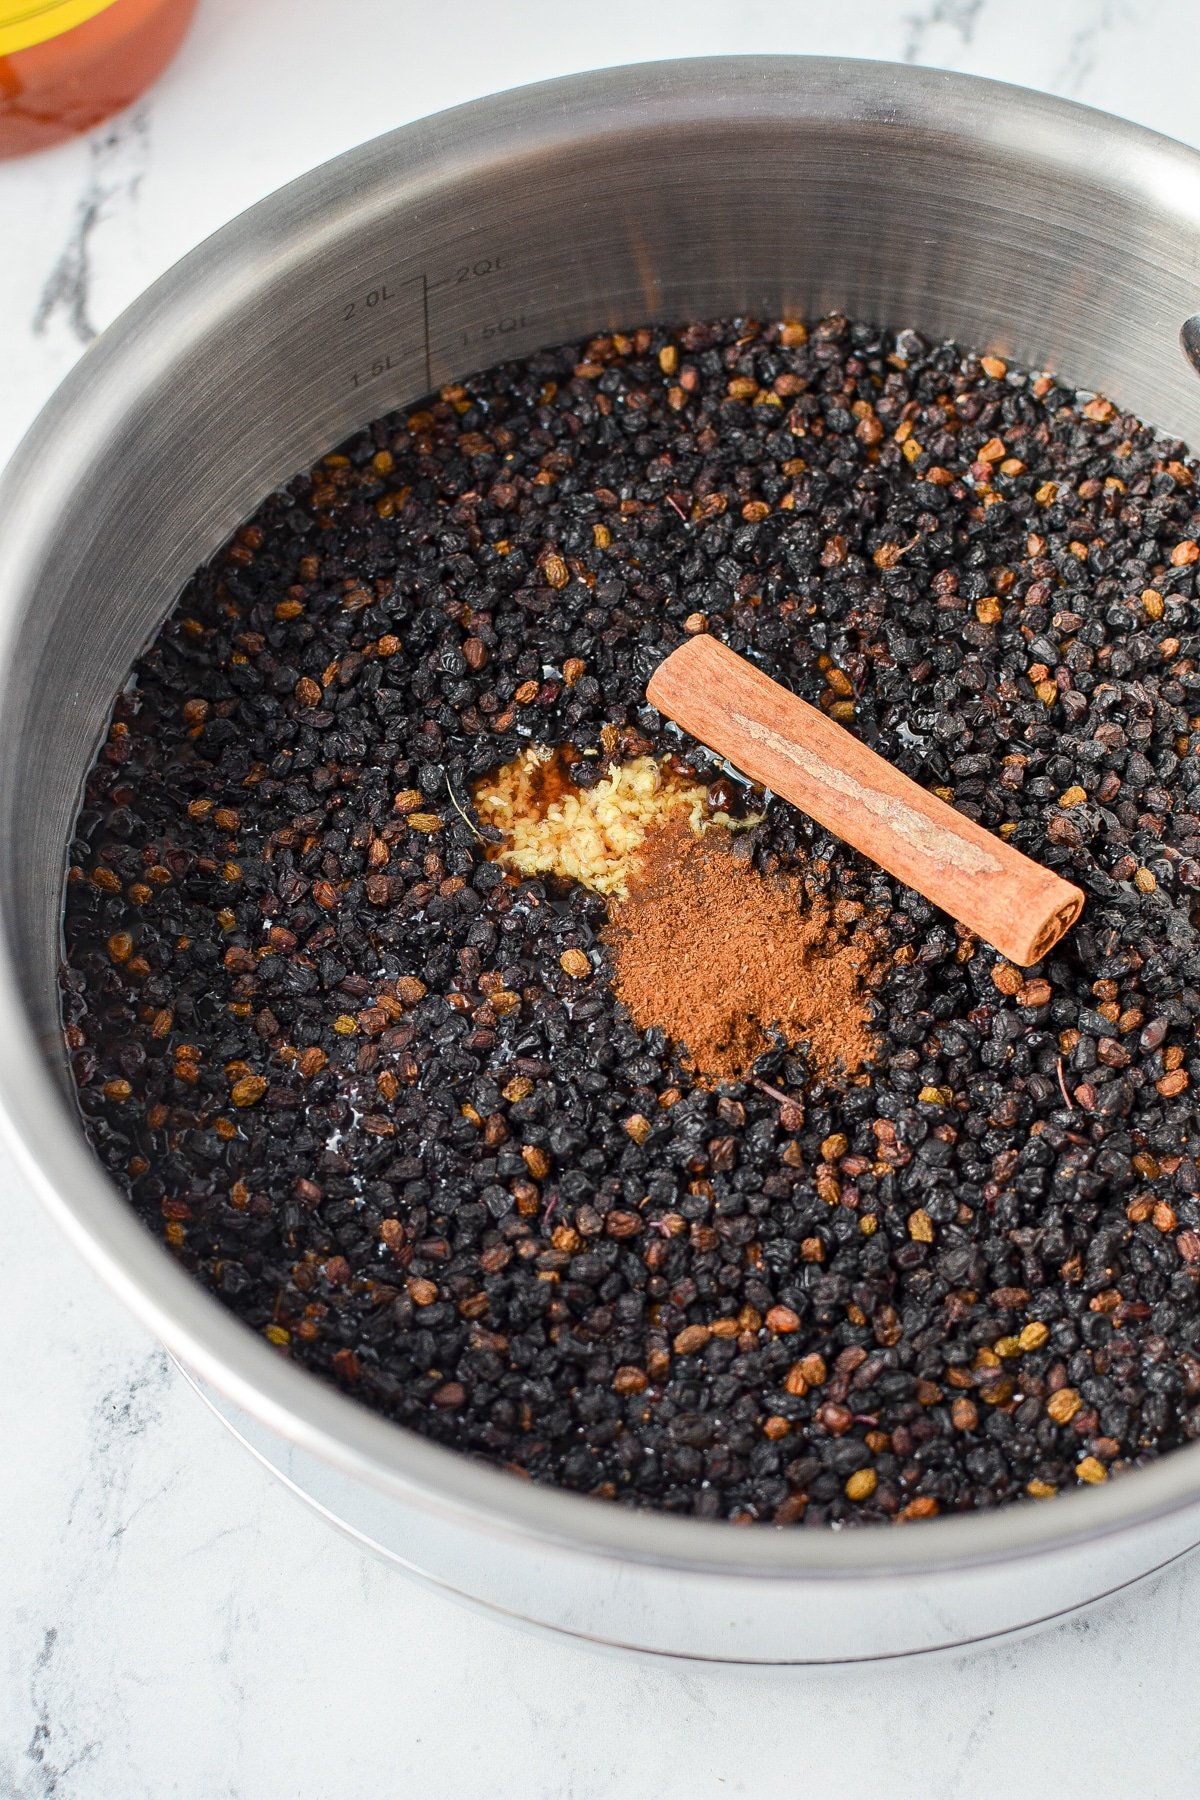
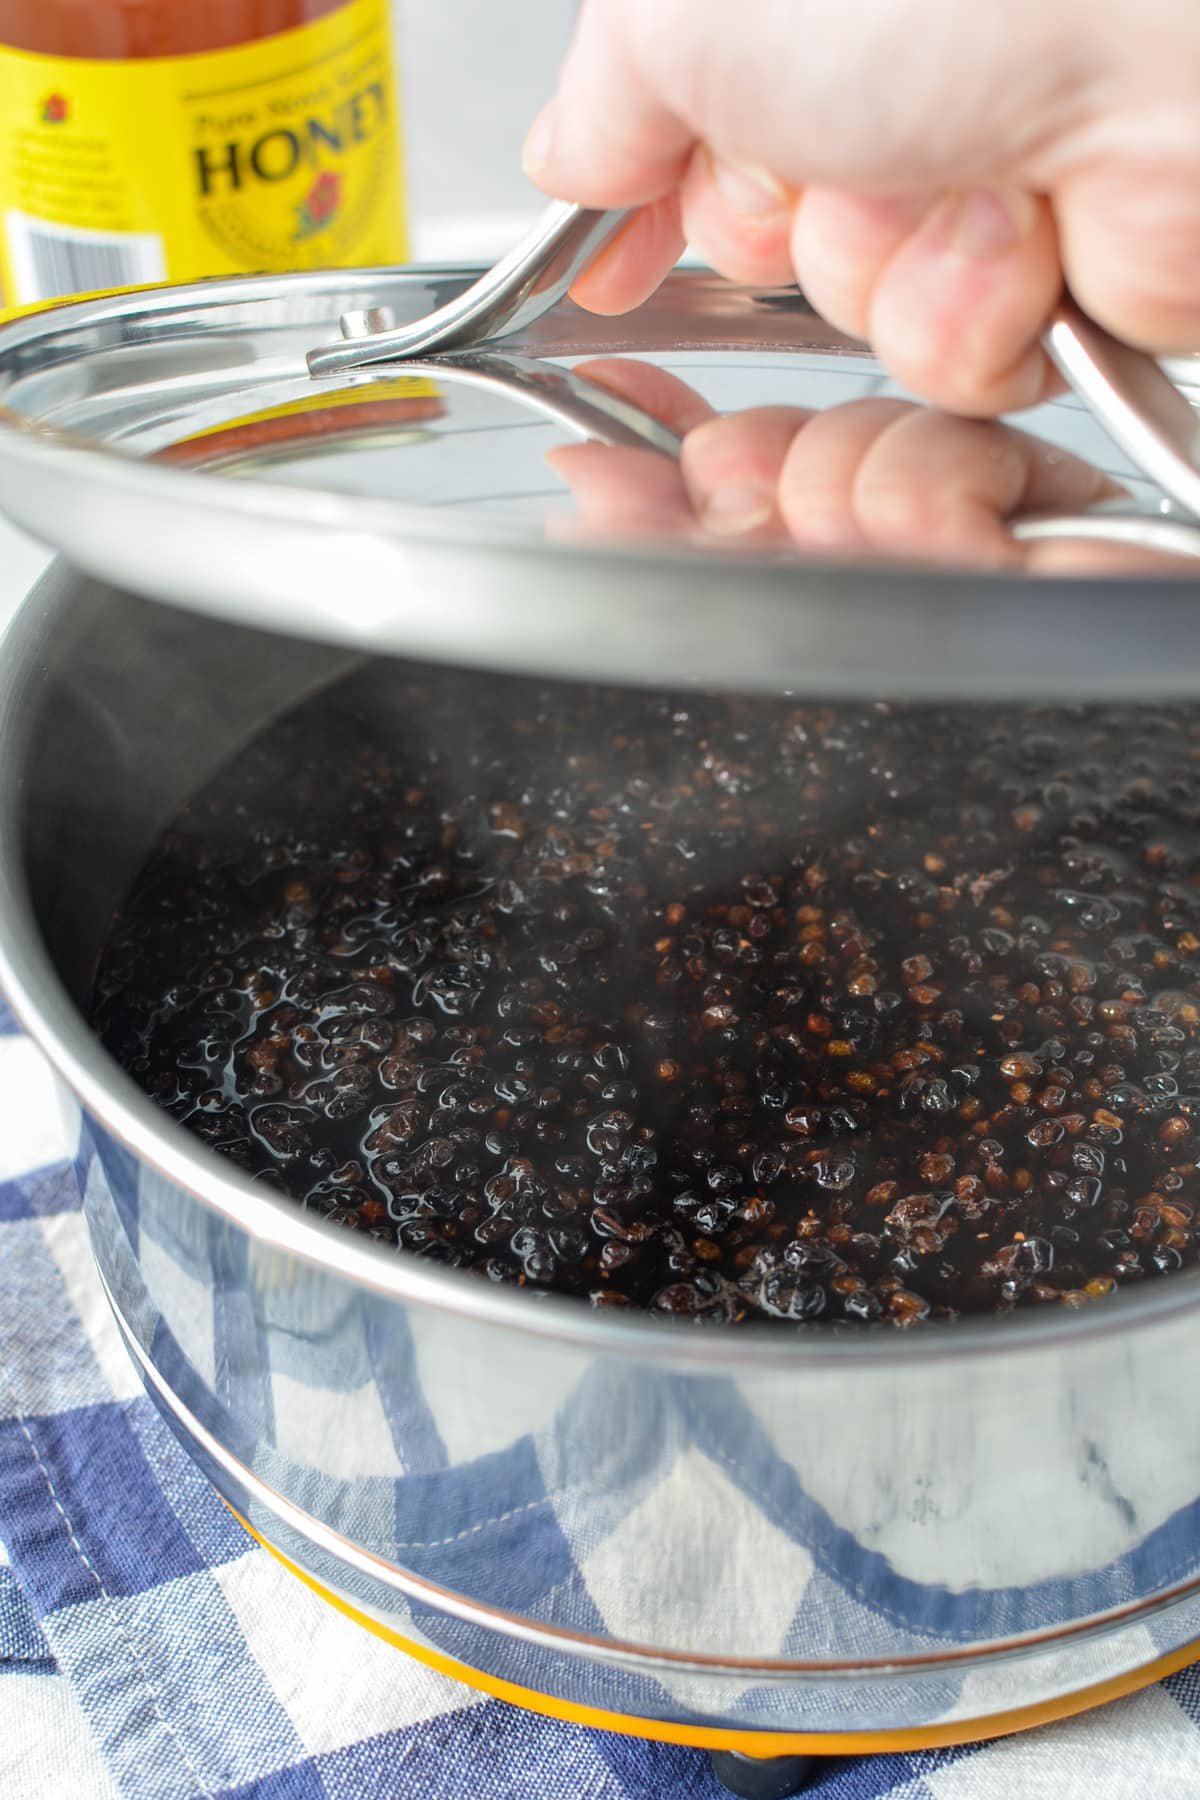
Step one: Measure 4 cups of water into a heavy-bottomed saucepan with a lid, then add in the elderberries, cinnamon, ginger, and cloves.
Step two: Bring the elderberries to a simmer over medium-heat, stirring often. Once a simmer is reached, reduce to low heat. Place a lid on top of the saucepan, leaving it slightly ajar so steam can escape.
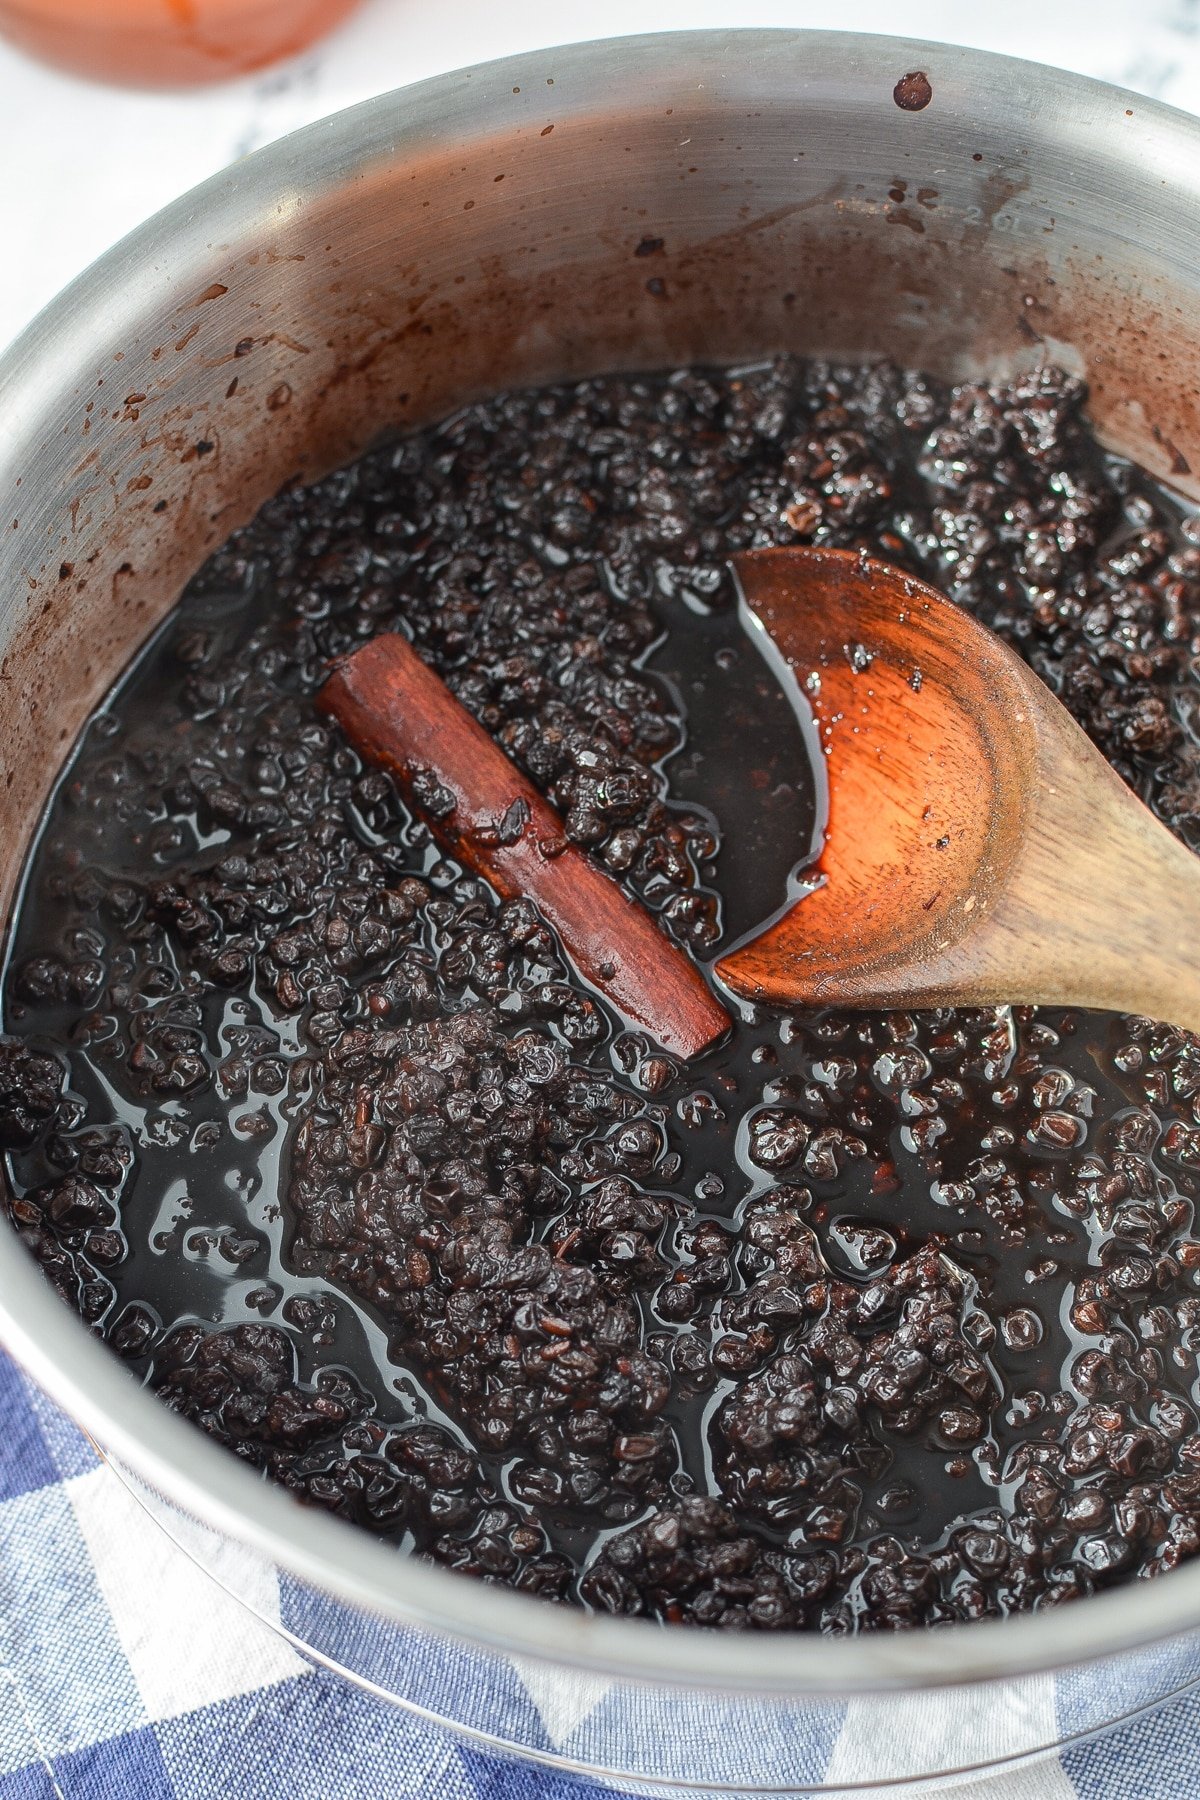
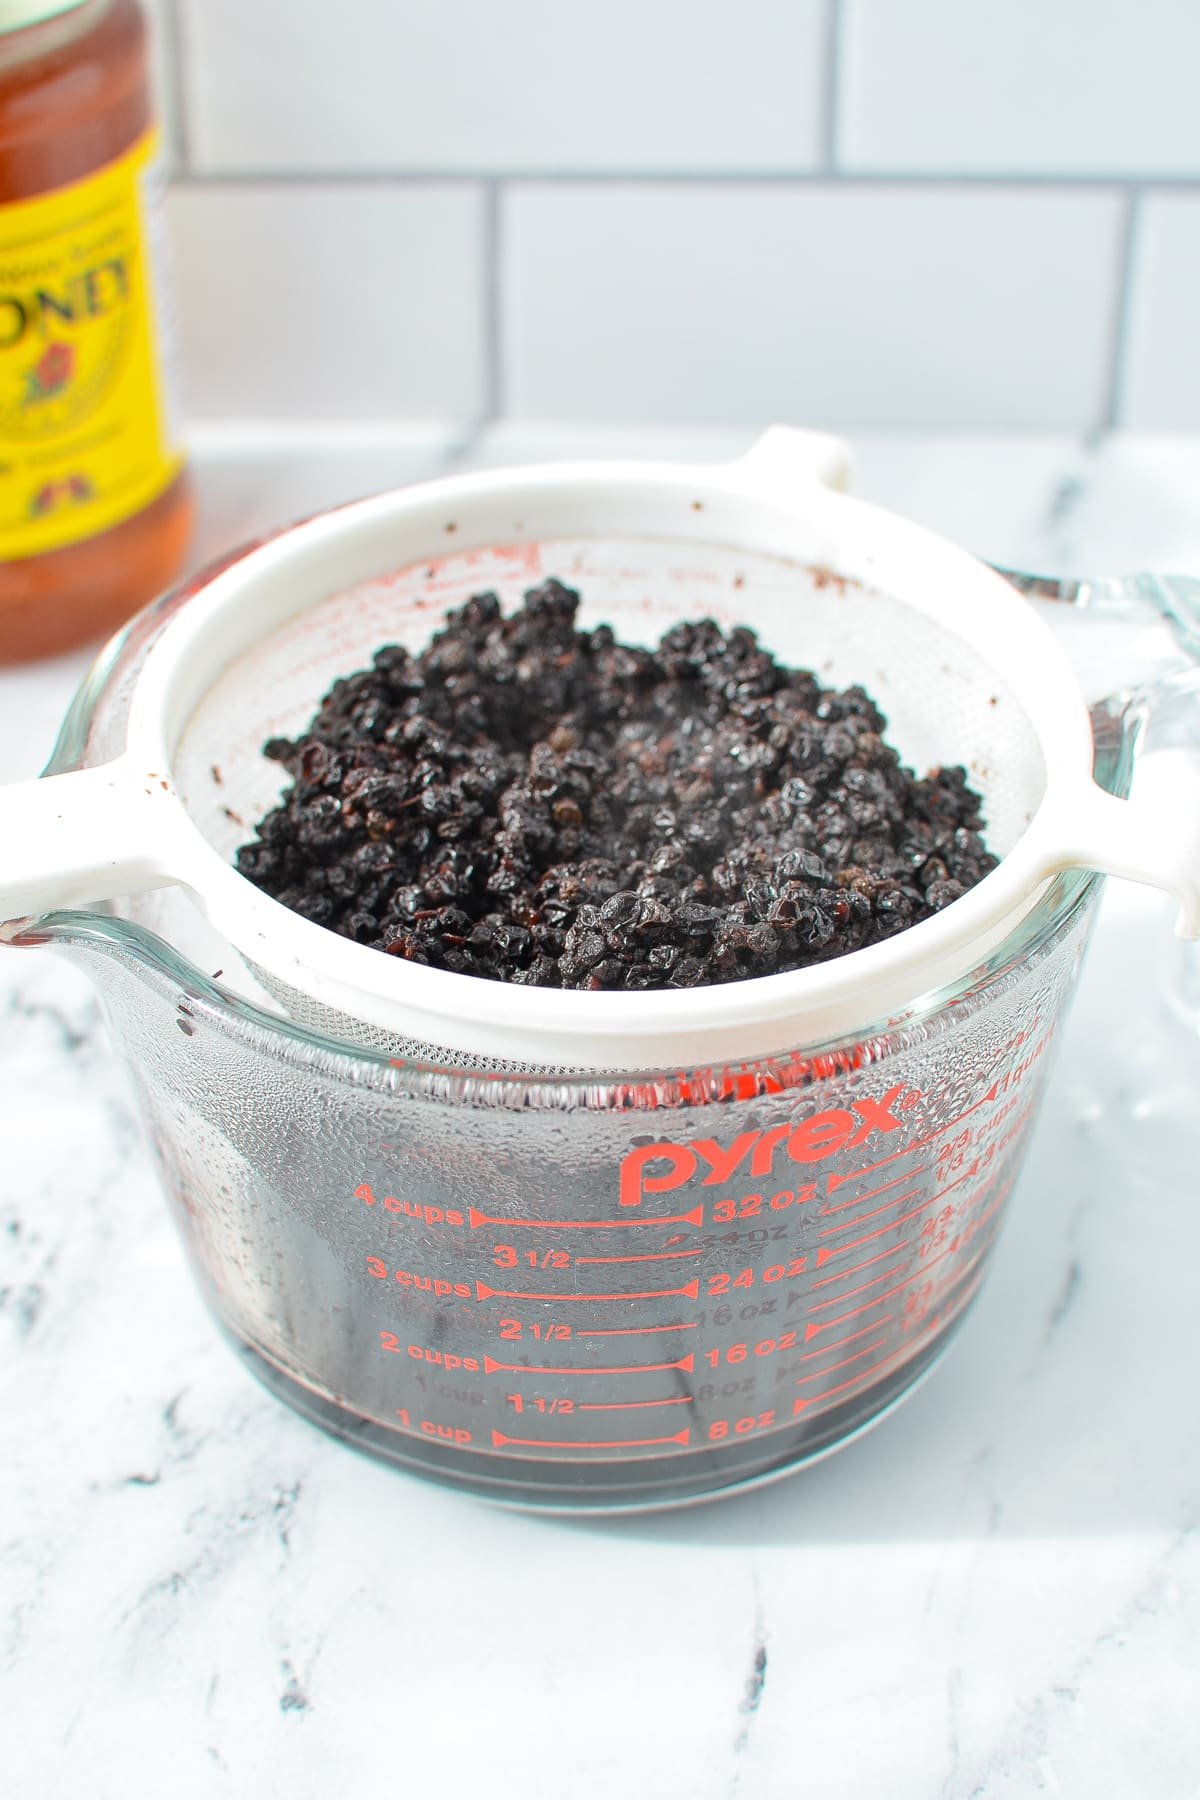
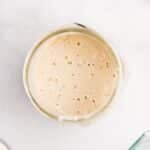
Step three: Simmer for 20-35 minutes, or until the liquid level is reduced by half and the berries are very soft.
Step four: Fit a large measuring cup with a fine sieve or a mesh strainer, and spoon the elderberries and liquid into it. Press gently on the elderberries to release all of the juices.
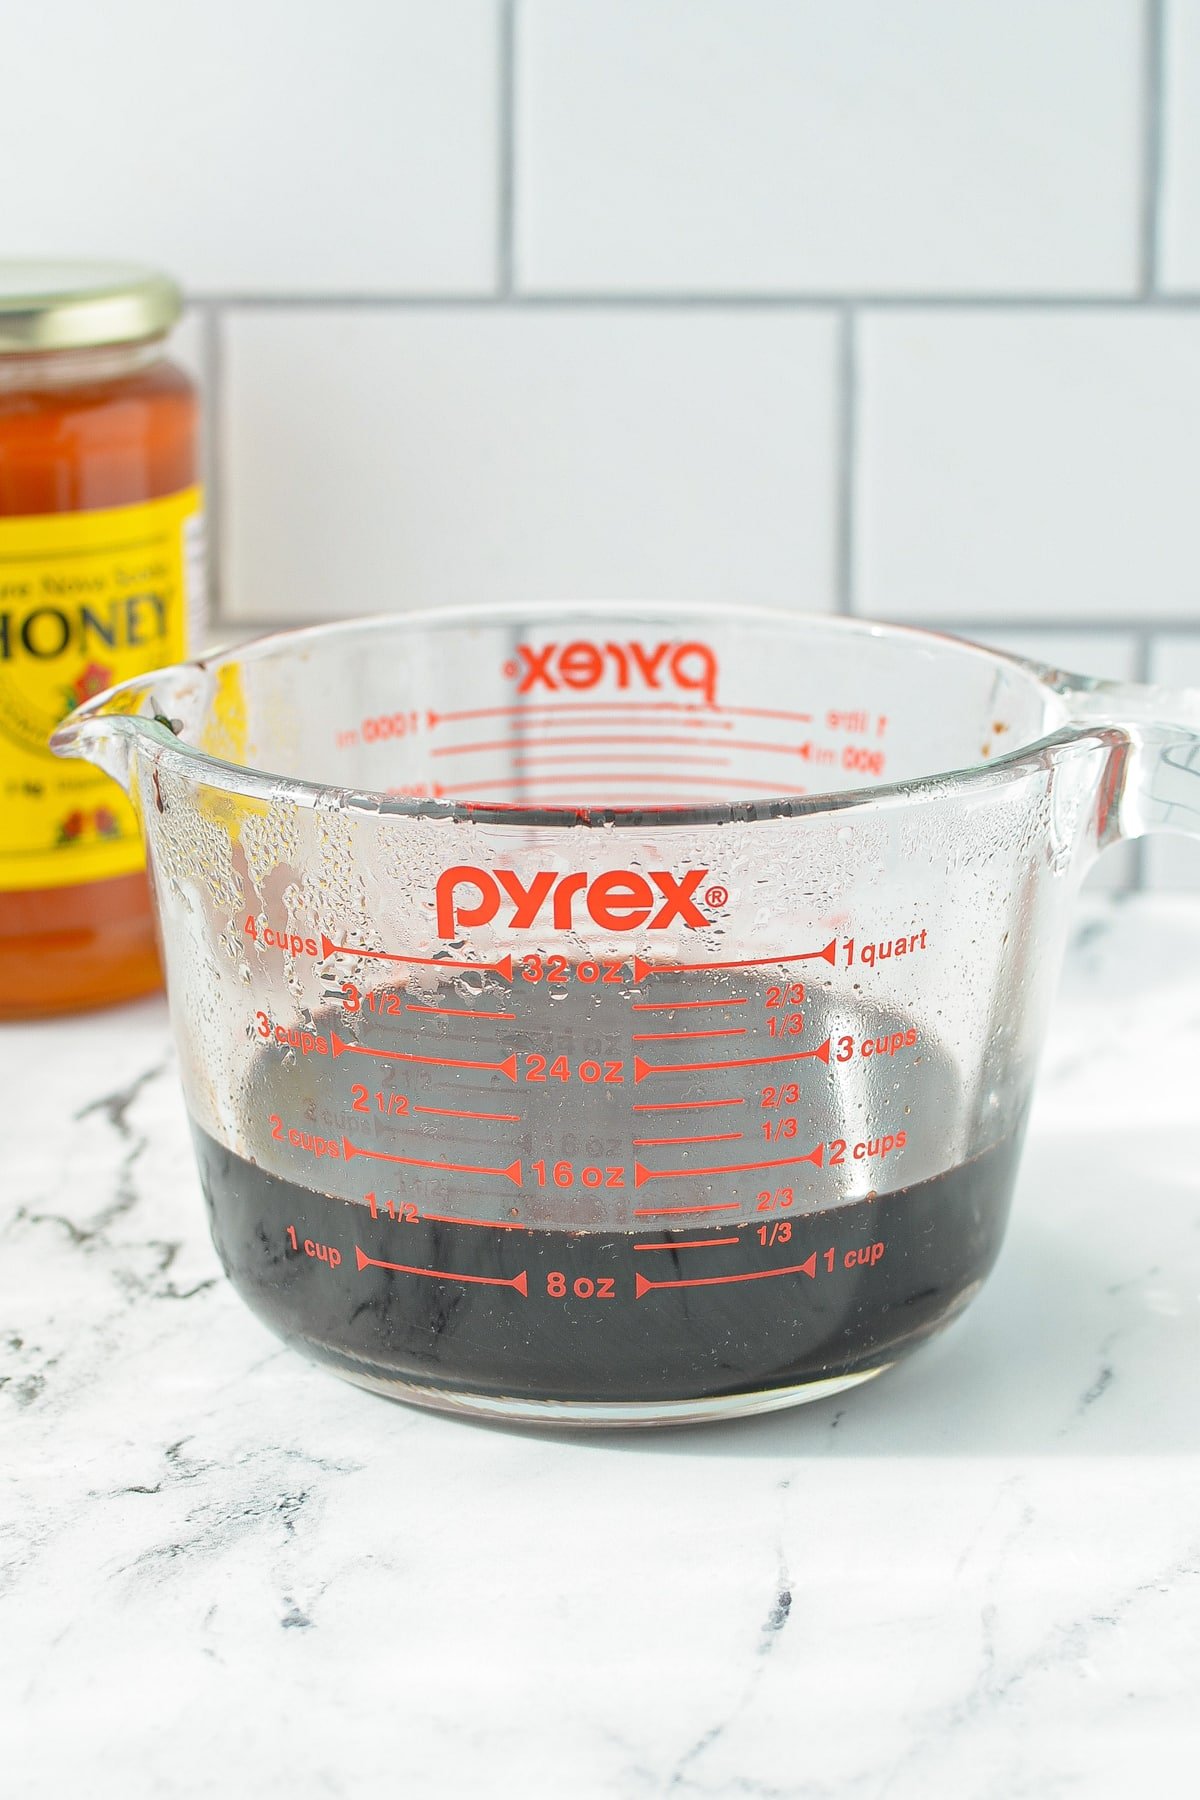
Step five: Measure the resulting juices. They should be about 2 cups (or less).
Note: If there are more than 2 cups of liquid, add the juices to a saucepan and simmer until reduced to 2 cups (or less).
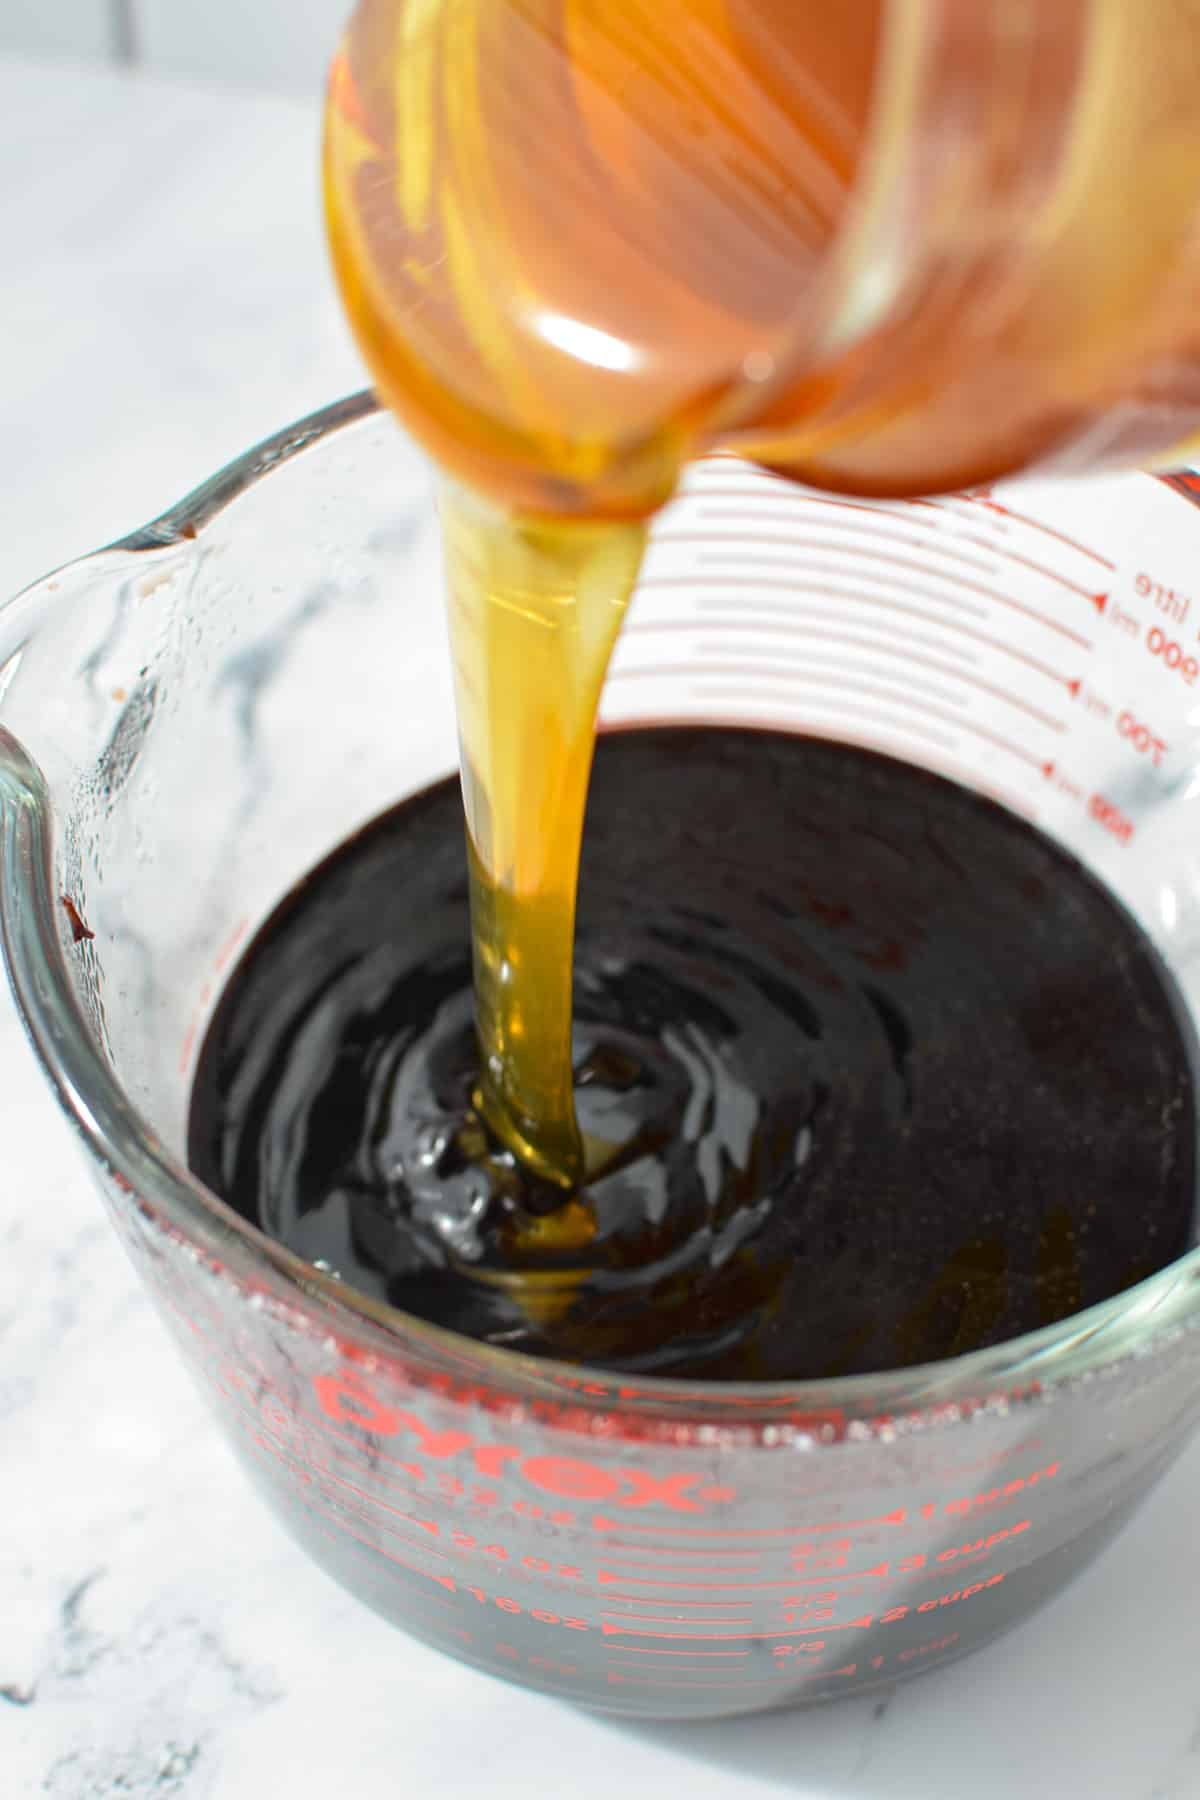
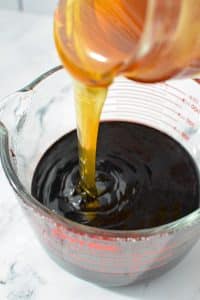
Step six: Add the same amount of raw honey as there were juices (1 ½ cups of elderberry juice would require 1 ½ cups of honey) and stir well to combine.
Tip: I recommend adding raw honey in to the warm elderberry juice to preserve the benefits of raw honey. If you want your syrup to be shelf stable (sealed) or have a longer life in the refrigerator, you can add the honey to the juices and simmer over medium-low heat for another 5-10 minutes or so.
Bottling Elderberry Syrup
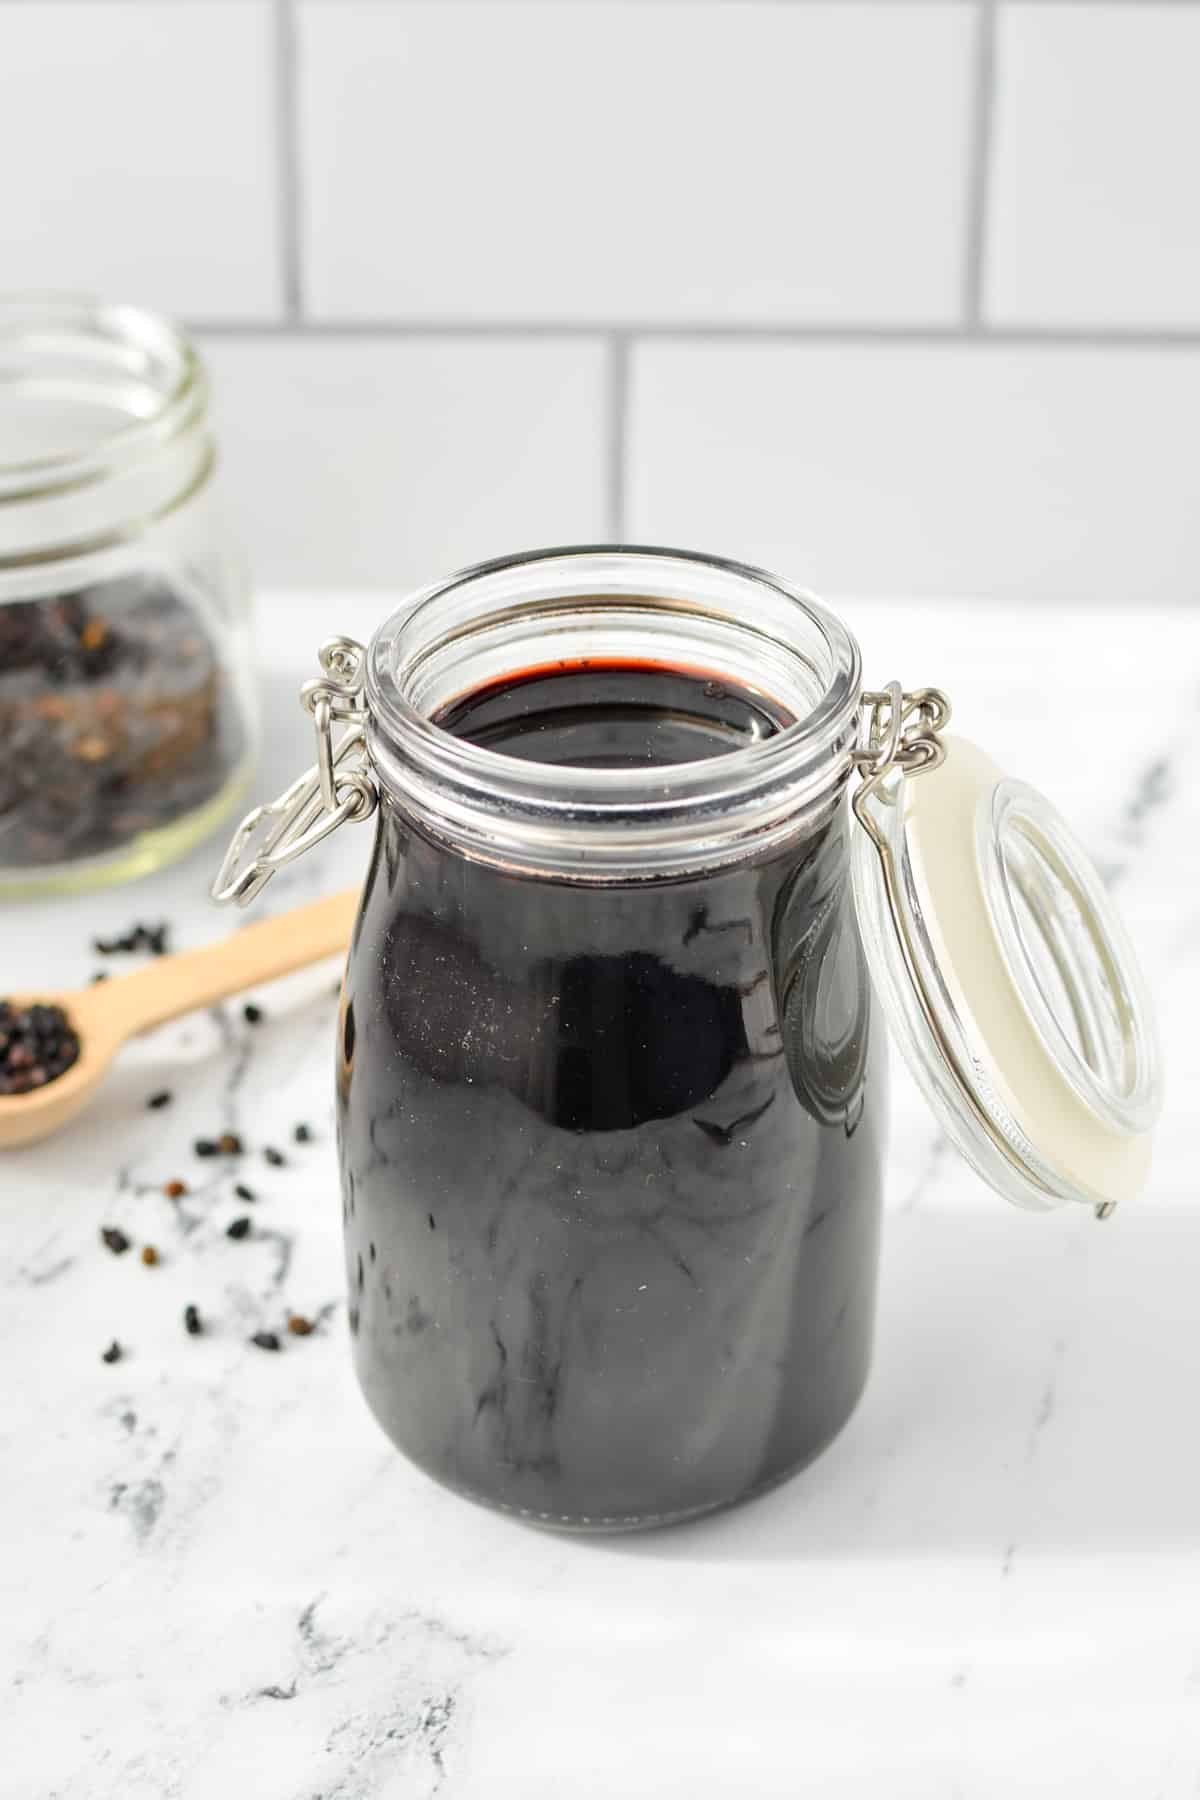
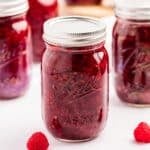
Step seven: Once the syrup has cooled to room temperature, transfer it to an airtight container with an opening wide enough for a spoon to enter. Label it (elderberry syrup) and include the date. Store in the refrigerator for 4-12 weeks, discarding if you see any signs of spoilage.
Storing and Shelf Life
- For the best results I recommend sticking to the 4-12 weeks timeline for refrigerated Elderberry syrup, but I've had batches that stayed good for many, many months.
- Always use a clean spoon when retrieving elderberry syrup (or a clean oral syringe), and never double dip. This will prevent your syrup from becoming contaminated.
- Discard if there are any signs of contamination (growth, smell, consistency changes, etc).
- Amy from The Fewell Homestead (who is an herbalist) says that you can make shelf stable elderberry syrup by boiling the juices and honey together. I haven't tried this method personally.
- For the safest option, I recommend using fresh, refrigerated syrup.
- Always be sure to do your own research, and do what you are comfortable with. Always err on the side of caution.
Freezing for Extended Storage
- Prepare the elderberry syrup.
- Transfer into ice cube trays, OR a silicone freezing tray like Souper Cubes.
- Freeze until firm, then pop the portions out.
- Transfer the cubes to a freezer bag (or reusable silicone freezer bag).
- Label and date the bag.
- Thaw the needed amount for a few days (or a week) at a time, keeping it in the fridge until needed.
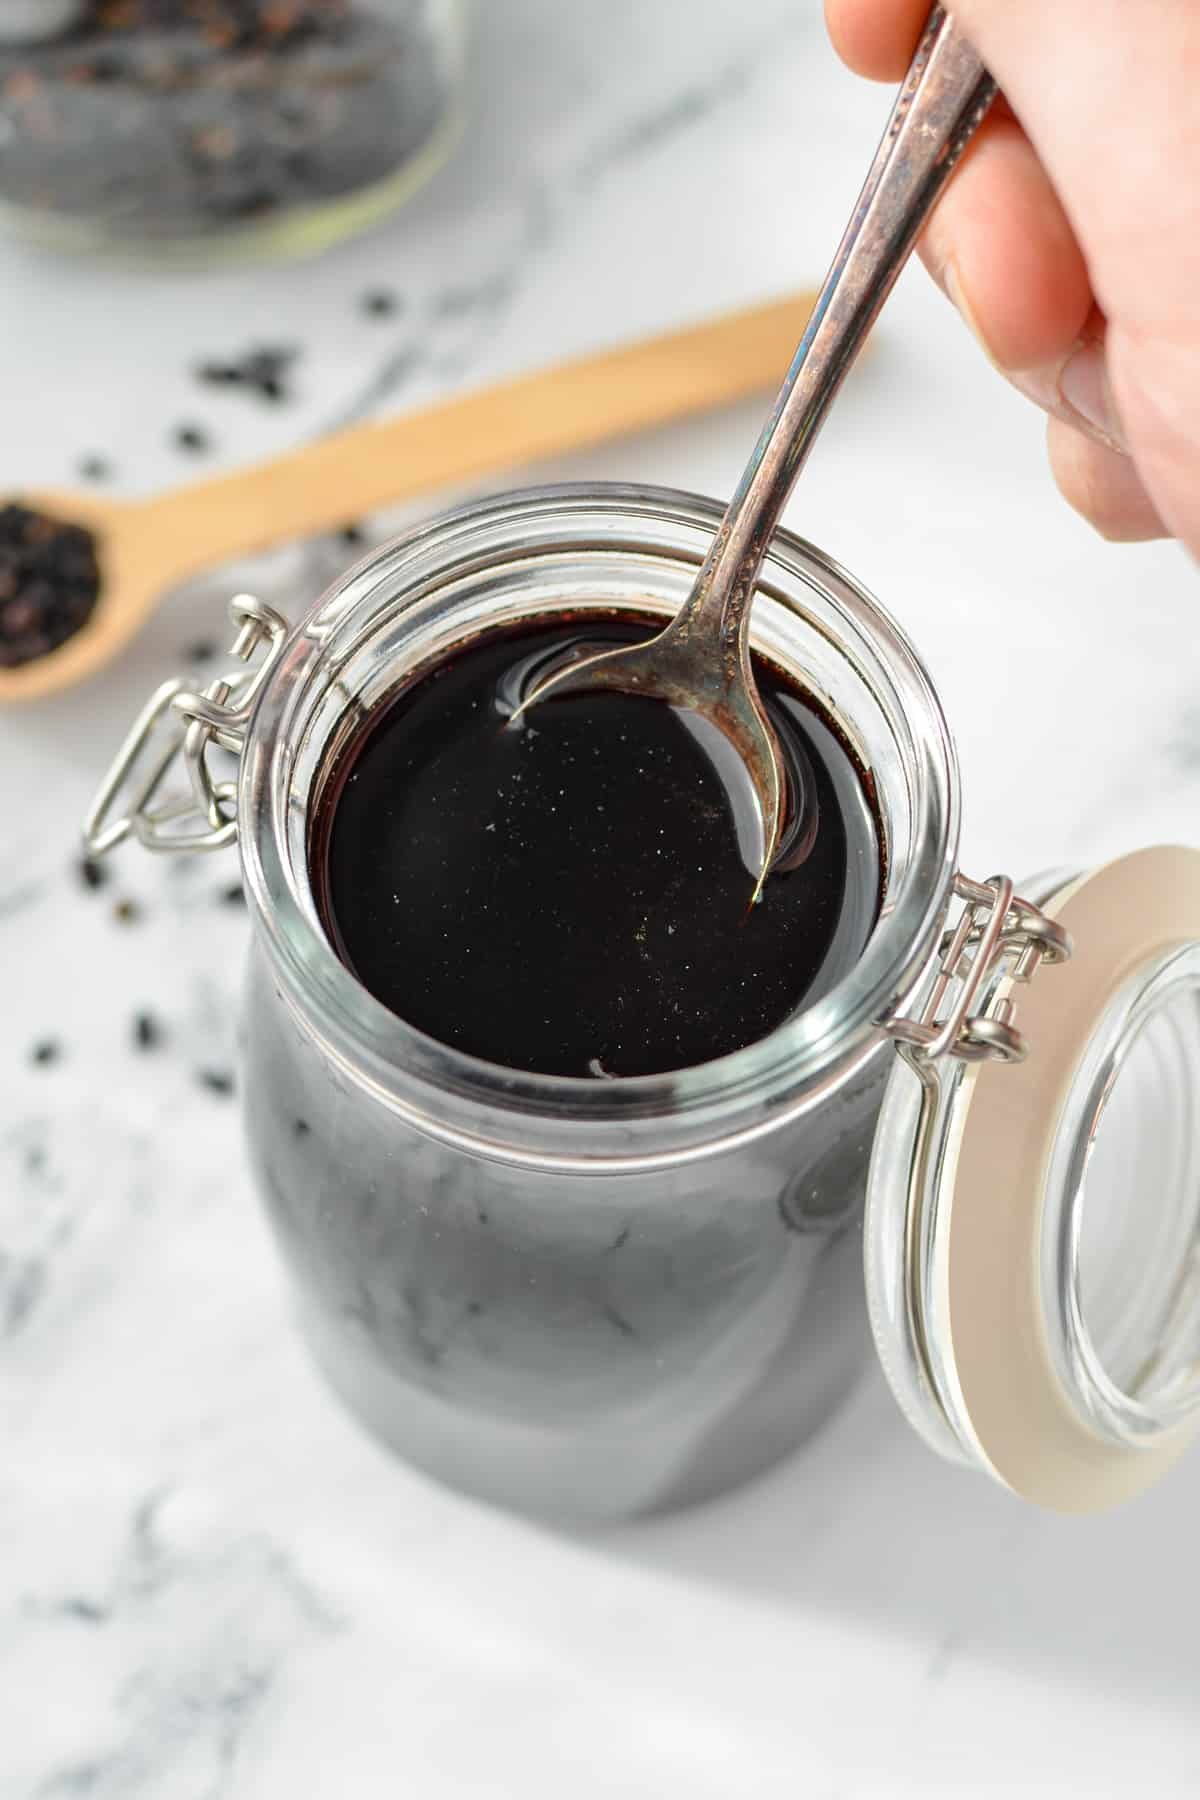
How to Use Elderberry Syrup
- As a preventative measure during cold and flu season
- To reduce the duration of flu symptoms
- A great way to a get a boost of vitamin C
- For a sore throat
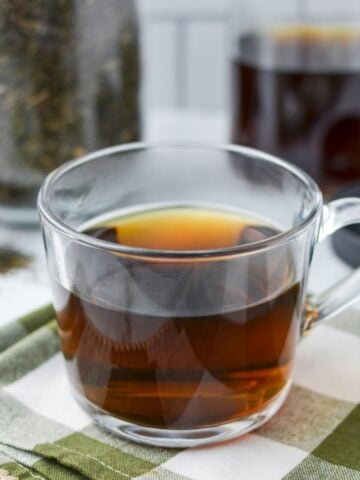
- To add to hot water to make elderberry tea
- Have a little each day for the antioxidant properties
- For taking at the onset of cold symptoms
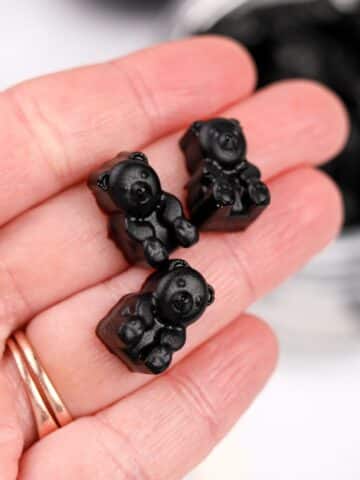
- Make some into elderberry gummies
Elderberry Syrup Dosage
As a preventative: Take 1-2 teaspoons (5-10 milliliters) daily during the cold and flu season as a preventative measure to boost your immune system.
For treating cold and flu: Take 1-2 tablespoons (15-30 milliliters) several times per day, until your symptoms go away. After you are feeling better, take the preventative dose until the end of the season.
Giving to Children
I find using medicinal syringes is a great way to deliver this Instant Pot elderberry syrup to children who you may have trouble taking a spoonful. The taste is not at all strong, but children can be reluctant to anything that resembles medicine. These are the ones I use, as they have the measured amount in teaspoons as well as milliliters.
IMPORTANT NOTE: Honey is not safe for babies under the age of 1 year to consume. You could try a preparation made with maple syrup instead, but be sure to consult with your health care provider first.
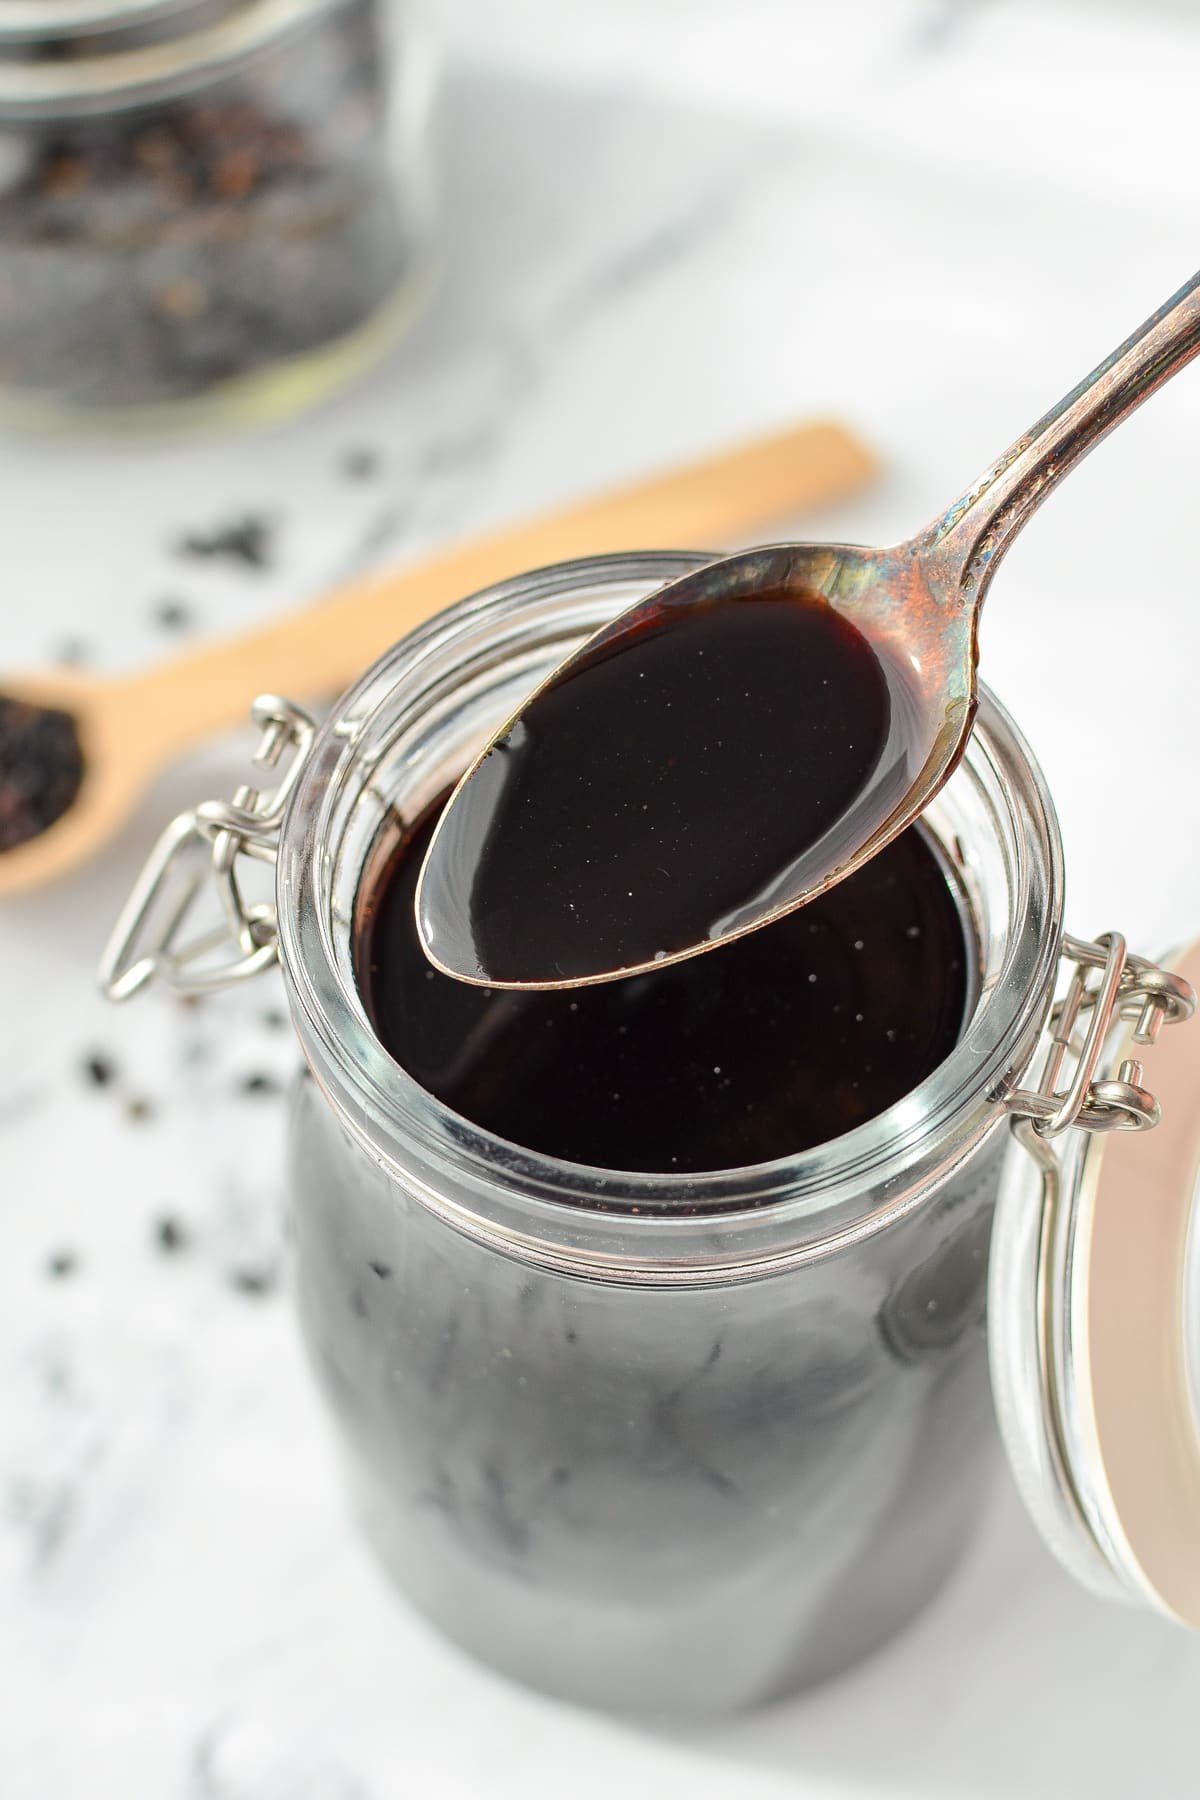
Elderberry Syrup Variations
Using Fresh Elderberries
If you have access to fresh elderberries, you can easily make this Instant Pot elderberry syrup using those in place of the dried berries called for in the recipe. You'll need to make just a few adjustments, but the results are very much the same.
- Increase the total amount to 4 cups of elderberries.
- Scale the water down to ¼ cup. The fresh berries will release juices during cooking, creating the required amount of liquid.
- Simmer them in the Instant Pot with ¾ teaspoon of grated fresh ginger, ¼ teaspoon of ground cloves, and a cinnamon stick (optional) for 20 minutes.
- Strain and follow the rest of the recipe as directed.
With Elderflower
If you would like to add some extra benefits to your batch of elderberry syrup, you can actually add some dried elderflowers into the batch. Here is a snippet from the renowned herbalist Rosemary Gladstar:
“Adding elderflowers to the syrup introduces a diaphoretic property, helping you to “sweat out” a fever. After cooking down the juice with the ginger and cloves, you can turn off the heat, add ½ cup dried elderflowers to the hot juice, put the lid on, and let infuse for 20 minutes. Then strain the flowers from the syrup and proceed with the honey.”
Rosemary Gladstar, Medicinal Herbs: A Beginners Guide
Frequently Asked Questions
Fresh elderberry syrup should last between 4-12 weeks when stored in the refrigerator. Always use a clean spoon or oral syringe when retrieving the syrup, and never double dip! Discard if there are any signs of spoilage such as an off smell or texture, growth, or consistency changes.
Since elderberry syrup is most commonly made with honey, you cannot use it for babies under 1 year. A substitute can be made with maple syrup, but you should check with your health provider, who can answer any questions or concerns you may have.
Elderberry syrup can be made with maple syrup, although it will not be as thick and will not have the same benefits of syrups that have been made with honey. Some make it with sugar and boil it down to a heavy syrup, so that's an option if you have neither honey or maple syrup available to you.
📖 Recipe
Homemade Elderberry Syrup
Ingredients
- 2 cups dried elderberries (*for fresh elderberries see notes)
- 4 cups water
- ¾ teaspoon grated fresh ginger
- ¼ teaspoon ground cloves
- 1 cinnamon stick
- 1 ½ - 2 cups honey raw preferred
Instructions
- Add the elderberries, water, ginger, clove, and cinnamon to a medium saucepan with a lid.
- Bring the mixture to a simmer over medium heat, stirring often.
- Once the berries start to simmer, reduce the heat to low and place the lid on the pot, leaving it slightly ajar so that steam can escape.
- Allow the berries to cook over low heat until the liquid level is reduced by about half, or approximately 20-35 minutes.
- Once the liquid level has reduced by half, remove the berries from the heat and strain them by lining a colander with cheesecloth and setting it over a large bowl.
- Press the solids to extract any remaining juice and compost anything that remains in the cheesecloth.
- Transfer the liquid to a measuring cup, taking note of its volume.
- Measure an equal amount of honey (so if you have 2 cups of elderberry juice, measure out 2 cups of honey).
- Add the elderberry juice into a large bowl, along with an equivalent amount of honey. Stir well until the honey is fully incorporated.
- Allow the elderberry syrup to cool to room temperature, then cover with plastic wrap and place in the fridge to chill.
- Once the elderberry syrup has chilled for about 4-12 hours, transfer it into clean jars for storage.
- Store in the fridge for 4-12 weeks, discarding if there are any signs of spoilage.
- Take 1-2 teaspoons per day during cold and flu season, or 1-2 tablespoons several times per day if not feeling well.
Video
Notes
Nutrition
Please note that some of my blog posts here at Little Home in the Making may contain affiliate links. If you make a purchase through these links, I will get a small commission at no additional cost to you. See our disclaimer for more information.
The content provided on this website is for informational purposes only and is not intended to be medical advice or to substitute medical care. Seek the advice of a healthcare professional.










Leave a Reply